If you’re new to triathlon, or are considering jumping into the pool (no pun intended) – you probably at one pointed eyed getting a road bike and using that. You may have even advanced that line of thinking to also include grabbing a pair of aerobars, slapping them on the bike, and calling it macaroni. So – how did I start out – and did I take the same path as many others?
My First Season (or rather, 1.5 Seasons)
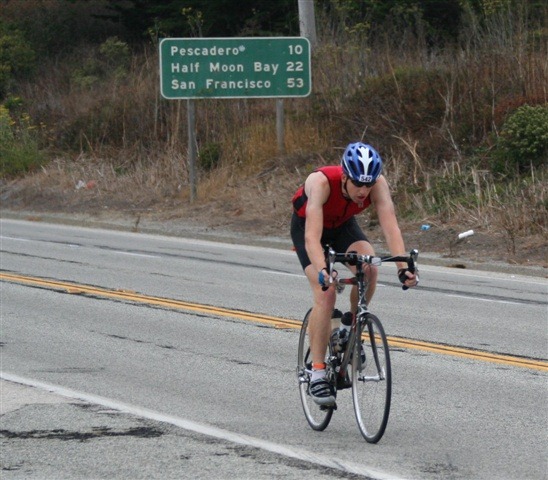
My very first season I actually didn’t use aero bars at all – strange, I know. I was still getting used to the whole road bike thing and reasoned that the aero bars were only more likely to cause me to crash than assist. Thus, I just focused on cycling. Therefor when I went to do my very first half-iron later that year…I did so without aero bars, as you can see here:
However, after that race – I decided to take the plunge. I had the Nation’s Triathlon a few weeks later, so figured that’d be an ideal opportunity to do one race as well with them and see if they had any impact.
Not knowing what to choose, I headed down to my local Performance Bike and picked up pretty much every pair of aero bars they had there. Given the support staff was of no help in this category, I simply solved the problem be going into trial mode. With Performance’s return policy, this made it easy to return ones that were less desirable. I actually documented the whole process in this two part series.
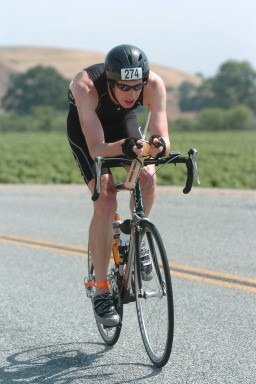
Eventually, I ended up with the Profile Designs T2 aerobars, which you can see here in my 2007 Nation’s Tri photos (sorry, all I have is tiny sample photos):
Now, you’ll notice I have terrible position here– which undoubtedly hampered my performance. This was because I did the install (as opposed to a qualified person), and didn’t really consult any fit experts. I would highly recommend getting a bike fit expert to get your position functional…it’ll save you time and pain.
I continued to ride this road bike and that lovely aerobar position throughout the winter. In fact, I even bought another pair of these bars for a Fuji road bike out in Seattle.
Once spring sprung, I went onto compete in two more half-iron’s. First up, was Oceanside 70.3 in March:
And next up about a month later was the Wildflower Half in May:
Actually, I did slightly improve position here in these last two – helping to make the situation just bad, instead of really bad. You can see the difference pretty easily if you scroll up/down to the earlier photos.
However, for me the situation didn’t really improve dramatically until I got a new bike that fit me, which ended up being a triathlon bike – that helped improve these pretty significantly, which I then raced and trained on for the remainder of the year and until present day.
The benefits of clip-on bars:
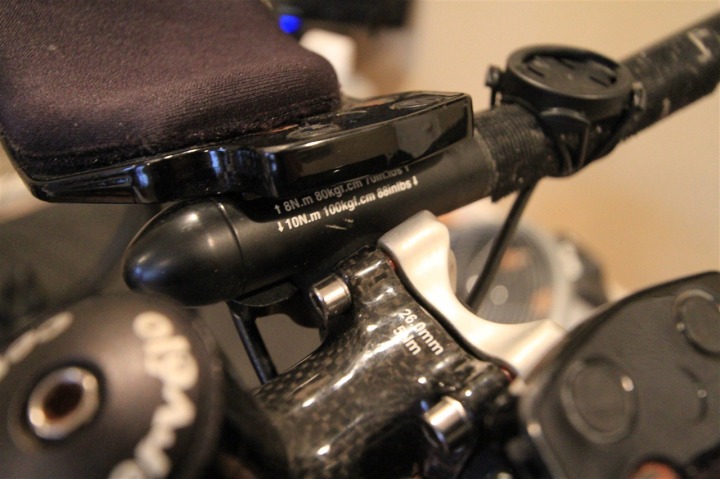
However, one thing that isn’t often mentioned is how clip-on bars can actually be more customizable than some stock bars. For example, take the stock bars offered on the Cervelo P2C and P3. Both of these bars lack the ability to slide the bar position fore and aft (back and forth) – rather limiting position changes to only side to side and up and down movements. And sliding up and down (vertically) also requires you have the right spare parts.
You can see this in the below photos if you note how the screws intercept the bar from above the numbers that there is no way to adjust it frontwards/backwards:
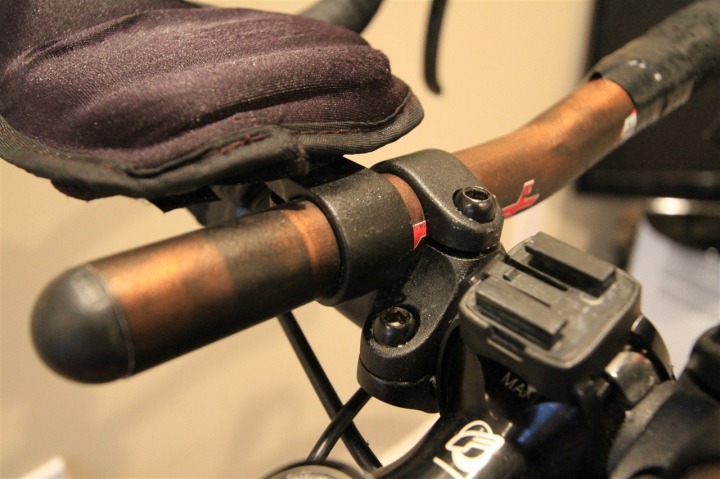
Meanwhile, the off the shelf Profile Design T2+ bars can be adjusted about 128 different ways – without any parts. You can see below how you can easily unscrew and adjust them any number of different ways.
That’s not to say that other stock aero bars are equally as limited, nor is it to say that other off the shelf clip-on’s are as robust. Just simply pointing out that clip-on’s don’t always deserve the bad rap they get. But it’s one consideration when you’re looking closely at new aerobars, especially clip-ons – how much adjustability do they have? Can you go left/right? Can you go fore/aft? Can you go up/down (height)?
A new home for my old bars:
Despite my move to a new tri bike, that didn’t mean the bars had met the end of their life. For a while I took them off my road bike and placed them in my spare bike parts bucket in the garage – merely because that meant I had a ‘true road bike again’, as opposed to a semi-sorta-road-tri-bike.
Then one day The Girl noted that her stock bars on her Felt were too bulky for her desires (they were kinda beast-like), and more importantly, were also putting her in a less than ideal position. After some chatting with Coach, she was actually about to go out to the store and buy the exact bars I had sitting in a box.
So a bit of box digging later, I handed over the dusty components to her…who in turn handed over the dusty components to Coach, who in turn swapped out all the parts and re-cabled everything. Pretty sweet!
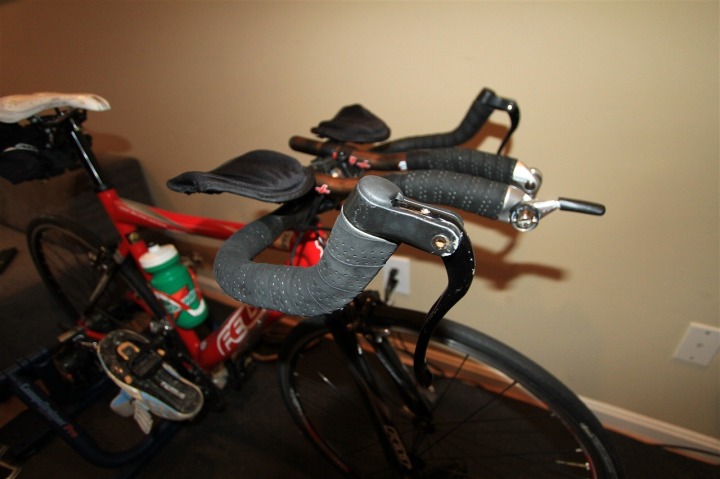
After all was said and done – new bars on bike:
And, given her podium results since (just about every race over the past year, either on the overall podium or the age group)…I think they’re working out quite fine! Thus proof, you can do quite well with off the shelf $78 clip-on bars.
FOUND THIS POST USEFUL? SUPPORT THE SITE!
Hopefully, you found this post useful. The website is really a labor of love, so please consider becoming a DC RAINMAKER Supporter. This gets you an ad-free experience, and access to our (mostly) bi-monthly behind-the-scenes video series of “Shed Talkin’”.
Support DCRainMaker - Shop on Amazon
Otherwise, perhaps consider using the below link if shopping on Amazon. As an Amazon Associate, I earn from qualifying purchases. It doesn’t cost you anything extra, but your purchases help support this website a lot. It could simply be buying toilet paper, or this pizza oven we use and love.




![IMGP2672[4] IMGP2672[4]](https://media.dcrainmaker.com/images/2010/10/using-clip-on-aerobars-on-a-road-bikehow-i-did-it-9.jpg)
