While I have many posts on how to get the most from your Garmin Forerunner, it was pointed out to me recently that I don’t actually have any posts on how best to race with it. So this one will cover the most optimum way to race with your Forerunner.
Functionally speaking, this guide will more or less work with any HRM and/or GPS, but technically speaking each one is different and some of the items I talk about aren’t applicable to other brands/models. Also, even within the same product line there are some minor differences as to the implementation.
With that ‘legaleze’ out of the way, let’s get onto the pieces:
Components
Garmin makes a quick release setup for a reason…and that reason would be triathlons. If you try and do this without the quick release doo-hicky (technically called ‘Quick Release Kit’) life is simply more difficult. And compared to all of the other items triathlon-related you’ve bought thus far, this is downright cheap at only $25 (for all models). Note that they are different kits depending on which Garmin you have, so even though Amazon has a ton of choices (and ya save $3!), be sure to pick the right one.
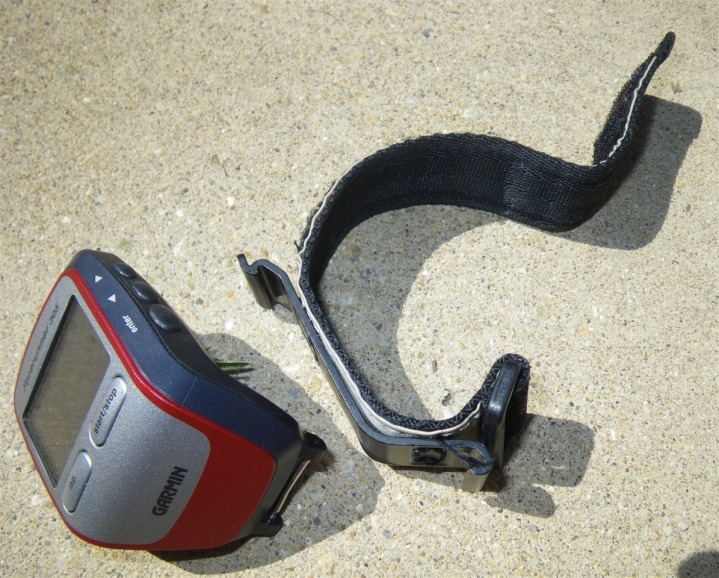
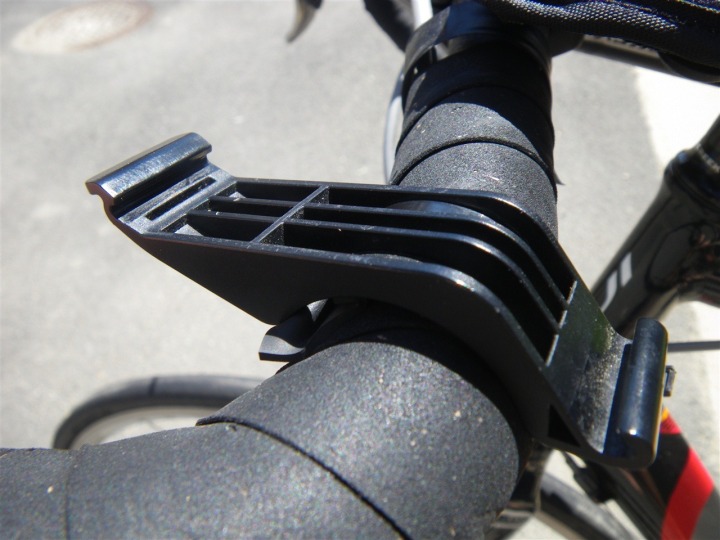
Basically it’s a two-piece set. One is the quick release mount for the bike, and the second is a quick release strap for your wrist. This enables you to pop it off the bike and onto your wrist in about 2 seconds. Here’s a picture of the Forerunner 305, wrist strap, and bike clip (on my bike).
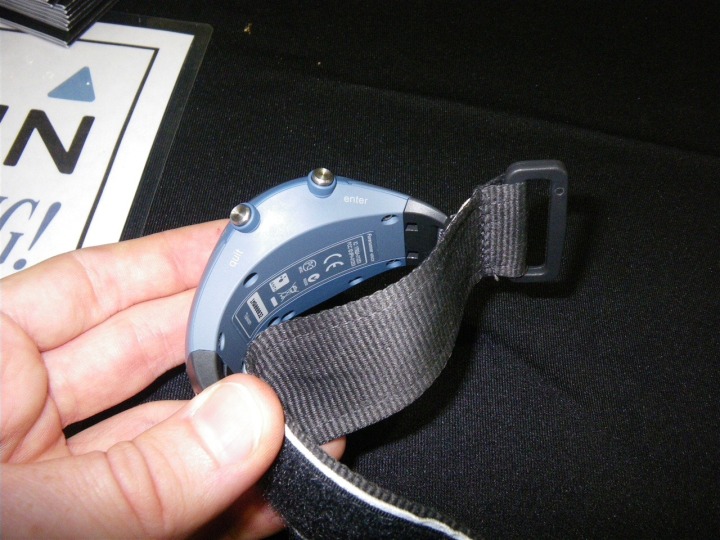
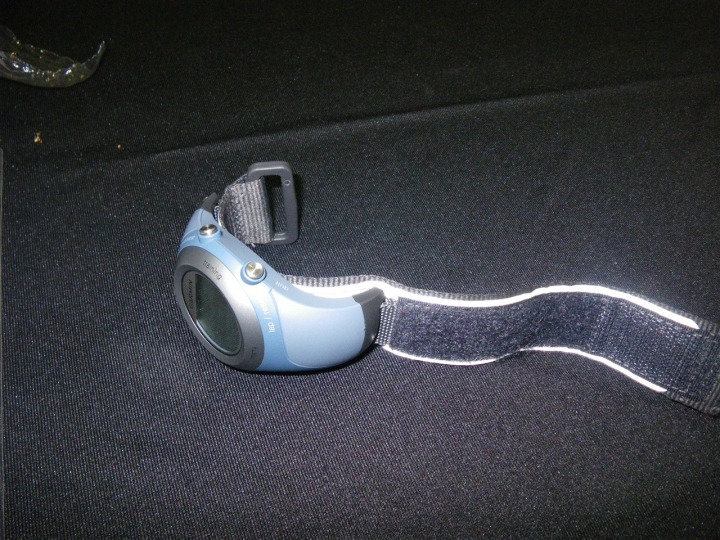
On the Forerunner 405’s, the wrist band is a single piece of molded plastic. But all that’s changing with the 405CX – starting this June (2009), they’ll offer a fabric strap that then doubles as a quick release kit. And that wrist band will be backwards compatible with the current 405’s. Here’s a picture of it I took at the Boston Marathon Expo:
On the Forerunner 310XT, it’s very similar to the 305, though a different kit – but functionally identical except it twists outward instead of popping straight out (up).
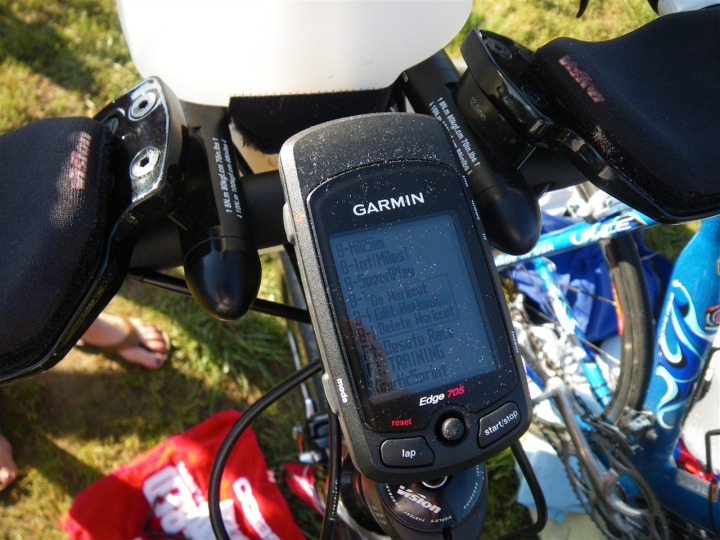
Finally, for the Edge 705 – I’m assuming you just have it mounted on your bike using the included inbox quick release kit:
Pre-race:
This may seem like an obvious point – but the first step in using the 305 for the race is to ensure it’s fully charged! I have it on my checklist, right next to putting my nutrition bottles together. There’s nothing technologically worse than getting about 2 miles into the bike and having your only source of information go kaput!
Next, I pre-create my workouts on the computer using Garmin Training Center. Now, in the Garmin sense ‘workouts’ means ‘race plan’. This step is not at all required, and only worthwhile if you have different ‘plans’ for different parts of the race (i.e. different HR zones for different sections). In order to keep this post short, I’ll just link to my previous ‘How to’ post on this subject.
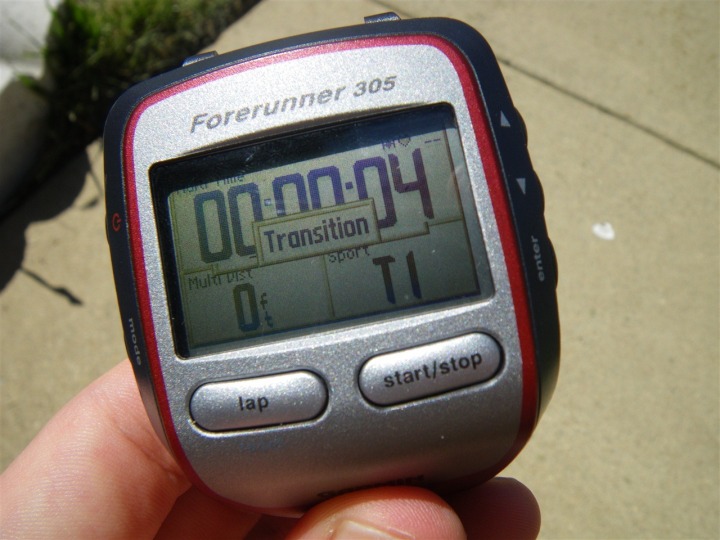
With the charging and workout downloading all taken care of – the next item is to configure the watch to automatically switch from sport to sport with the simple press of the lap button. What this does is allow you to set the Garmin to change from Bike to T2 to Run (or Swim too if you included that), which then changes the metrics used (i.e. MPH for bike instead of Pace like on a run – typically Minutes/Mile).
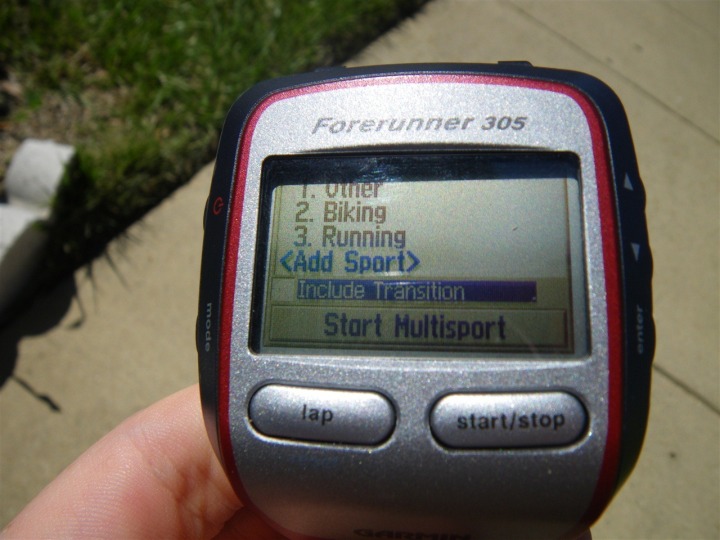
Do set this up, simply press Mode, then go to Training > Auto Multisport.
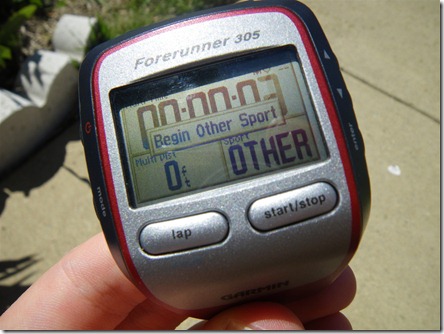
You’ll see how you can add in different sports or ‘other’ (which I would use for the swim). That’s it – super easy! Once your ready, just go ahead and press ‘Start Multisport’, it won’t actually start, but rather just queues it up until you then hit the normal start button.
Now, what the Garmin does is actually create separate activities for each of these different sports. So if you had a bike/T2/Run, it would create two activities (it doesn’t record transitions). But that’s alright – it makes it easier to analyze post-race anyways.
Once you’ve arrived at transition you have a choice to make: Whether or not to use it during the swim. Here’s my take on that – I know how far the swim is, I know how long it will take me (race results). Once I’ve settled into a swim pace, I don’t deviate much. The added stress of worrying about someone knocking the GPS off the top of my head isn’t worth it to me. But that’s just me. As you all know – I have an extensive guide on how to use it on the swim, so…yeah. Of course, the Garmin Forerunner 310XT has the ability to be worn in the water natively (on wrist), but keep in mind that on your wrist it still won’t get good/any GPS signal – nor will it track HR due to the water between it and your HR strap.
Moving on…here’s how I setup my transition area.
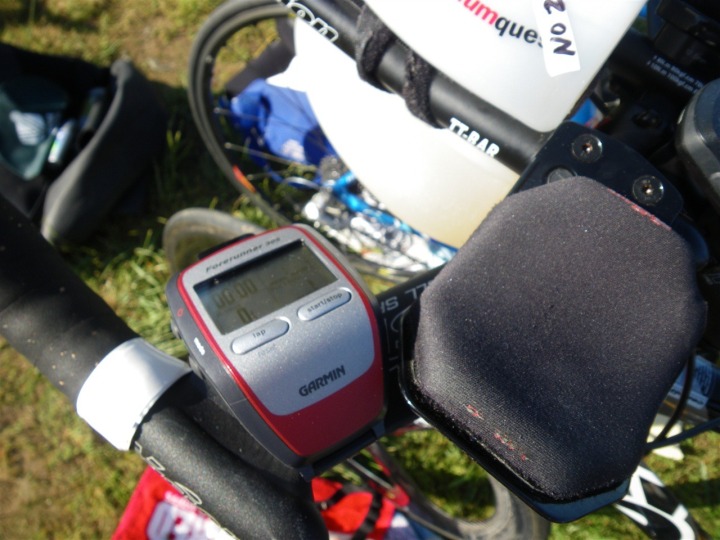
On my bike, I have the quick release kit with the 305 already on it. If I’m using a 405, then that’s on there instead. If I’m using the 705, then that’s already clipped there.
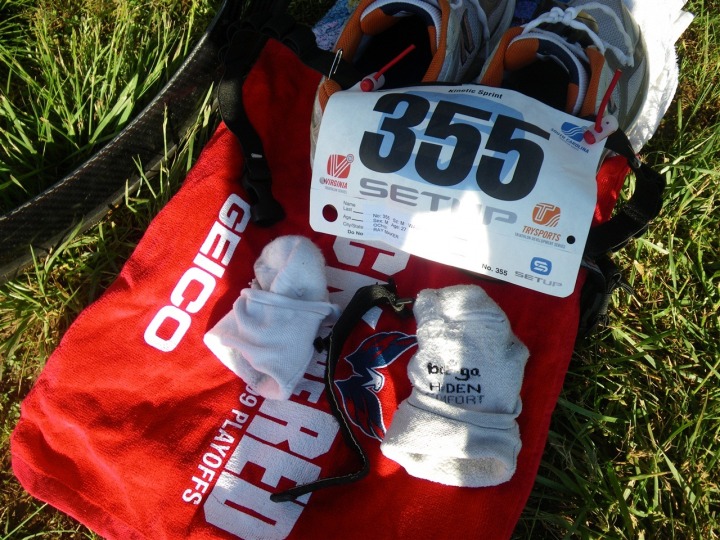
Then, on my transition area I have my shoes/socks/race belt and finally…the quick release wrist strap. You can see the strap in between the socks.
See, simple. All the pieces you need to make this happen.
Now if you’re taking it on the swim, then go ahead onto the swim section. Otherwise, move onto the bike section.
Swim:
So you’re determined ehh? You’ve read the guide – you’ve tried it out in training at a local lake…or your bathtub… and you’re ready to go! First things’ first – ensure the quick release strap isn’t on the watch under your swim cap. You’ll increase your dorkiness even more than is already there. Keep that strap in transition – you’ll need it for the run.
Next, as per my other post – you’re going to place it under your swim cap. For the Garmin 305, I’d recommend a small Ziploc plastic bag if you suspect your swim is going to take longer than 30 minutes (which is the limit of the ‘waterproofing on it’) – honestly, I’d do it for anything over a few minutes.
Now place the GPS on your head (in the baggie) – facing upwards*, and then put on your goggles. Yes, goggles first – that way when you get knocked in the head you don’t lose them and ruin your swim time. Now, add the swim cap on top of the whole mess. It takes a few tries to get it right. Yes, you’ll look funny. Don’t worry though – you’re already wearing spandex, it comes with the territory.
Ok, ready? Now, as soon as the race starts – press the start button on your watch. If the watch is facing ‘forward’, it’ll be the one on your right. Otherwise, it’ll make a ‘rejected’ beep instead of a ‘good/happy’ beep.
Now swim!
Note – this may be mentioning the obvious, but for the love of all things not-waterproofed, please do NOT put the Garmin Edge (cycling version) on your head and go swimming. It’s not designed to take water from the bottom and will die about 2 seconds after being submerged.
Finally, when you exit the swim and hit the T1 mat, press the left button (lap), to start your transition time.
*I’m going to talk about setting up the buttons in a second, so read this whole thing before you put it on your head. Though I trust your not standing there right now in the water with this printed out next to you 3 minutes from your wave starting.
Bike:
Ok, so either you swam and your Garmin is still functioning – or you’ve just left it sitting on your bike in transition eagerly waiting for you.
If you left it in transition – then let’s go from here. If not, we still go from here…
Turn it on PRE-RACE. The only exception being an Ironman race, because the 305 only gets 10 hours of battery life – and unless you’re going sub-10, you’re going to need every last ounce of that battery life. In an Ironman, leave it off and simply turn it on in the first mile or so. Don’t worry, you’ll be keenly aware what mile where you’re really at on an Ironman course and I’m fairly certain that even though your watch will say mile 111.5 (a bit short), that you’ll actually get off the bike when you hit the bike dismount line a bit ‘early’.
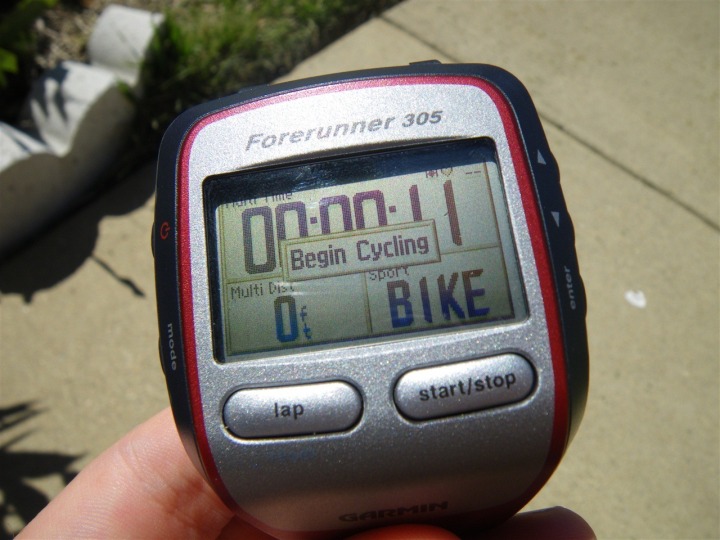
When turning it on, go through the steps above to ‘enable’ the automatic transition setting on the watch. The watch should read ‘BIKE’, like the below:
Ok, back to arriving at your bike. You’ve taken off your wetsuit (hopefully) and are ready to start the bike, grab your bike and exit transition. Hop on your bike and start riding. Once you’ve ‘reached a safe altitude’, THEN start your Garmin (using the start button). Never try and start it at the exact second you cross the mount/dismount line, because you’ll invariably manage to run into 12 people, 4 kids, the water stand and 3 cats all at once – which is less than fashionable. However, in many cases the exit out of the transition area is where the mats actually are (not the mount line), so you can pretty safely hit the start button running with your bike.
So now you’re biking. Good. Keep biking until you have a good reason to stop (Dairy Queen is not a valid reason regrettably).
Eventually you’ll find the bike dismount line. Once you cross that line it’s advisable to dismount the bike. A short run later you’ll find the timing mats. Go ahead and hit the LAP button (left one), NOT the start/stop button. If you hit Stop – it will…well…stop. Lap simply means to automatically advance to the next section in your list of predefined segments (Bike/T2/Run).
If you’re using a Garmin Edge, then obviously this is the end of the line for you – unless…you want to take it along for your run. Which is perfectly legit. I’ve taken mine on training runs for fun, you just have to hold it (or back jersey pocket). And it won’t show you pace as ‘Minutes/Mile’, but rather MPH.
Alternate Ending for the Bike: One option that I’ve used once is to instead of removing the watch in transition, is to remove it as I near the dismount line. I then hit lap at that point (a touch early), and throw it in my bike tri-suit jersey pocket. This keeps my hands free in transition and minimizes stuff I have to remember.
Run:
Congrats – you’ve successfully made it off the bike! Now you need to ensure your Forerunner makes that same journey. Unclip it from your bike and hold onto it.
On your little pile of stuff in transition you should find your shoes, race belt and the cloth strap for your Forerunner. Put on your shoes first, and then grab your quick release strap and Garmin and throw them both in your back pocket (should you not have a back pocket, then clip them together now). Once your shoes are on, grab your race belt (with number) and start running towards the end of transition.
Why run without dealing with the Garmin? Because this is a RACE! And every second counts. As you’re running, clip your race belt on. Ideally you’ve accomplished this before you exit transition.
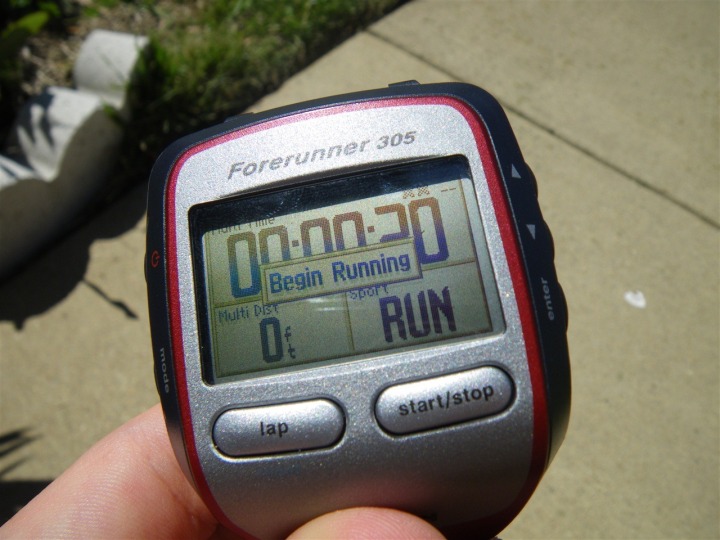
Next, as you exit transition, grab your Garmin out of your pocket and press LAP again (not START). Then, as you continue running go ahead and snap the two pieces together and finally Velcro it on your wrist. This may sound rushed – but again, the purpose of quick transitions is to save time that you expended in the other three sports.
Ok…so we’re running – right? We’ve reached ‘cruising altitude’ and our Garmin is counting away the miles and you should be in RUN mode now and your pace is showing as Minutes/Mile instead of MPH.
At this point your primary concern is running the race. So RUN! :)
Oh, if you’re set on using the 705 and running with it – then go ahead and unclip it during transition and stop it, and then reset the counter (creates a new activity), and then start it once on the run. Not ideal…but functional.
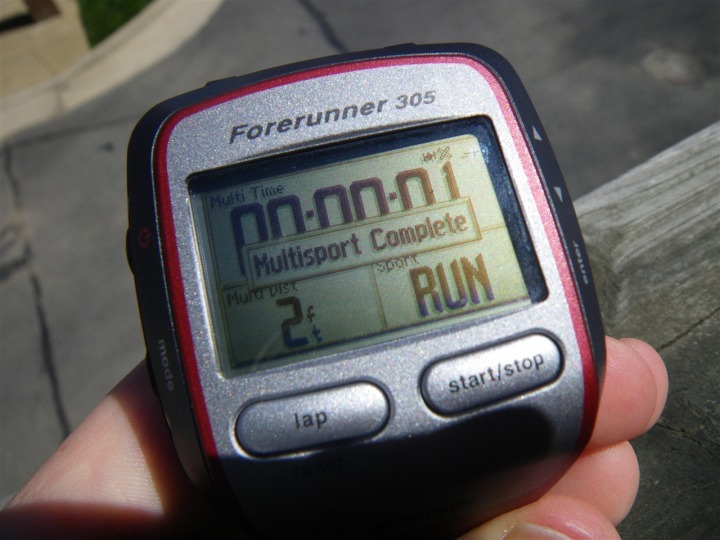
Once you reach the finish line and have gone 20 feet beyond the end of the finish line – THEN press the STOP button. Don’t press it when you cross the line, because then your finisher pictures look dorky. Plus, 3 seconds won’t really matter. Really…they don’t. Your Garmin shows you values 5-7 seconds behind reality anyways, so it still thinks you’re moving at a faster-than-walk pace (unless you walked or crawled across the finish line).
Oh, and best of all, you can enjoy the little musical tune the Garmin will sing when you complete your multi-course adventure. No seriously, it does a little jingle. Stand there in the finish chute and enjoy your own symphony!
Summary:
So there ya go – how to race with any of the Garmin watches. All of the above tasks in a ‘real world tri’ during the race should only take about 1-2 seconds to accomplish – and are ideally done ‘on the move’ so no time is lost. It’s best to run through this all once before the race, even if it’s just a 30 second bike/run around the block once. As always, if you have any questions, feel free to post them here or e-mail and I’ll be happy to answer. Note, if you’ve stumbled upon this post first, check out some of these related posts as I cover a ton of stuff related to this topic:
Thanks for reading!
FOUND THIS POST USEFUL? SUPPORT THE SITE!
Hopefully, you found this post useful. The website is really a labor of love, so please consider becoming a DC RAINMAKER Supporter. This gets you an ad-free experience, and access to our (mostly) bi-monthly behind-the-scenes video series of “Shed Talkin’”.
Support DCRainMaker - Shop on Amazon
Otherwise, perhaps consider using the below link if shopping on Amazon. As an Amazon Associate, I earn from qualifying purchases. It doesn’t cost you anything extra, but your purchases help support this website a lot. It could simply be buying toilet paper, or this pizza oven we use and love.

