In many ways, the Jetson’s vision of cycling Tomorrowland seems to always involve some form of heads-up display. And numerous companies over the last half a decade or so have tried to get us there. From smaller entities like Recon Instructions (bought and then shut down by Intel), to larger ones like Google. And that even ignores attempts by 4iiii, Oakley and Garmin too.
But none of them have fully caught on yet in the sporting world. The reasons I think are varied, from the lack of a distinct motive for why a heads-up display is actually better than other options, to the underlying technology being often half-baked from an endurance sports standpoint. Or perhaps it’s been the price, battery life, and just general quality of the device. Or maybe that the companies have given up on said products before the consumers even got them out of the boxes.
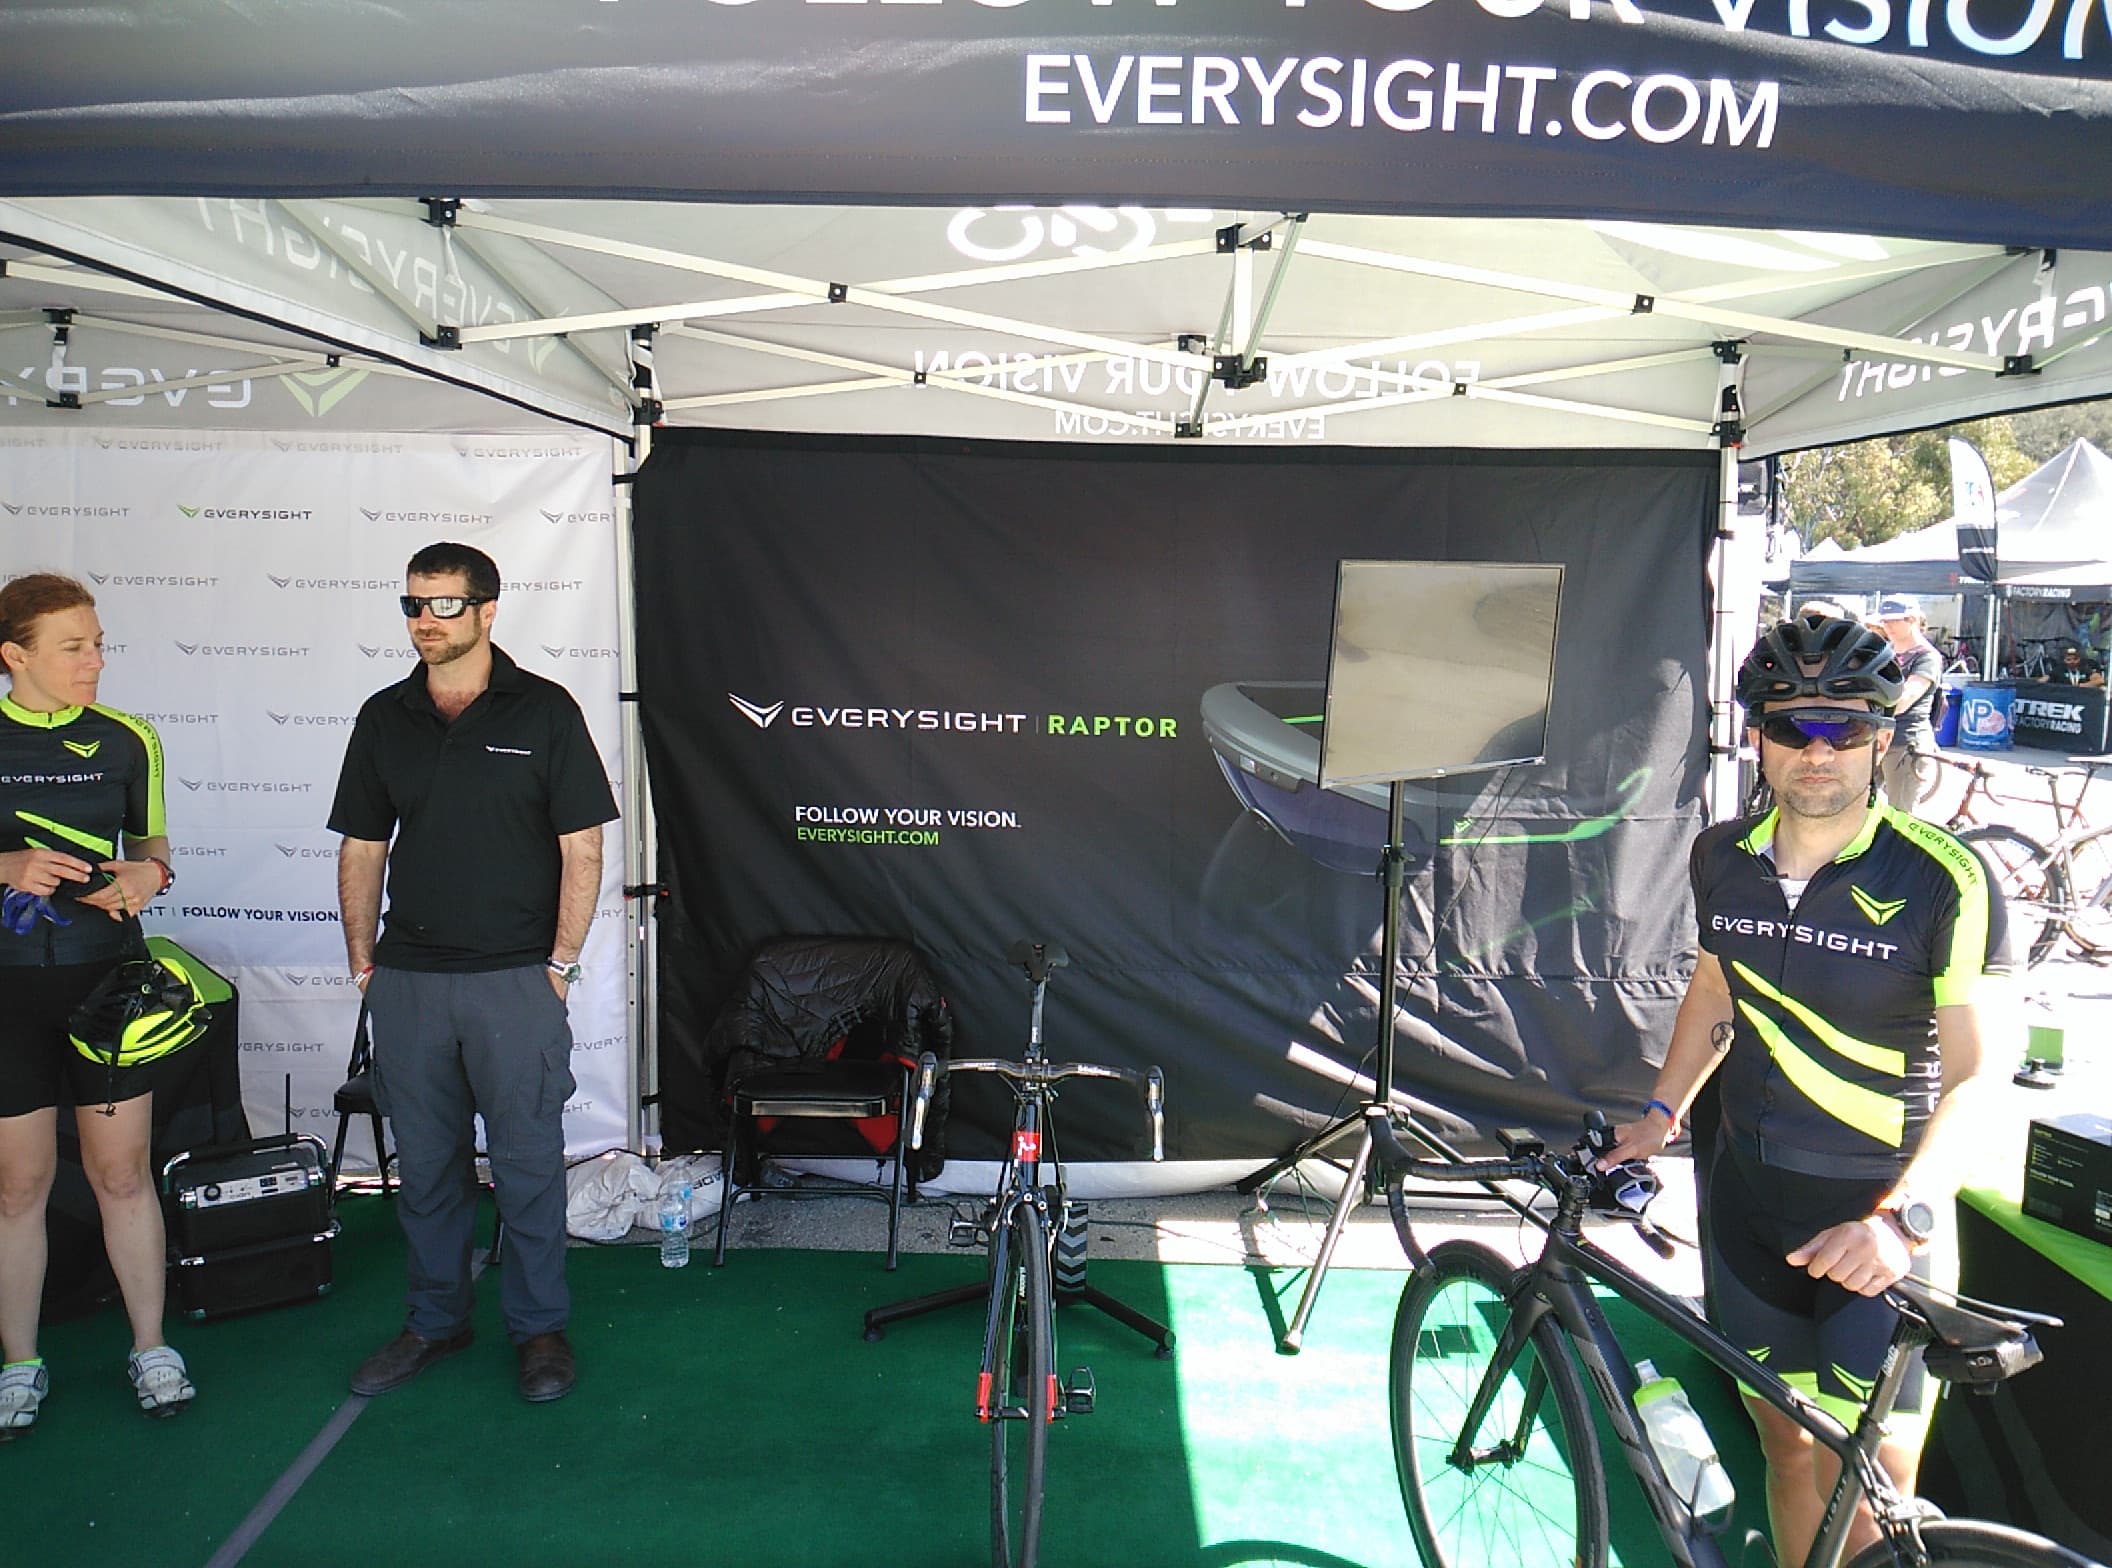
Still, companies keep trying. And the latest two is Everysight and Solos. Now, before you think these are mere startups – I’d calibrate your expectations. In the case of Everysight, their lineage comes from Elbit Systems as a spin-off, makers of military heads-up displays for fighter jets including the F-16 and Mig-29 aircraft. Whereas in the case of Solos, their parent company – Kopin – has produced more than 30 million units of various consumer and business devices. And they too have their own fighter jet heads-up display contributions, the F-35 JSF. Perhaps that’s why all the other heads-up displays failed…they lacked a fighter jet?
The Tech:
My goal with this post isn’t to make this a crazy long in-depth review of these glasses, but rather, just to give some early impressions until I’ve had a chance to take them out over repeated uses in a variety of conditions. So I’ve broken this post up into a few sections, this first one will be a brief overview of the tech specs, while the second half lower one is more about how I felt the unit did during the ride.
So, let’s do some quick bulletized look at the tech specs of the $499USD/579EUR Raptor heads-up display unit:
– Internal beamed-on display (meaning, it’s illuminated onto the inside of the lens, not outside it)
– 8 hours battery life (micro-USB charging)
– Contains GPS, but can also use phone’s GPS to save Raptor battery
– Connects to both ANT+ & Bluetooth Smart sensors (Speed/Power/Cadence/HR)
– Has small speakers on both sides for music playback
– Two storage options (for music): 16GB or 32GB storage space
– Has microphone for listening to voice commands (like Alexa, but not as smart)
– 1080p camera (no built-in image stabilization)
– Weighs 3.5oz (98g), IP55 water resistant
– Has prescription lens options, as well as various tint options
– Uploads/e-mails completed ride files, including to Strava.
Got all that? Good. Also, it comes in three colors – black, neon green, or ‘artic blue’. I’m not really a fan of either of the non-black colors. Just seems a bit to…retro…to me. Unrelated to that, here’s the gigantic set of prescriptive lenses they offer:
I can’t emphasize enough that the key difference between the Everysight Raptor glasses and other options on (or previously on) the market is really how the display portion looks from the outside of the glasses. In other words, whether or not someone can realize you have a heads-up display. Most other options have/had a small display that extends out in front of your lens, which makes you look a wee bit techy. Compare these two, from a front-on view:
Now, we can debate whether Everysight’s glasses are still a bit too techy looking, but, I think we can all agree the Solos ones look more geeky. Of course, as I’ll dive into in future posts, it’s about what’s inside that counts too (meaning, the software).
In any case, off for a ride I went.
First Ride Thoughts:
As I stated earlier, this was technically my second ride on Everysight. My first ride I did 2.5 years ago when the company came to visit me in Paris. We went out for a meandering ride around the city and back, after which I took a bunch of photos and wrote up a post. You never saw that post, because before I could post about it, they backtracked on what I could publish photo-wise, so I never ended up publishing anything all (I’m an all or nothing kinda guy). The entire 1,335-word post still sits completed on the server (they never saw the post).
But since this is my first ride on a final production unit, we can avoid having to change the header of this section and still call it ‘First Ride’ thoughts.
Before I start pedaling though, I needed to get the ‘screen’ correctly positioned for my eyes. This is done in two parts. First is to use the rubber of the nose-bridge to change the position of the glasses so that the screen is roughly where you want it, and then you can use the positioning options on the app to move the screen around within your vision, as well as increase/decrease the size of the display. The challenge I have though is that it’s impossible to take a photo of what this looks like, since much of it is an optical trick for your eye. Once that’s done though, you’re ready to roll.
If I position the camera just right you can see the green tint of the display illuminating the inside of the lens. It’s being projected from that diamond-looking thing on the inside of the right-half of the glasses.
The unit has a menu interface/system, one that’s not terribly unlike the Recon Jet system – or for that matter any other watch you’ve used previously. To navigate that menu you’ll use a series of taps and swipes on the right side of the glasses. You don’t need to navigate it a ton while riding, though pre-ride you’ll do quite a bit of touching. The area behind the Everysight logo is one large touch bar.
They’ve got different training and navigational features, but for this ride I was using it in a ‘just ride’ type of mode, no specific training at hand. Though, here’s a quick glance at the structured workout creator online. They walked me through a bunch of these in the booth, and then on the glasses you see the exact same graph-looking representation and where you are within each portion.
The structured workout piece is actually one of the best implementations I’ve seen (watch or otherwise) in terms of how clear it is about your target, your goal, and your time remaining. The graphical overlay, à la TrainerRoad, workout builder seals the deal. Regrettably, I don’t have a way of screenshotting that inside the glasses.
At this point it’d be ideal to pair up any sensors you have. In my case I thought we paired my heart rate strap in the booth, but it looks like we may have paired someone else’s strap in the booth. So once I left I lost the HR data (and I was a bit too nervous to try and navigate the menus mid-ride and cause some sort of malfunction given my time constraints). All things I can dig into later on.
With that, I simply went out and rode. I was mountain biking this day, which has its pros and cons when it comes to heads-up displays. In general, with a heads-up display, you need to learn to shift your focal point briefly from the distance to close up. To understand what I mean, hold your hand about 3-5 inches in front of your face (10-15cm). Now, without moving your eyes or your head, shift your focal point from the tips of your fingers to the wall or whatever is out in front of you. It takes a split second, and as you shift to your fingers, the wall (or road as it may be) goes out of focus.
It’s this piece you have to get used to. Proponents of the heads-up display technology like to say it’s safer than looking at your bike computer because you never take your eyes off the road. But I don’t find that terribly accurate. Sure, your eyes are still looking in the direction of the road, but you certainly wouldn’t be able to see a last second pothole or the like when focused on the heads-up display briefly.
I’m not saying either is better or worse, but they are different. Speaking of which, here’s exactly what you’d see (captured from my ride via the camera). You can swipe through different data page arrangements as well.
That view is captured by the camera built into the front of Raptor (center, near the forehead). The camera is a 1080p camera, but I certainly wouldn’t compare it to 1080p quality from the likes of a GoPro action camera. Instead, it’s more like circa-2008 image quality. Part of this may be because, by default, Everysight presses a user to use 720p instead, and then that’s doubled down because the camera doesn’t have any form of image stabilization. All of which is worsened since it’s attached to your head, which is constantly moving.
The company has a small desktop app though that will apply some video image stabilization via software after you get back from your ride to a computer, so that helps a fair bit actually – but it’s definitely not a mobile-first solution. Also, the overlay mode you see in these screenshots is only available at 1080p resolutions via the desktop tool, and not via the mobile app unless you use lower resolutions.
I do think this is an area that Everysight should reconsider. First: Resolution, resolution, resolution. The lower the resolution the less likely the image will ‘impress’. And when something doesn’t impress, people don’t buy it. Especially fuzzy videos. Second, while as a user, you may believe your video footage with the overlaid metrics smack in the center are exciting, most 3rd party people actually would prefer those metrics be in the lower corner. After all, the point of your video was to capture what you were seeing, and if I have generally non-exciting metrics clogging up the middle of it, it takes away from the footage. Again, just my two cents.
Speaking of both those video metrics, and speaking altogether, you can trigger the camera to take photos or video via voice commands. You say “Go Everysight”, followed by whether to record video or take a photo. I found it a bit finicky, though the company says that future firmware updates should help a bit there. The video is recorded in 60-second snippets. Here’s a tiny gallery of four photos I took along the way starting at the booth to show different light/contrast situations (not video snippets, but actual still photos):
While you do have the voice commands, most of your actions will likely be via swiping, which as I learned is somewhat difficult while bombing down a mountain bike run. Turns out the company has a solution for that – which is a remote control. I didn’t get to use it, but that’s definitely good news:
Of course, that’ll set you back $70, but at least it means you can keep your hands on your handlebars – certainly fairly valuable for off-road cyclists.
I put together a bit of a video while I was out riding that documents my thoughts, as well as includes a bunch of snippets from the in-camera video:
So what about my general thoughts on it? Well, overall it seemed to work fairly well. There were a few times though where the fit didn’t quite seem perfect mid-ride, even though it was at other points during the ride. It was primarily when I was headed downhill on bumpier trails that it felt like it shifted a bit, and I’d have to re-adjust it.
As for the display, it’s incredibly sharp and bright. By far the most brilliantly sharp of any unit I’ve tried over the years, so that’s good. That’s most easily seen when you’re in the mapping/navigation mode, and all the trails are super clear and overlaid. I was impressed to see the small trails I was on, were actually visible. And, for the most part, it doesn’t look all that ugly.
And as for the mobile app, I didn’t spend a ton of time using it. I focused most of my time on the glasses themselves. Plus, I’ve gotta save something for later, right?
Going Forward:
At some point down the road I’ll likely dig deeper into the Everysight unit, as well as of course SOLOS too. After all, it’s sitting next to me on the desk and I’ve got one ride under my belt on each.
As for deciding which one is best – that’s a harder decision. At present, I’d say the Everysight has a lead out of the gate, merely because it worked the full duration of my only ride of each, whereas the SOLOS apparently had a permanent disconnect with my phone mid-ride, which in turn meant it becomes mostly useless at that point. Whereas with Everysight there’s built-in GPS, so it keeps on functioning without any dependency on the phone. Both companies have variants of training programs and navigation, and both have audio (though, SOLOS has secondary earbuds too for higher quality sound).
The point being I simply don’t have enough rides on either to make any sort of decision. But I’ll keep pedaling and let ya know at some point down the road. Which isn’t to say I’d recommend purchasing or not purchasing either unit. That too I’m a bit undecided on.
I have zero doubts that at some point down the road heads-up displays will become mainstream. Everysight appears closest to that vision as the display part is invisible to those around you. Whereas with SOLOS it sticks out the front of your glasses like the Terminator. I’m just not sure if either unit is really to the point of replacing my GPS bike computer at this juncture, which is honestly where I think the bar should be. I think both can do the job on paper, but I’m just not sure how I feel about it in practice yet. It’s going to take some more weeks/months with them to see if I can adjust to that.
With that – thanks for reading!
FOUND THIS POST USEFUL? SUPPORT THE SITE!
Hopefully, you found this post useful. The website is really a labor of love, so please consider becoming a DC RAINMAKER Supporter. This gets you an ad-free experience, and access to our (mostly) bi-monthly behind-the-scenes video series of “Shed Talkin’”.
Otherwise, perhaps consider using the below link if shopping on Amazon. As an Amazon Associate, I earn from qualifying purchases. It doesn’t cost you anything extra, but your purchases help support this website a lot. It could simply be buying toilet paper, or this pizza oven we use and love.
I swim, bike and run. Then, I come here and write about my adventures. It’s as simple as that. Most of the time. If you’re new around these parts, here’s the long version of my story.
You'll support the site, and get ad-free DCR! Plus, you'll be more awesome. Click above for all the details. Oh, and you can sign-up for the newsletter here!
Here’s how to save!
Wanna save some cash and support the site? These companies help support the site! With Backcountry.com or Competitive Cyclist with either the coupon code DCRAINMAKER for first time users saving 15% on applicable products.
You can also pick-up tons of gear at REI via these links, which is a long-time supporter as well:
Alternatively, for everything else on the planet, simply buy your goods from Amazon via the link below and I get a tiny bit back as an Amazon Associate. No cost to you, easy as pie!
You can use the above link for any Amazon country and it (should) automatically redirect to your local Amazon site.
While I don't partner with many companies, there's a few that I love, and support the site. Full details!
Want to compare the features of each product, down to the nitty-gritty? No problem, the product comparison data is constantly updated with new products and new features added to old products!
Wanna create comparison chart graphs just like I do for GPS, heart rate, power meters and more? No problem, here's the platform I use - you can too!
Think my written reviews are deep? You should check out my videos. I take things to a whole new level of interactive depth!
Smart Trainers Buyers Guide: Looking at a smart trainer this winter? I cover all the units to buy (and avoid) for indoor training. The good, the bad, and the ugly.
Check out
my weekly podcast - with DesFit, which is packed with both gadget and non-gadget goodness!
Get all your awesome DC Rainmaker gear here!
FAQ’s
I have built an extensive list of my most frequently asked questions. Below are the most popular.
You probably stumbled upon here looking for a review of a sports gadget. If you’re trying to decide which unit to buy – check out my in-depth reviews section. Some reviews are over 60 pages long when printed out, with hundreds of photos! I aim to leave no stone unturned.
I travel a fair bit, both for work and for fun. Here’s a bunch of random trip reports and daily trip-logs that I’ve put together and posted. I’ve sorted it all by world geography, in an attempt to make it easy to figure out where I’ve been.
The most common question I receive outside of the “what’s the best GPS watch for me” variant, are photography-esq based. So in efforts to combat the amount of emails I need to sort through on a daily basis, I’ve complied this “My Photography Gear” post for your curious minds (including drones & action cams!)! It’s a nice break from the day-to-day sports-tech talk, and I hope you get something out of it!
Many readers stumble into my website in search of information on the latest and greatest sports tech products. But at the end of the day, you might just be wondering “What does Ray use when not testing new products?”. So here is the most up to date list of products I like and fit the bill for me and my training needs best! DC Rainmaker 2024 swim, bike, run, and general gear list. But wait, are you a female and feel like these things might not apply to you? If that’s the case (but certainly not saying my choices aren’t good for women), and you just want to see a different gear junkies “picks”, check out The Girl’s Gear Guide too.