I want to start off by first noting just how rare it is that I write an entire post specifically about a single app. I could probably count the number of times I’ve done that in 6 years on one hand. I simply find that most of the good apps out there are already known, and most of the others tend to suck be less awesome.
Nonetheless, I get bombarded with devs wanting me to post about their apps. Many of them believing that a 99 cent redeemable app code will entice me (C’mon, I buy $400 watches to support readers in reviews, I think I can afford 99 cents!).
So, this afternoon while reading through e-mail I saw another app, and almost tossed it into the bin of things I won’t be reviewing. But after poking around the link I was actually surprised – it claimed to do something I hadn’t seen before: Real-time analysis of your bike fit – including angles and distances.
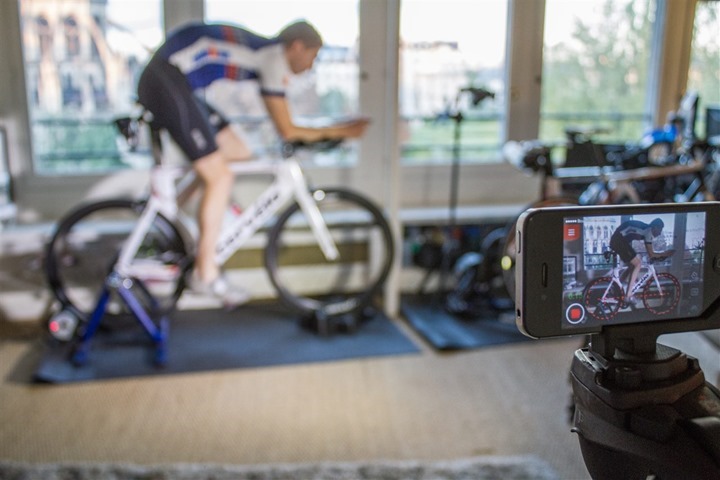
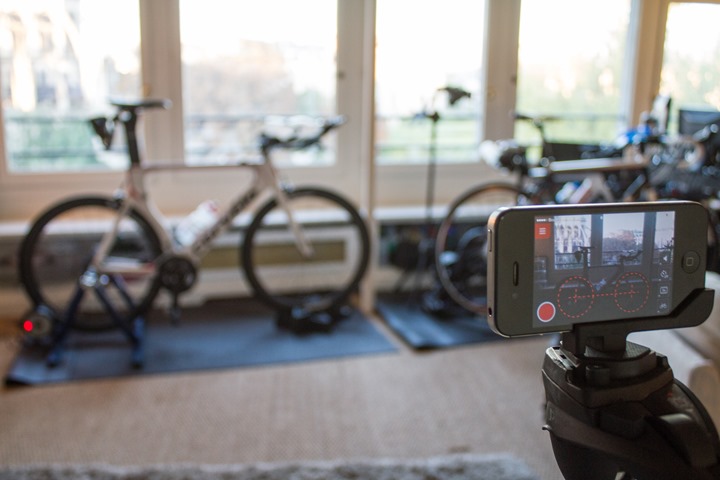
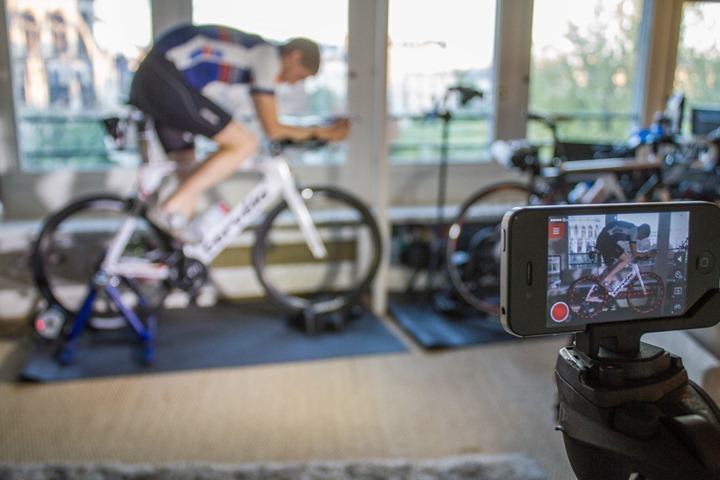
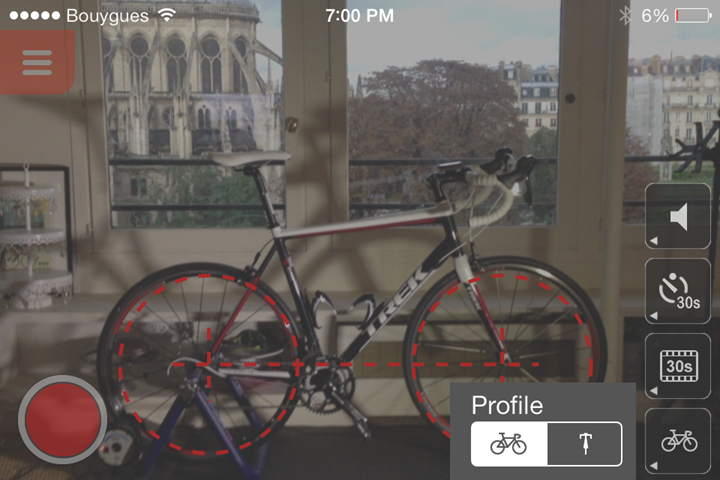
So, I re-arranged my entire living room to try it out. Why did I have to do that you ask? Well, it turns out that in order to get far enough away from my bike to get the full view I had to go about 10 feet away. Or, approximately 1 foot from the wall. In fact, the camera taking this photo was literally up against the wall shooting somewhat blindly.
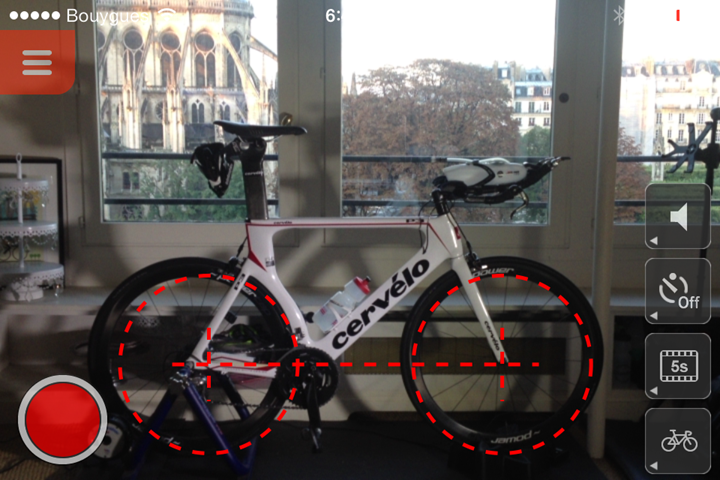
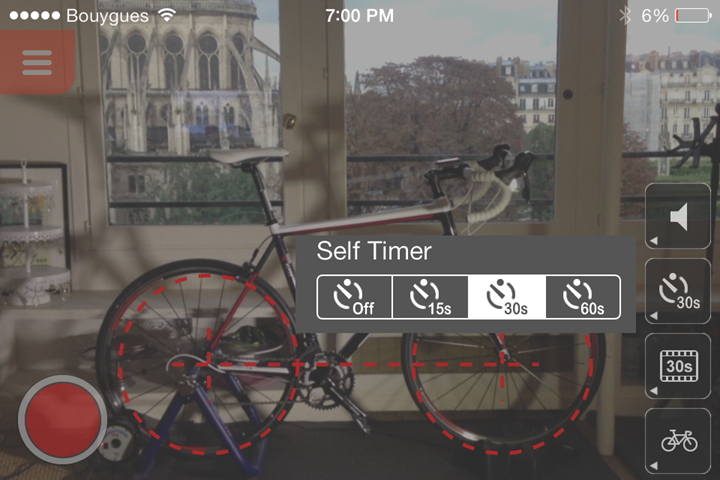
Next, after getting my phone in the right position I cracked open the app and got the wheels lined up using the red circles. It wasn’t quite an exactly perfect fit, but I made it work as best as possible.
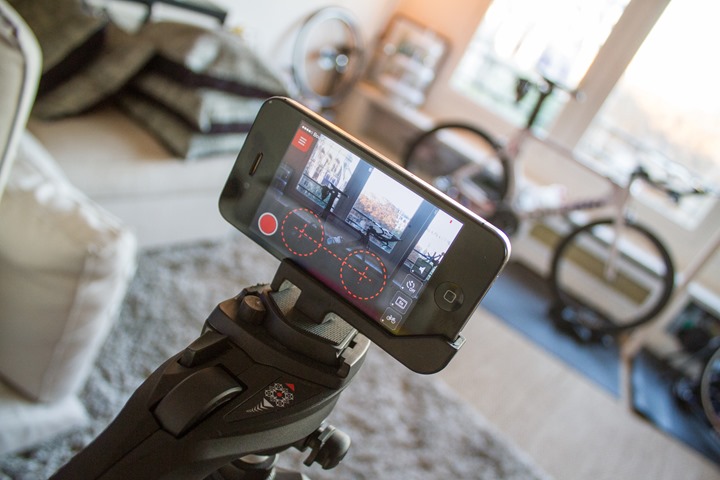
(Update: A few people have asked how I attached the iPhone to the tripod. I use a tiny little adapter you can see there called ‘Glif’, which can also double as a way to keep the phone upright simply on a desk/flat surface (balances it). I always have it in my backpack so if I need to take shots somewhere I can without a tripod.)
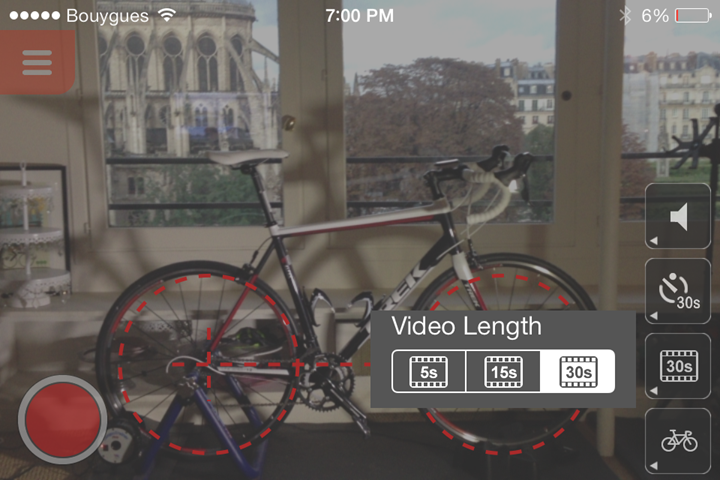
Then, I set the self-timer. You can set how long to wait, as well as how long a video to record. In my case, I went with the 30s for both.
Then, I ran to my bike and pedaled. This part wasn’t terribly exciting.
After pedaling, I went back to the app, and it was ready. At this point you’ve got a drop-down menu of different angles you can have the app spit out at you. These are all common fit angles that are most often used to describe bike positions:
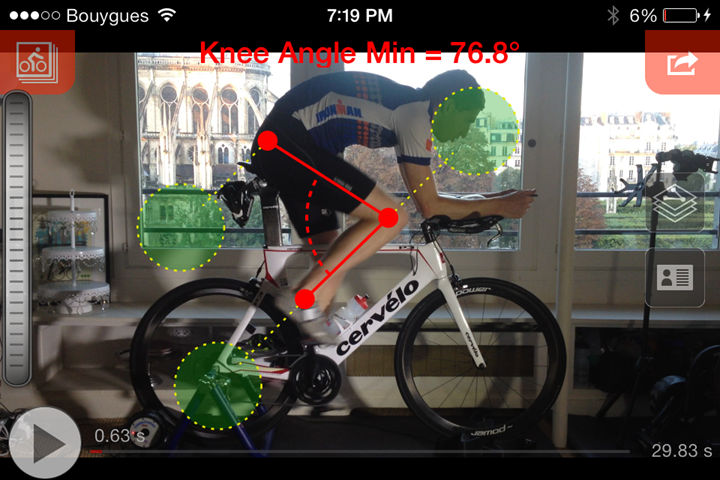
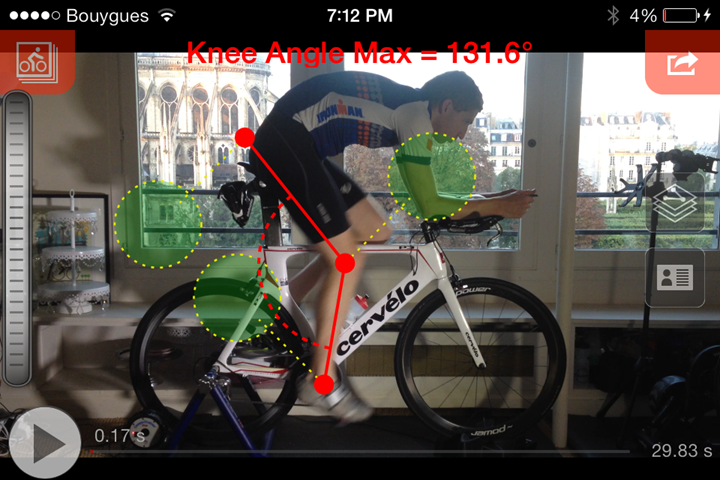
Picking a common one, I then can see what it believes my angles were. In some cases, they’re near perfect:
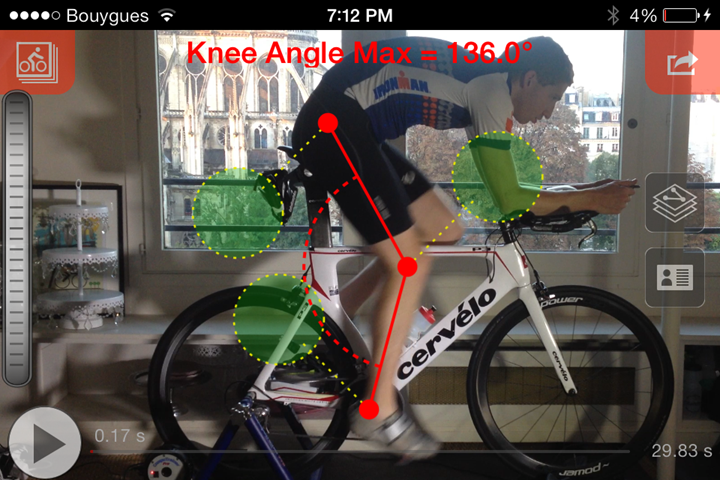
But in others, I may need to adjust them slightly (like where it selects my hip, so I adjusted it):
To adjust them, I highlight the green glowing blob, which moves the piece connected to it. This is moderately brilliant because it means you can actually see what’s being moved – as opposed to having said spot be directly under your finger.
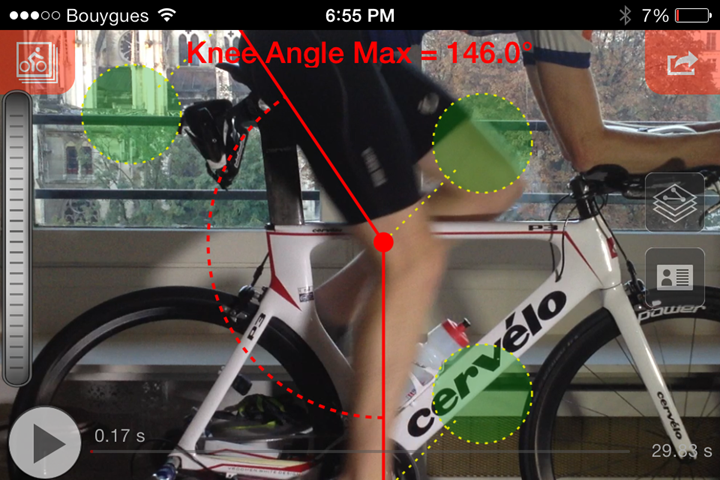
I also zoom in and modify things:
Within the video, I can easily move it frame by frame using the dial on the left hand side – like a scrolling wheel. Again, this works exceptionally well and is a thousand times better than trying to play ‘drag a dot’ on a line.
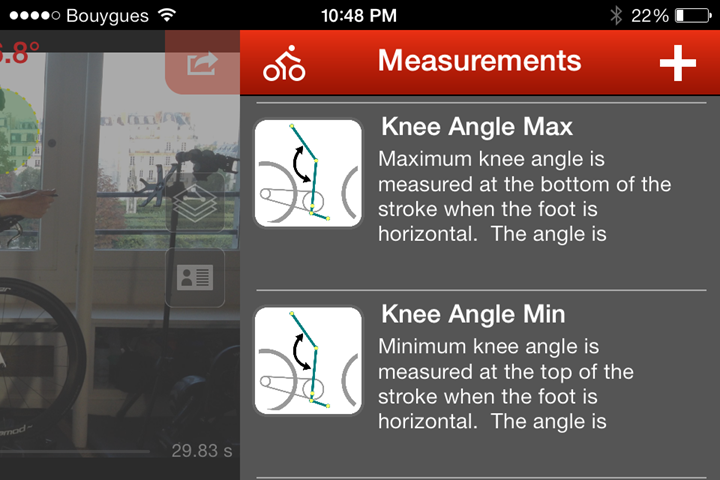
As I add measurements, it’ll tell me about 5-7 paragraphs about each measurement, including general guidance on acceptable ranges. Of course, there can always be exceptions, but this should you understand if you’re in the ballpark:
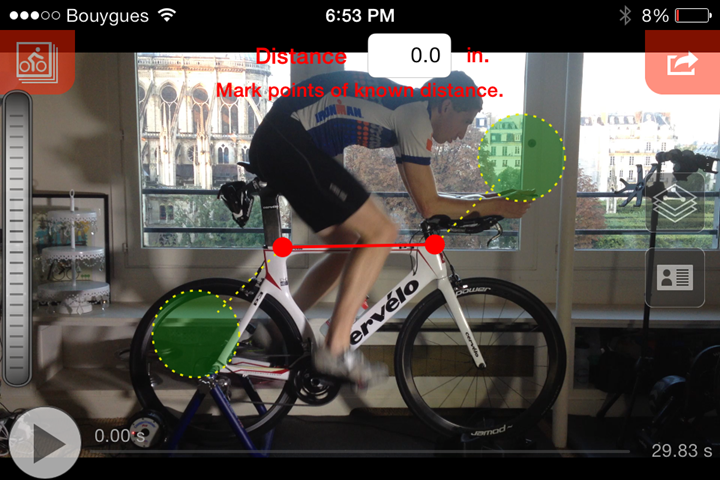
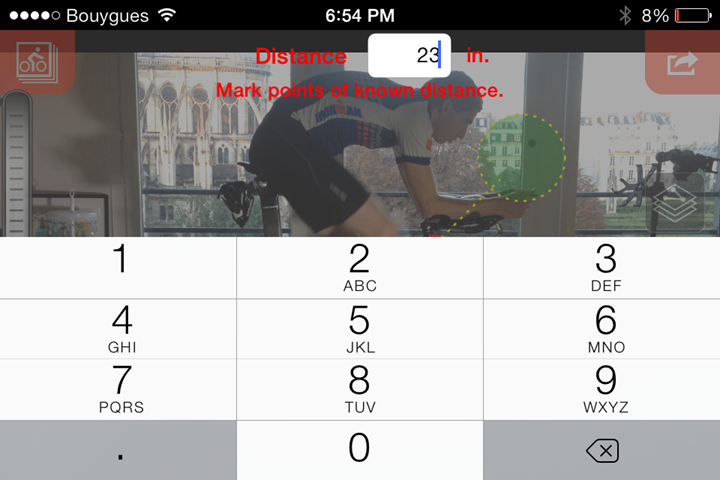
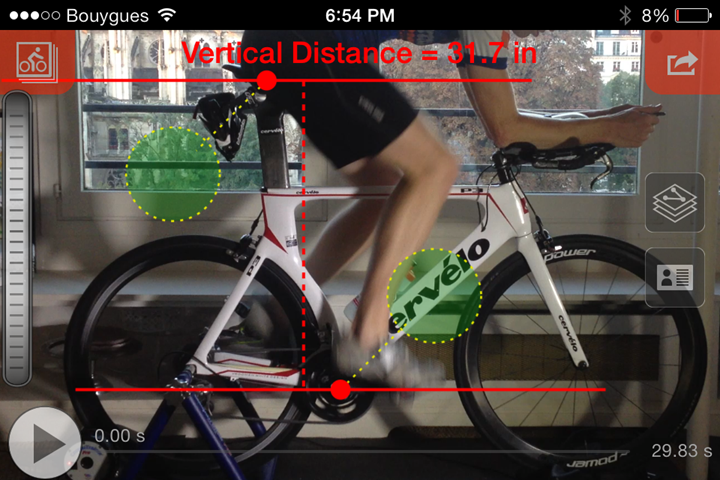
In addition to angles the app can also do distance measurements. All you’ll need to do is tell it some random distance of your choosing on the bike, and the measurement of that distance. So I did that:
Then, from there on out it can measure everything else:
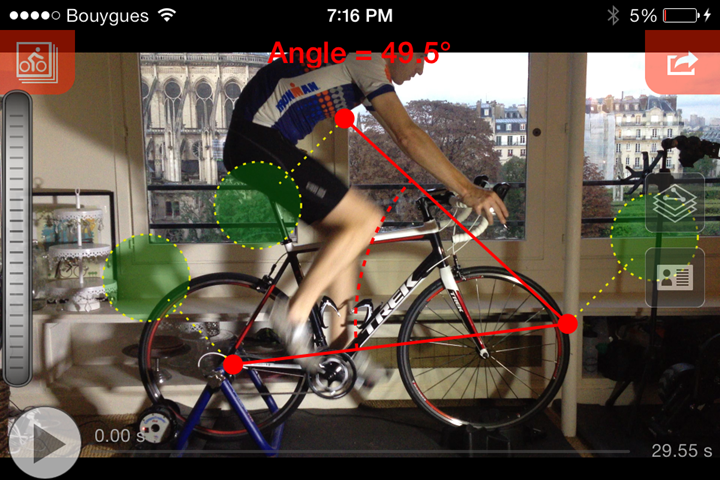
And also do random angles for any three points you’d like – such as this totally useful angle combination I randomly created:
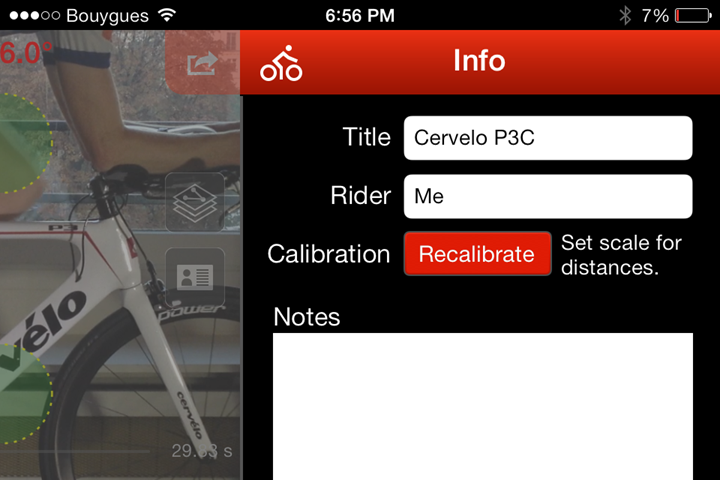
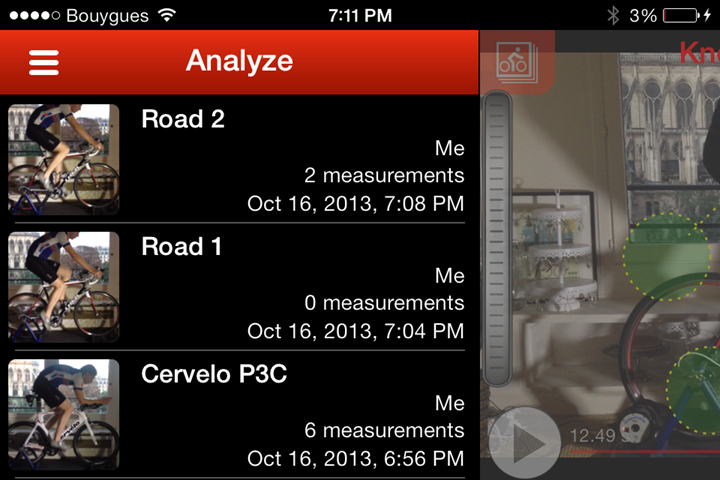
You can save multiple bike profiles and riders and multiple analysis sessions:
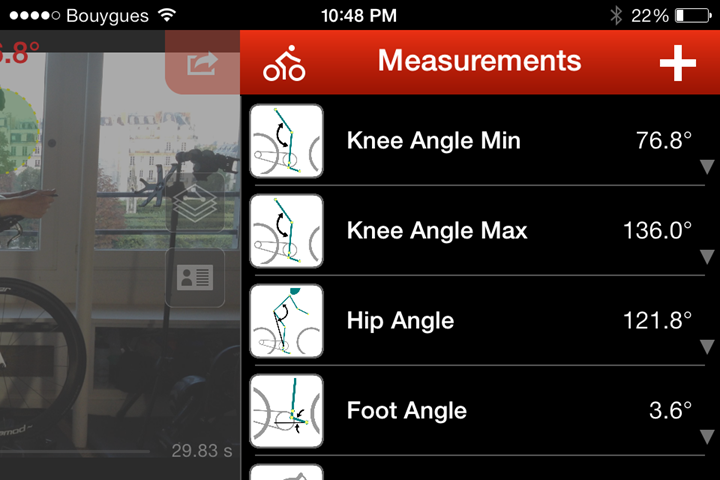
As you ‘add’ measurements in, it’ll list them in a summary page, one after another (it does all the measurements for you – you just validate them):
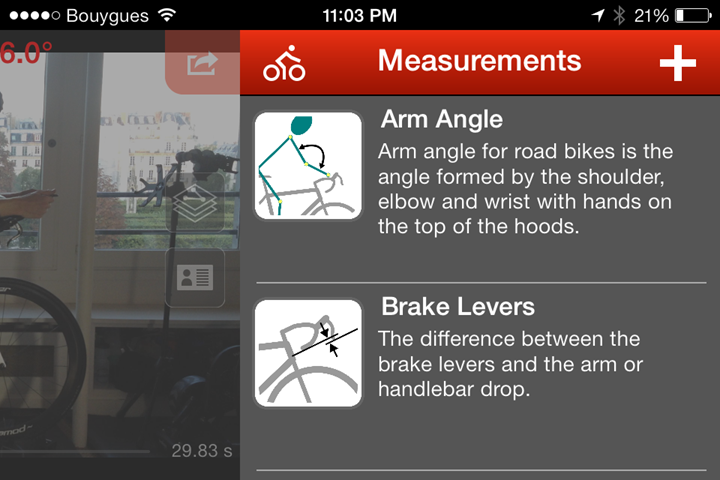
While the app handles hip angles and the like for triathlon/TT bikes, when it comes to measurements around the handlebars, it’s more focused on road bikes:
Additionally, you can also do a front view as well, though I didn’t do that tonight:
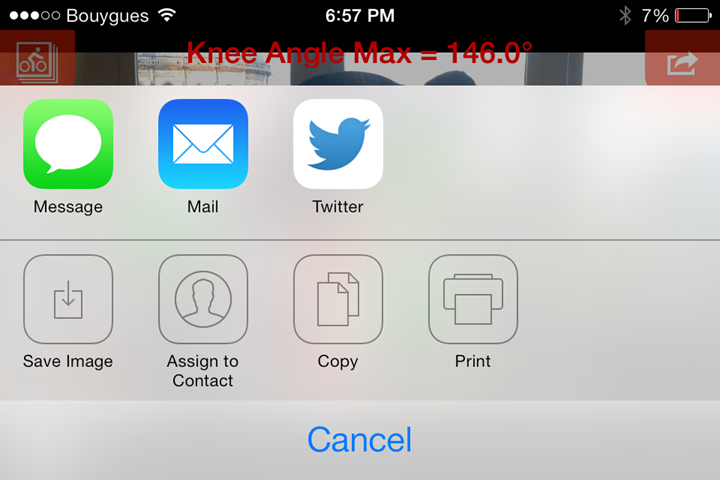
At any point you can simply tap to share a given fit angle and/or measurement. For example tweeted or e-mailed:
Overall, this app is pretty damn cool. Mostly because it’s actually useful – especially for athletes that may not be right next to their coaches and/or fitters and want to poke around at new positions a bit (or validate old ones).
Now, I don’t actually believe this should replace a fit from a proper bike fitter. Really, I don’t. But in many ways this substitutes for the highly expensive Retül system that some fitters have (the computer portion anyway), which uses little placed sticker dots onto the athlete and calculates the same angles. In this app’s case, the app simply recognizes human body parts and does that for you. It would be cool though if you could place little sticker dots (like these) on the correct body part spots (knee/hip/ankle) and have the app pick those up (for higher level accuracy). (Updated note: As pointed out in the comments, you can definitely still do the dots now, which will improve accuracy when it comes to manually adjusting anything you might need to on the screen. Good call!)
I also think it gives an athlete an opportunity to quickly share fit details as needed. For example, when I spent some time at the LA Velodrome back in the spring, in talking with renowned bike fitter Jim Manton, he mentioned a funny story where a well known pro triathlete had come in for a fit. About a month later Jim had seen a race photo of the athlete in a news clip from that weekend. Turns out, while re-assembling the bike after travel things got a bit out of whack.
No doubt that issue could be solved a bunch of different ways (like a tape measure). However, one interesting way would be for a friend to simply take 10 seconds to take a video of the athlete after setting up the bike and ensuring the angles are all the same (since it automatically does all that). The angles could have acted as a quick double-check.
Or, probably more practically it can just be used to quickly see what your own fit angles are, and documenting them.
Now there are a few things I’d like to see however in the app, which I suspect are probably minor adds for the developer:
1) I’d love to be able to upload the videos recorded from the app with the angle information shown in real-time – right now this is all internal to the app (and isn’t put into your camera roll).
2) All of the angle references are listed on the screen as you add them, but I’d like to see that information also transmitted with the e-mail like the photos are. Currently only the angle you’re looking at is included in the e-mail information.
3) I’d like to be able to share the raw video with my coach/fitter so he could tweak the angles as need be in the app. Right now everything happens on my phone. Since my coach lives 3,861 miles away – it’d be great if I could setup the video, include the reference distance (if I wanted) and then let him go to town on looking at angles.
Obviously, there’s lots of things as a non-fitter I’m likely skipping over (both pros and cons), but, as a bit of a bike geek, this caught my eye as fairly useful – especially in a solo person capacity where you’re trying to take your own bike fit angles (obviously, to post on Slowtwitch and be told your seatpost is too low).
At any rate, the app costs $2.99 and works on all Apple iDevices (with an iPad variant).
Thanks for reading!
(Update at 10:15AM EDT: For those asking about Android, the developer has let me know they are working on one, it’s just that they’ve primarily been an iOS development shop in the past so the Android side is taking a bit longer to release.)
FOUND THIS POST USEFUL? SUPPORT THE SITE!
Hopefully, you found this post useful. The website is really a labor of love, so please consider becoming a DC RAINMAKER Supporter. This gets you an ad-free experience, and access to our (mostly) bi-monthly behind-the-scenes video series of “Shed Talkin’”.
Support DCRainMaker - Shop on Amazon
Otherwise, perhaps consider using the below link if shopping on Amazon. As an Amazon Associate, I earn from qualifying purchases. It doesn’t cost you anything extra, but your purchases help support this website a lot. It could simply be buying toilet paper, or this pizza oven we use and love.

