I’ve reviewed a number of scales in the past, but only two of those are still used within the household on a daily basis. I say two, simply because one is in one bathroom, and the other in the other bathroom. Yet, I still have a fairly significant pile of other scales (both connected and old-school).
The first scale you know of is the Withings WiFi Scale, which I’ve been using forever. But the second scale, one I’ve only occasionally mentioned, I’ve been using it since I bought it last September. Oddly enough though, I just never got around to writing up a product review on it. Time to change that!
The scale is officially known as the A&D Medical Lifesource UC-324 ANT+ eHealth Wireless Precision Scale. But, we’re just going to call it the Lifesource scale, because that’s a heck of a lot easier. Of course, A&D makes a few different variants of this scale – in both ANT+ and private wireless version (not WiFi), but I haven’t played with the non-ANT+ version – only the ANT+ version.
Like all my reviews, they tend to be pretty in depth (perhaps overly so) – but that’s just my trademark DC Rainmaker way of doing things. Think of them more like reference guides than quick and easy summaries. I try and cover every conceivable thing you might do with the device and then poke at it a bit more. My goal is to leave no stone unturned – both the good and the bad.
Lastly, at the end of the day keep in mind I’m just like any other regular triathlete out there. I write these reviews because I’m inherently a curious person with a technology background (my day job), and thus I try and be as complete as I can. But, if I’ve missed something or if you spot something that doesn’t quite jive – just let me know and I’ll be happy to get it all sorted out. Also, because the technology world constantly changes, I try and go back and update these reviews as new features and functionality are added – or if bugs are fixed.
With that, let’s get into the unboxing!
Unboxing:
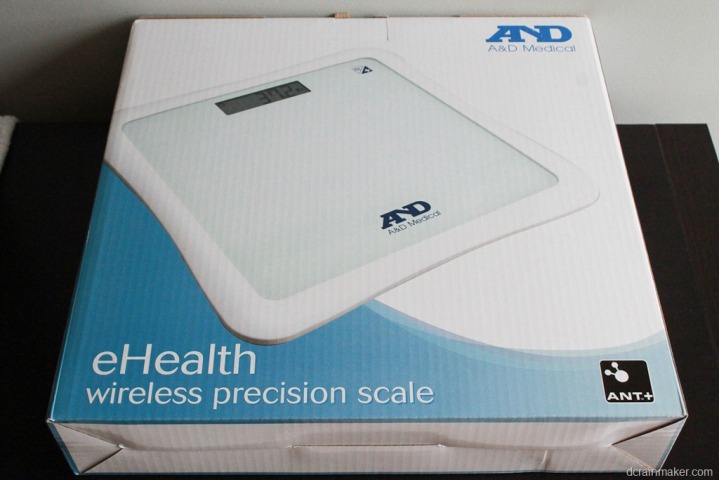
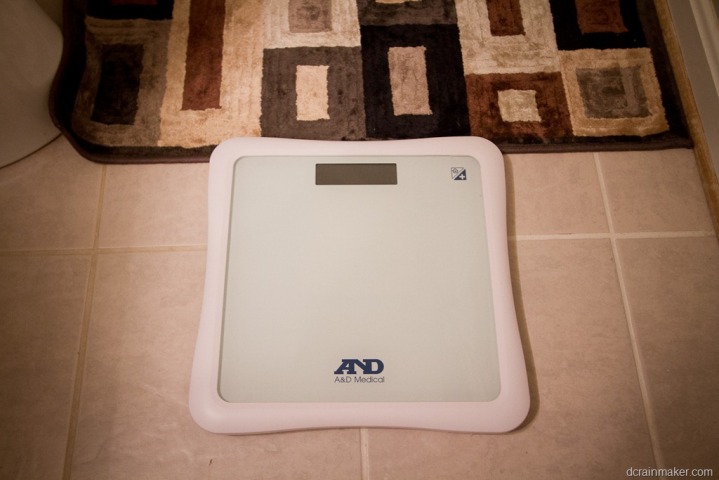
You know what I like about scales? They really don’t have many parts. And thus, I won’t belabor this particular section anymore than I normally belabor unboxing sections. The unit comes in a box roughly the size of a deep dish pizza box (oddly ironic):
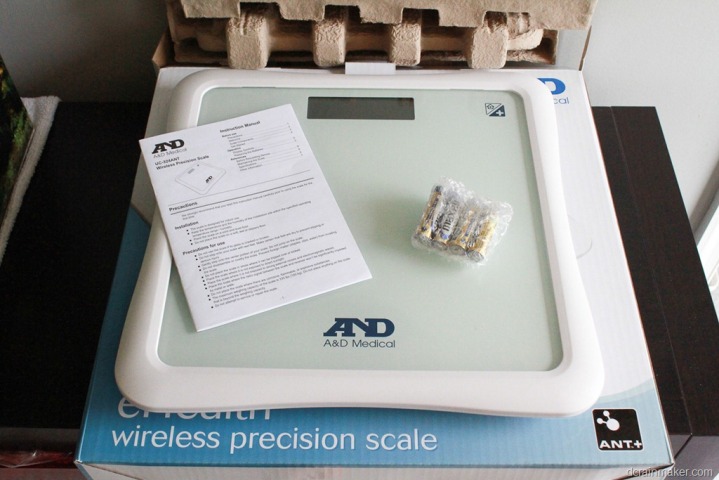
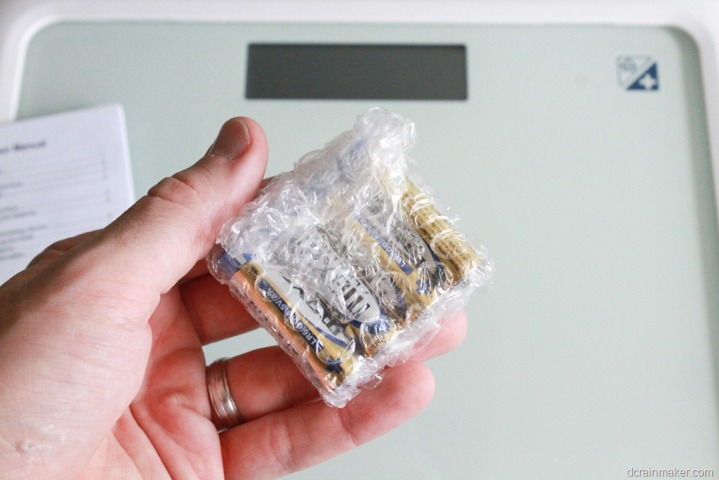
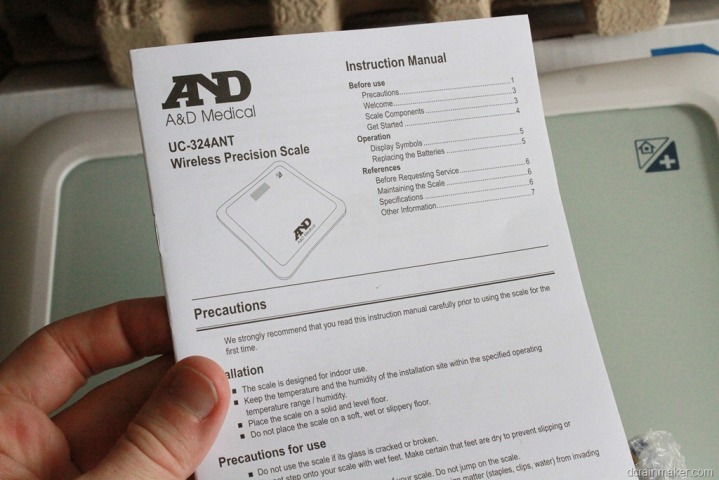
Inside the box you’ll find precisely three things: The scale, some paper, and the AA batteries (Woot, it actually includes them!).
Only two of three of these items you’ll actually need though. The third you can utilize for building paper airplanes. Since it’s a book with a bunch of pages, you’ll actually get a number of paper airplanes out of it. A small fleet really.
With that, you’ve successfully unboxed the scale. Yup, it’s that simple. Let’s get into setup.
Setup:
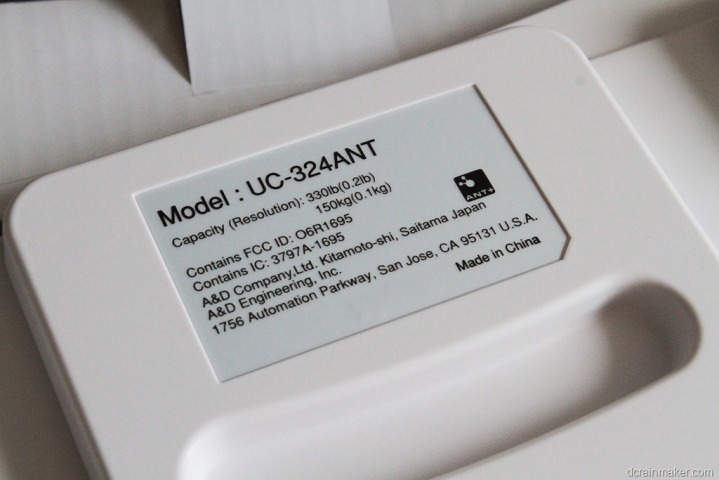
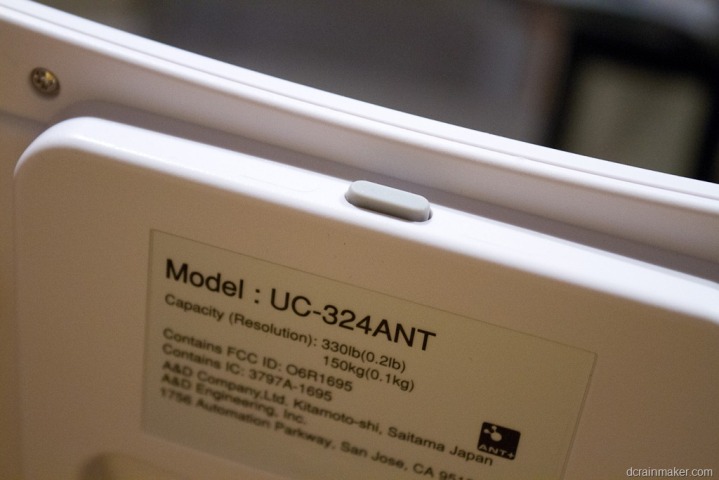
Once you’ve got the scale removed from the box, you’ll simply go ahead and flip it over. At this point, you’ll see the little ID tag on the back with the model information.
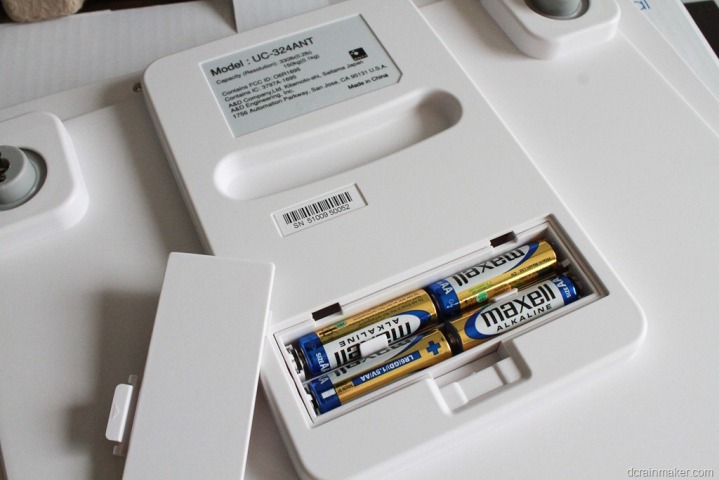
Below the model information is a small not-so-secret compartment where you’ll stash the four AA batteries used to power it. It’s now March – some 6-7 months after I first put those batteries in, and they still work just fine for me.
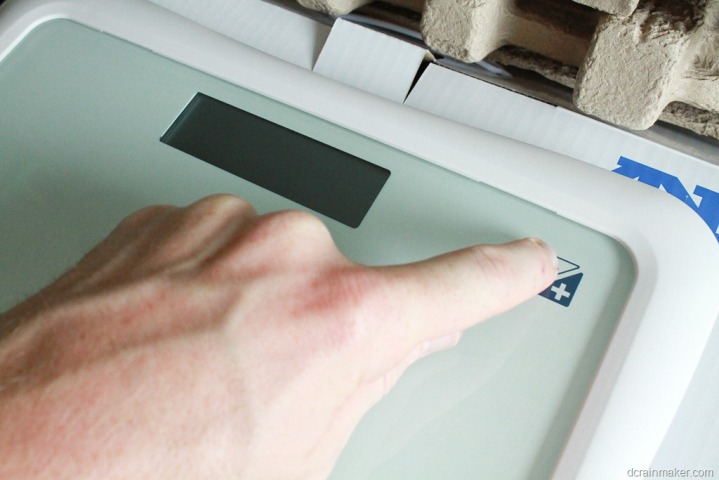
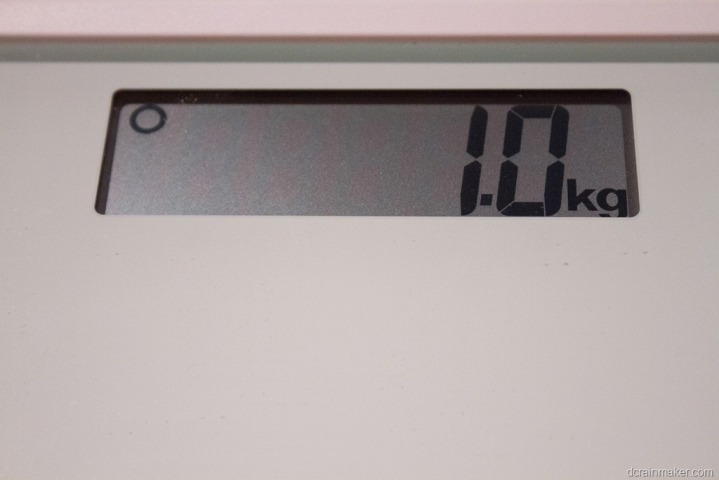
With that, you’ll go ahead and clip the cover back in place and flip the unit over. When you do so you’ll notice that there’s a small button-looking thing on the front, you can see it below:
Ignore this button-looking thing. It does nothing.
Instead, flip it back over and look at the back of the unit near the top and you’ll see a single button. This button has merely one purpose in life: Switching between pounds or kilograms. That’s it.
Once you press it a few times, it’ll change the mode between the two measuring systems.
Beyond that, there are no further configuration items. Because the scale doesn’t measure body fat (just weight), there’s really no need for additional information like height or age.
Connectivity via Garmin watches:
If you’re forking out roughly a $100 for this scale, there’s likely only one reason: Because it integrates with your Garmin Forerunner watch or Edge 800 bike computer. Of course, it also integrates with a few other devices, which I’ll talk about later – but the primary one is really the Garmin Forerunners.
Within the Garmin series, most of the more recent watches include support for connecting to the scale wirelessly via ANT+, including the FR610, FR310XT, FR910XT, FR210, and the Edge 800. It does not support the older FR305, FR405 or even the newer FR410 however.
Pairing with the scale happens wirelessly, and is pretty straight forward. Unlike some models such as the Tanita scales, the order for the Lifesource scales is actually different in that you weigh in first, then the Garmin will receive the data.
To wake up the scale you’ll simply lightly kick it. Note, the manual says ‘tap it’, but really, I’ve found kicking it more effective. Though, technically the manual also says not to ‘kick it’
The manual also includes reference to avoiding exposure to “strong external noises”. I feel I should point out that if you’ve ever been around the bathroom after some good refried beans – I’m pretty sure that would qualify as ‘strong external noises’.
Moving on…
The scale will take about 3-5 seconds to go through an auto-zero procedure. This ensures that you get accurate data each time by zeroing the scale. It’s ideal at this point to not place any objects (including yourself or small animals) on the scale, otherwise it’ll impact the accuracy.
Once done, it’ll beep and you can go ahead and stand on the scale. About 2-4 seconds later, it’ll have correctly recorded your weight.
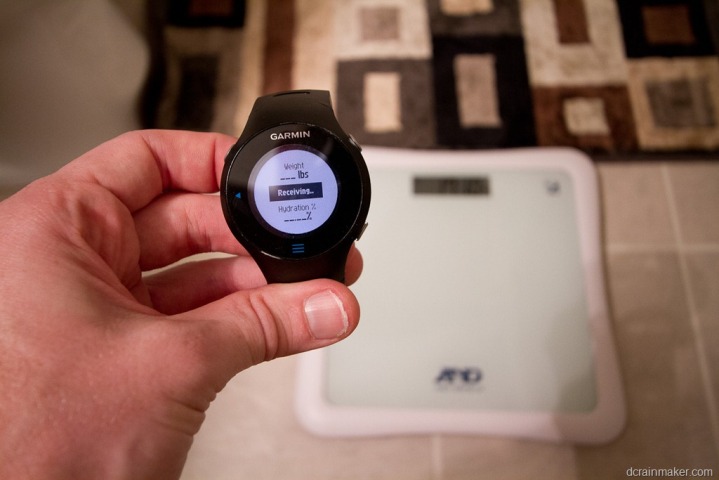
Now to get the weight into your Garmin! To do so you’ll trigger the weight scale search routine on your watch. It varies by watch model, but typically it’s done by pressing the power button lightly once. Note that if you want you can usually start this just after you wake up the scale. Once the watch starts looking, it’ll look just like this:
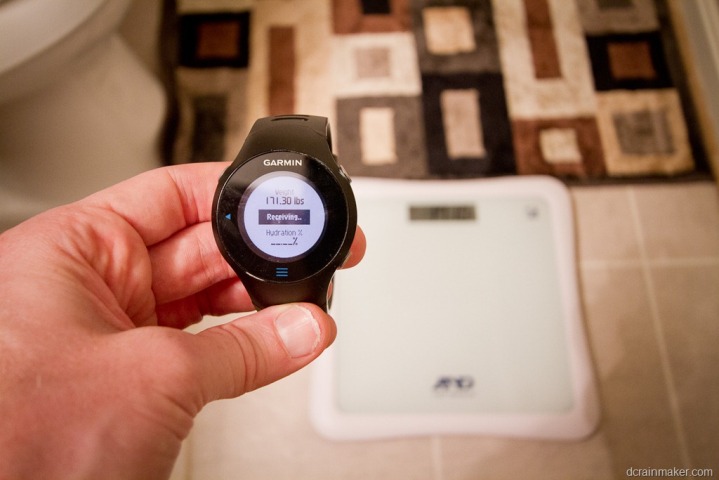
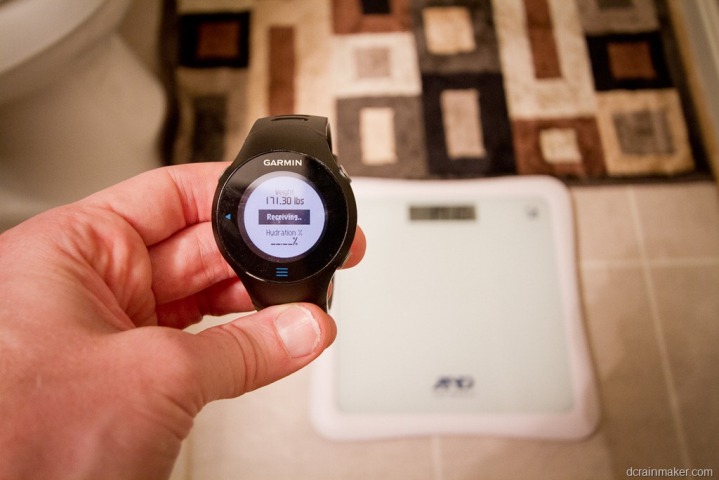
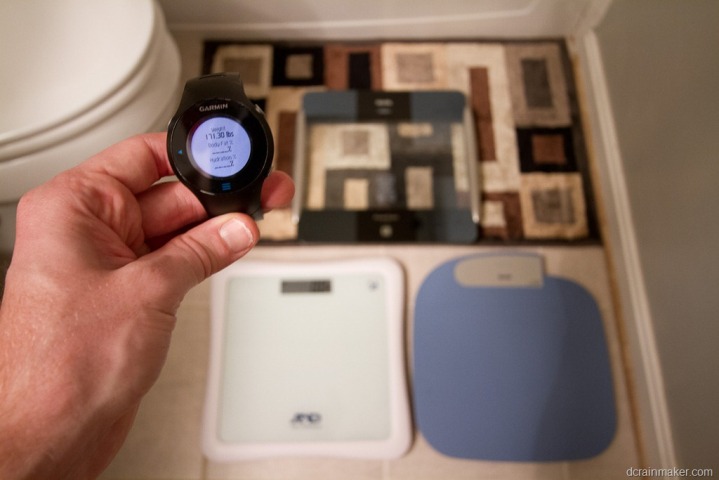
If you’ve already weighed in, it’ll find it pretty quickly – and immediately report back your weight:
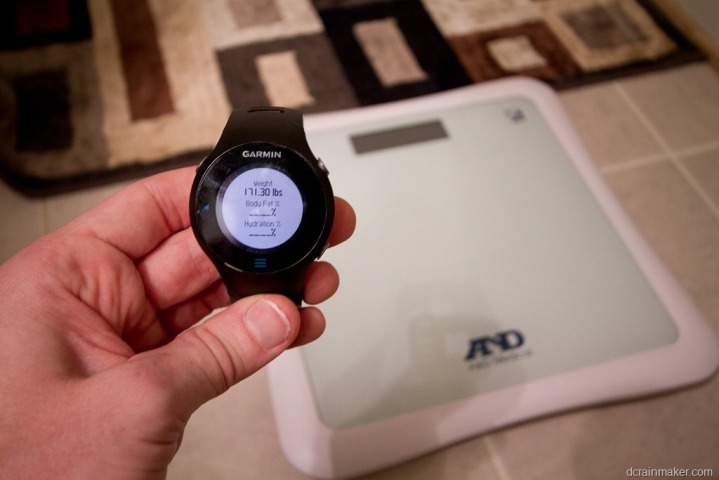
Because the watch is somewhat expecting more information (such as body fat and hydration), it ends to keep displaying ‘Receiving’ for a bit (like above) – but no worries, the data is already recorded. Once it decides the scale isn’t going to present any more information, it’ll look like the below.
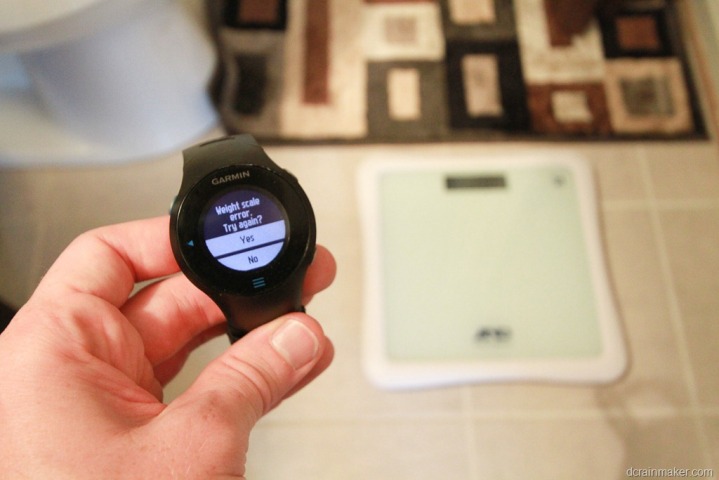
Additionally, if somehow during the process your timing gets off, it’ll show a small error message. Simply start the process over again. But really, this very rarely happens – especially once you’ve done it a few times.
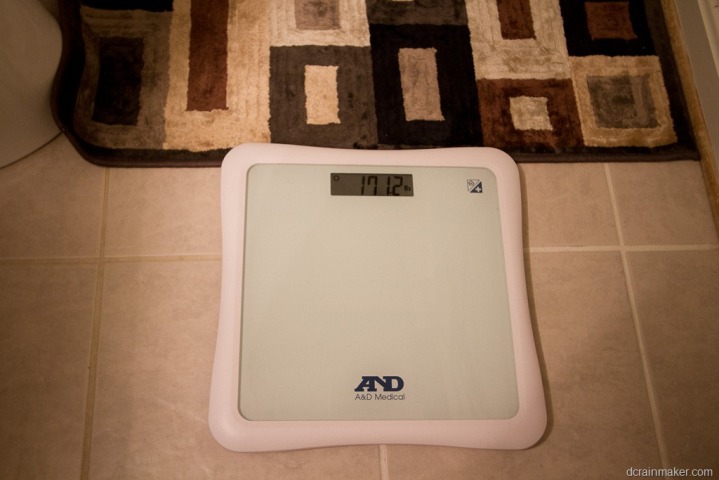
With that, the measurement is recorded to the watch. Note that if you take your weight measurement while the watch is not around, it will NOT store the value for later uploading. It simply displays it and then forgets it. While I do wish it would record it for later, in many ways, the primary reason I prefer this over the Tanita scales is that it simply shows me my weight. I want an LCD, and I want to see my weight – even if my watch isn’t handy, and even if I don’t want it recorded somewhere.
Garmin Connect data display:
Once you’ve taken your measurement, it’s time to go ahead and upload it to Garmin Connect (Garmin’s free online site). This will happen automatically when you use the ANT Agent to wirelessly upload your data. In watches where the ANT Agent isn’t used (i.e. the FR210 or the Edge 800), the data will be embedded into an activity file, which gets uploaded automatically.
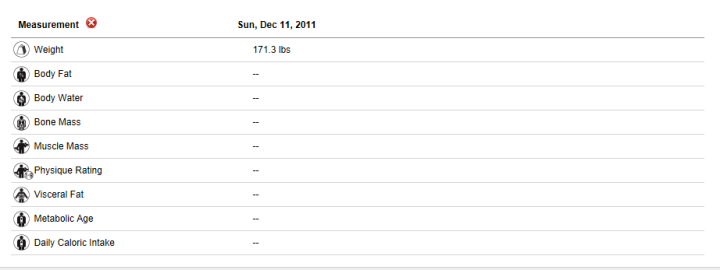
The data will appear on Garmin Connect in the Health area/section, which is essentially a digital locker for health data. Because the Lifesource scale only records weight – you’re really not going to get too much out of all the features and data fields that are normally displayed here, beyond just simple weight:
You do get a small graph which can show your weight changes over time though – in the event you’re looking to track weight trending over a longer period of time.
Also, Garmin Connect did implement the ability to both delete and manually enter a given weight, which is handy when a non-valid value gets in there somehow (not typically a scale issue, but very rarely a Garmin data point recording issue).
Note that at this time, neither Training Peaks nor Sport Tracks support the ANT+ scales (including this Lifesource one), and in fact, I’m not really aware of any other sites that consume the files either.
iPhone & Android Support:
In addition to native Garmin watch support, you can also utilize an iPhone with the Wahoo Fitness dongle to connect to the scale. Though, getting the data to anywhere is dependent on the application you use, but it’s certainly an option.
Further, for those with ANT+ enabled phones (like the Xperia Active), you can use those phones to connect to the weight scale, though, applications to do so are super slim pickins. Basically just the test app to my knowledge.
There isn’t any method (to my knowledge) to connect to the scale using either a Blackberry or Windows Phone due to the lack of ANT+ support on either of those two platforms. Further, the Garmin Fit iPhone Adapter doesn’t really provide any value here either, since it won’t connect to the scale.
ANT+ Scale Options:
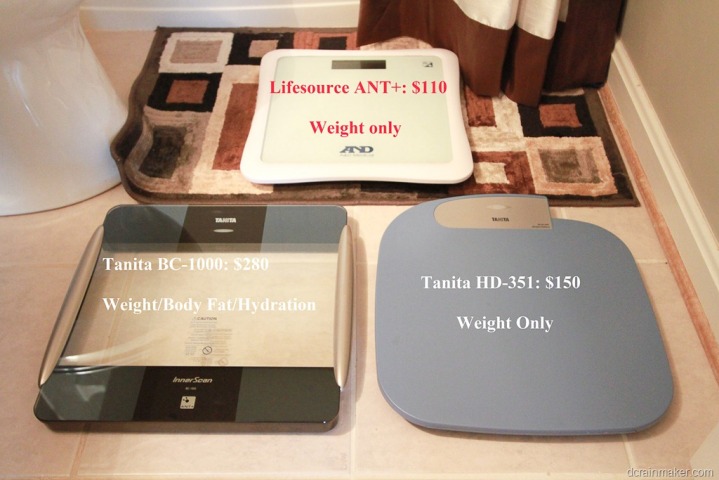
There are essentially three major ANT+ scales on the market today (and a handful of derivatives of these scales). All of these connect to Garmin devices (note, they do not connect at this time to any Timex ANT+ devices).
I’ve previously reviewed the Tanita BC-1000 Weight/Body Fat ANT+ enabled scale, and though I haven’t reviewed the Tanita HD-351 (but do own it), it’s also in the market.
The challenge is that the Tanita HD-351 is between $40-$50 more than the Lifesource scale – but with less functionality. Since it doesn’t have an LCD screen, you always have to have your watch nearby if you want to find out how much you weigh.
In many ways, that’s the primary reason I’ve largely stopped using the more expensive BC-1000 day to day. I simply don’t always have a watch nearby, or don’t feel like turning it on/off. Now, if you’re looking for body fat and hydration, then really, the BC-1000 or the newfangled crazy expensive Tanita BC-1500 is the way to go.
But, note that as I’ve pointed out previously in my BodPod testing series – body fat is a fairly imperfect science. On the flip side, all of the weight scales were spot-on with calibrated weights when it came to simple weight measurement. Meaning, more expensive simply didn’t mean anything.
Summary:
The core benefit to this scale over a cheap $20 one from Target really comes down to tracking and measurement. The scale will assist you in recording that data – either for informational purposes, or because you have a goal weight in mind. It won’t of course lose the weight for you, but as is usually the case, simply recording the weight tends to help folks reach their goals.
When looking at the scale price-wise, it’s the cheapest ANT+ scale on the market today. But it’s also priced just below (depending on how much you pay for it) the $160 Withings WiFi Scale, which is one of my all-time favorites – simply due to the broad integration with tons of companies and sports partners.
So who is this scale for? Well, mostly the individual that wants to have weight data automatically entered into Garmin Connect for them, and wants a mid-priced option to do so. Well, really, there aren’t any cheap options – so technically this makes this the cheap option. The expensive options range into the $500 arena.
As always, thanks for reading, I appreciate it. If you have any questions – feel free to post them below, I try to answer as often as possible. Thanks!
Found this review useful? Here’s how you you can help support future reviews with just a single click! Read on…
Hopefully you found this review useful. At the end of the day, I’m an athlete just like you looking for the most detail possible on a new purchase – so my review is written from the standpoint of how I used the device.
The reviews generally take a lot of hours to put together, so it’s a fair bit of work (and labor of love). As you probably noticed by looking below, I also take time to answer all the questions posted in the comments – and there’s quite a bit of detail in there as well. If you found this review helpful in your purchasing decision, you can support future reviews like this by using any of the Amazon links. If you’re overseas, I’ve got links to all of the major individual country Amazon stores on the sidebar towards the top.
Thanks for reading! And as always, feel free to post comments or questions in the comments section below, I’ll be happy to try and answer them as quickly as possible. Further, you can always e-mail me at the address on the sidebar. And lastly, if you felt this review was useful – I always appreciate feedback in the comments below. Thanks!
Finally, I’ve written up a ton of helpful guides around using most of the major fitness devices, which you may find useful. These guides are all listed on this page here.
FOUND THIS POST USEFUL? SUPPORT THE SITE!
Hopefully, you found this post useful. The website is really a labor of love, so please consider becoming a DC RAINMAKER Supporter. This gets you an ad-free experience, and access to our (mostly) bi-monthly behind-the-scenes video series of “Shed Talkin’”.
Support DCRainMaker - Shop on Amazon
Otherwise, perhaps consider using the below link if shopping on Amazon. As an Amazon Associate, I earn from qualifying purchases. It doesn’t cost you anything extra, but your purchases help support this website a lot. It could simply be buying toilet paper, or this pizza oven we use and love.

