


Today Tacx has announced the Tacx Boost trainer. Err…re-announced the Tacx Boost trainer. It was previously, for the last 9 years, the Tacx Booster trainer. But as part of a consolidation of the budget non-smart trainer offerings, the company has decided to rebrand the Booster as the Boost, and thus the Booster lost its ‘er’. But it gained a speed sensor…mostly.
See, the Tacx Boost is offered as both a standalone unit as well as the new Tacx Boost Bundle, which simply throws in one of Garmin’s newer Speed sensors to attach to your bike. With that speed sensor you can then pair it up to apps like Zwift or TrainerRoad (among many others) to ride in virtual or real worlds. Also, that same speed sensor can be used outside as well.
That said, the Tacx Boost isn’t a smart trainer. It won’t automatically control your resistance, instead, you use a little lever to do that. So if that’s what you’re after, I’d hit up my full trainer recommendations guide. But since trainers these days are a rare commodity, sometimes ya gotta work with what you can find (or, what fits into a budget). Thus, we’ll take a look at it from that angle – to understand where it might work, and where you might want to look at something else.
Note that Tacx/Garmin sent over a media loaner of the trainer to poke at for review. As always, once I’m done with it here, it’ll get shipped back down the street to them. Or someone will just pick it up on their commute home, which is usually how it works. Efficiency and all that. If you found this review useful you can hit up the links at the bottom to support the site, or you can become a DCR Supporter.
Unboxing:

I’m convinced the folks at Tacx probably all have those little snow globes at home and on their desks. Probably even filled with the same packing foam snow that comes with many of their trainers, the Tacx Boost included. While nothing will top GPLAMA’s famed unboxing of the Tacx NEO Bike snow globe, the Tacx Boost left me contemplating ordering a small vacuum for the DCR Cave.

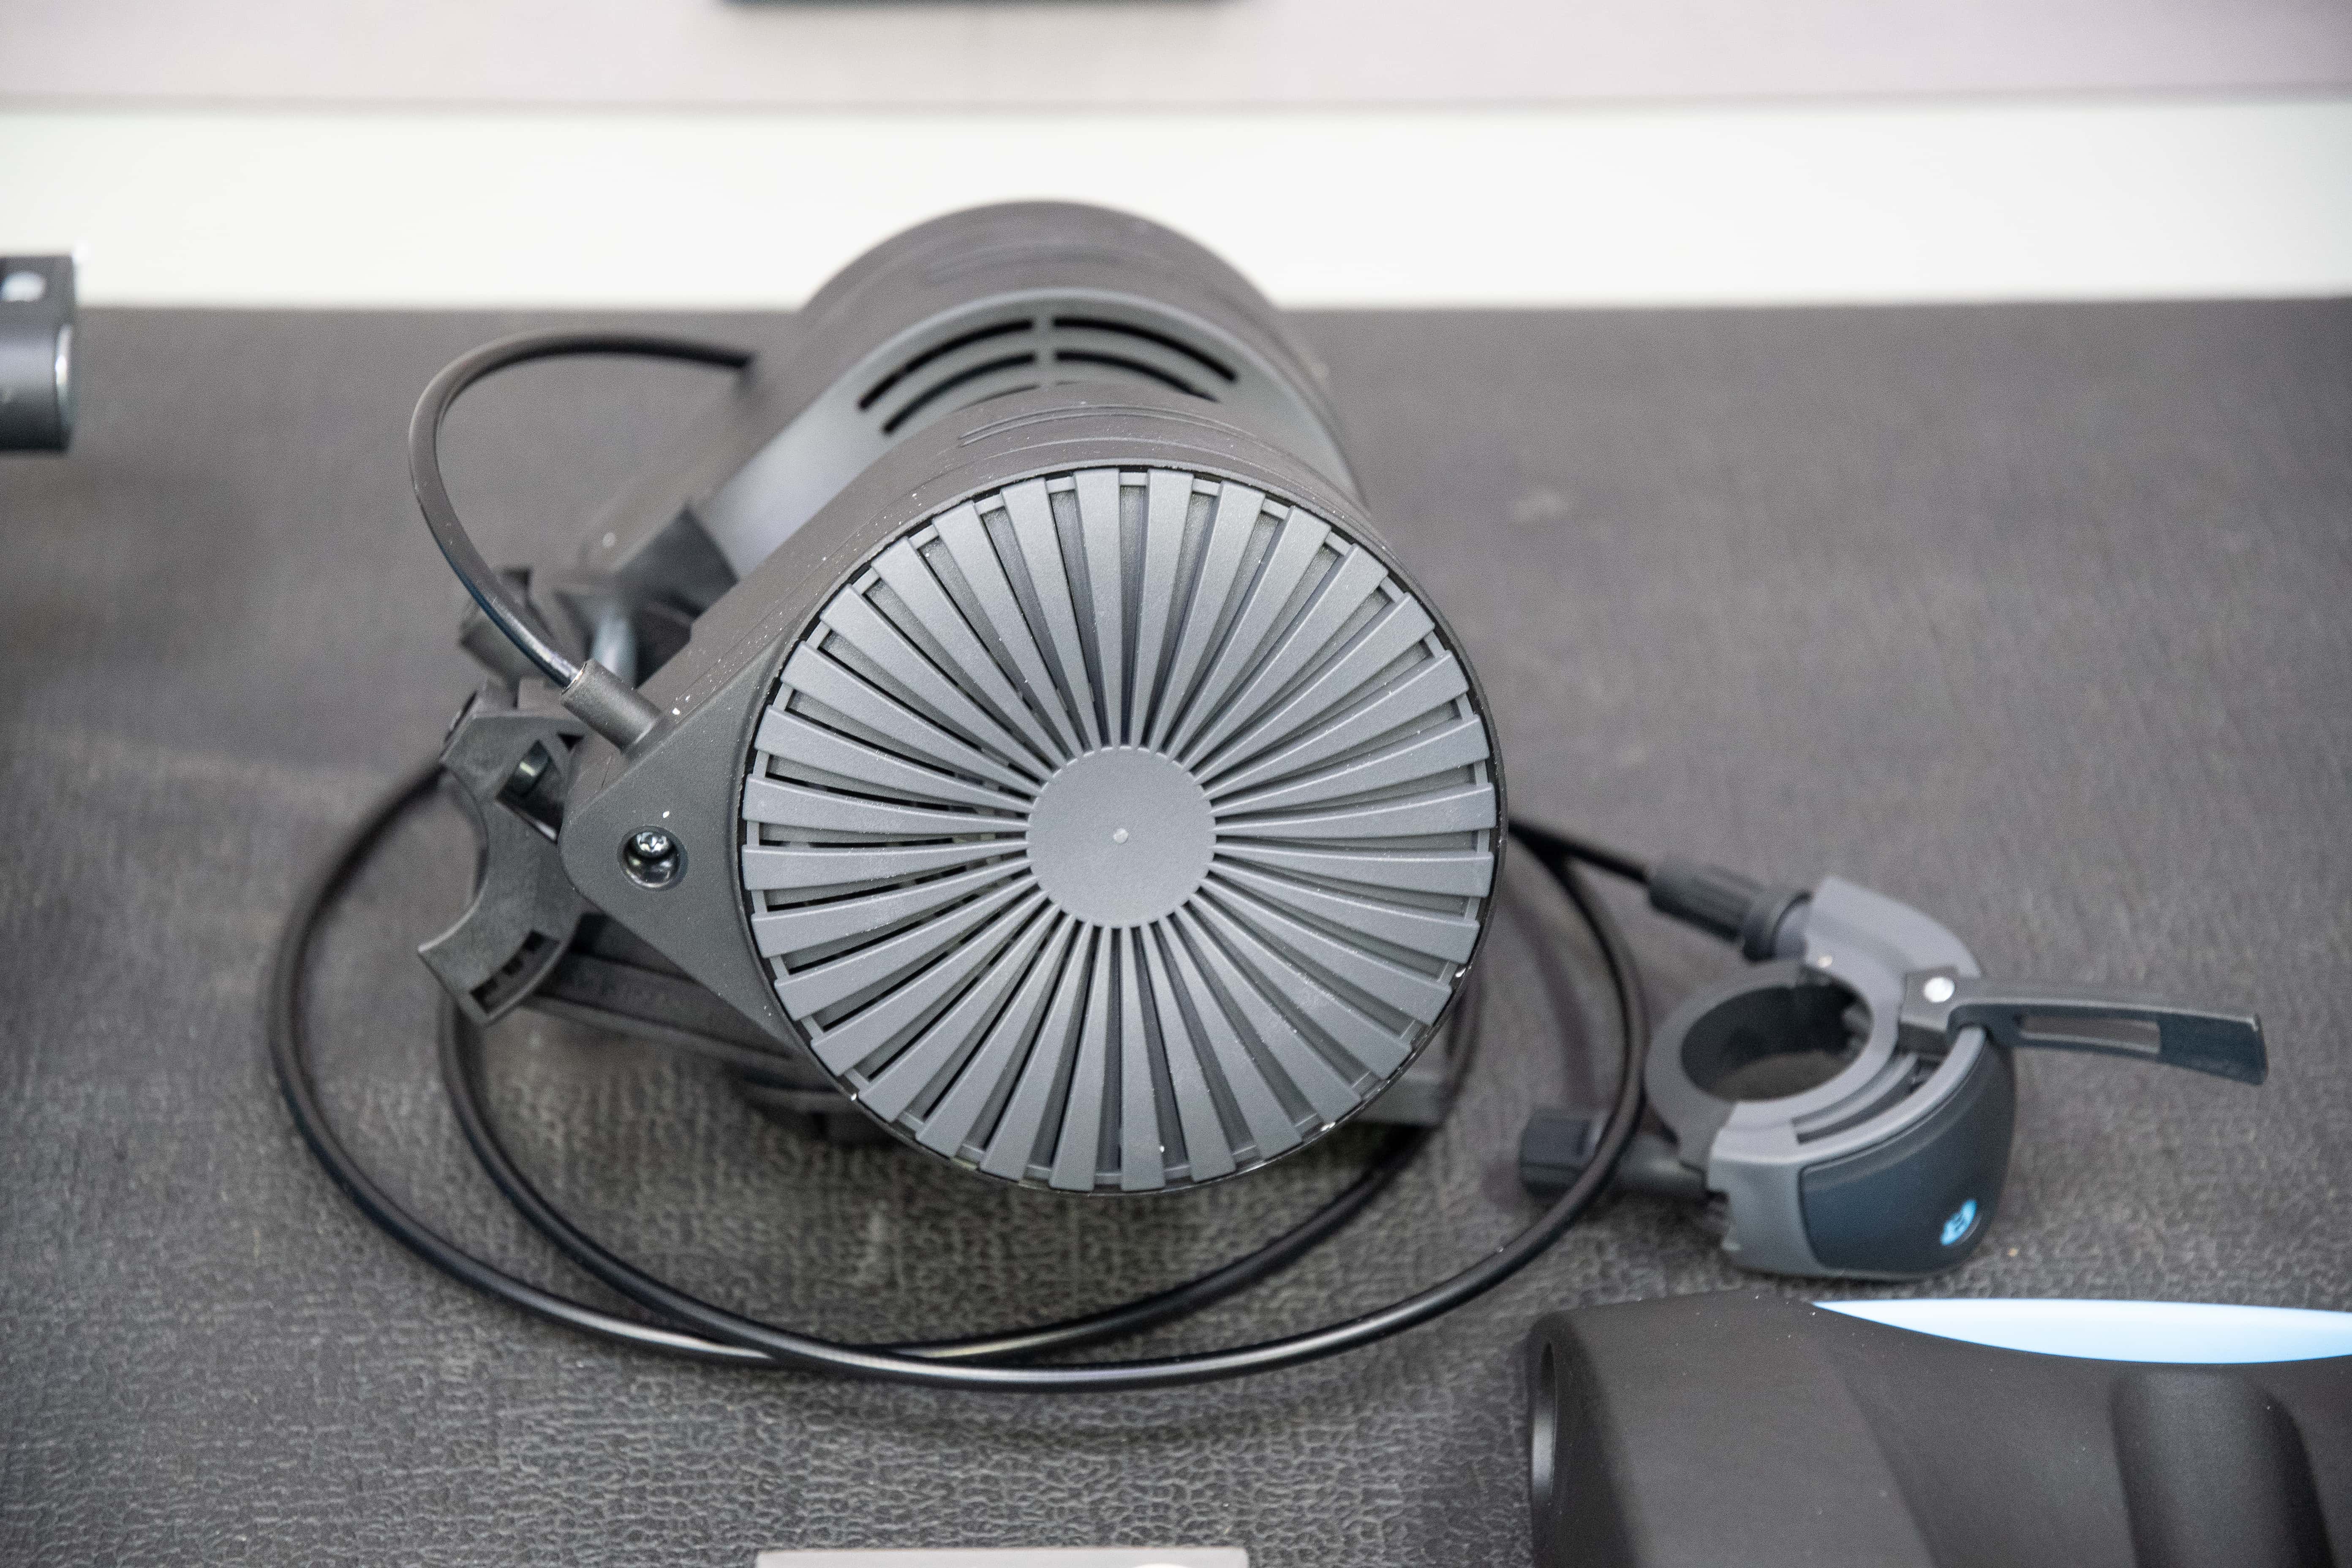
Inside the box you’ll find the frame for the Boost, the Boost resistance unit, as well as a quick release skewer, and a front rider plate. You’ll also find two bolts and an Allen wrench.

Here’s a closer look at that:

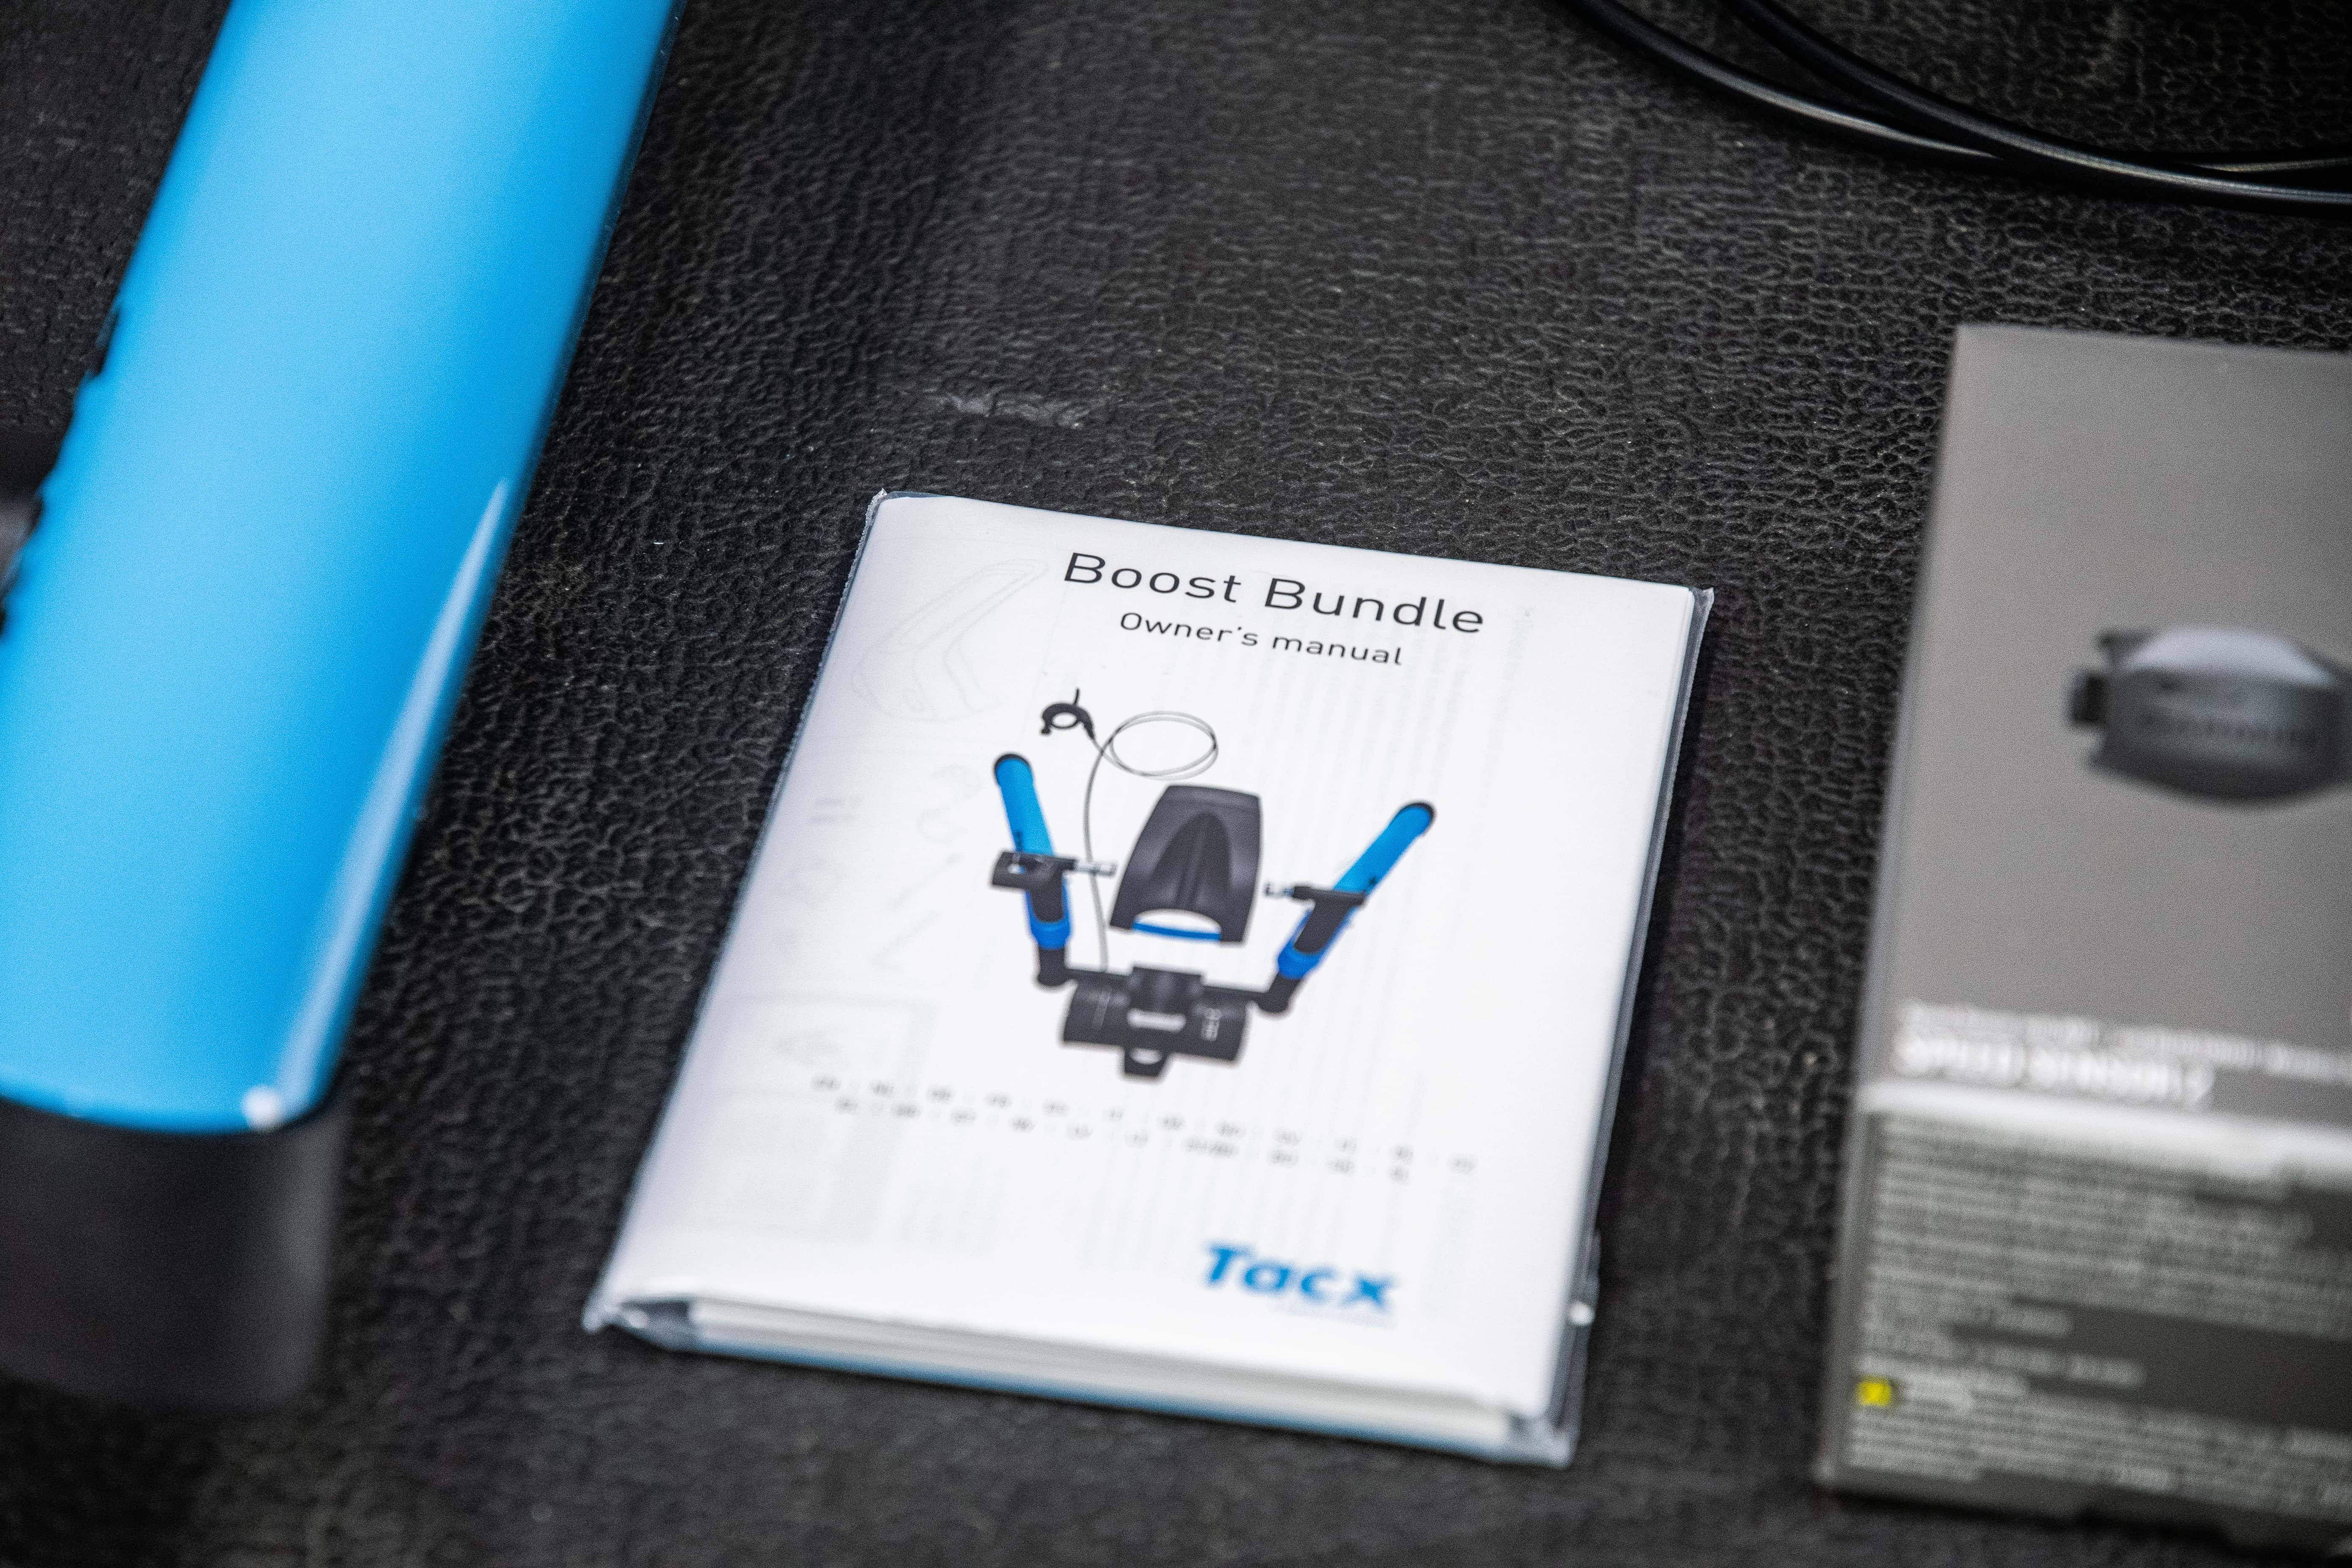
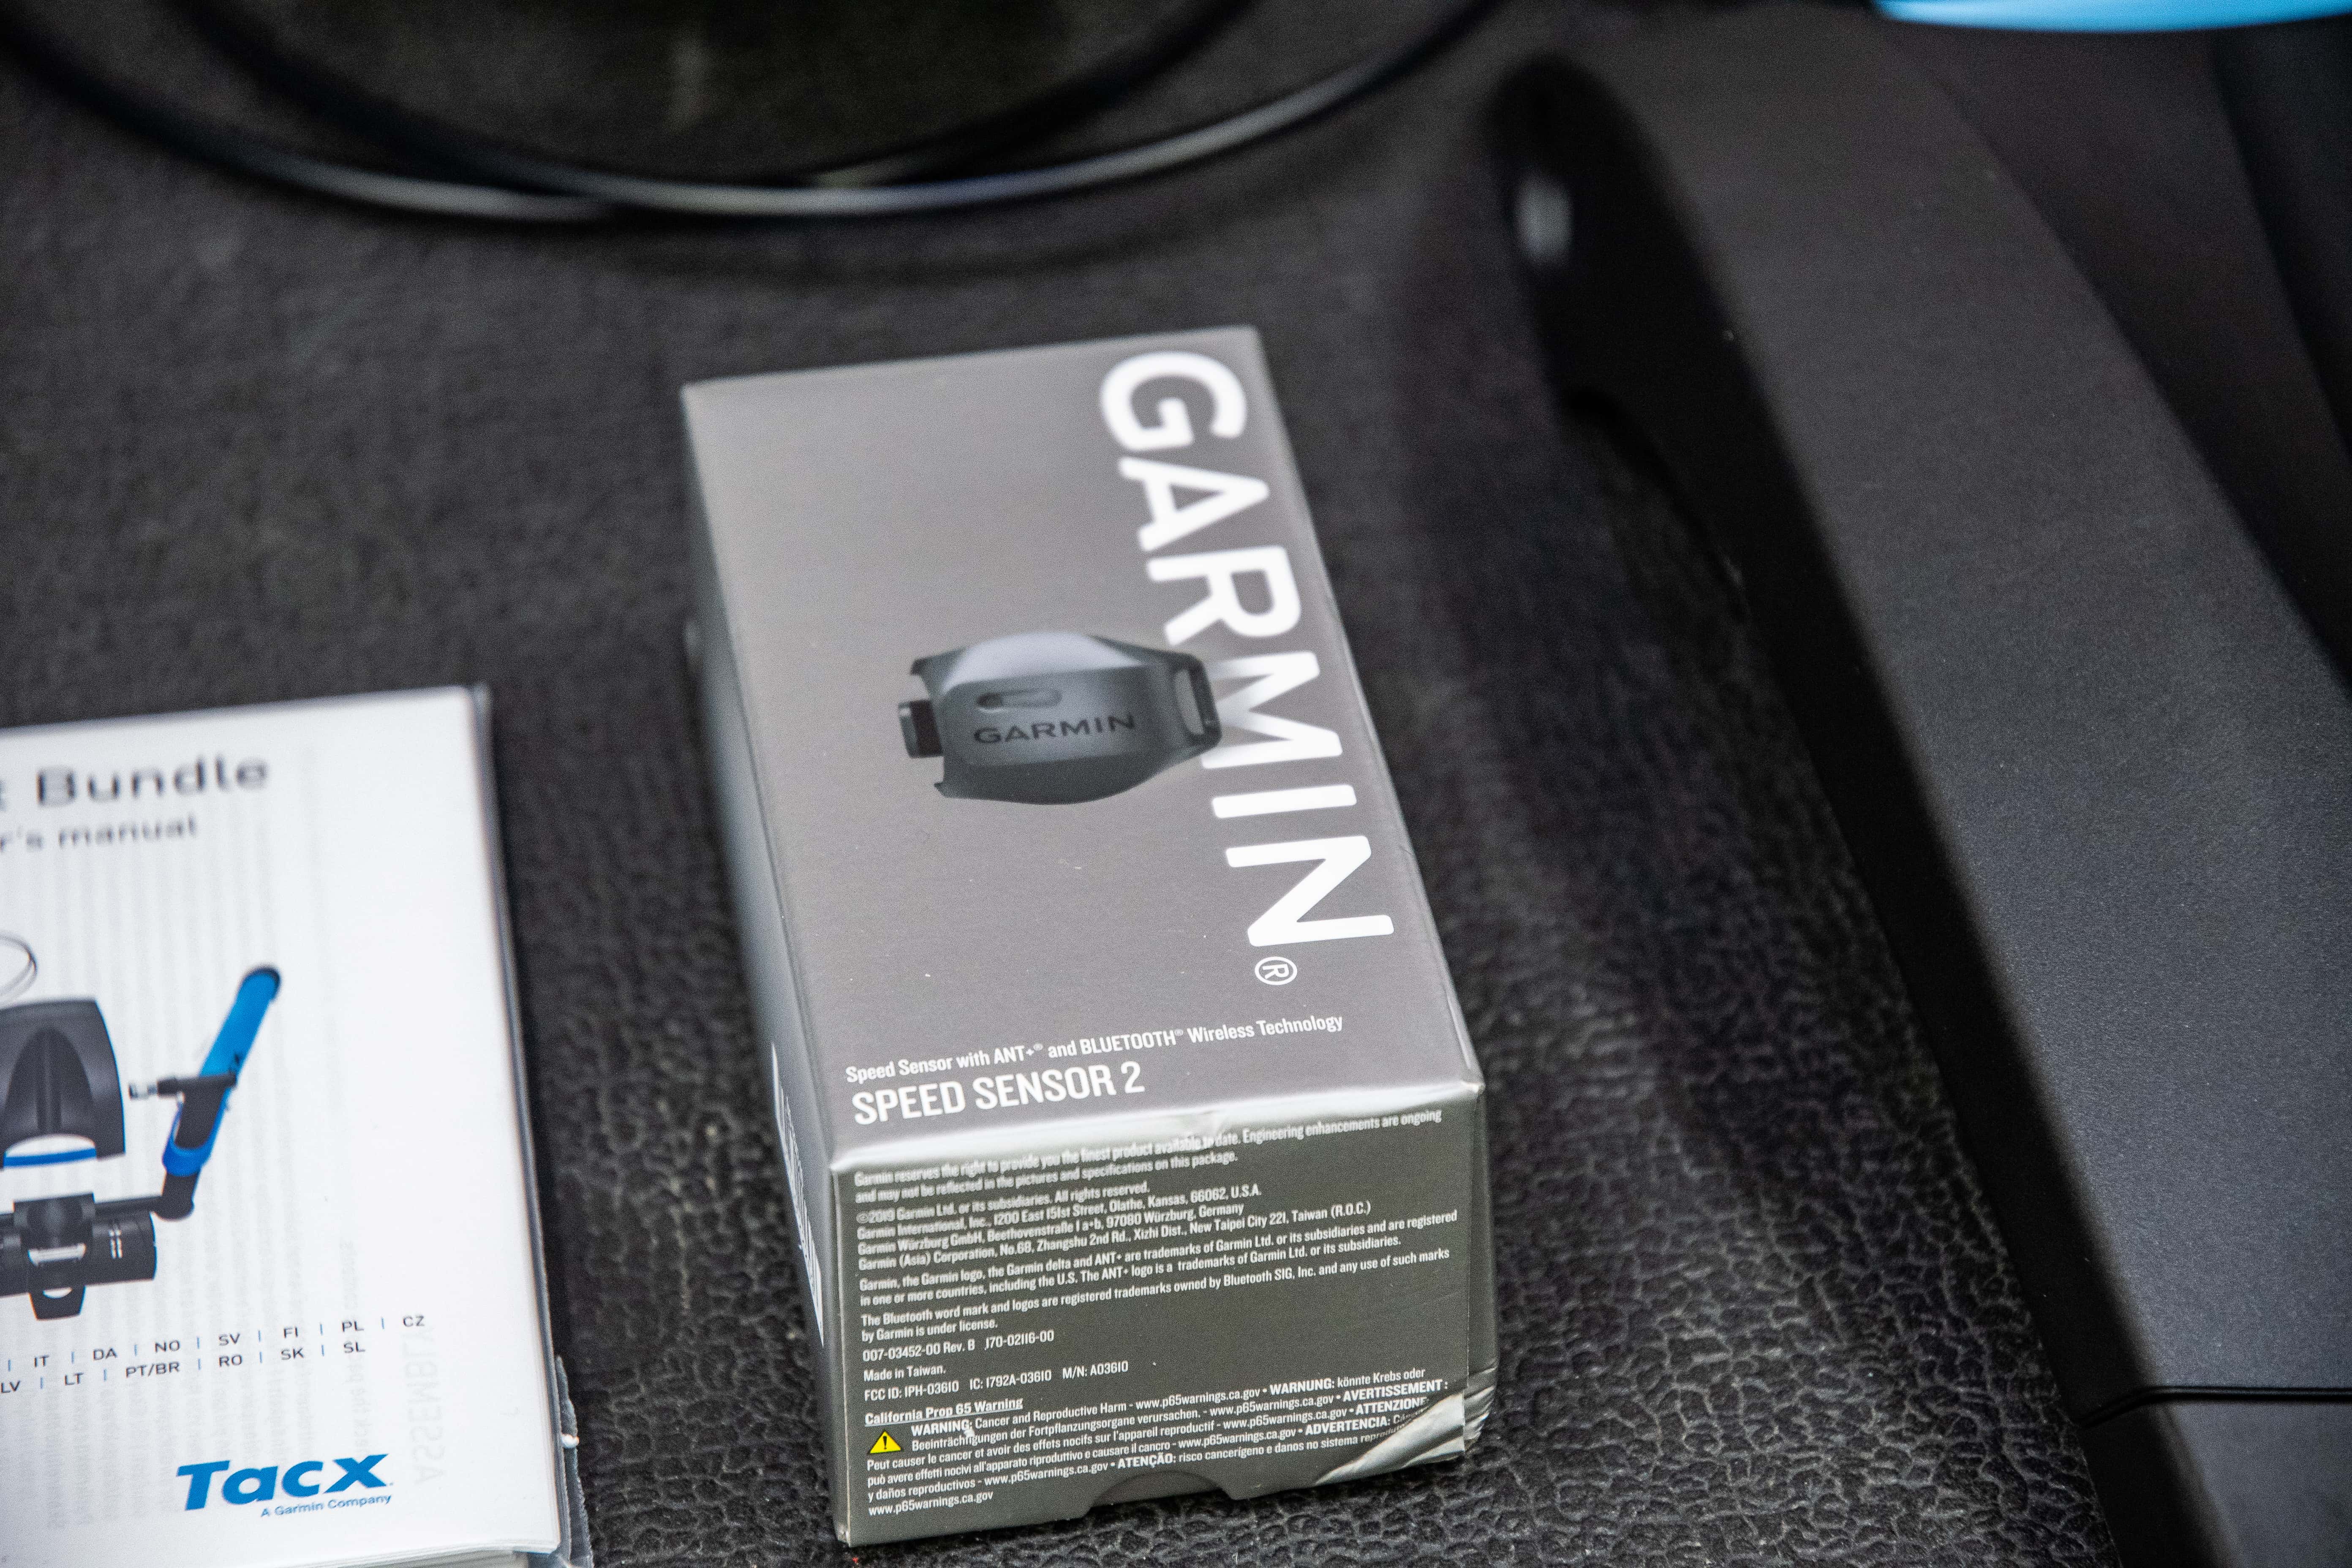
In the case you’ve purchased the Tacx Boost Bundle, then you’ll find that grey box with the Garmin Speed Sensor in it. This is the standard V2 version that includes dual ANT+ & Bluetooth Smart connectivity. For those unfamiliar, Garmin bought Tacx about two years ago, thus, the reason for the Garmin sensor inside.

Also, you’ll find packing snow everywhere:

In my case, the box only had to go about 15 minutes on the highway to me, since it’s made nearby. But I’d imagine the further it travels, the less ideal it becomes. Foam is becoming more and more rare in trainer boxes these days, partly because it’s messy, but also because you can’t really recycle it. Elite, Saris, and Kinetic have all switched to full cardboard. Wahoo hasn’t yet, though their foam manages to keep its pants on (but still isn’t recyclable).
In any case, here’s a closer look at some of the parts:


With that, let’s get into setup and basic usage.
The Basics:

Before we start getting it put together, let’s just do a quick check on specs:
– Price: Trainer only is $299USD, trainer + speed sensor bundle is $329USD
– Wheel-on trainer: meaning, you place your full bike on the trainer versus a direct drive trainer where you take the wheel off
– Manual resistance handlebar lever control – 10 levels
– Max wattage/resistance: 1,050w
– 1.6KG flywheel
– Native 130mm and 135mm quick release support, adapters required for everything else
– Support quick release-style bike wheels natively
– Can connect to apps via the bundled speed sensor (or any speed sensor)
– Power curve in various apps to match speed to power/wattage
As part of the rebranding of the Booster to the Boost, the Blue Motion, Blue Matic, Blue Twist, and Satori Smart trainers will all be discontinued.
First up is getting it put together. Thankfully that’s pretty easy. There’s basically two bolts you’ll need to insert. However, before you go off sticking your screw in any old hole, there’s actually three different ‘levels’ you can choose from. These have nothing to do with intensity, but rather, your wheel size. They essentially increase or decrease the distance between the wheel and the resistance unit, which in turn will give proper resistance.

You can see these slots on the bottom of the resistance unit:

Once you’ve decided which slot to use, then go ahead and place the resistance unit on the back of the trainer. and stick the plastic cover on:

Then slide the screws in and tighten. Quick and easy.
If you bought the Tacx Boost Bundle, then you’ll want to stick that wheel sensor on your rear wheel. The rear wheel is required because if you put it on the front wheel, then the wheel won’t spin while indoors. I mean, it shouldn’t spin. If it does spin, then something is going horrifically wrong and you’re probably en route to crashing into your TV or already through it.

Take the sensor and wrap the band around your rear hub, like so:

Next, you’ll want to attach the small resistance lever to your handlebars. Simply run the cable along the ground next to your bike. The cable is protected in a stiff housing, so it’s pretty unlikely to manage to get caught in your wheel somehow. You can see it along the left side of my bike on the ground.

This is how you control resistance on the Tacx Boost. It’s a simple numerical system from 1 to 10, however, as you pedal faster and increase the wheel speed – that also adds resistance too, so it’s not quite a linear 10-step thing. Same goes for changing your gearing. We’ll get into this in more detail later on.

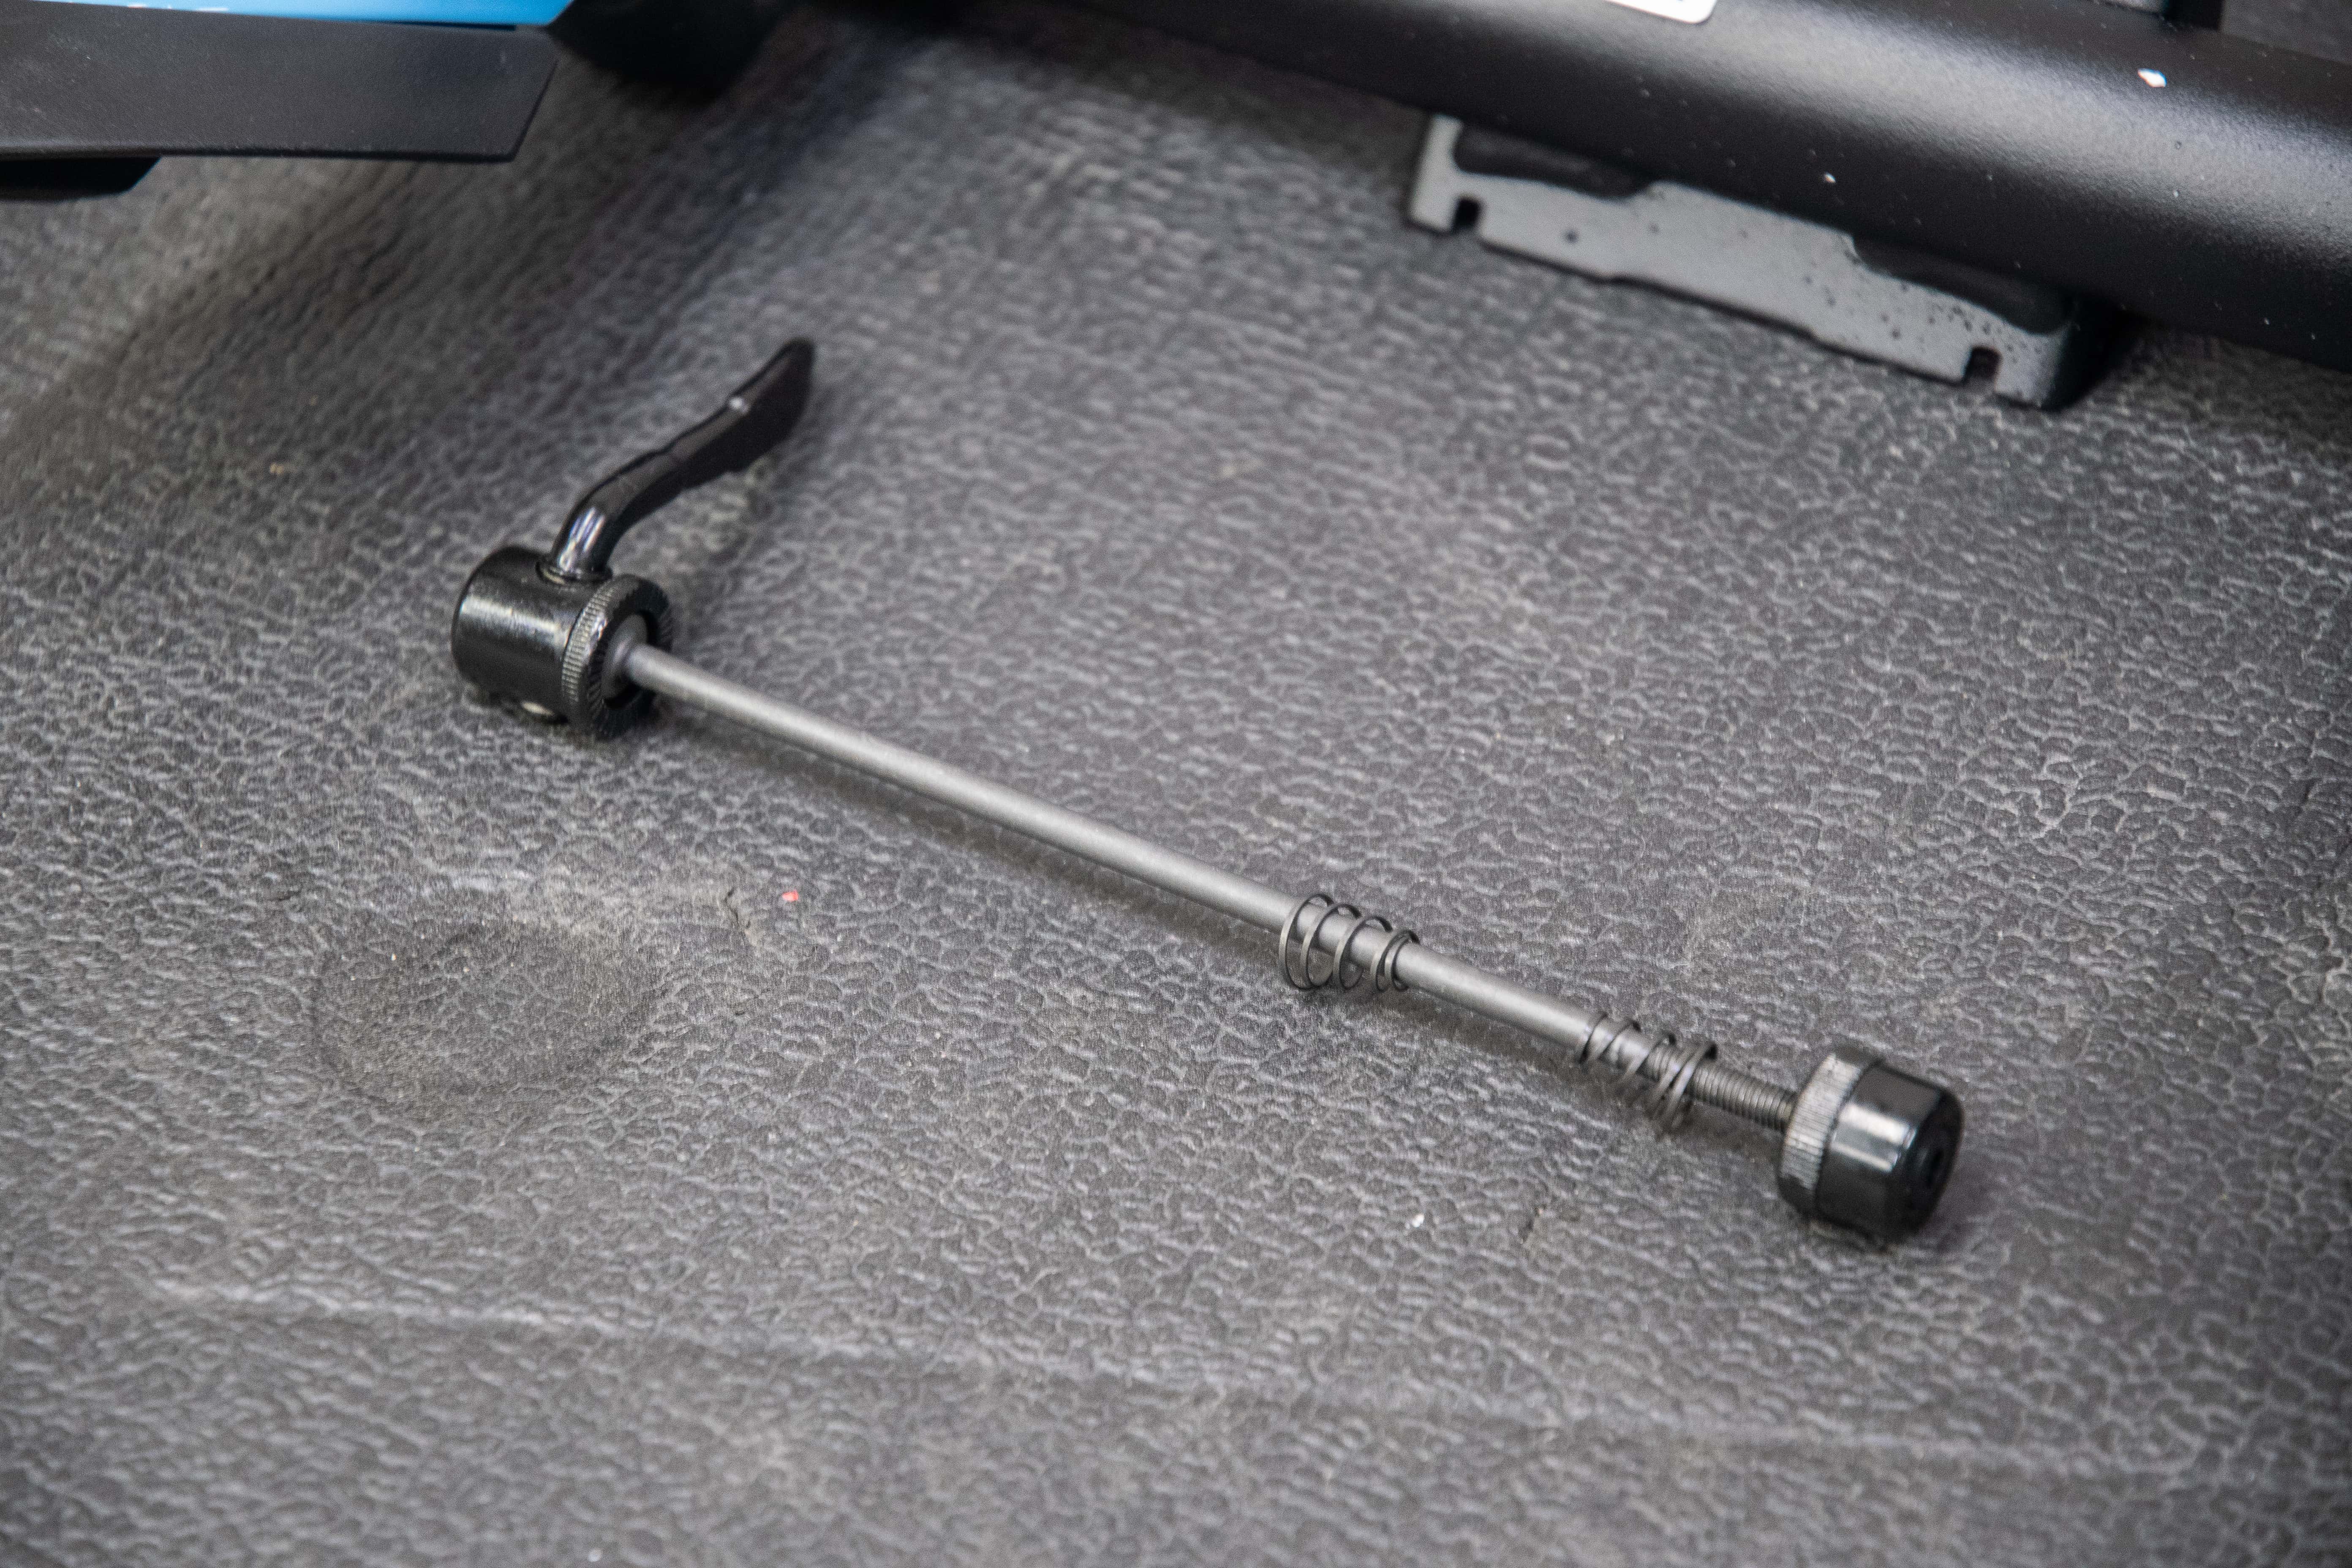
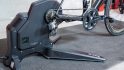
Finally, you’ll need to place your bike on the trainer. The trainer came with this quick release skewer:

You’ll need to stick it in your bike, replacing the existing one. That’s because more than likely the skewer on your bike is plastic, or shaped weird. Plastic ones will snap under your weight when held up by the trainer. And weird-shaped ones won’t hold correctly. Fear not though, you can ride with this trainer skewer outdoors just fine. That’s what I’ve been doing for the better part of a decade. Most people don’t bother to change skewers, except perhaps all but the most important of races where you want a few grams of weight savings.

One problem here though is that Tacx didn’t include a thru-axle skewer/adapter here. And these days, many budget bikes – especially budget mountain bikes – are coming with thru-axle as the default. This isn’t 2012 anymore. Given the margins on this trainer are probably insane already, it seems a bit weird to not include adapters needed for people just getting into indoor cycling. So if your bike has a thru-axle, you’ll want to consider what adapters you need before you buy the Tacx Boost.
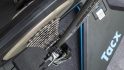
Once your wheel is attached, you’ll adjust the small wheel/knob at the back to the right position before flipping the lever up. This ensures proper resistance:

I find this wheel annoying AF to adjust, since it’s in the worst possible place. The good news is that you’ll only need to adjust it once, and then as long as you pump up your tire to the same pressure each time, it’ll be the same each time. Tacx recommends 8-bar/116PSI.

Oh, and don’t forget to toss that wheel plate under your front wheel. This gives the front end of your bike a bit more elevation, such that the bike is now level, versus tilting downhill.

Ok, with that we’re ready to start pedaling. The way the Tacx Boost works is that the amount of resistance changes based on the position of the lever. The easiest position – Level 1, provides the least amount of resistance. As you wrangle the lever up to Level 10, it becomes harder and harder to pedal. each level will kinda click into a place/groove. You can’t take it to Level 11.

However, I found that the positions marked on the lever don’t always exactly line up perfectly to where it finds a resistance groove/click. So in some cases I’m unclear whether it’s on Level X or Y, without basically going to the easiest level and then counting back up again.

With trainers like this, you’ll also control intensity via shifting of gears on your bike (just like outdoors), as well as changing your pedaling cadence. Generally speaking, the faster the wheel speed the more resistance it provides. Thus if you’ve put your gearing in the large gear in the front, it’ll be harder to pedal than the smallest gear in the front.

There are no electronics in the Tacx Boost by itself (nor does it plug into a wall or such), rather, any transmission of your data has to come via the speed sensor, which broadcasts your speed. 3rd party apps then can take that speed and convert it into an estimated power, which I’ll discuss in the next section.
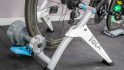
From a stability standpoint, the Tacx Boost is mostly OK, though because it’s a fairly light trainer, if you’re taller like me (thus a higher center of gravity atop a bike)– it can be a tiny bit more tipsy than heavier trainers. Still, you’d have to try reasonably hard to tip it over – and sprinting wouldn’t do so.

Finally, the Boost does fold up, allowing you to slide it under a bed or other smallish space:

With that, let’s talk app integration.
App Integration:
Normally in this section of my smart trainer reviews I talk about all the protocols the trainer supports, and the apps it integrates with. But the Boost isn’t a smart trainer, at least not without help from a speed sensor. And even in that context, it doesn’t control the resistance of your trainer. Rather, it just tells apps what speed you’re at.
For non-smart trainers without resistance levers, almost all have what’s known as a power curve. Basically it states that at X speed, the power required to produce that speed is Y wattage. For example, 15MPH might map to 250 watts. We’ll get into the accuracy of that in the next section, but for the purposes of keeping this section simplistic, what you need to know is that once that speed sensor broadcasts your speed, an app can turn it into power. Or, at least an estimation of your power.
Apps call this type of estimated power different things. For example, Zwift calls it zPower. TrainerRoad calls it Virtual Power. Most apps support non-smart trainers like this, largely because back in the day – this was all there was. In the case of the Tacx Boost, most apps will have it listed as the Tacx Booster. It’s the same trainer hardware wise, and thus you can select it instead.
I’m going to start with demonstrating Zwift, since it’s the most popular trainer application at the moment. But the concept is similar in other apps. From the Zwift opening screen, you’ll say hi to the squirrel (maybe it’s a chipmunk?) and then select speed sensor:

In my case, I’m using Apple TV for Zwift, so it’ll leverage Bluetooth Smart. You can see the Speed sensor listed there – ‘SPD-BLE0724855 106’ – the numbers are simply the unique ID for that sensor (in case there are multiple sensors around).

Now in this case my bike has a 700x25c tire on it, so I’m going to select the correct one above. That’s important for calibration purposes.
Next we’ll select the Boost Trainer. or in this case, the Booster. As of this writing Zwift didn’t yet have the Boost showing up, but since the Booster is the exact same trainer as the Boost, it works fine here.

Do note the all important words above:
“USE SETTING 2”
So, go ahead and put it on setting 2 on your trainer:

Now, back at the pairing screen you can go ahead and pair up a cadence sensor and/or heart rate sensor if you want. If on Apple TV you’ll be limited to two concurrent Bluetooth Sensors, but you can use the Zwift Companion app to pair unlimited sensors (which is what I ended up doing here to get my HR and cadence sensor in).

With that, we’re ready to pick a route on Zwift and start riding:

Zwift will automatically convert your speed to wattage/power, and thus, propel your little digital avatar wherever it needs to go, racing or just plain riding around. You’ll want to stay in that Level 2 setting, but you can shift your gears as need be.
Now, while I just said you’ll want to stay in Level 2, in reality, based on my accuracy testing, it wasn’t super accurate there. Instead, I ended up on Level 3 (though it’s sorta hard to tell):

Of course, in my case I know whether or not something is accurate because I’ve got three power meters on my bike telling me that. In your case, that’s going to be difficult to know. And there’s no real good answer there. I started off and it was about 75w off in Level 2, but once I went to Level 3, it was much closer, at 7-10w off (perfectly fine).

Now, the exact app you use won’t matter much here. Most of them will be using a power curve provided to them by Tacx/Garmin, and so the data should be the same. What’ll differ is the pairing process.
Here’s how it works in TrainerRoad. First, you’ll pedal to wake up the speed sensor. Then in TrainerRoad go into the sensors menu and select your speed sensor to pair it:

Once paired, you’ll go down to the bottom and select Virtual Power, which you’ll toggle on. From there it’ll ask which trainer you have, starting with the manufacturer and then the model. Like with Zwift, the Boost isn’t yet listed on TrainerRoad, so you can just use the Booster instead. Again, it’s the same trainer.

Now unlike Zwift, you’ll actually choose which resistance level you have it on. So in this case you’ll select which level you have. That’s notable as it allows you to potentially get harder workouts without having to gear shift or change cadence. And since many times structured workouts have cadence-specific instructions, this is helpful.

Once that’s done, go ahead and start your workout. You’ll see the power value displayed in the upper left corner, based on your wheel speed.

Ultimately, there’s a world of apps out there, including ones from Tacx themselves. I’ve gone through all of these apps here in my complete Trainer Apps Recommendations Guide, packed with tons of details.
Finally, from a road-feel standpoint it’s fine. I say fine because I admittedly am lucky enough to ride boatloads of trainers year round that cost considerably more. And while years ago the road-feel of this trainer would have been considered fairly good, these days it’s just run of the mill OK. Typically road feel (which is subjective) is looking at how well the trainer mimics the accelerations and decelerations of your speed changes. When it does it well, it feels like out on the road – where the speed gradually tapers off when you stop pedaling. Whereas when trainers do it incorrectly, it’ll feel like pedaling through mud. In my case, it wasn’t bad – meaning, I didn’t feel like I was pedaling through mud. But since road feel is heavily linked to flywheel size (the weight of the flywheel specifically), this trainer lacks a large flywheel, and thus you won’t get as much of that proper acceleration feeling.

Also, insofar as sound goes, it’s definitely not silent. Being a wheel-on trainer, it’s almost universally going to produce more noise than a direct drive trainer since the wheel has to make contact with the roller with significant force. Yet Tacx does have the entire flywheel enclosed, which helps reduce some of the noise.
Des from DesFit has some good noise comparisons in his Tacx Boost Review video that capture it well. Still, it’s actually less loud than I expected. It’s totally viable to be in a normal room in your house and not bother others in next door rooms. In fact, it probably wouldn’t even bother most people in/around a living room or such.
Power Accuracy:

Normally in this section I focus on the power accuracy of a given smart trainer. But…this isn’t a smart trainer. At least not by itself, instead, it requires a speed sensor (Garmin or otherwise). Obviously, everything in this section requires that speed sensor be used – and in this case I used the Garmin Speed sensor from the Boost Bundle.
Power accuracy is meaningful for a number of reasons:
– It ensures that if you’re competing in a race on Zwift or other platforms, that your data is accurate
– It helps you improve. If the accuracy is off, you don’t know if you’re improving or not
– Consistently inaccurate data is still inaccurate
In my decade of doing testing like this, it’s actually fairly rare to see trainers or power meters consistent but inaccurate. Instead, they’re inconsistently inaccurate. Which is to say that in power and trainers, the amount of inaccuracy will depend on the effort. Often – more effort, more inaccurate. Less effort, less accurate. And, handily, I’ll demonstrate that easily below.
As we discussed earlier, for non-smart trainers without resistance levers, almost all have what’s known as a power curve. Basically it states that at X speed, the power required to produce that speed is Y wattage. For example, 15MPH might map to 250 watts. Generally speaking, these power curves are pretty darn consistent once a trainer warms up. However, the catch to them is that they require the tire pressure match *exactly* to what the known resistance curve was. And even more, they require that pressure of the roller on the tire also match.

So, once all those variables are put together, the real-world power accuracy tends to go down the toilet. That’s compounded more with a lever system like the Boost has, because that power curve is only applicable for a given level (Level 2 in this case) – which has its own manufacturing inconsistencies from unit to unit. Anyway, enough talk – more data.
Here’s a ride I did on Zwift, an hour long, compared against a Quarq DZero power meter. I also had an SRM X power meter on there too, but its batteries were low and died after 20 minutes, so we’ll keep things clean here. While I normally want 2-3 other power meters, Quarq is one of the most trusted names in the power meter realm, and I use it routinely on numerous other rides daily and it matches up as I’d expect. Here’s the data set:

But the above chart doesn’t really tell the whole story. Instead, let me show you which resistance level I was on for each section:

Yup, that’s right – using Level 2 (the recommended level), meant that I was 50-75w off. Whereas Level 3 was actually really darn close – about 5-15w in most cases, except the sprints. Now I followed all the instructions super precisely on tire pressure, resistance knob placement, etc… My guess here is rather simplistic: Manufacturing tolerances of the resistance lever itself. After all, you’re only moving it about 2mm, and it’s changing a huge amount of resistance behind you in the resistance wheel.
You’ll see in this main steady-state section, the accuracy on level 3 was actually reasonable for a trainer of this price point. Mind you that technically speaking it should have been lower than the Quarq by about 3-5%, but hey…getting within 3-5% on a trainer spec’d at +/- 10% is good enough I guess.

In case this is all new to you – generally speaking for most smart trainers we look for accuracy of about +/- 2% or better, and most budget smart trainers are +/- 5%. Non-smart trainers tend to be +/- 10%. Mind you, in the Zwift racing world +/- 5% is well beyond unacceptable. But…for riding around Zwift and just getting a workout in, it’s absolutely acceptable. Fitness is fitness in that sense.
Where it really struggled though was some of the sprints. For example, this relatively easy surge (smoothed at 5-second smoothing for simplicity’s sake here):

It’s off by 100w. That’s a massive amount. But it gets worse with harder sprints, this one where I was at 680w (averaged over 5s) with the Tacx Boost reporting only 370w. I then tried it again on the #2 selector, and it didn’t actually impact the sprint accuracy much, but after that point you can see it was inaccurate until I toggled back to the #3 setting around the 50:06 marker.

Overall, the final chart shows it best. This is called a Mean-Max chart, and basically plots power values as a comparison over time. It’s great for showing where inaccuracies lie at differing wattage values, and thus, different efforts. The little ump around the 1-minute marker is due to the changing of selector 2 and 3, but realistically it doesn’t impact the chart meaningfully here.

In short, if power accuracy matters to you – then this probably isn’t the trainer to pick up. But it’s not like this particular trainer is any different than other smart trainers with resistance levers. It is however different than basic trainers that don’t have a resistance lever, as that takes one more variable out of it.
Still, that doesn’t mean you can’t get a good workout. I did. I rode for an hour, stayed with a group on Zwift just fine, and still got a solid workout. None of the accuracy changes that. And if I just keep it on #3 all the time, then outside of sprints/surges, the power accuracy for a budget trainer isn’t bad. The problem is that I don’t know if my #3 will be the same as your #3. Maybe your #2 is good and mine isn’t. I’m not sure.
(Note: All of the charts in these accuracy sections were created using the DCR Analyzer tool. It allows you to compare power meters/trainers, heart rate, cadence, speed/pace, GPS tracks, and plenty more. You can use it as well, more details here.)
Summary:

The Tacx Boost trainer isn’t a fancy smart trainer, and it’s mostly not trying to be. Just like it wasn’t a fancy trainer when it was called the Tacx Booster. Instead, it’s a basic trainer that’s been rebranded and bundled with a speed sensor at a sorta budget price point. If in the US you’ll find it for $299, whereas in Europe you’ll probably find it for under 300EUR (street), if the previous Booster price is any indication.
And this is where it gets a bit tricky. That’s because Tacx themselves has a far better option – the Tacx Flow Smart – for $369USD. It’s massively better. It’s a full legit smart trainer that increases/decreases the resistance levels automatically based on the terrain in your app, while producing power and cadence values that are mostly pretty accurate. It connects on ANT+ & Bluetooth Smart to basically every app out there. And again, only $70 more.
My strong recommendation would be to get that instead. But of course, that’s assuming you can find any trainer in stock at all right now, especially at the budget end (mid and higher-end trainers are slightly easier to find these days).
There’s undoubtedly a place for trainers like the Tacx Boost in Tacx’s lineup to fit people’s budgets, though, I think there’s also a place for slightly better tolerances around the accuracy of these trainers so that when someone is throwing down a sprint in Zwift, they’re getting full credit for that sprint.
With that – thanks for reading!
Found This Post Useful? Support The Site!
Hopefully you found this review/post useful. At the end of the day, I’m an athlete just like you looking for the most detail possible on a new purchase – so my review is written from the standpoint of how I used the device. The reviews generally take a lot of hours to put together, so it’s a fair bit of work (and labor of love). As you probably noticed by looking below, I also take time to answer all the questions posted in the comments – and there’s quite a bit of detail in there as well.
If you're shopping for the Tacx Boost Trainer or any other accessory items, please consider using the affiliate links below! As an Amazon Associate I earn from qualifying purchases. It doesn’t cost you anything extra, but your purchases help support this website a lot.
Here's a few other variants or sibling products that are worth considering:
Tacx Boost Trainer Bundle
And finally, here’s a handy list of trainer accessories that most folks getting a smart trainer for the first time might not have already:
There's no better bang for your buck in getting Zwift (or FulGaz/etc) on your big screen TV than Apple TV - it's the primary way I Zwift.
Basic Trainer Mat
This is a super basic trainer mat, which is exactly what you'll see me use. All it does is stop sweat for getting places it shouldn't (it also helps with vibrations too).
I use Apple TV for Zwift the vast majority of the time, but also just for watching YouTube/Netflix/etc on the trainer. The Apple TV remote sucks though. This $8 case fixes that, it's a silicone strap that makes it easy to grab, but also has a strap to easily place on the edge of your handlebars. Boom! Note: Not compatible with 2021 Apple TV Edition.
Amazon Basics Fan
I've got three $15 fans floating around the DCR Cave (previously Honeywell ones, but seems to be rebranded as Amazon Basics now), and I frequently use them on rides. They work just fine. Sure, they're not as powerful as a Wahoo Headwind, but I could literally buy 20 of them for the same price.
This desk is both a knock-off of the original KICKR Desk, but yet also better than it. First, it's got wheel locks (so the darn thing stays put), and second, it has two water bottle holders (also useful for putting other things like remotes). I've been using it as my main trainer desk for a long time now and love it. Cheaper is better apparently. Note: Branding varies by country, exact same desk.
This is by far the best value in trainer desks, at only $59, but with most of the features of the higher end features. It's got multi-tier tablet slots, water bottle holders, non-stick surface, adjustable height and more. I'm loving it!
Lasko High Velocity Pro-Performance Fan (U15617)
One of the most popular trainer fans out there, rivaling the Wahoo Headwind fan in strength but at a fraction of the price. It doesn't have smartphone/ANT+/Bluetooth integration, but it does have secondary outlets. I've been using it, and a similiar European version lately with great success (exact EU variant I use is automatically linked at left).
I've had this for years, and use it in places where I don't have a big screen or desk, but just an iPad or tablet on my road bike bars.
And of course – you can always sign-up to be a DCR Supporter! That gets you an ad-free DCR, access to the DCR Shed Talkin' video series packed with behind the scenes tidbits...and it also makes you awesome. And being awesome is what it’s all about!
Thanks for reading! And as always, feel free to post comments or questions in the comments section below, I’ll be happy to try and answer them as quickly as possible. And lastly, if you felt this review was useful – I always appreciate feedback in the comments below. Thanks!


It’s a pity BKool smart trainers are no more, as the Smart Go retailed for £349 but could be found for £299.
The filled that lower end of the market quite well I thought.
This Tacx Boost looks like a £200-250 trainer to me. But I’m tight, so what do I know :)
Edit: It was on sale for £275. Bargain
Yup, I agree on price. I’d have said $199 no sensor, $229 with sensor. Heck, I could even be convinced for $219/$249.
I think people (err…maybe Garmin), forget that prior to February, the Tacx Flow Smart was 229EUR through any of the big box stores here in Europe. That’s the one with smarts in it. As I’ve pointed out every time I can, I still don’t understand why Tacx tries their hardest to make this option less visible.
Heck, if I was Zwift – I’d be promoting this one all I can. It’s the most affordable way into the platform. Unfortunately, from my discussions there, they don’t believe it delivers the high quality experience of a $1,200 trainer. Duh. But that’s not the point.
I can kinda see Zwift’s point though – I’ve got a BKool trainer, and while it’s fine for general workouts etc, as soon as you move your weight forward for a standing sprint etc you loose traction at the rear, and the power is no longer accurate. And then of course there’s quite how sensitive it is to tyre pressure.
Given that for most of us the only real insight we have as to what the trainer is doing is the computer screen, how many people would be blaming Zwift for this inaccuracy?
My Tacx Flow smart was a great entry into Smart trainers, and once it was warmed up and calibrated, was pretty decent!
In the UK RRP was cheaper than this as well. Odd move from Tacx.
Does this offer much more than a basic Wiggle in house brand trainer?
Nope, nuttin’ extra special here. In fact, I think in general for the era of smart connected apps, the lever is actually worse than a simple known power curve trainer without a lever.
I was ready to pan this unit but it I can think of one market for it: my parents. (maybe other peoples’ parents too)
See, they’ve got a decades old Minoura mag trainer that sounds like a jet engine when in use.
Try as I might, they have no interest in Zwift, or another fancy-shmancy electronic gimzos for their winter training sessions – they just want to clip their bike to a stand and watch the news, adjusting the difficulty with a lever, not an app.
I installed a Tacx Flow Smart on a friend’s bike recently and appreciated the mechanical simplicity. I’m just a bit disappointed Tacx didn’t include the same “handle” front wheel riser block with the Boost – it makes moving it around for storage easy.
That’s valid (the use case). Good point!
“But it gets worse with harder sprints, this one where I was at 680w (averaged over 5s) with the Tacx Boost reporting only 370w”.
I found this interesting, and pleasing. I have the Tacx Blue Twist (which is the same basic unit, just without the on-bike resistance controller). As hard as I try, I’m unable to get Zwift to record a value greater than 375W. While, I assumed this was wrong, it’s nice to now have some “evidence” that I can actually put out more power than the maximum according to Zwift.
See! There’s a total valid use case for why you can go out and buy a new trainer, you’ll literally double your wattage! ;)
Circling back on this, I bought a Stages bike and did literally double my max wattage!
Ahem… Scotty the Squirrel is not a chipmunk.
I’d love to find/hear the backstory on how a squirrel became the unofficial mascot of Zwift.
Why would i buy it if there is 150$ Elite Aleno Smart in Decathlon that does the same??
Maybe you really like the color blue?!?
(Actually, while it’s been a long time since I’ve tried a variant of that unit, my bet is that the road feel and lack of slippage is better on the Tacx Boost, namely because for the Alena smart, your own weight presses down the back tire on the frame, which in all the trainers I’ve ever tested, means skippage while sprinting is commonplace.)
Why do they still release such an inaccurate and old-fashioned unit in 2020/2021, my old i-Genius could do the same in 2013… Such an idiot business step…
Different price brackets.
Plus, my guess is that your old i-Genius probably costs 600-800EUR or so new (maybe more). So 2-3x the cost of the Boost (or Booster before it).
Why have you teamed aup with Des? Is it to boost his views/clicks? Not that i don’t like him, just curious.
I think they’ve known each other for a number of years. I think cross fertilisation is the phrase.
There should be also Tacx training integration with garmin connect (SSO) which is not working yet though, however based on the information it should be ready within weeks max. You will probably log in with your garmin account to TACX and it will then sync your rides automatically. I was looking forward to that for a year since I bought neo smart bike and I am very happy this is happening, since for me this will be game over for strava…
Thank you for that information. I have garmin connect and a Tacx smart trainer so I was quite excited about the announcement that Tacx rides will be automatically linked to Garmin Connect. But with my limited internet skills I could only find copies of the press release ‘ . . . .Using a single sign on, cyclists can now link their Tacx apps to Garmin Connect to see . . . ‘ and nothing about how to do it. Your comment explains a lot. Why put it in a press release using the word ‘now’ if it is not ready ? !
Does it support a standard 142m disc brake bike?
Hi
I bought a Tacx Booster and found the setup a bit of a pain, particularly as the included ‘instructions’ are a tad sparse. Regardless I struggled through and have tested my urban bike with 700mm wheels and seems sort of OK. A bit strange and unfamiliar but barely OK. My query is WRT the tyre settings and the apparent need to set the unit up a specific way to cater for the tyre size. You have provided instruction in your article about ‘which slot to use’ based upon tyre size. How does this relate to the setup of the unit as I can see no way to set it up based upon tyre size bar a few instructions on the base which make little sense!
Regards
Rick
I have a hybrid bike.. tyres are 700×40. Will they fit in this trainer? Thanks.
Is there anything on maximum duration that it can sustain the 1050w for? Is it indefinite (doubtful) or for 5/10/30 sec? What happens if you go over this? I’m trying to work out why 2000w would be useful…
Also does it matter if that 1000w is on difficulty 5 or 7 or 10?
Thx for great feedback, aanted to learn about noise. Appreciated very much
Amazon uk has this for £90 including the speed sensor. Presume it’s a no brainier at this price point?