Tonight, I had an epiphany. Or at least, I had an improvement upon an idea that I had planned for months.
One question I get a lot is how to measure cadence on an indoor spin bike, or gym stationary bike. Basically – a bike you don’t own, and can’t mess with. Hotel, cycling studio, gym, rec center, etc…
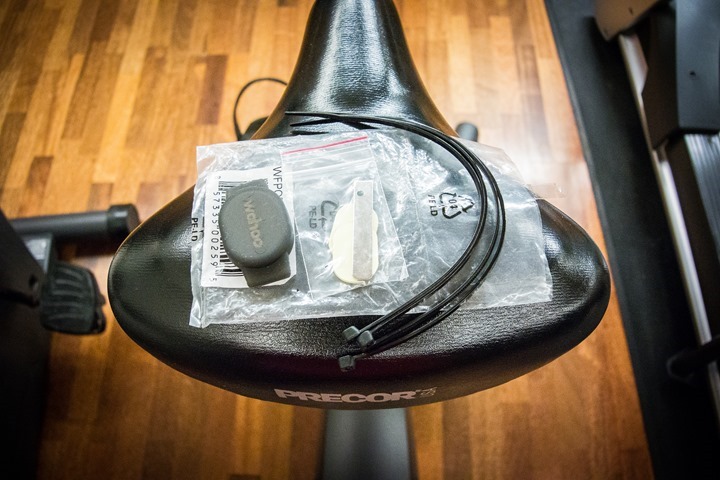
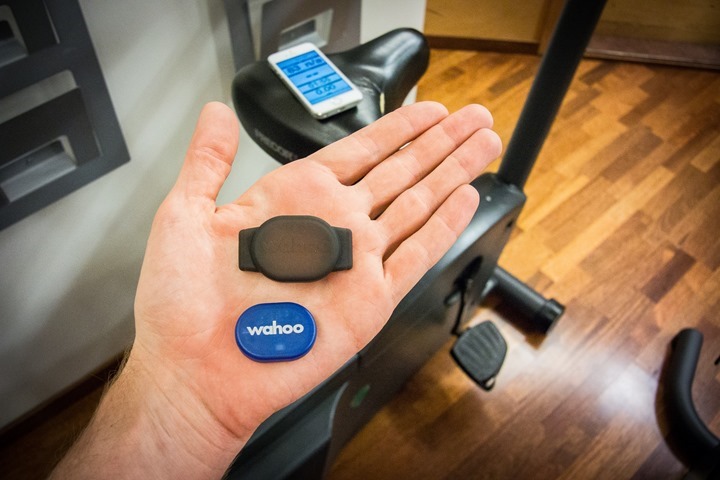
For the last few months I’d been carrying around the Wahoo RPM* in my travel suitcase. And every single time I’d check into a hotel I’d plan to see if I could execute my vision of somehow tweaking the little blue sensor and making it work for a hotel exercise bike to get cadence information. Initially, I figured I’d have to strap it to the crank arm in some manner. By default, it comes with zip ties and stickies. Hardly ideal for a gym bike, but certainly doable. I figured I’d then perhaps come up with some clever solution involving Velcro.
*Detour – Wahoo RPM Backgrounder: The RPM is a small Bluetooth Smart pod that’s designed to attach to your bike crank arm, and measure cadence without any magnets – using accelerometers instead. I posted about it when they first announced it back at Interbike. I haven’t spent any time with it outdoors yet, or on a real bike. My experience is solely on a hotel gym bike in Helsinki. At some point between now and the future I’ll put together a full review when I dig more into accuracy outdoors on a bike (things like stability on rough roads, limitations of cadence levels, etc…). Because of the way it’s designed with the rubber case system, you could actually have it for your regular bike, and then when you head to the gym/hotel trip, simply pop it out of the little rubber case and take it with you.
So tonight, I set out with the standard Wahoo RPM packaging, plopped it on the beach-cruiser seat of the hotel gym bike, and got ready to begin tinkering.
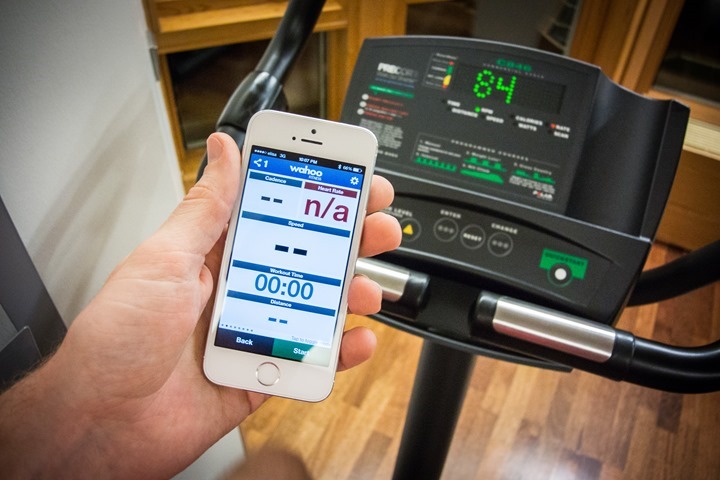
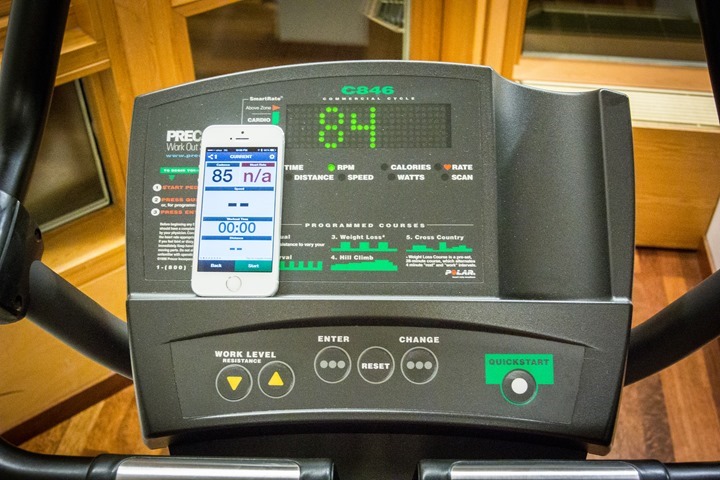
First, before I dealt with any of the zip ties or sticky tape, I decided to be lazy and just see if setting it on top of my shoe laces would work. I figured maybe the motion would still somehow work:
Well, turns out, that answer was bupkis. I got absolutely nothing actually registered on the phone, while the exercise bike showed RPM:
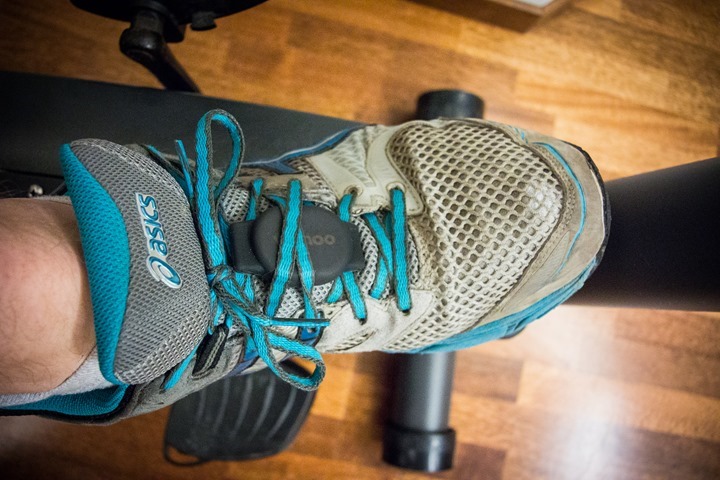
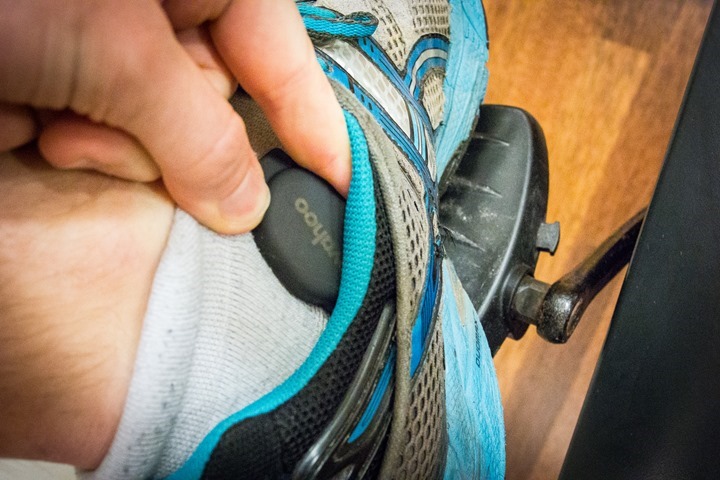
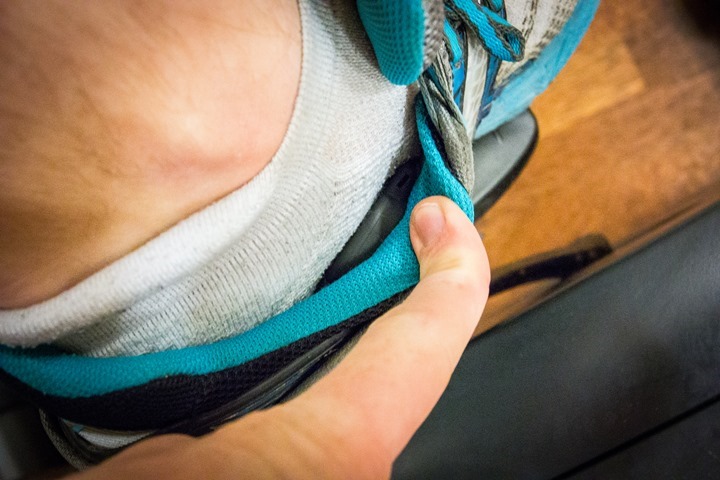
It’s at this point that I pondered how to turn it vertical on my shoe-laces, to see if that made a difference. While doing so, I realized – why not just put it on the side of my sock inside my shoe– and see if that measures:
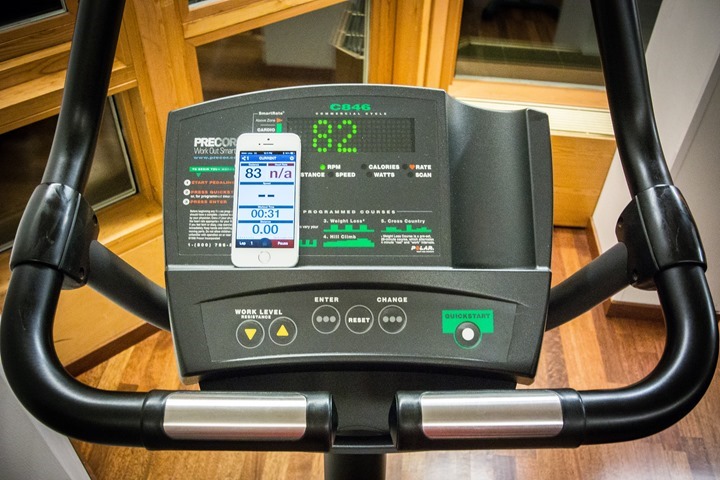
Approximately 1 second after spinning up to speed, I had this:
Bingo baby!
It turns out, that the simple orientation of it was all that mattered. And of course, that makes complete sense – as the unit is designed to be vertical when it attaches to your bike crank.
Thus, I could pedal all day long and the Wahoo RPM matched my actual RPM, within about 1-RPM. I was pretty damn stoked. Most importantly, this required absolutely zero messing with stuff on the bike. And even better, didn’t require affixing anything to my shoes either. And since (almost) everyone has a foot that goes into the shoe, it’s a universal solution.
The footpod is small enough that you don’t really feel it after about 3 seconds. It just sits there and hangs out. I left the rubber case on, but you could just as easily remove it. Though, I found the rubber case does a good job at keeping it in place – versus the slightly slicker plastic internal pod which might slide under your foot:
For fun, I made this video; simply recording about 2 minutes worth at varying RPM levels:
Now, as you can see in the video, I did notice that below about 60-65 RPM’s I got some odd drop-outs, and above about 110RPM’s I saw some odd spikes. It’s unclear why exactly I saw the spikes, though I suspect at least on the higher-RPM spikes it’s because my shoes weren’t clipped in to the bike, so there’s some bouncing and therefore, since it’s accelerometer based, that bounce would be at a higher acceleration than expected.
For me, this is interesting because it makes it easier to capture some of my indoor trainer workouts that I’d normally do on my trainer, and also get that data while indoors on a hotel gym bike – since I travel quite a bit.
The Simple Spin Steps Summarized:
So here, in short is what you need to make this work.
1) You’ll need the Wahoo RPM Bluetooth Smart pod.
2) You’ll need some phone that supports Bluetooth Smart devices. That could be any iPhone 4s or higher, or any Android 4.3 phone.
3) You’ll need to grab the Wahoo Fitness app (free). If on Android, then the Android variant from Wahoo’s beta site.
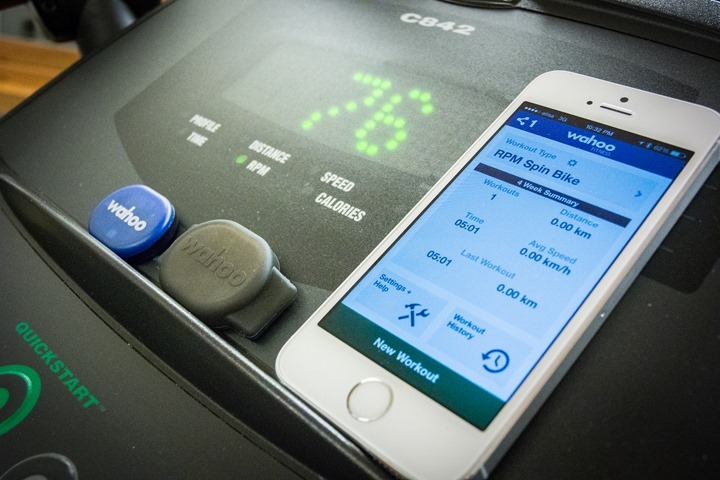
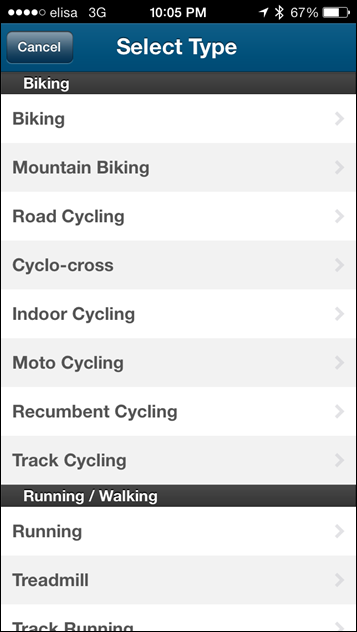
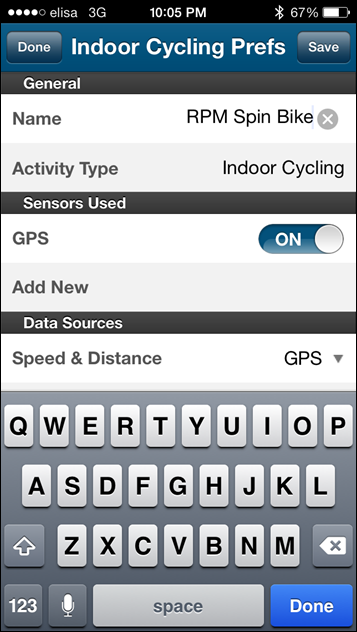
4) Once that’s done, I created a new profile for indoor cycling. I called it RPM Spin, just so I could remember it.
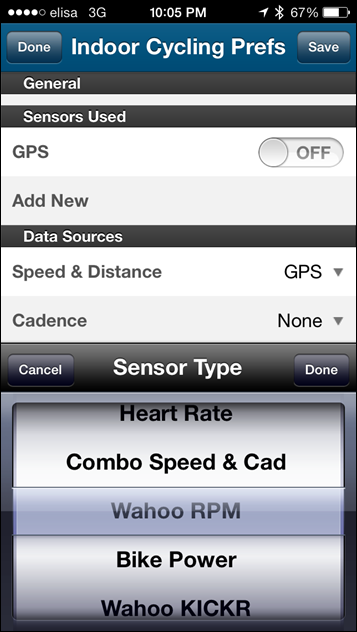
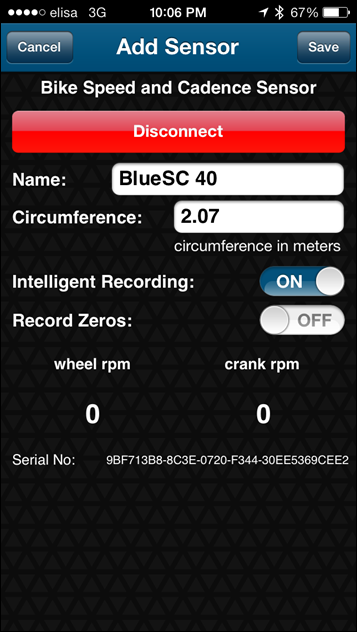
5) In that profile, I disabled GPS, and then I added (paired) the Wahoo RPM sensor. Once you do that, it’ll automatically change the ‘Speed & Distance’ & ‘Cadence’ fields on the left, to be the Wahoo RPM. But just validate it just to be sure.
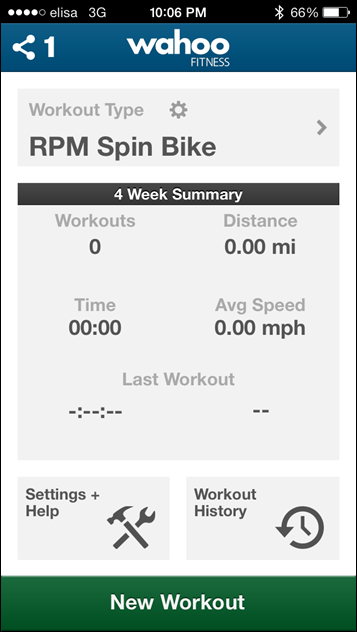
6) After saving that, I went out to the main screen and validated that the sensor showed at the top of the page as connected, showing the ‘1’ next to sensors.
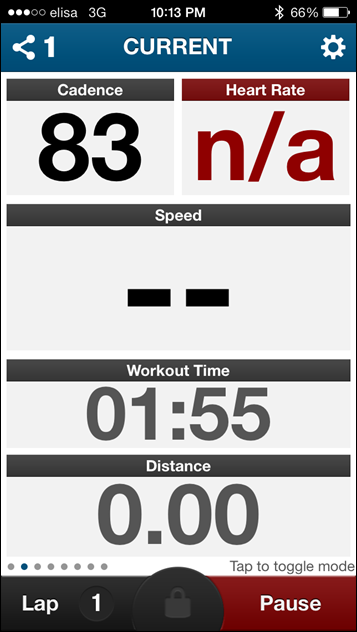
7) Then, I started the workout. Then I rode. And that’s all one needs to write.
8) During the workout, it showed me my cadence on the screen – which, isn’t terribly exciting in itself. But it would also record heart rate as well, and you can do splits and stuff (such as for different segments of the workout).
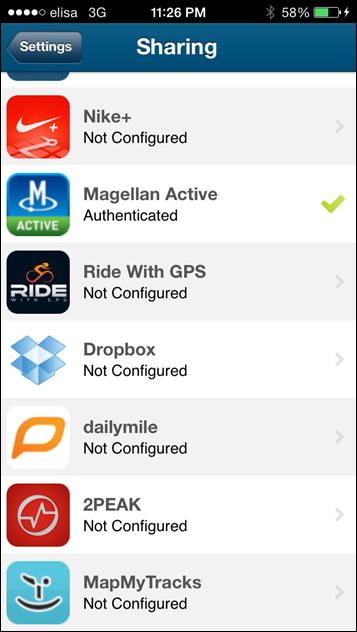
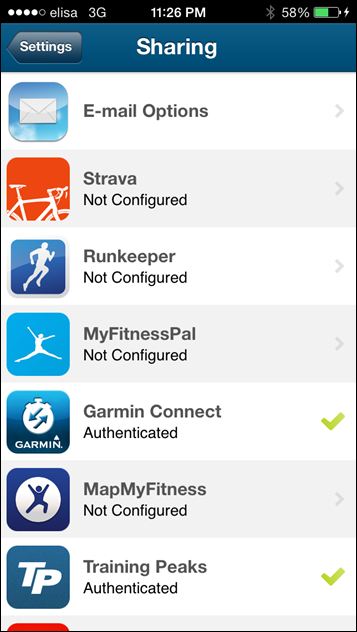
9) At the end of the workout, I saved the workout, and then uploaded it to my favorite sites. Wahoo supports all the majors, from Strava to Training Peaks to Garmin Connect and many more.
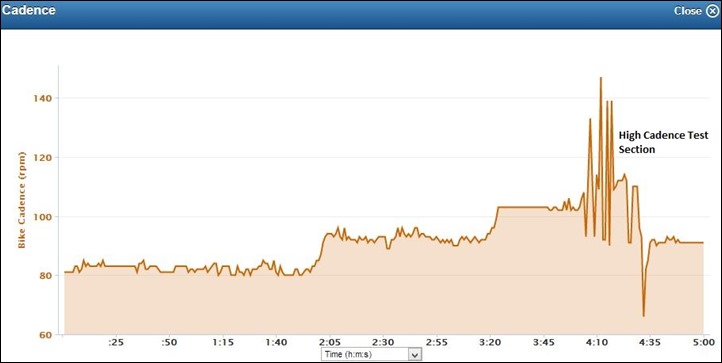
10) The data is then available on those sites to look at, just like any other ride I’d do:
That’s all there is to it!
Note, down the road when Polar releases their V800 triathlon watch, all these steps would work with that, since that supports the Bluetooth Smart cadence sensor device profile.
With that, I leave you in amazement at my late night hotel gym prowess. Or at least, my laziness in just deciding to stick it inside my shoe. Either way – hope this helps.
Thanks for reading!
FOUND THIS POST USEFUL? SUPPORT THE SITE!
Hopefully, you found this post useful. The website is really a labor of love, so please consider becoming a DC RAINMAKER Supporter. This gets you an ad-free experience, and access to our (mostly) bi-monthly behind-the-scenes video series of “Shed Talkin’”.
Support DCRainMaker - Shop on Amazon
Otherwise, perhaps consider using the below link if shopping on Amazon. As an Amazon Associate, I earn from qualifying purchases. It doesn’t cost you anything extra, but your purchases help support this website a lot. It could simply be buying toilet paper, or this pizza oven we use and love.

