It’s been approximately a year since I ordered Revolights off of Kickstarter. They arrived a few weeks ago, but I’ve been mostly out of town since then. So tonight I finally had a chance to sit down for a few hours and get them all installed and then go for a bit of a night ride out on the town.
The goal of Revolights is to increase visibility while you’re riding your bike. The rim system has accelerometers built in so that it keeps the lights facing forward (on forward wheel) or rear (on rear wheel) at all times. Sorta like ensuring that your car lights don’t end up inside the cabin of your car, these are always on the front/back dynamically.
First, let’s walk through getting the things all hooked up on the bike.
Installation:
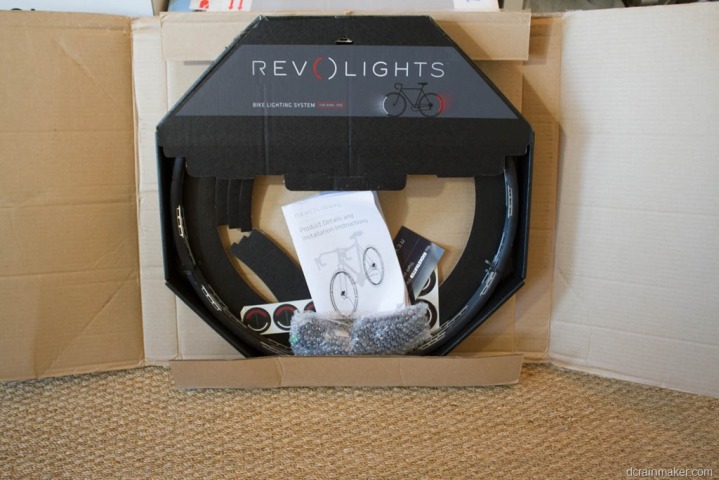
The kit comes relatively thin box that’s about the size of a bicycle rim. You order your Revolights based on your wheel rim size. So you’ll want to be sure that you order the correct set for you bike. This means it may limit transferability between bikes. In most cases, if you’re talking standard road bikes, you’ll have no issues. But if you go from road bike to a vastly different type of bike (i.e. mountain bike), you may need to see what it would take to make them compatible.
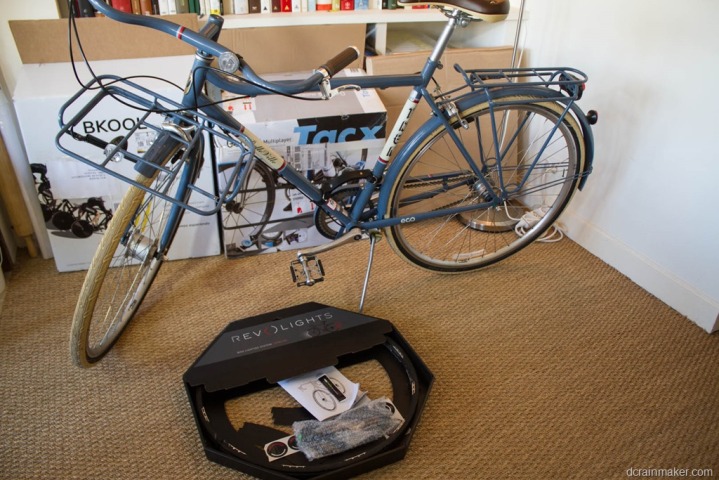
In my case, I ordered the set applicable for my riding around town bike. It seemed silly to try and put them on a triathlon time trial bike.
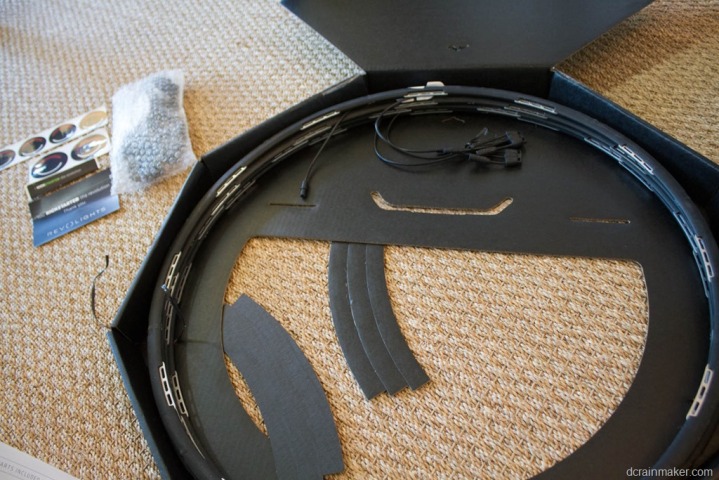
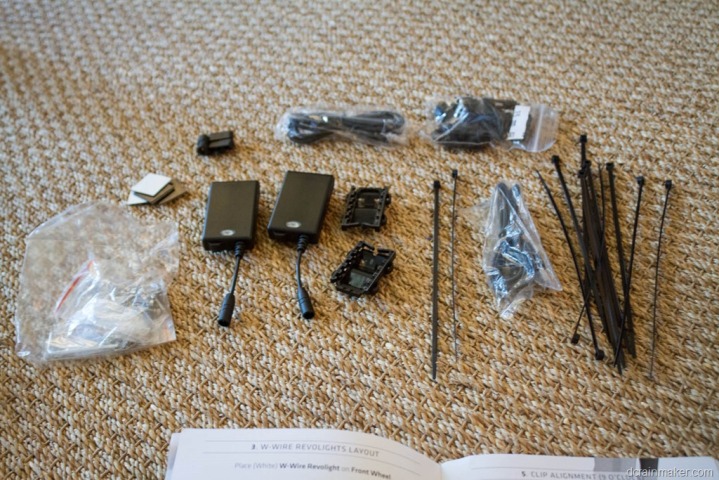
Once you break out the boxed parts, you’ll find a pile of small parts (mostly clips and screws), as well as the battery packs, micro-USB charging cables, and zip ties. And of course, you’ll find the Revolight rims themselves.
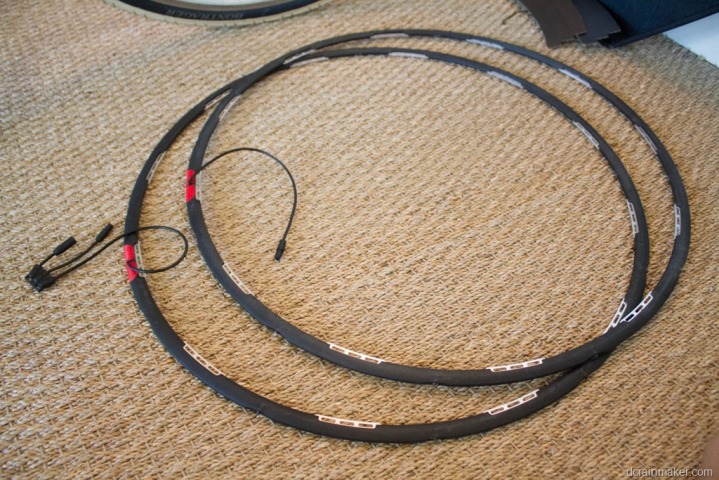
The rims are actually four separate rim frames. Two for the front, and two for the back. Though, they aren’t identical. Both front and back have two different rims – one that acts as a primary (battery hooks into it first in the chain), and one that acts as a secondary (battery power goes via the primary to the secondary).
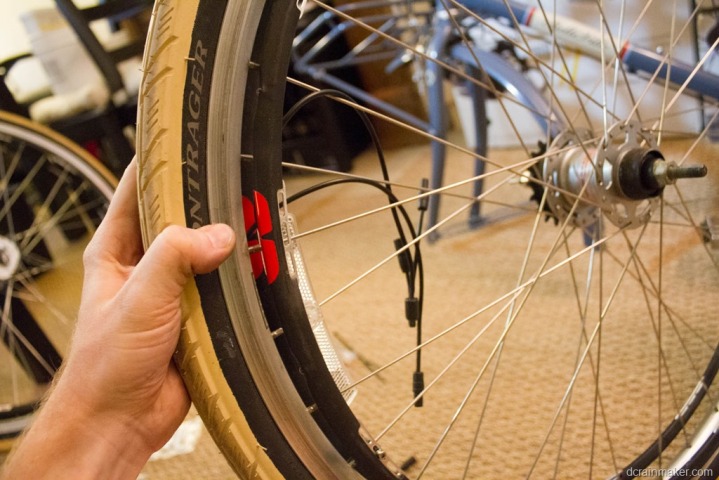
You can differentiate the two sets by the red and white stickers located on each set. And then each Revolight rim in the front/rear sets have either one wire or three wires. Three wires is effectively the primary and where the accelerometer is located within (under the sticker area). The primary always hangs out on the left side (riders left).
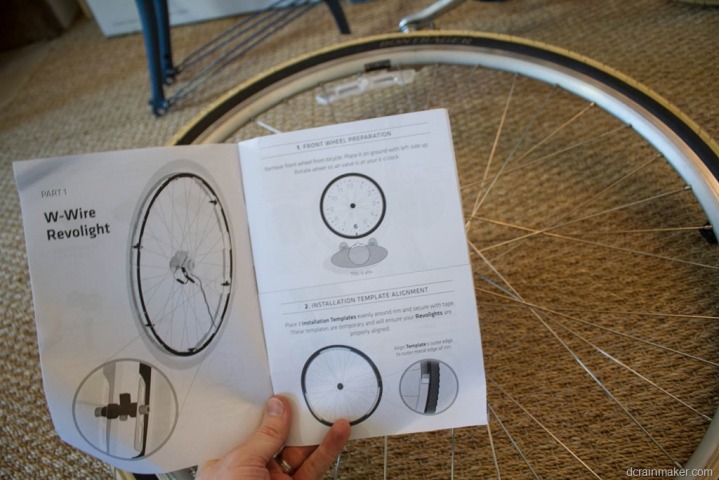
With that, you’ll crack open the manual and begin installation.
I read from a few folks online to budget about two hours to install the Revolights. And in the end, that was pretty close to spot on. You’ll spend about 35 minutes getting through the first few steps, then you’ll spent another 30 or so minutes finishing up the first wheel (total about 65 minutes). The second wheel took me only about 15 minutes. Then there was a bit of troubleshooting time, plus some time to re-do a portion of the front wheel since I had wired it wrong initially. All in, 2 hours was a good block time.
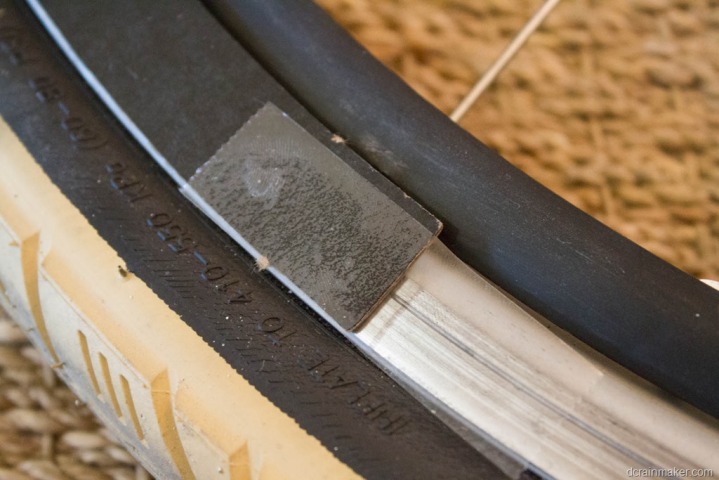
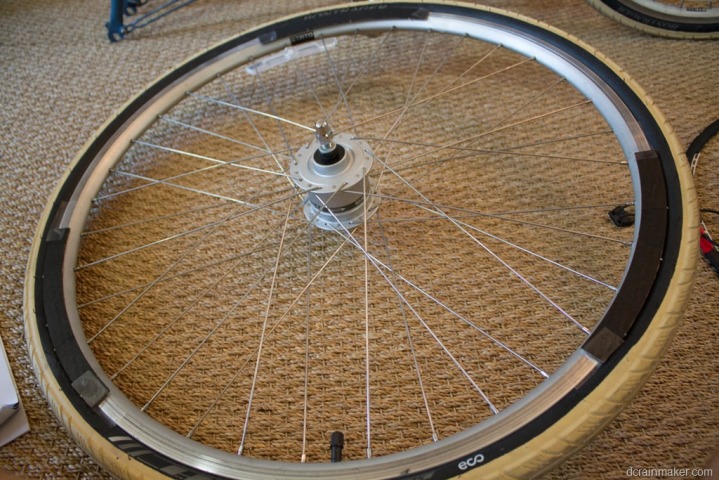
First up is placing three little cardboard pieces onto your wheel which act as guides/spacers. I spent a fair bit of time ensuring this was perfect. In retrospect, I got more value out of keeping things semi-loose and just adjusting it later once I had all the pieces on the wheel.
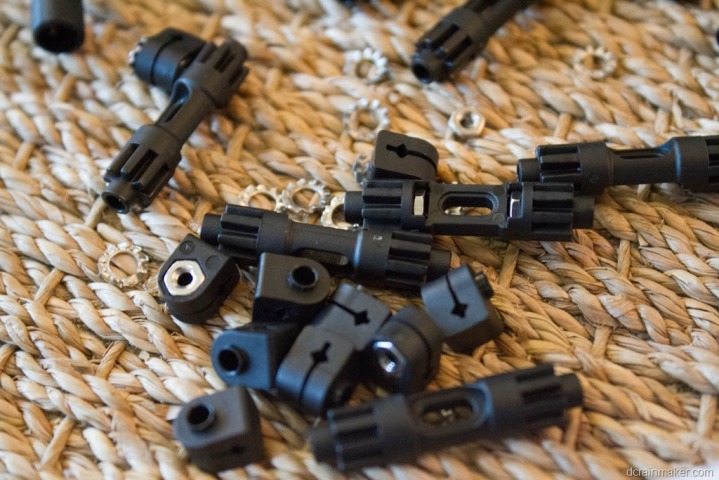
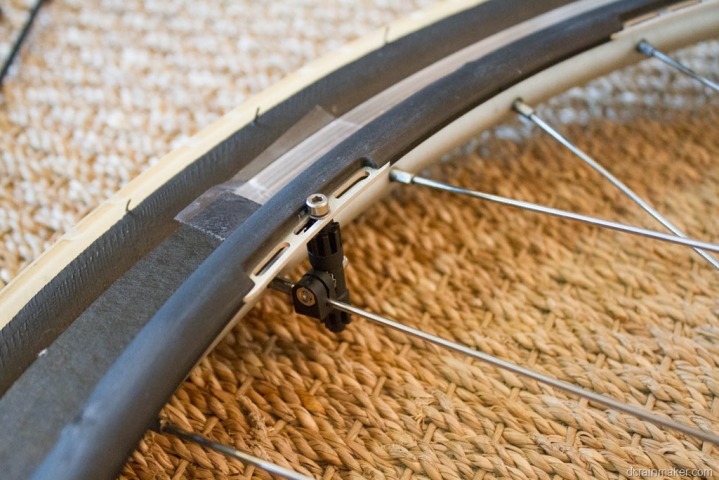
Once you’ve got the template on your wheel, and the first rim (of four) lined up, you’ll be ready to start attaching the Revolight rims to the spokes. You do this via little spoke holders attached to spacers. The spacers are the bigger (longer) of the two below.
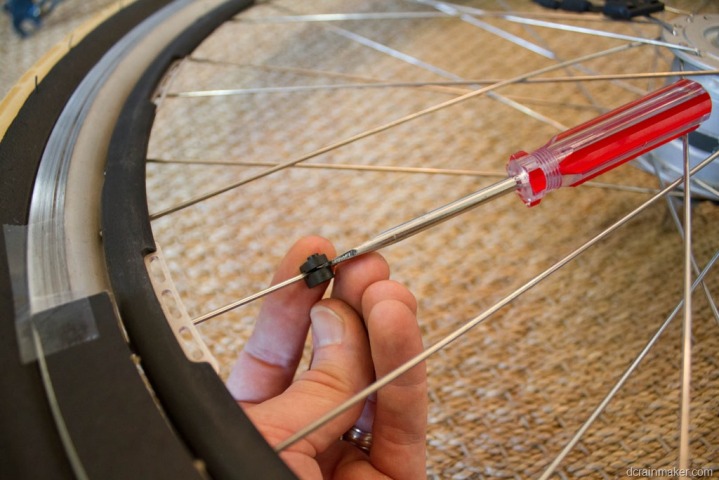
While they don’t mention this in the manual, for my spokes I needed a way to pry it open, so I just used a small flat blade screwdriver to open it open slightly and snap it on.
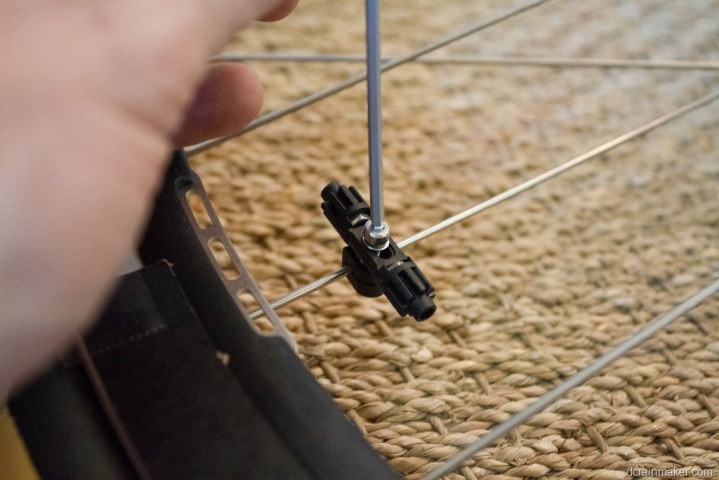
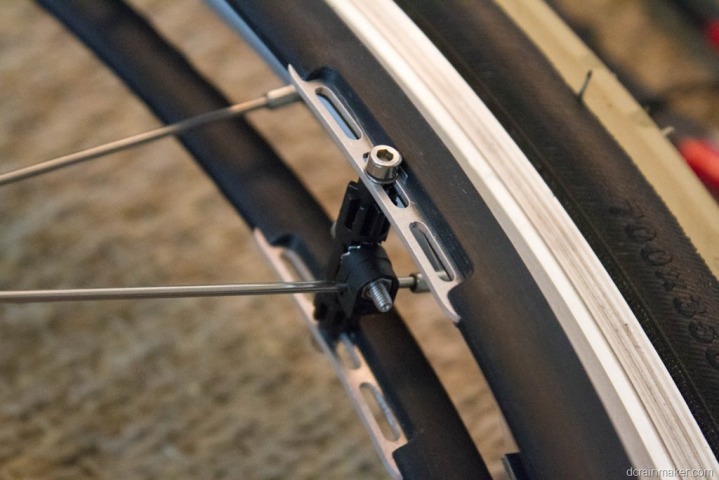
Once you have the clips on, you’ll then attach a spacer to them.
At this point, you’re really only spacing one Revolight rim against the spoke. Once you attach the back side it’ll all start to make sense.
In fact, we’ll fast forward to that point. Essentially, in between the photo above, and the photo below, you simply repeat the above step five more times (six times in total) at specific spacing’s outlined in the manual (all working against the numbers in a clock – i.e. 9PM).
You can see below the two Revolight rims (in black with silver coming out of them), connected by the spacer, which connects in turn to the spoke. Like I said earlier, once you get the hang of it you can move really fast. Luckily, there’s nothing easily breakable here. It’s all kinda mindless to install (in a good way).
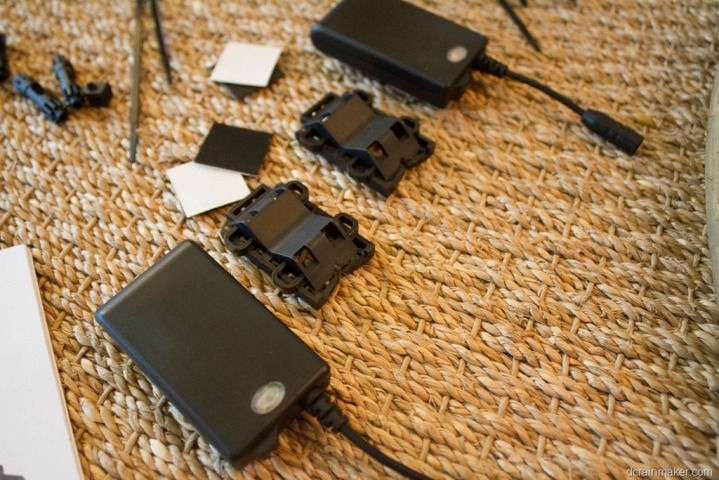
Once you’ve got the wheel rims complete, it’s time to hookup the battery pack. You’ve got one rechargeable battery pack per wheel, both identical.
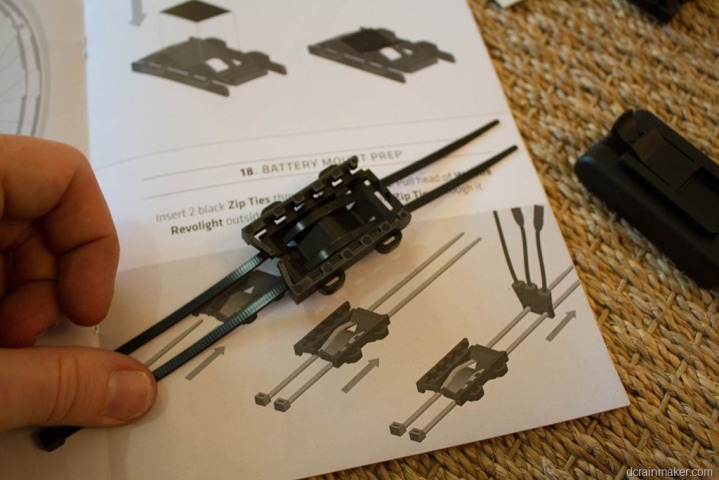
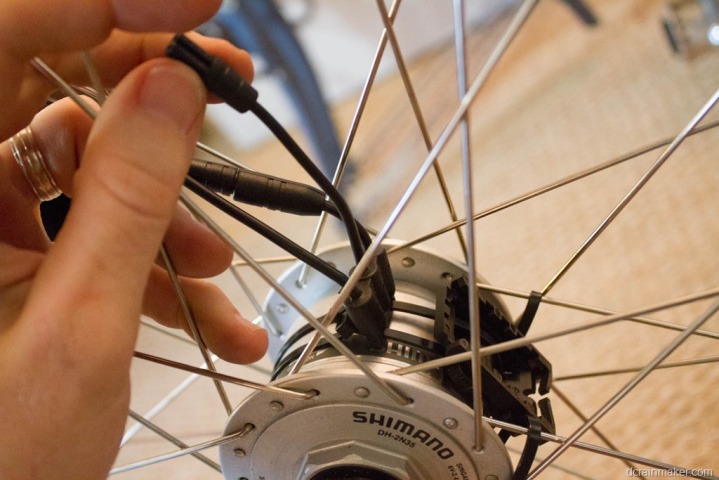
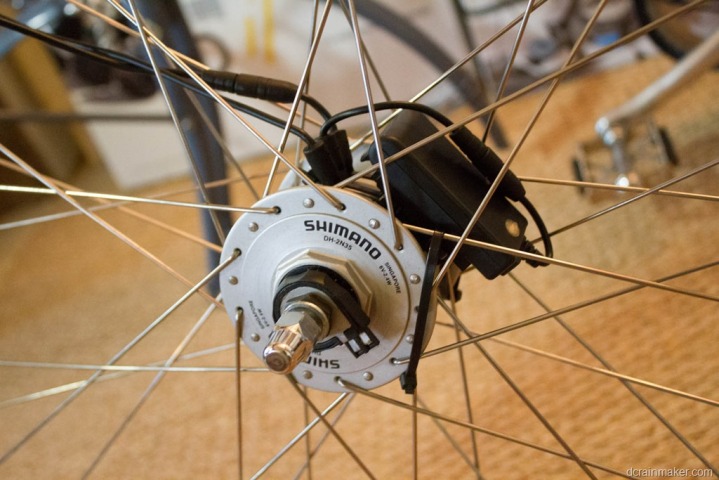
You’ll use some supplied zip ties to get the battery mounting bracket mounted onto your hub. In my case though, my hub was too wide/big – so I had to swap out the zip ties they provided with ones a touch bit bigger. Thankfully that gigantic $6 container of zip ties I bought a while back had plenty in there.
As part of the battery pack mounting you’ll be interlacing in the cabling from the rims into the zip ties.
From there, it’s onto the battery pack itself:
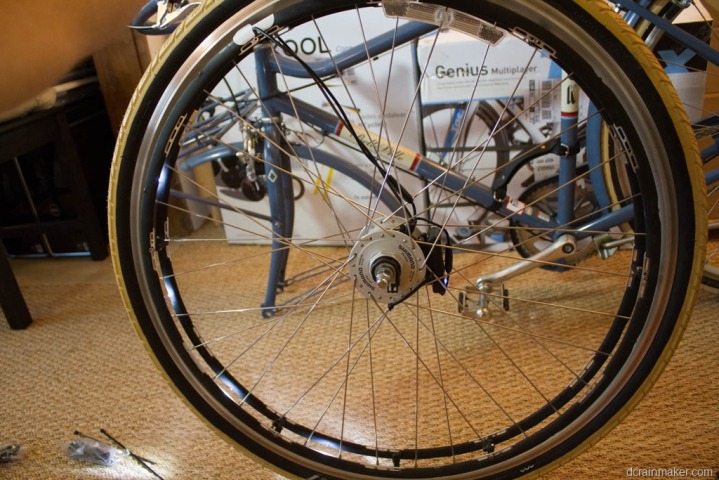
With the battery pack installed, you’ll hopefully have illumination. In my case, my battery packs came with some change on them (not a lot though).
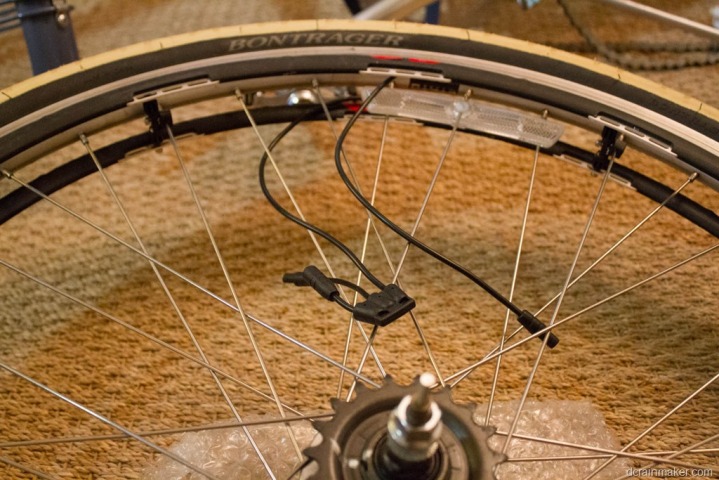
However, it wasn’t until I started the rear wheel that I realized that I had the wiring inside out (you can see it coming out of the wheel above near the white sticker around the 11AM position in this photo). The Revolight rim wire should have been on the inside, not outside. No worries, it literally only took about 3 minutes to swap it and reverse it – quick and easy.
You can see the correct position below on the rear wheel (note the red).
As the manual itself then notes – it’s rinse and repeat time. Everything you did for the front wheel, you repeat on the back wheel.
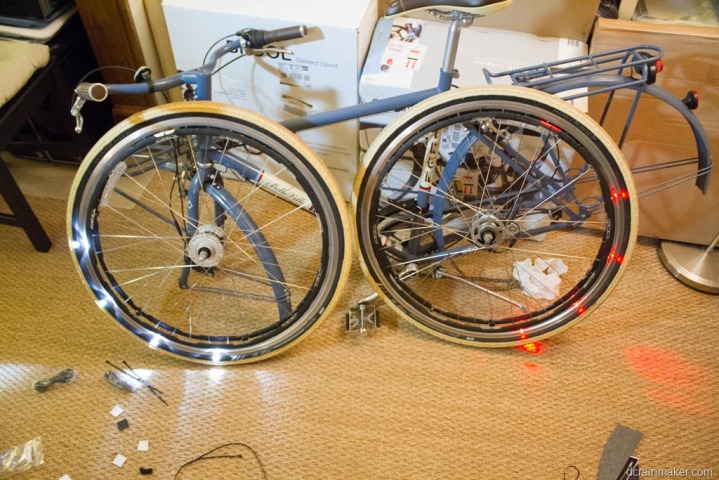
Once that’s all set, you’ll have (hopefully) two illuminated wheels:
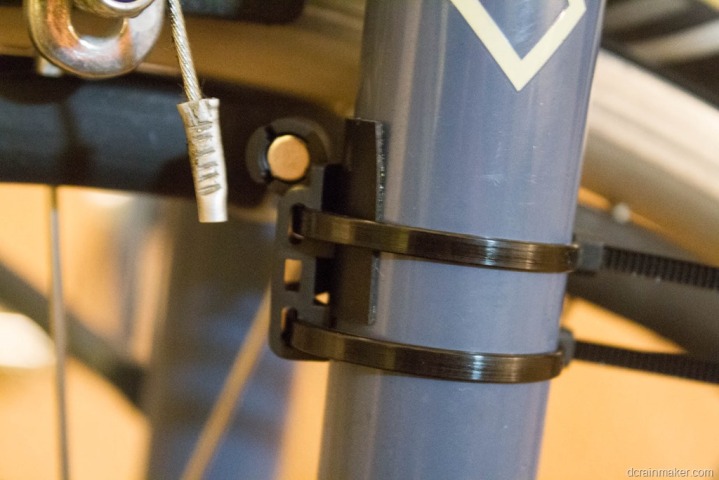
Finally, last but not least is installing a small magnet onto your front fork and near the rear wheel (you have a few options here actually). This magnet helps the accelerometer within the Revolight rims to keep track of rotation.
I initially had some minor issues with the magnet not being correctly lined up. Which meant that at higher rotation speeds the lights didn’t stay facing forward at all times on the front wheel. I ended up phoning the Revolights hotline (they actually have a real human on the other end, no machines) – and they got me all fixed up in a few minutes. With that, I was good to go:
From here, it was time to head outside. First, a few pretty pictures, and then some video.
Out and About:
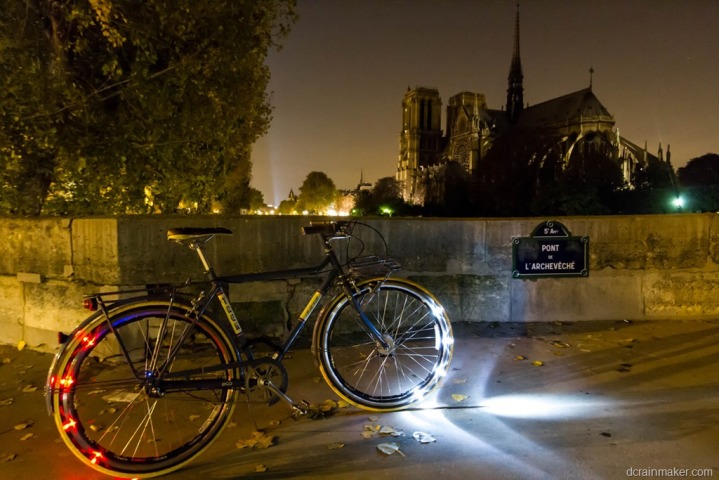
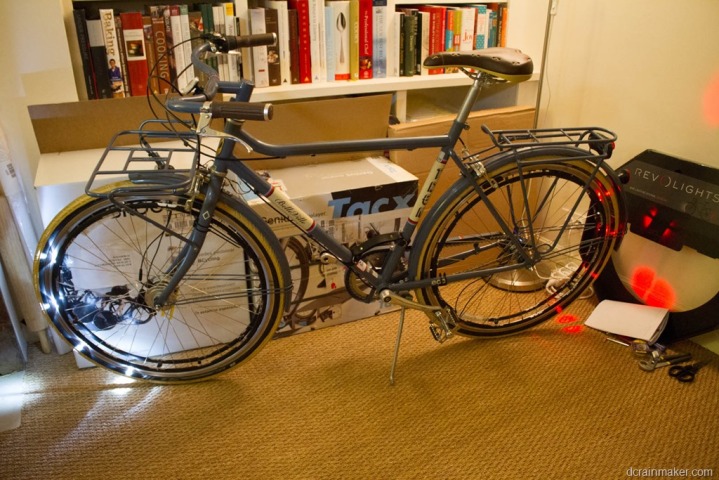
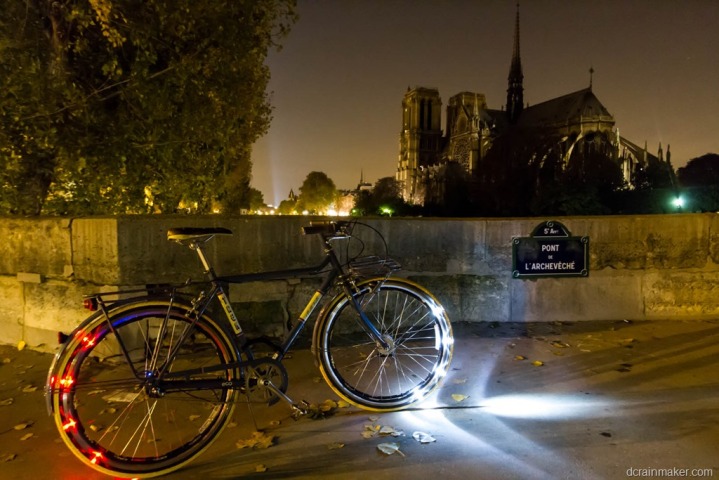
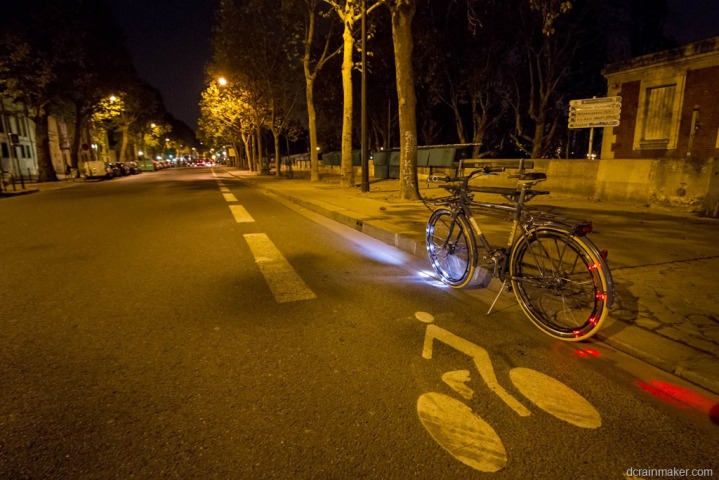
The final product – in all its glory!
It took all of about 3 minutes while taking a set of photos until someone stopped and asked about them. Further, these guys actually knew about them.
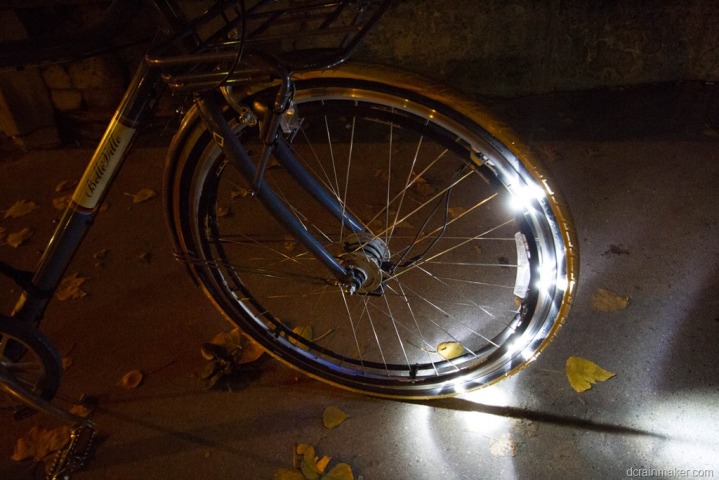
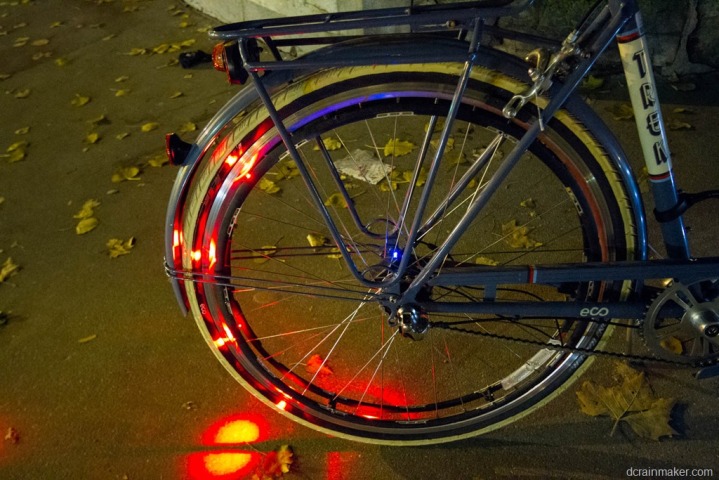
The lights are a bit brighter in the front than in the back. And while they are definitely very (super) visible, I’m not sure they’d be quite bright enough on a pitch black street at speed to illuminate everything far enough ahead while riding quickly. Close by, no problems – but longer projection is a bit tougher. Here in the city, finding such a street is tough though – simply due to so much light.
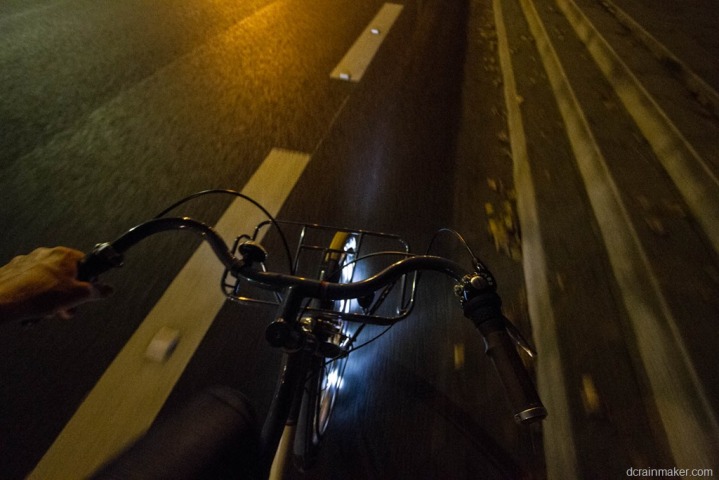
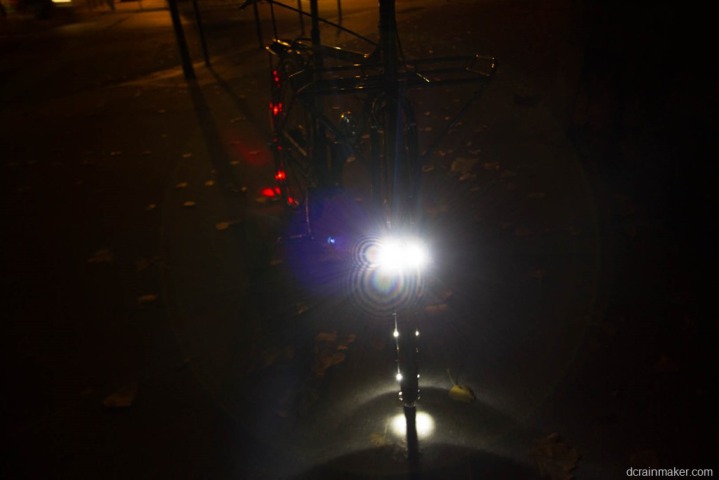
You can see what it looks like as you ride forward below, with the light projecting outwards a bit:
And here’s what it looks like facing the light. Note that I disabled the front light that’s otherwise on my bike for all of these photos.
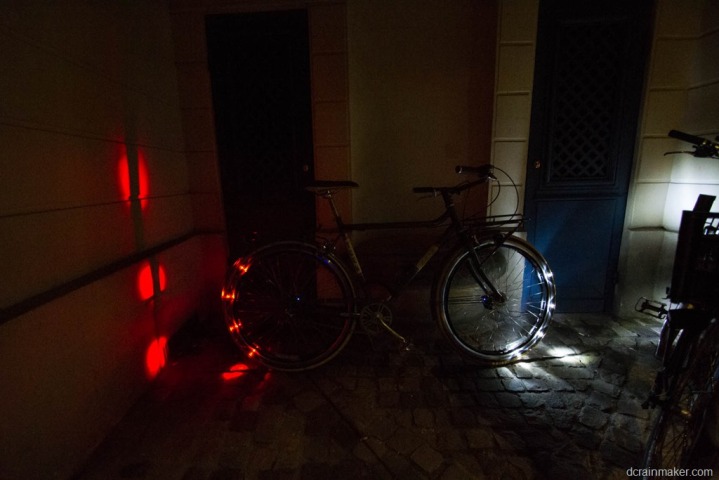
Here’s the bike in a fully dark space (inside courtyard) – illuminating the wall in front and behind:
Some folks have asked about theft. Honestly, I don’t think there’s much of an issue with theft of the Revolights system by itself. Your far more likely to have the whole bike stolen, because quite frankly no person is going to sit there with a screwdriver for two hours and take apart the whole thing. Your normal wheel locks would protect Revolights though, because they’d still be intertwined in the rim.
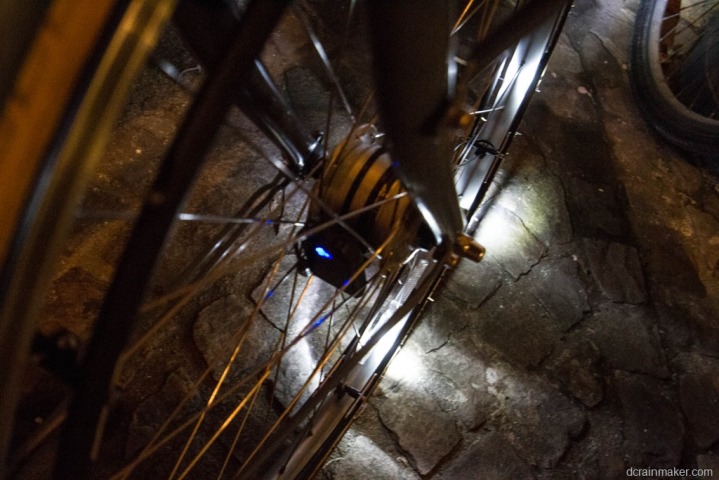
I will remove the battery packs and take them with me when I leave the bike alone. Each one is roughly the size a deck of cards (a touch bit smaller actually). They clip on and off the hub mounting bracket just by pressing a small release lever. You can see the blue light of the battery back at the hub in most photos.
In fact, you press the little button on the battery pack to turn the system on or off. The LED light system is designed to get about 4 hours of illumination time per charge. And the battery packs are simply charged using micro-USB, just like most cell phones these days.
Here’s one final pretty picture:
Finally, here’s a quick video I shot from the bike, showing what it looks like riding around a bit. Nothing super fancy, but gives you a feel for things.
Summary:
Overall, I think Revolights provide for a pretty interesting and innovative product. There’s no doubt that it makes you more visible, and even more likely as a result it reduces your risk of getting hit by a car. But, like any other light system, you still have to ride safe and pay attention.
The system seemed to catch the eye of virtually every person on the streets as I rode past, which was both good and bad. For me personally, that might be a bit too much attention (sometimes I just like to ride without any fanfare). But overall, that’s really nothing to complain about. The system does exactly what it’s claimed to do – increase visibility.
One area I’m interested in seeing long term is how it holds up to the weather. In my case, the unit will actually have to stay out in the rain, because while I have a locked courtyard (seen above in a photo), it’s open to the sky above. They say water resistant, which is good – but I’m still looking to see how long term they hold up.
I’ll check back in time and see how things fair, but for now – I’m fairly happy with them and have no complaints.
As always, if you have any questions – feel free to drop them below. And thanks for reading!
FOUND THIS POST USEFUL? SUPPORT THE SITE!
Hopefully, you found this post useful. The website is really a labor of love, so please consider becoming a DC RAINMAKER Supporter. This gets you an ad-free experience, and access to our (mostly) bi-monthly behind-the-scenes video series of “Shed Talkin’”.
Support DCRainMaker - Shop on Amazon
Otherwise, perhaps consider using the below link if shopping on Amazon. As an Amazon Associate, I earn from qualifying purchases. It doesn’t cost you anything extra, but your purchases help support this website a lot. It could simply be buying toilet paper, or this pizza oven we use and love.

