This is not a review. This is a placeholder post for sharing data from a production/final LIMITS power meter. This unit was not sent to me by LIMITS (which I am also a paid Indiegogo backer of), but rather a DCR reader (Jon Entwistle), who happened to go to the LIMITS launch event in Scotland. A handful of units were handed out at that event, and he sent me his in order to test and provide public data on. I do not know when backer units will ship (mine included).
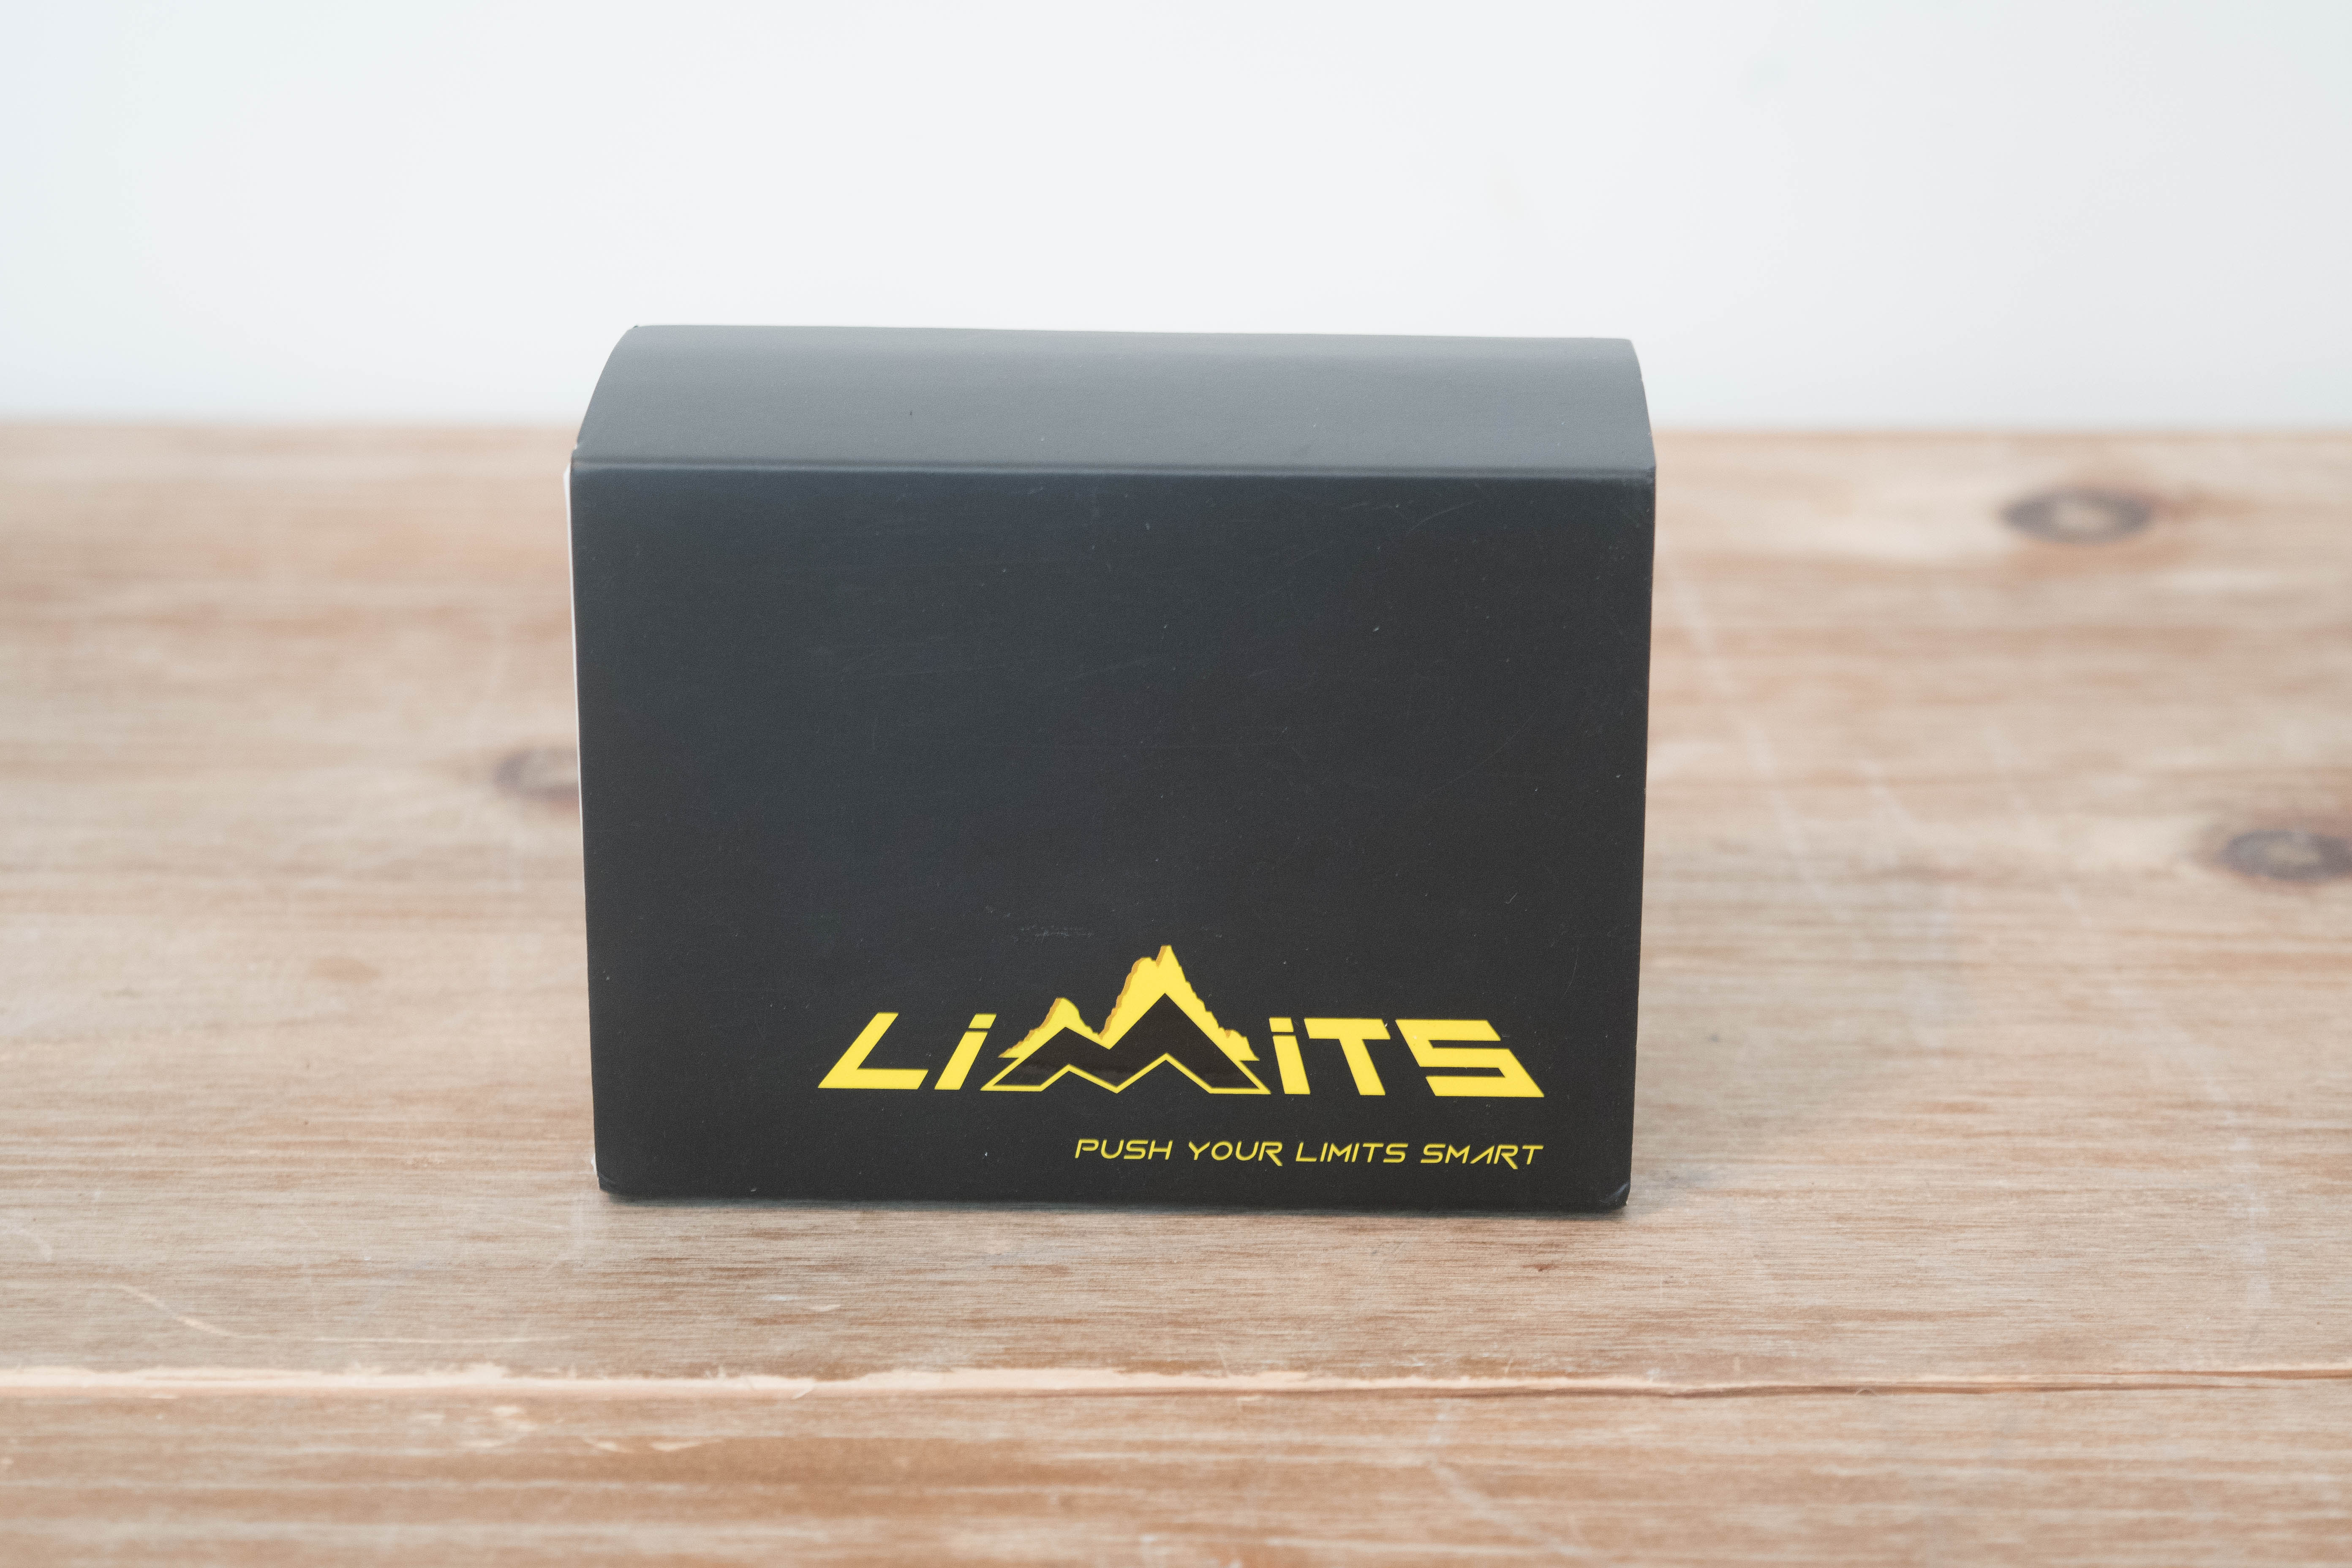
Box Contents:
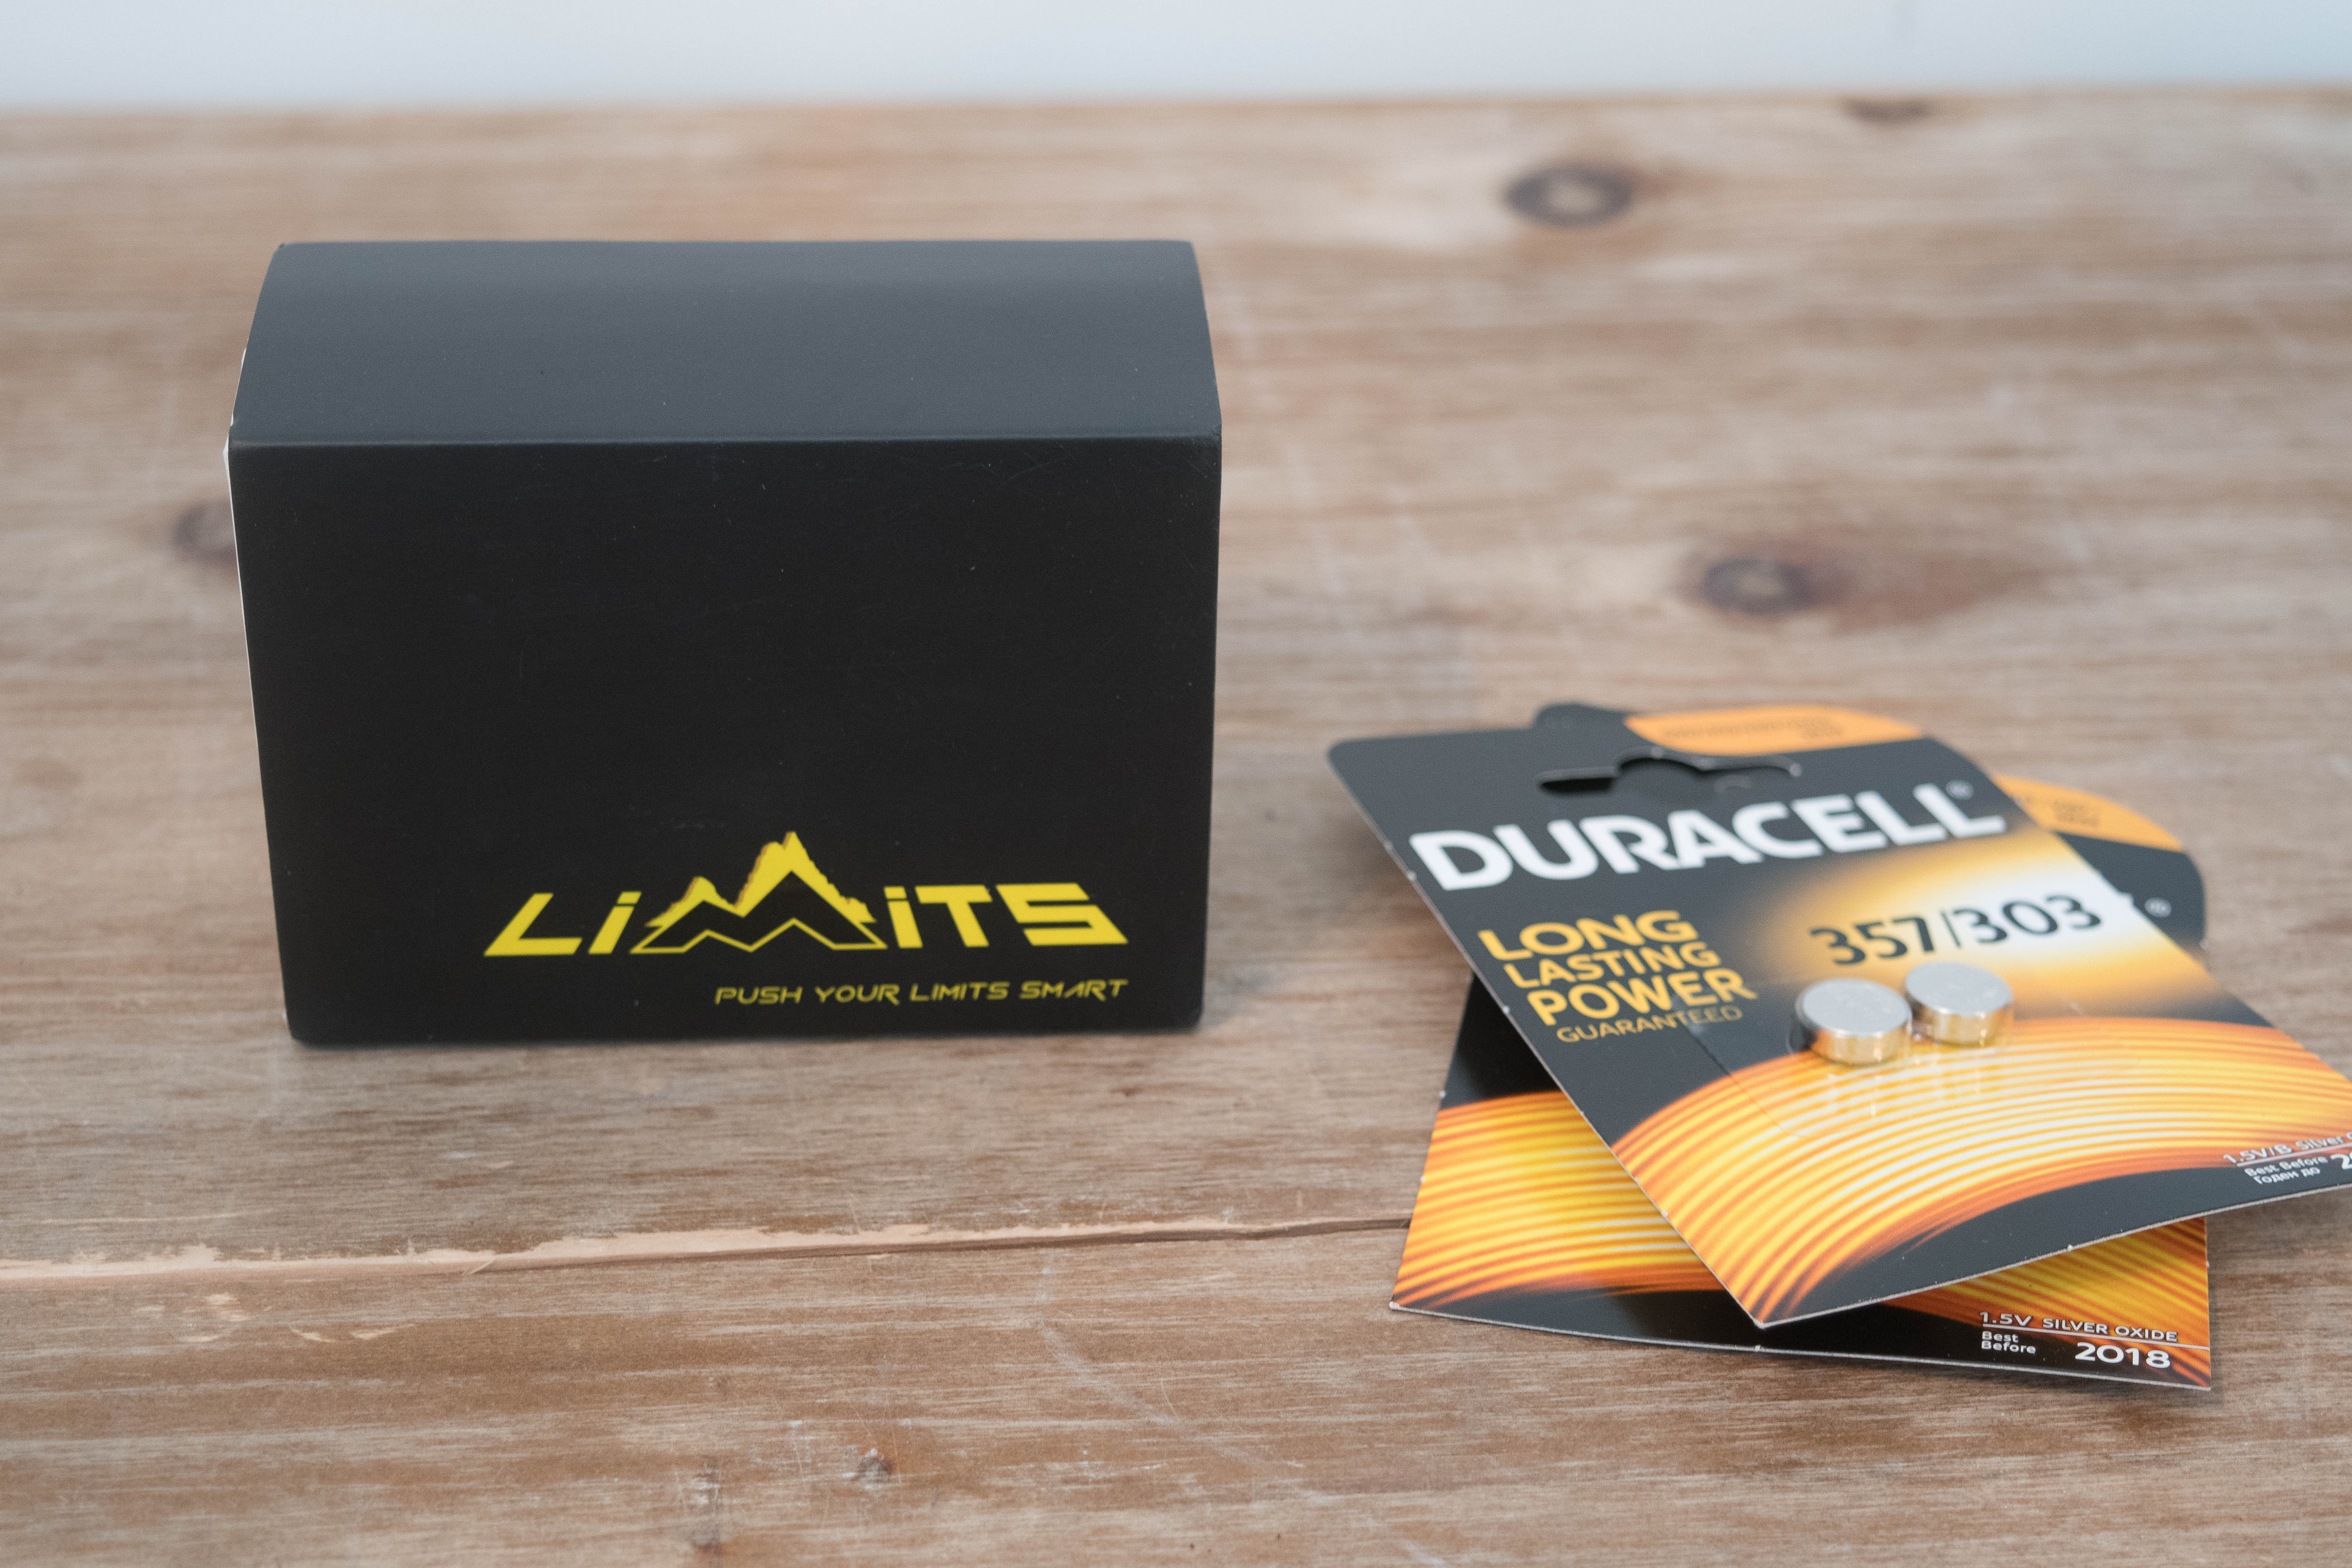
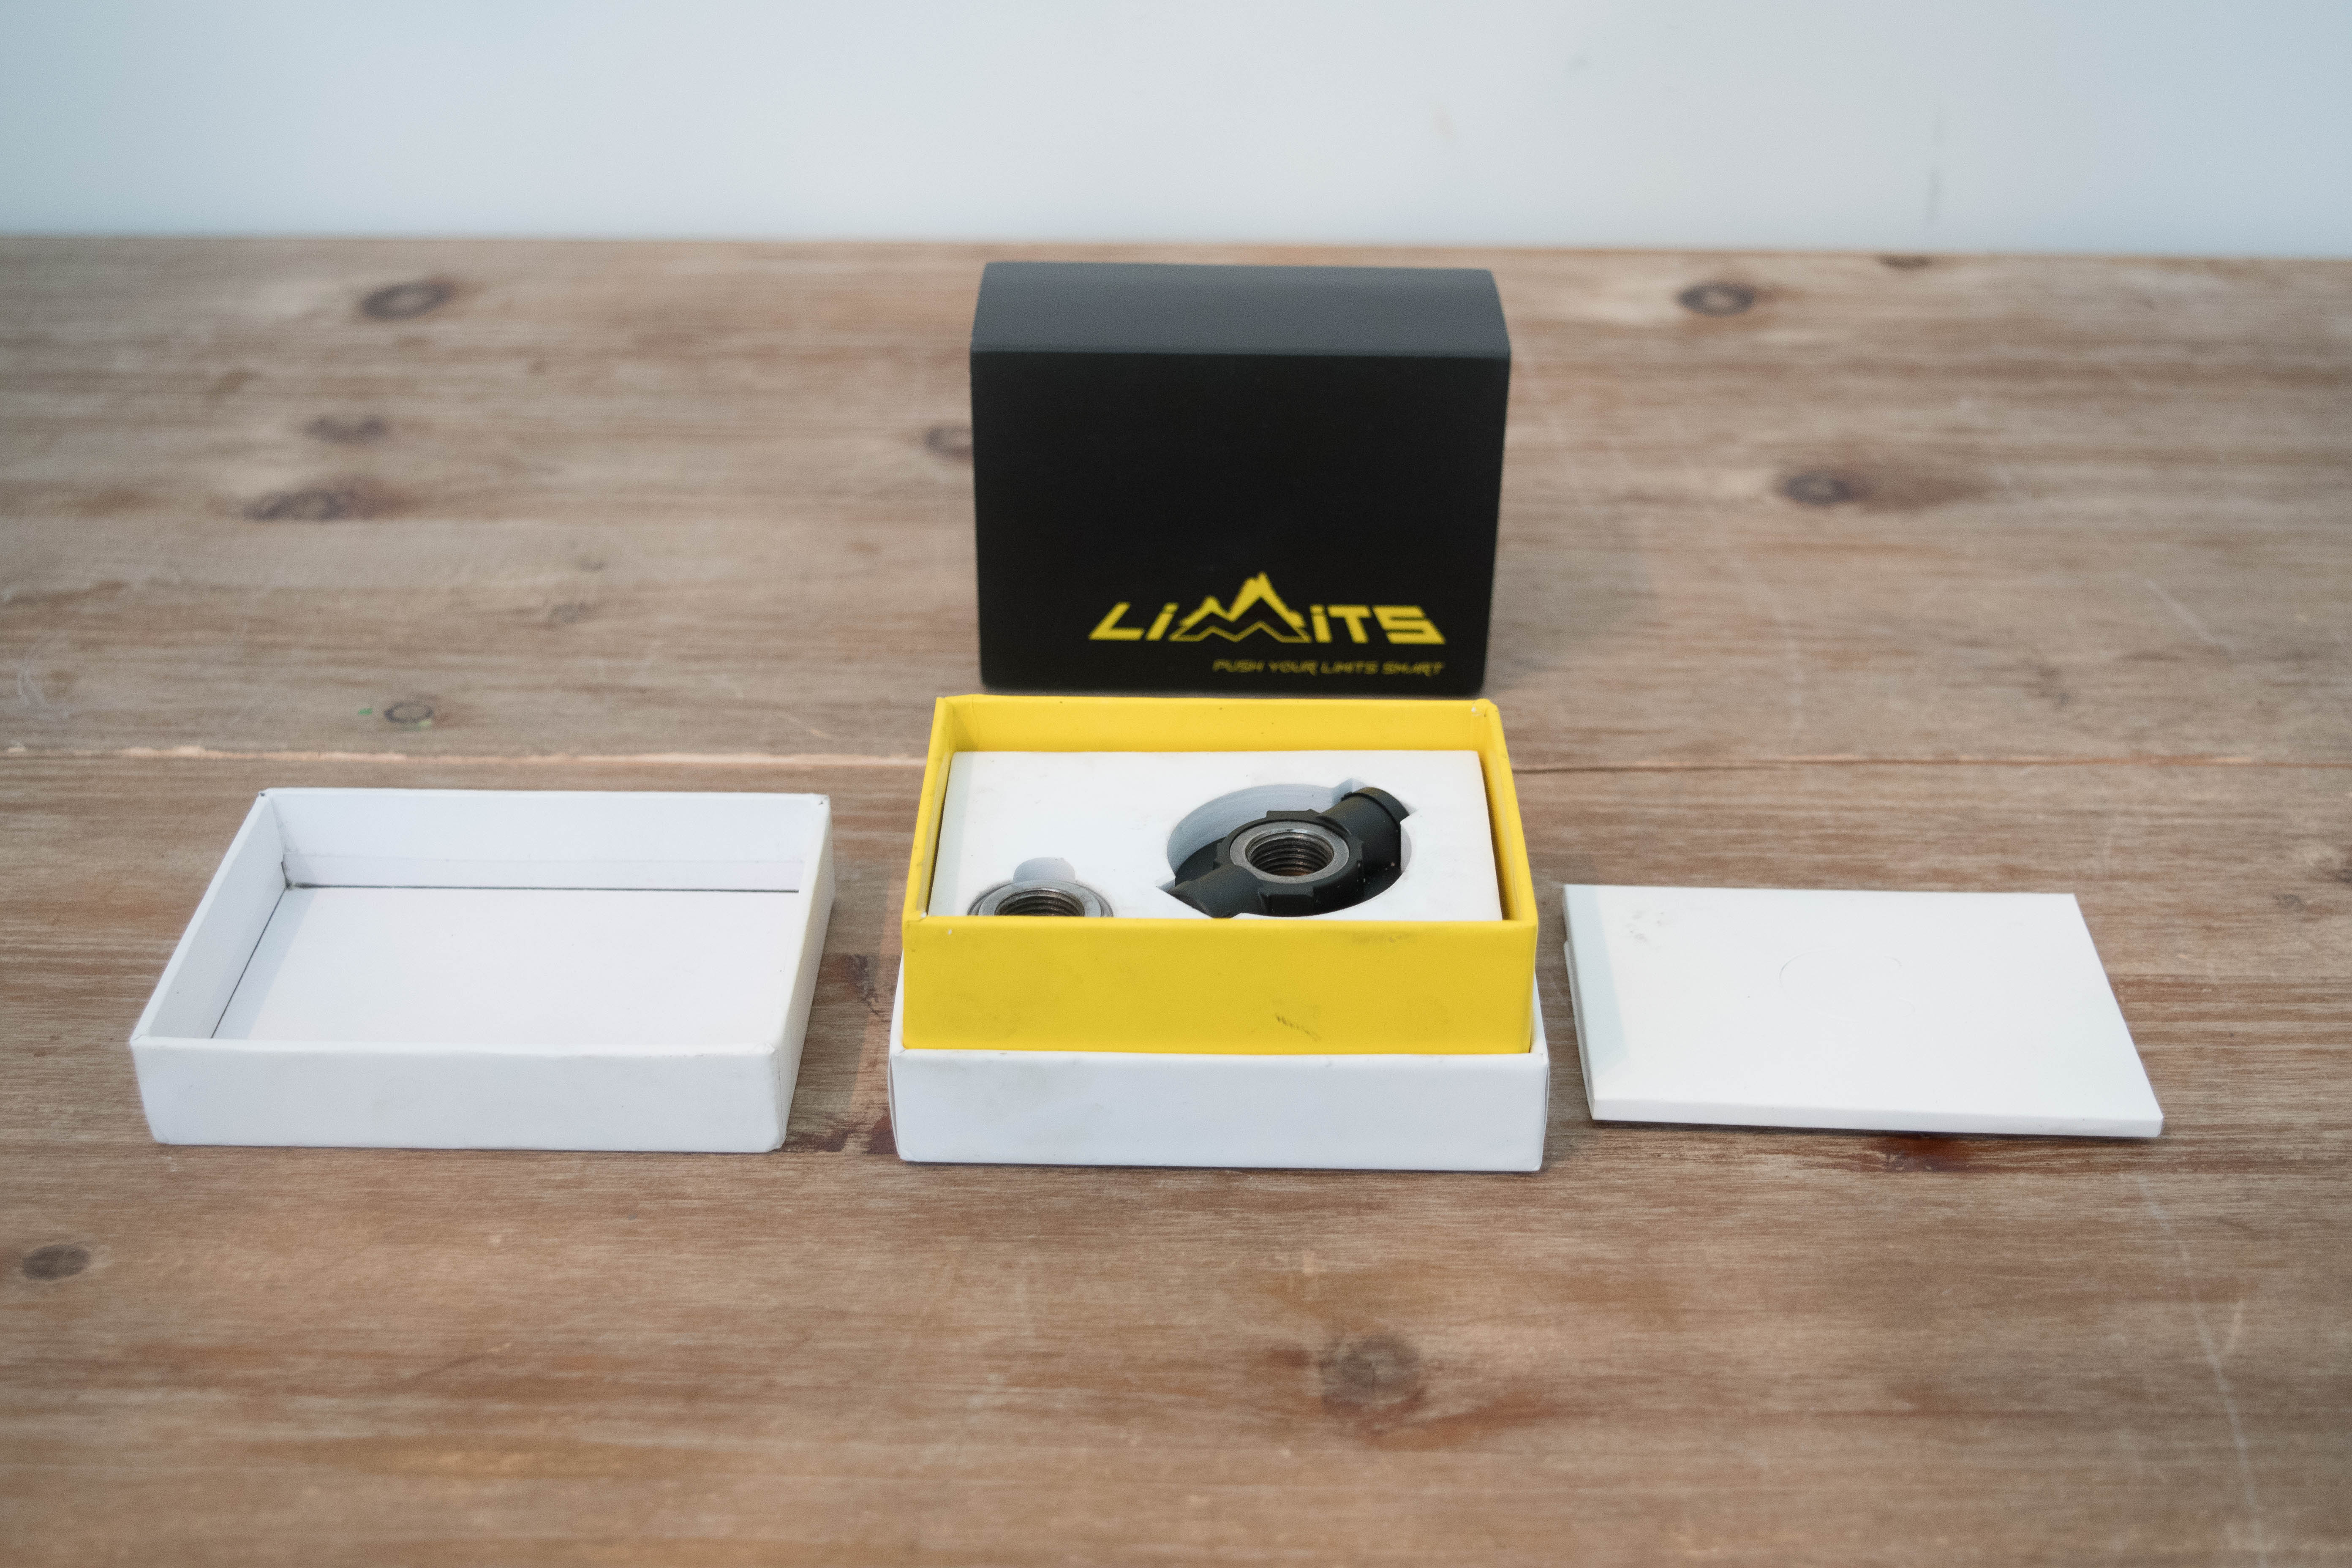
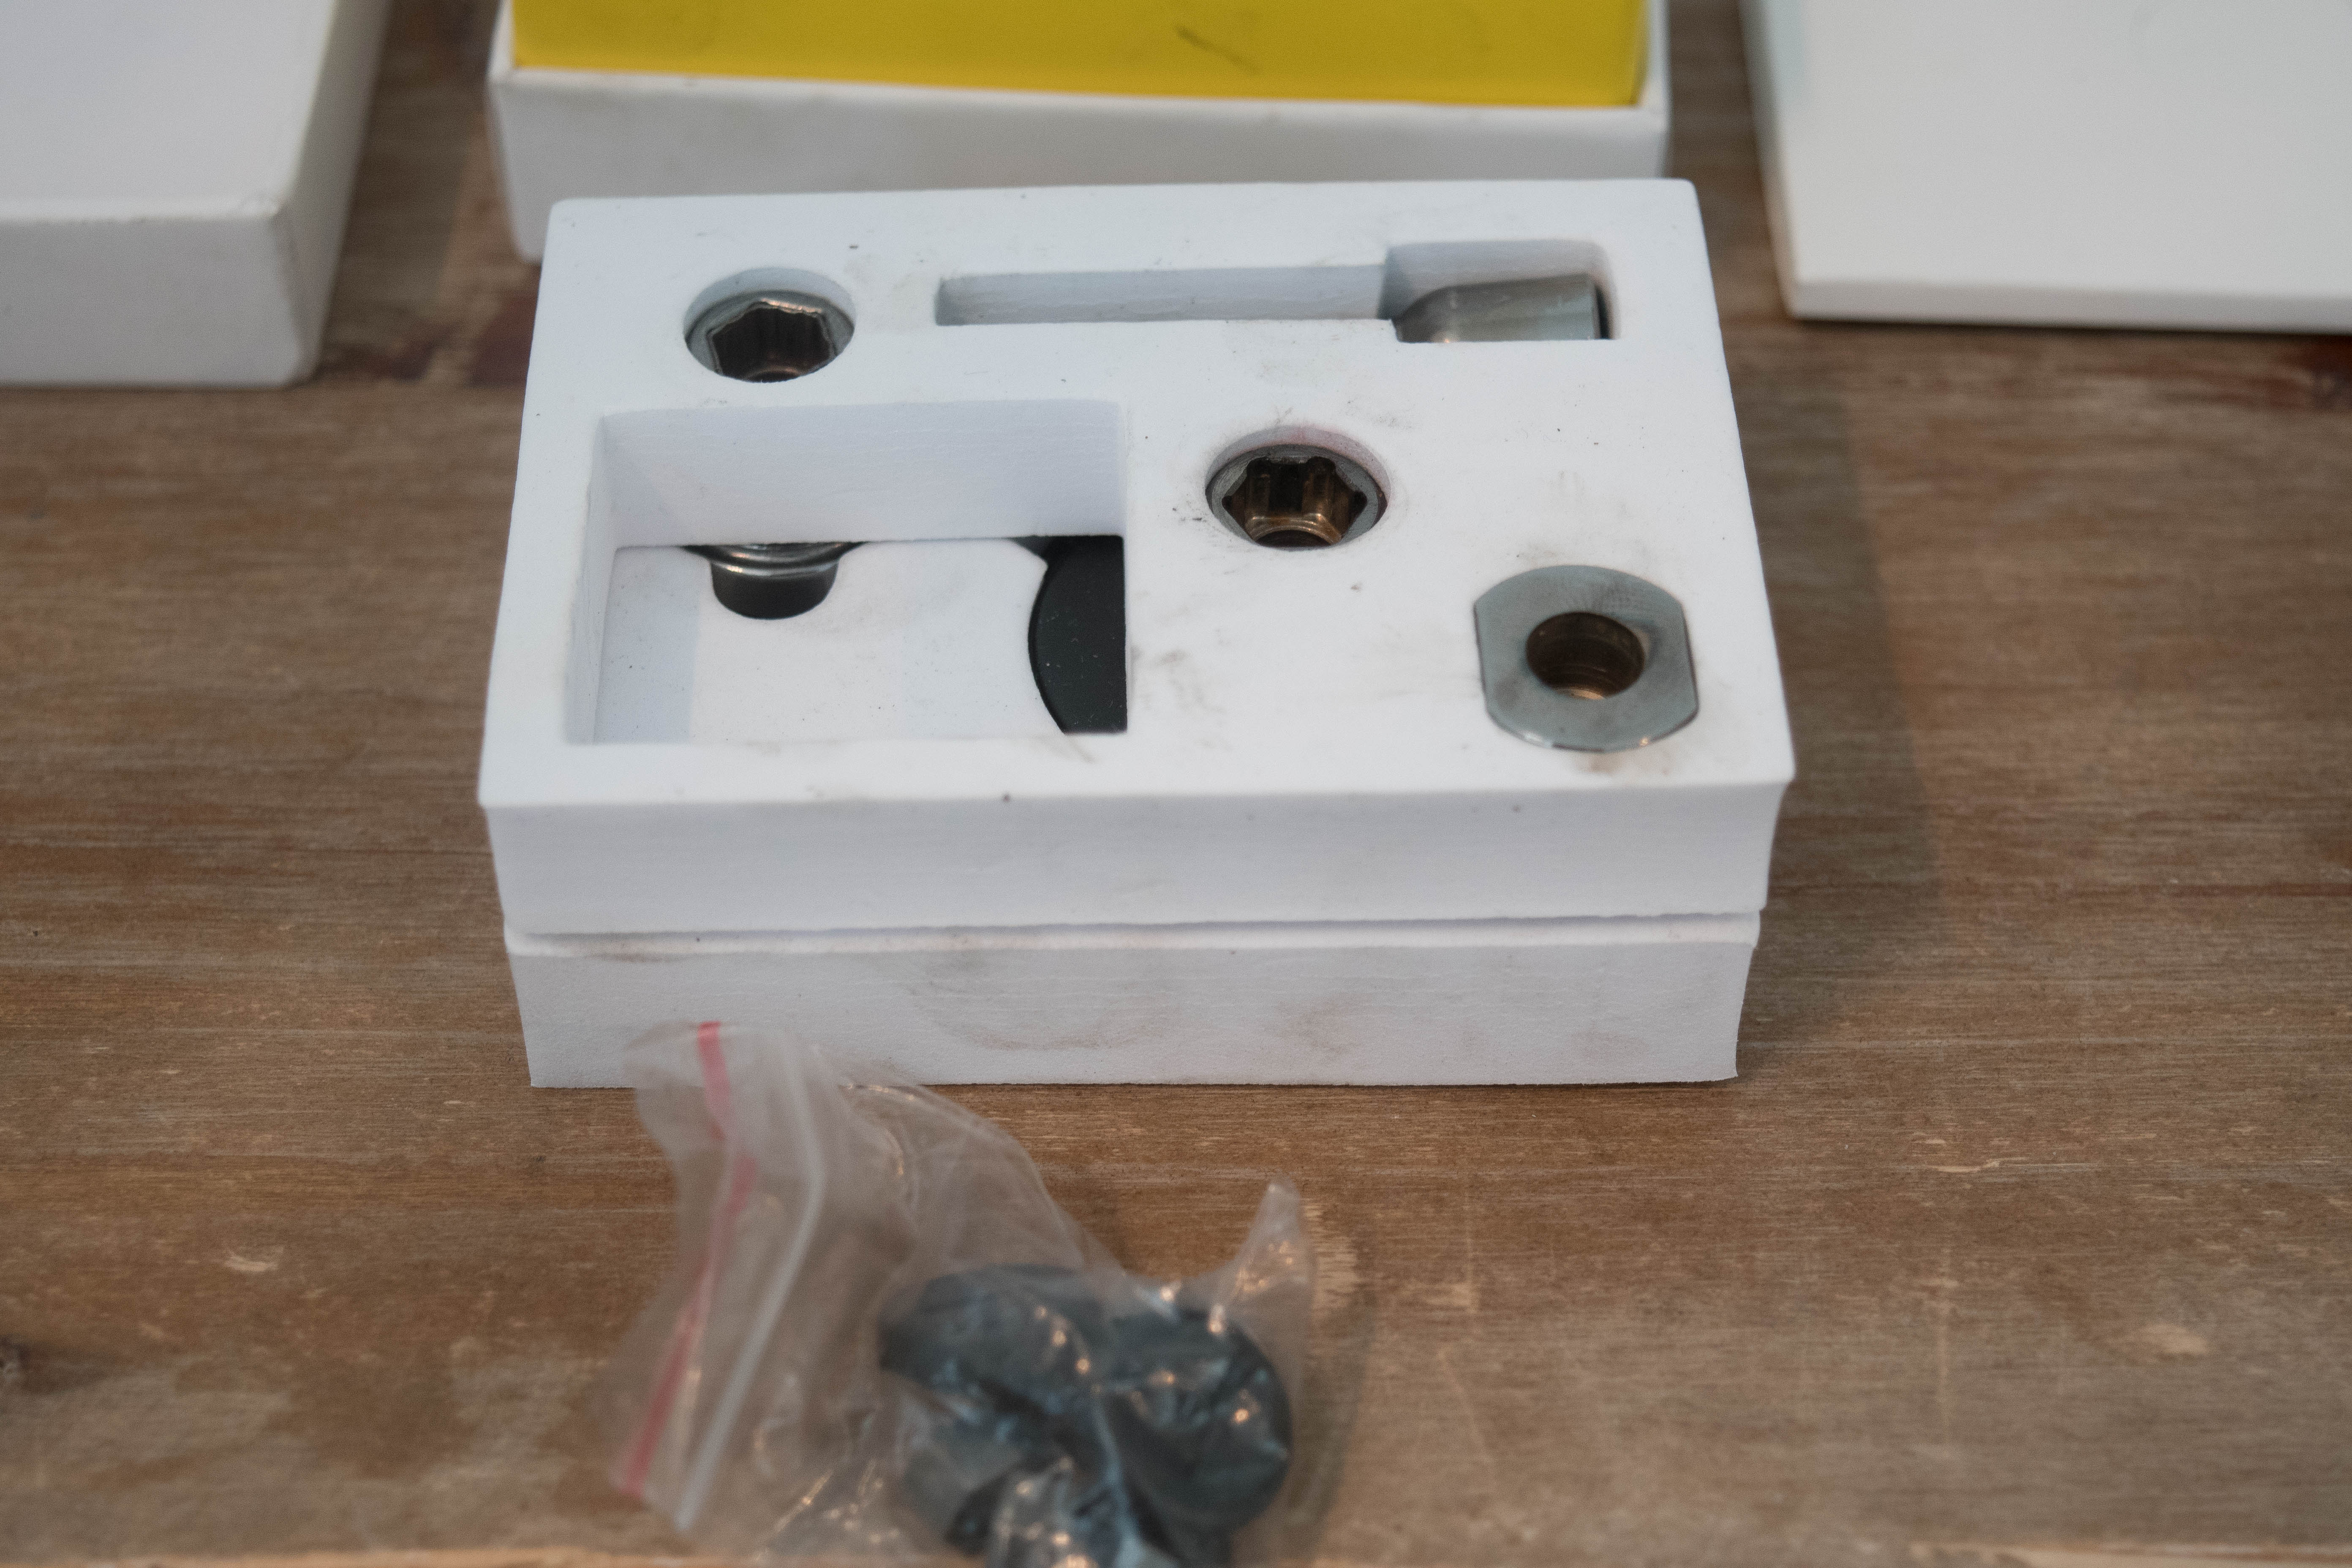
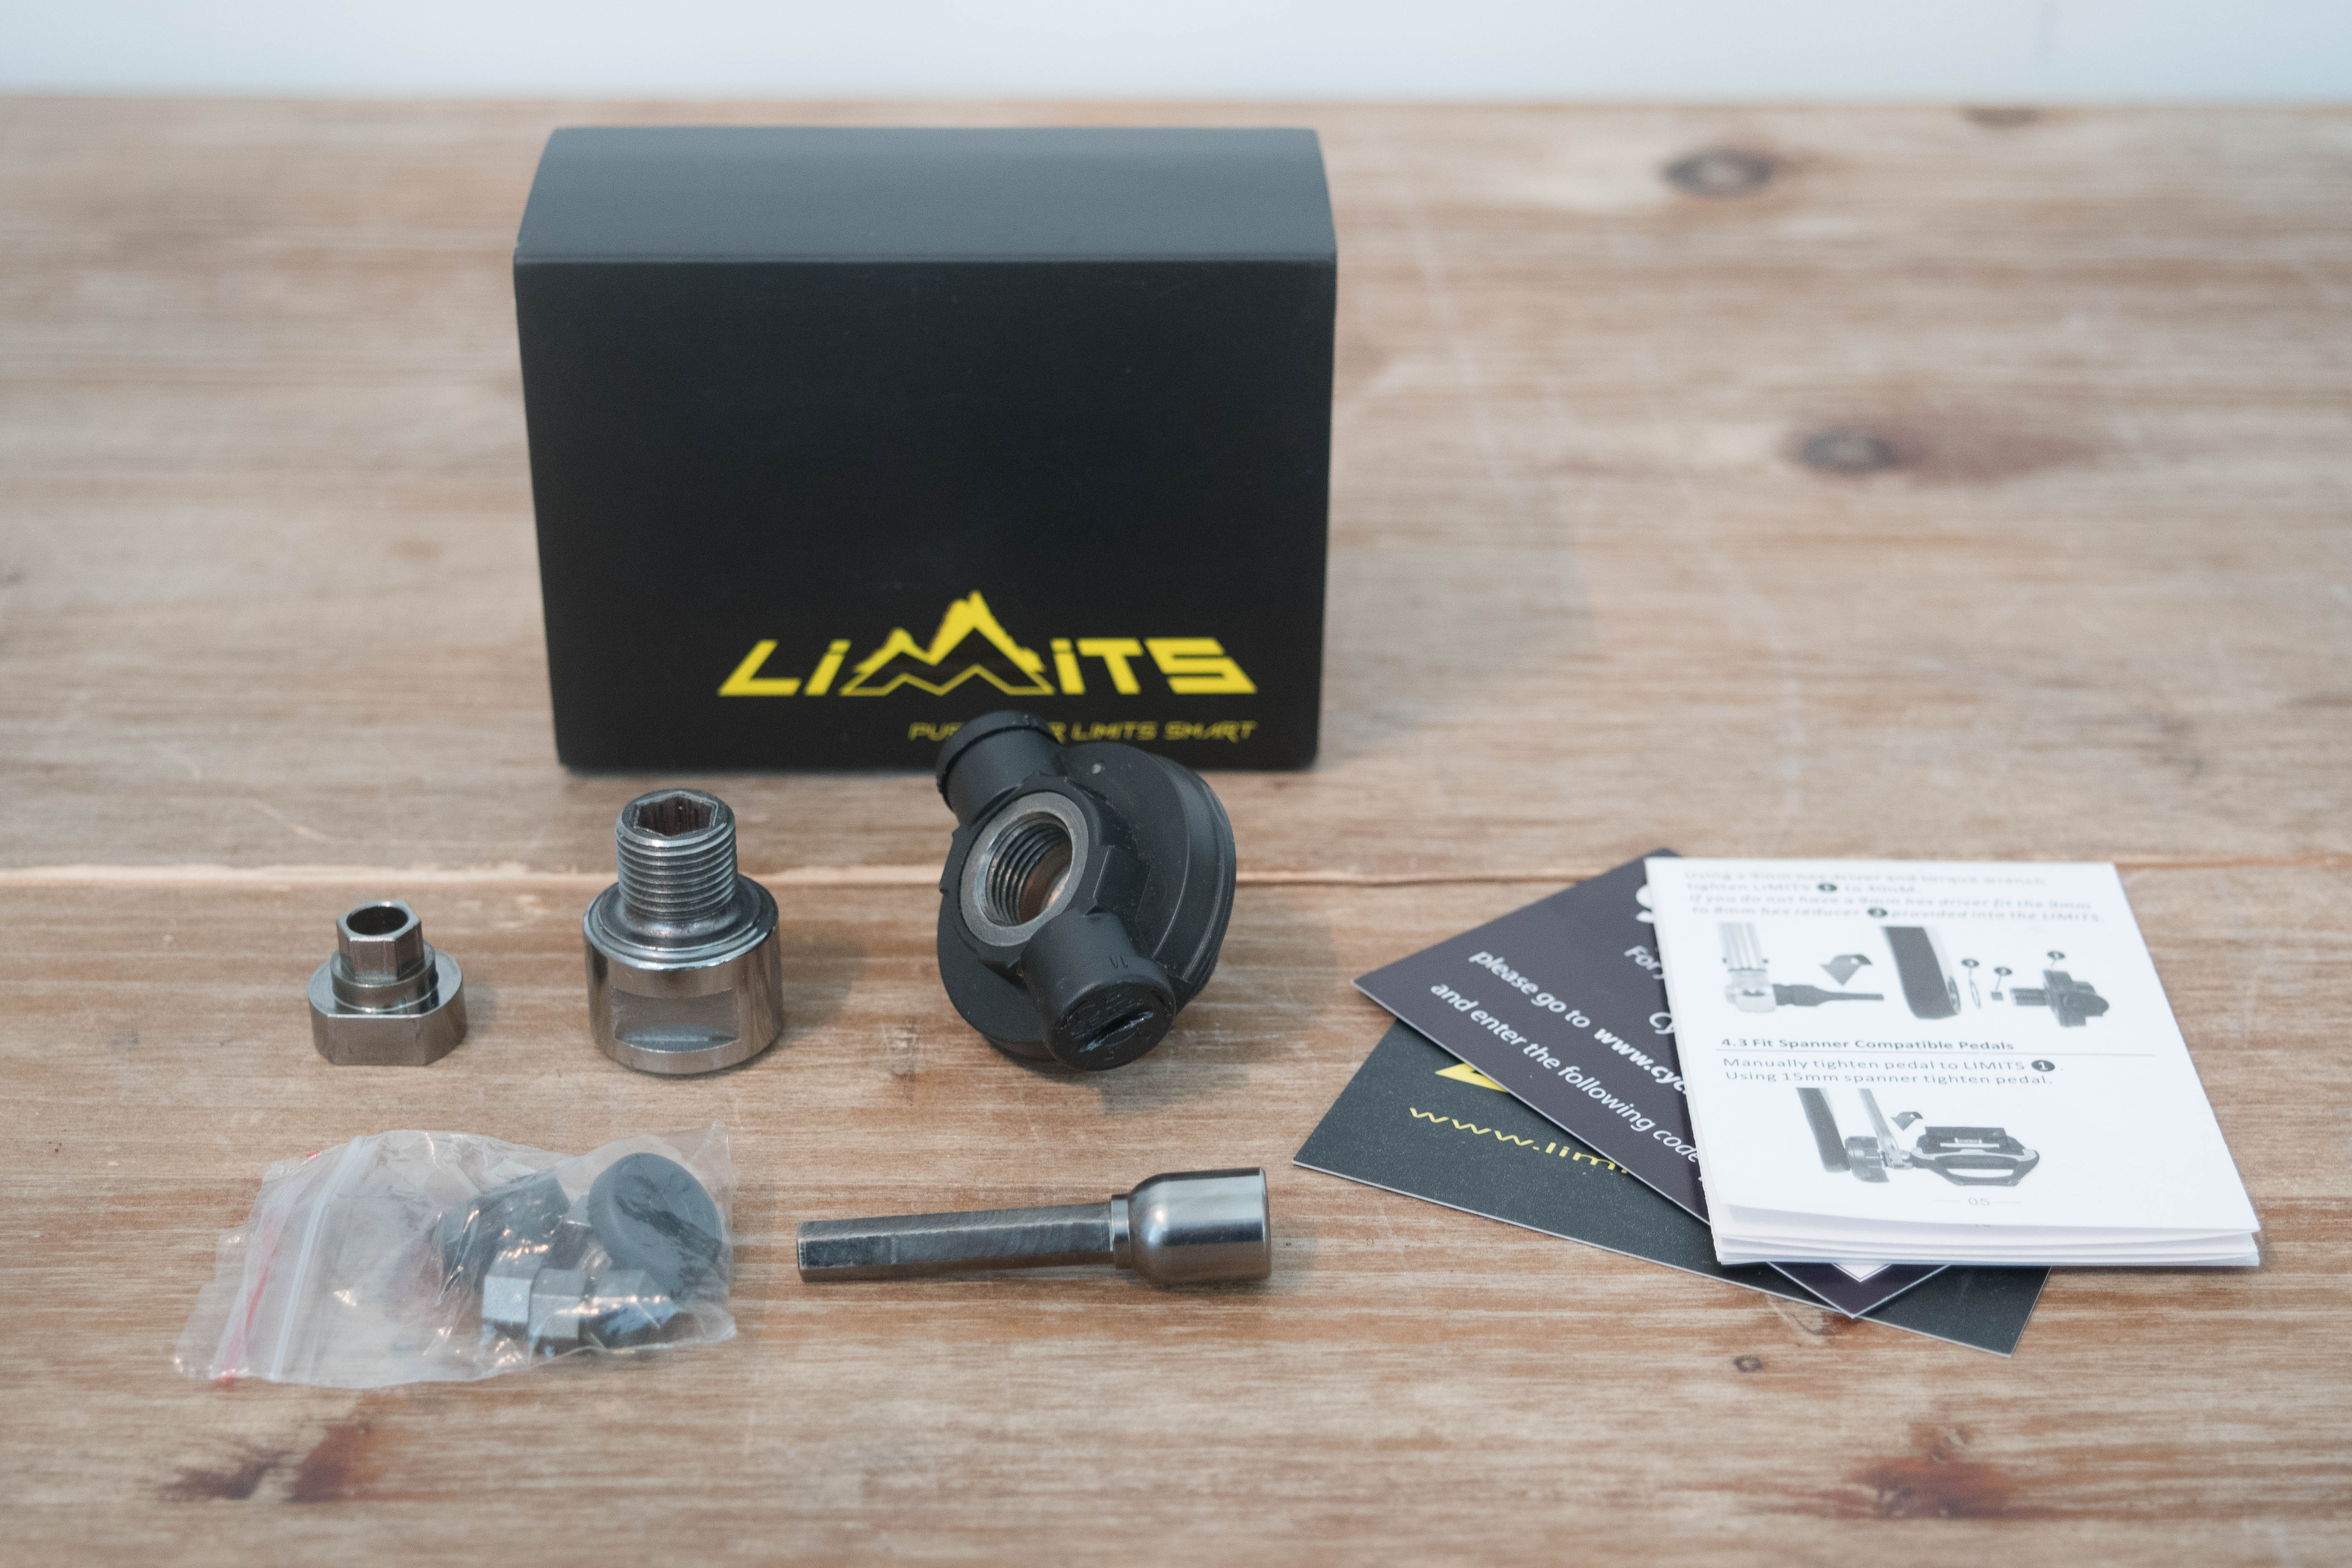
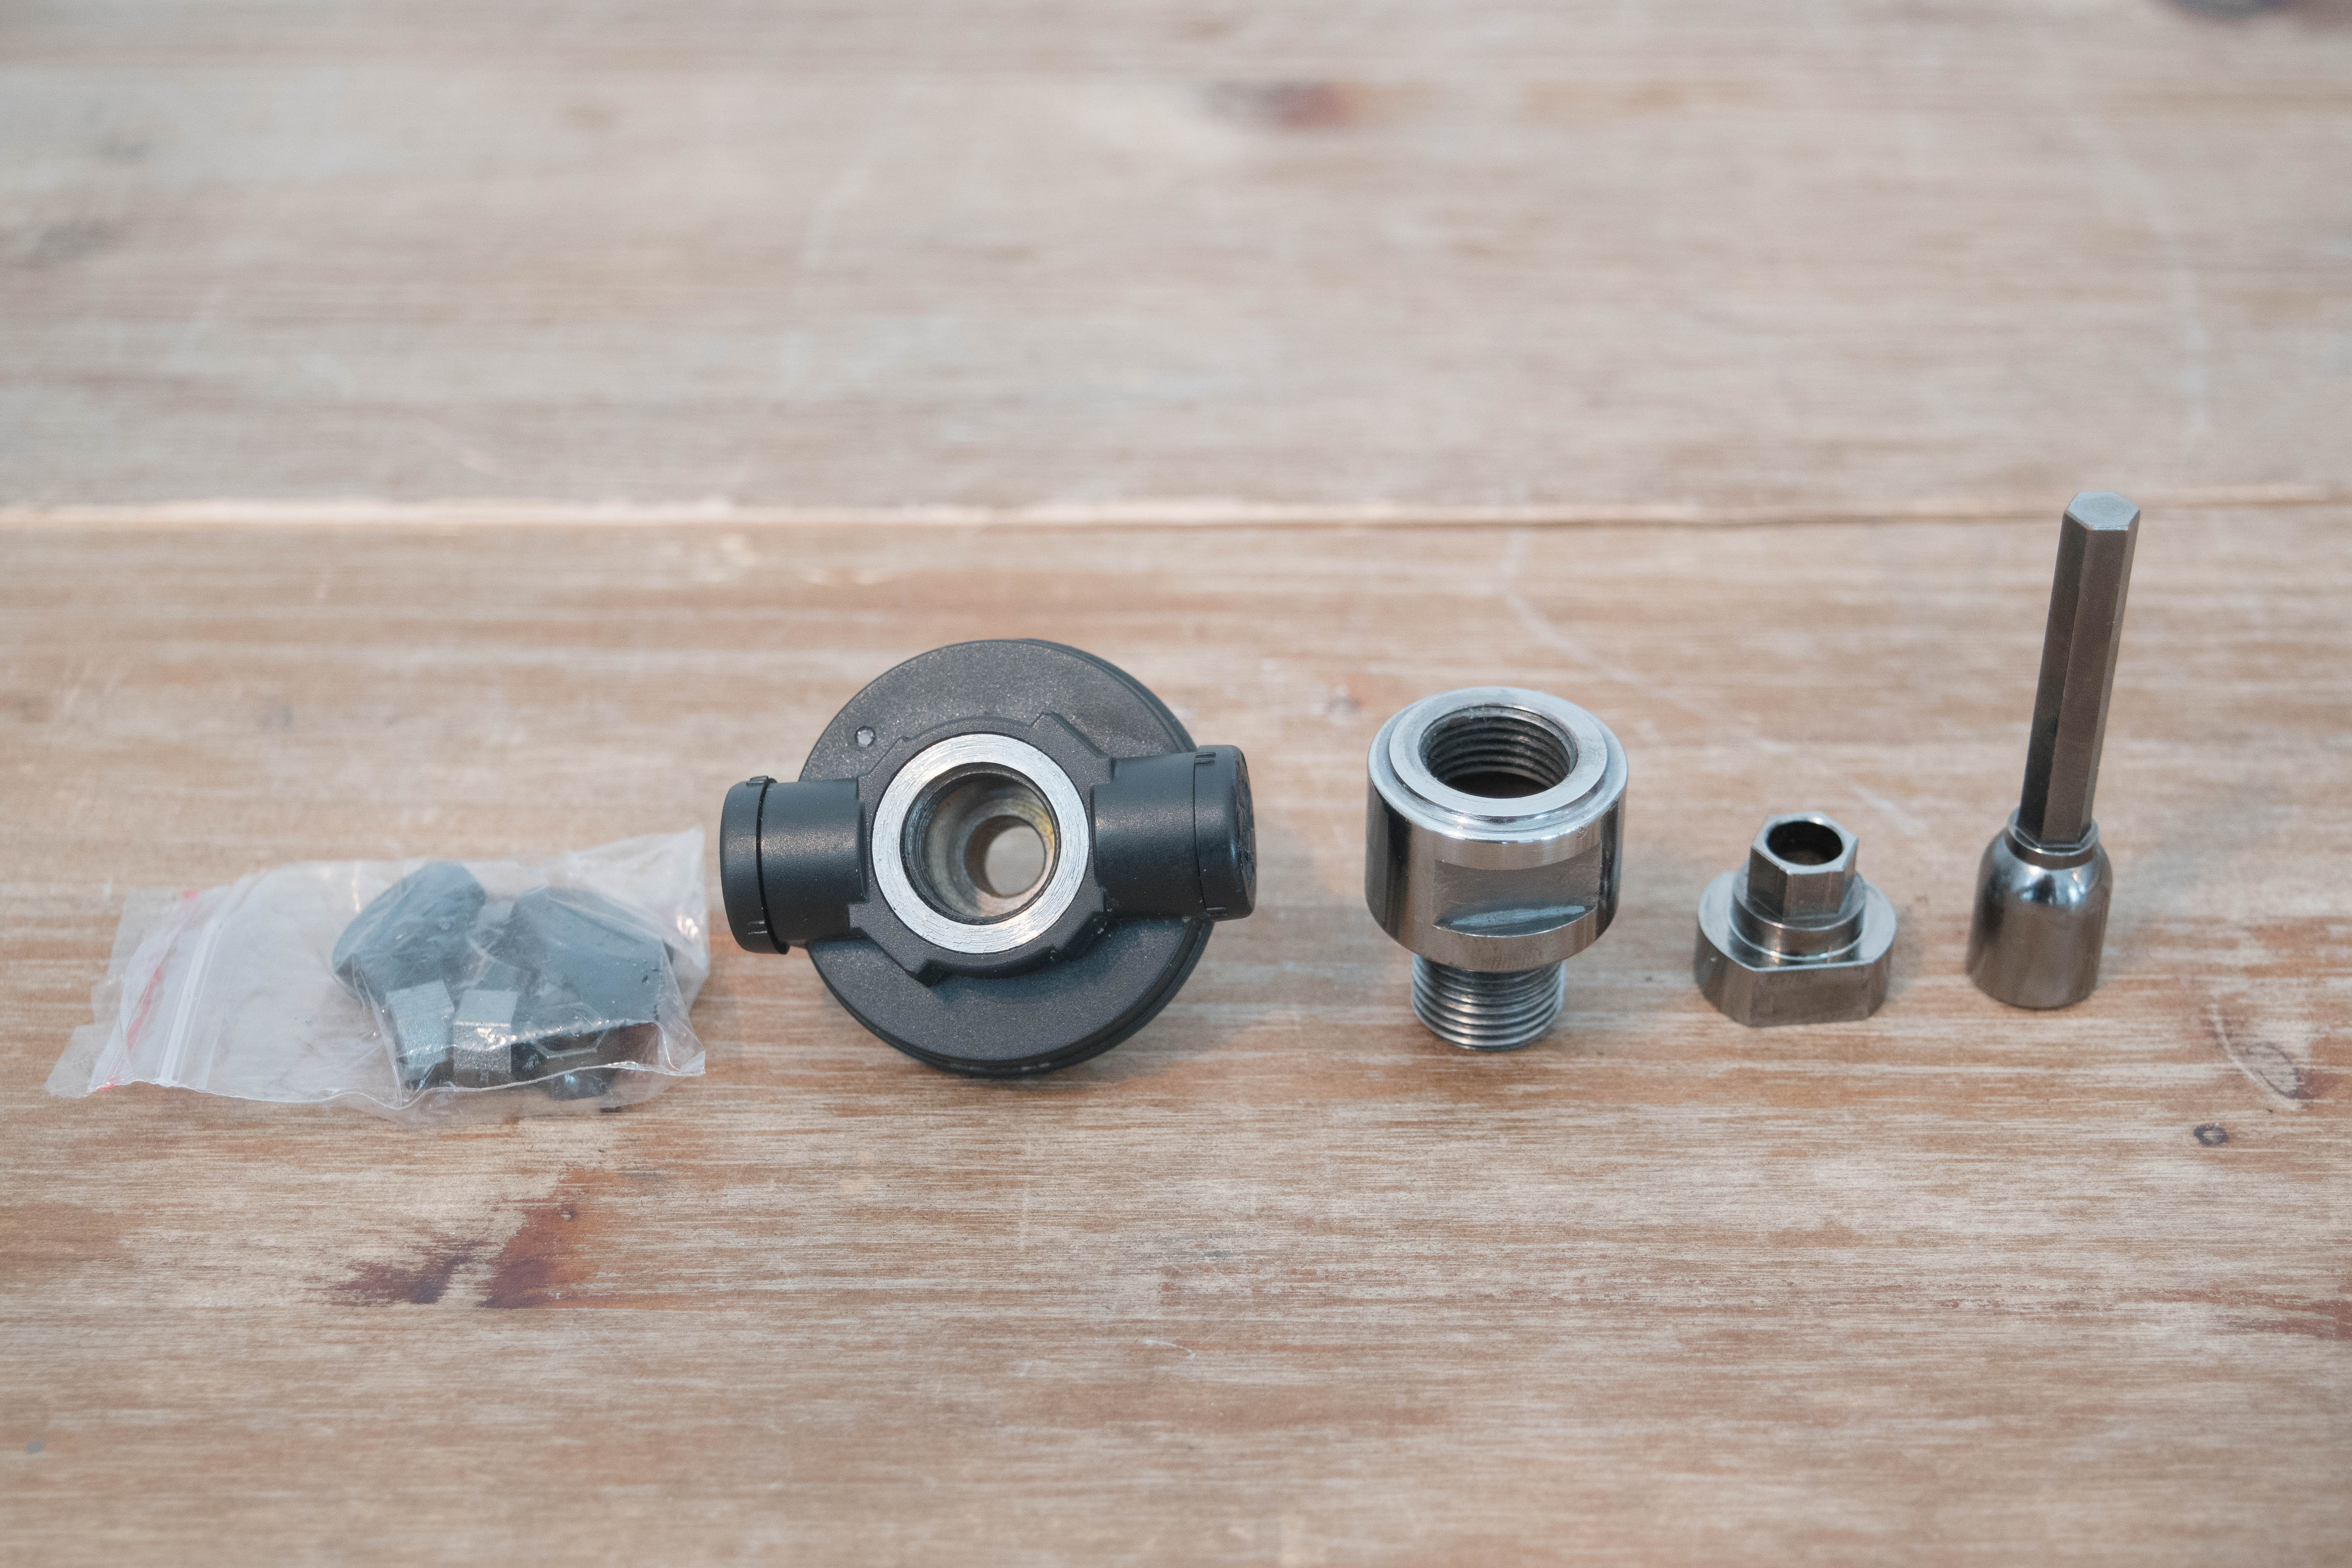
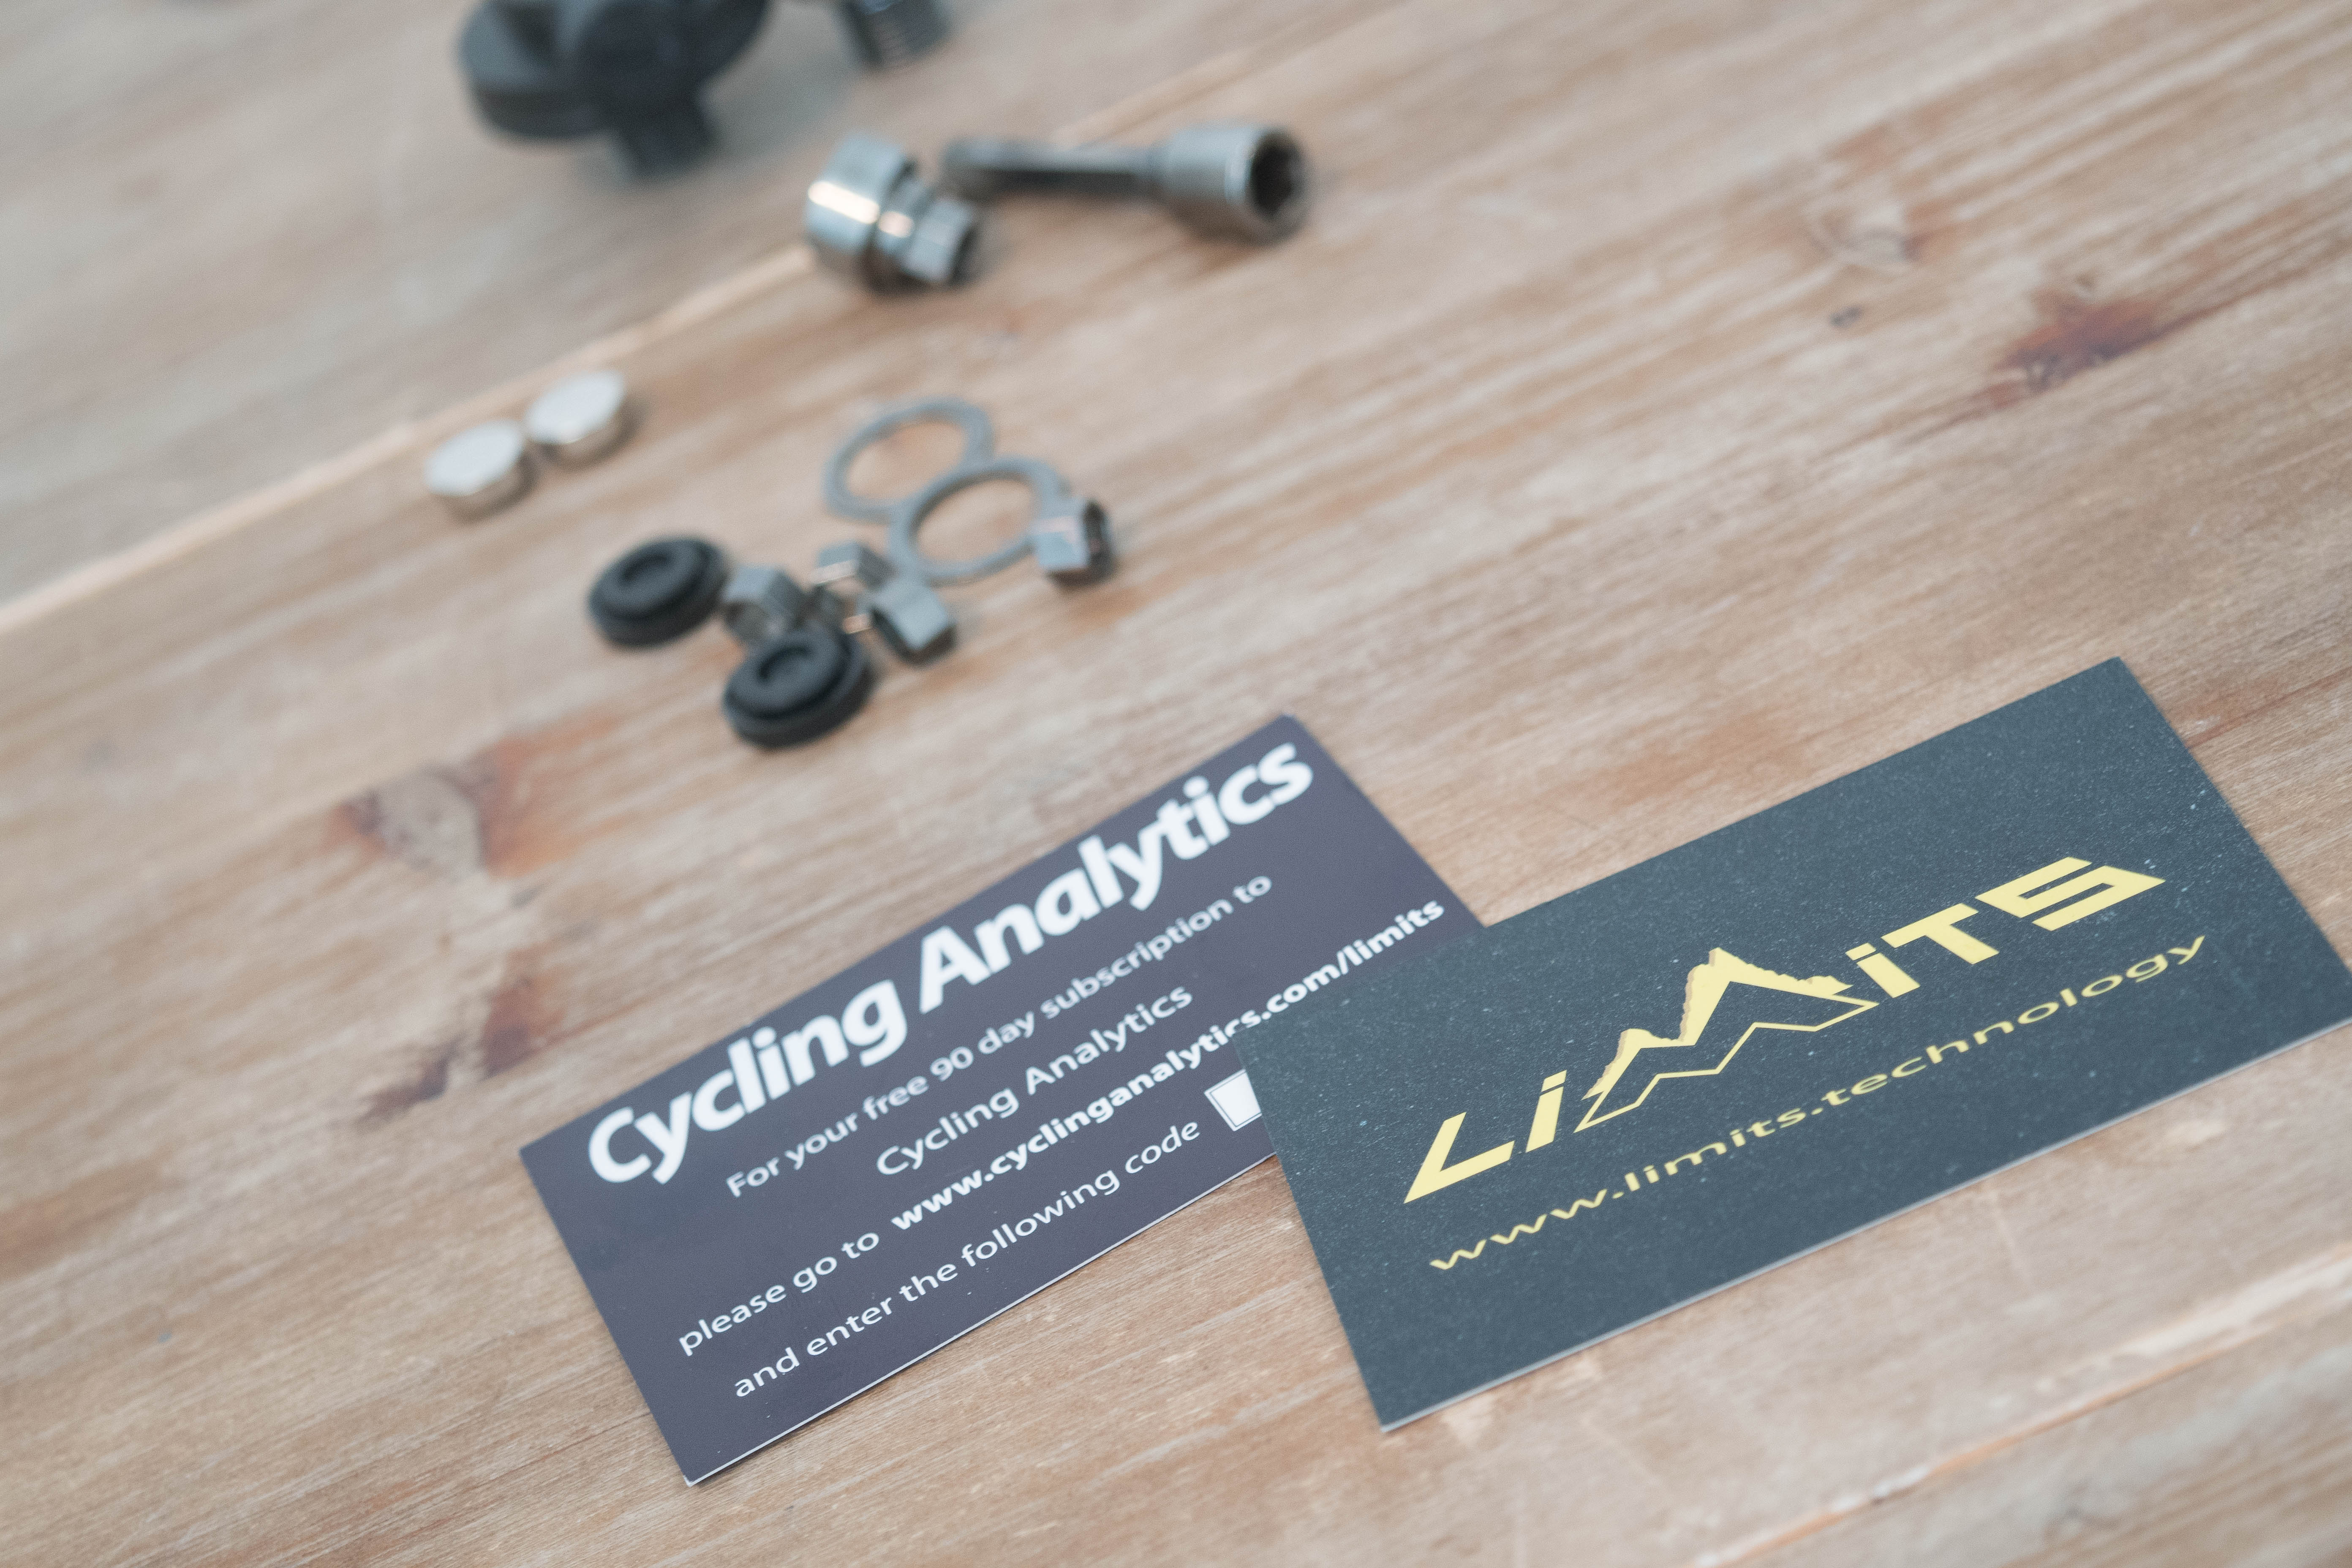
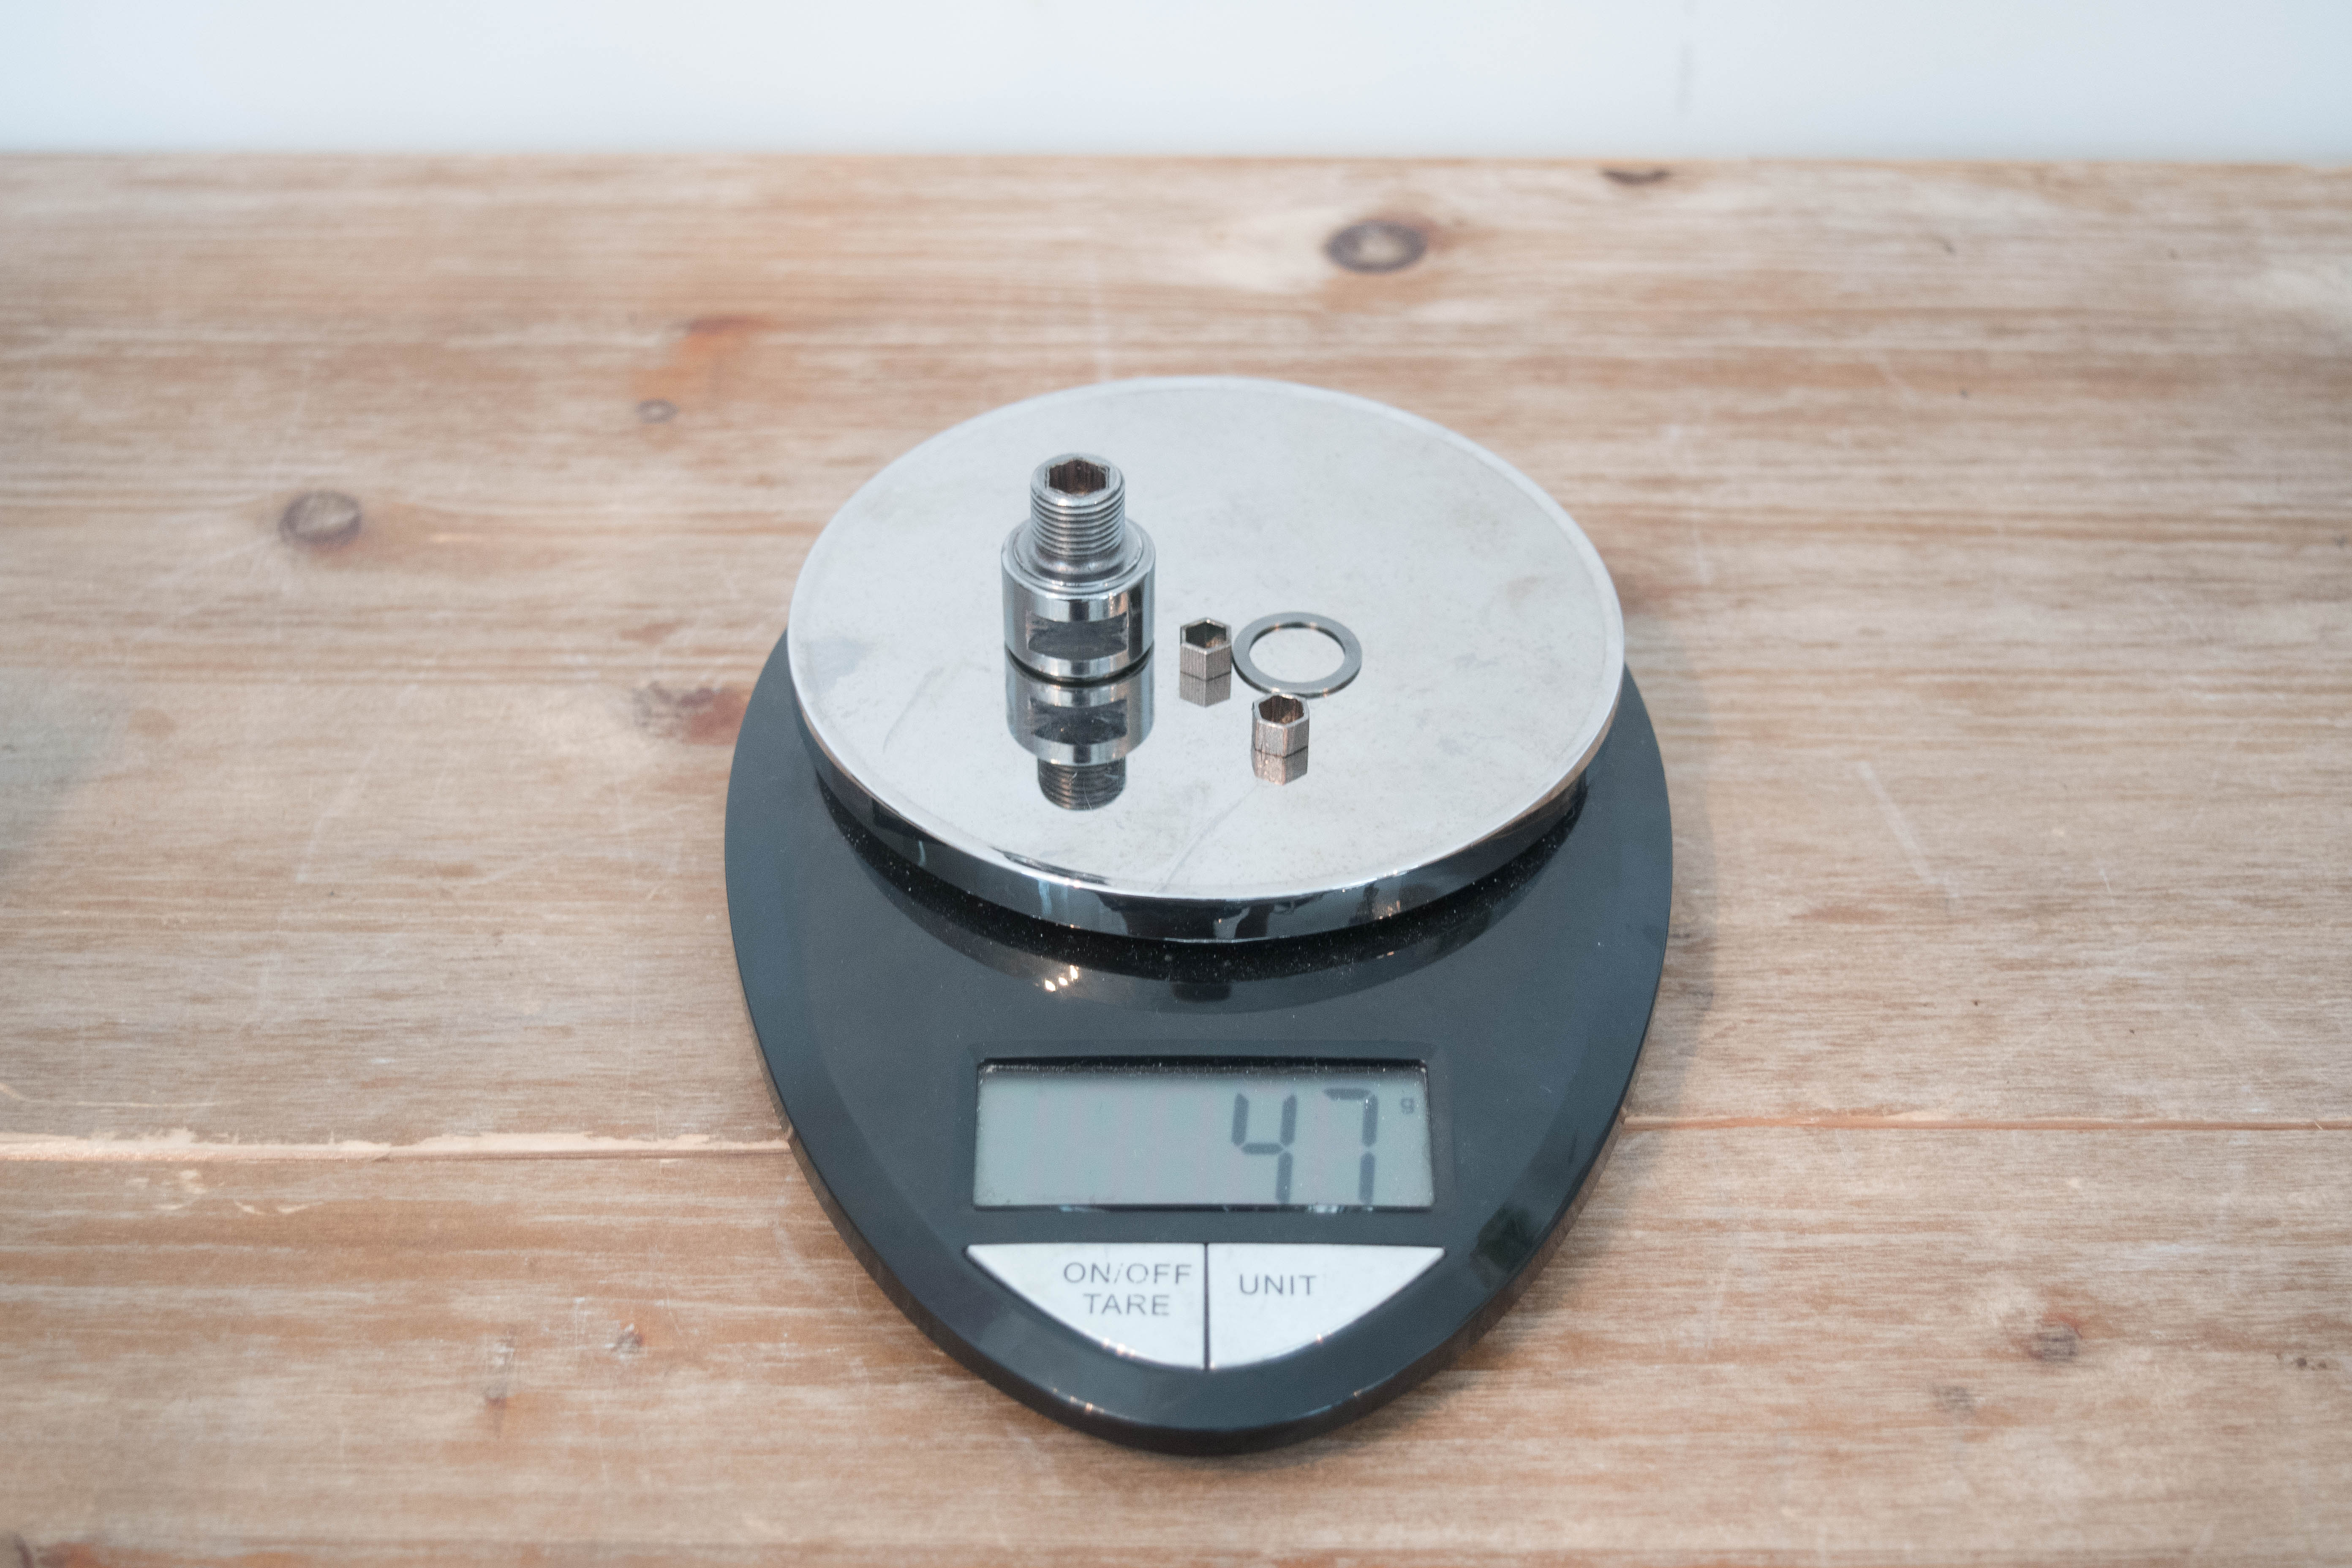
The unit was shipped to me in the original box, however batteries were removed prior to shipping at the request of his local post office. As a result, I bought the same battery type (Duracell 303/357) here locally to use. Otherwise, below are the contents of the box.
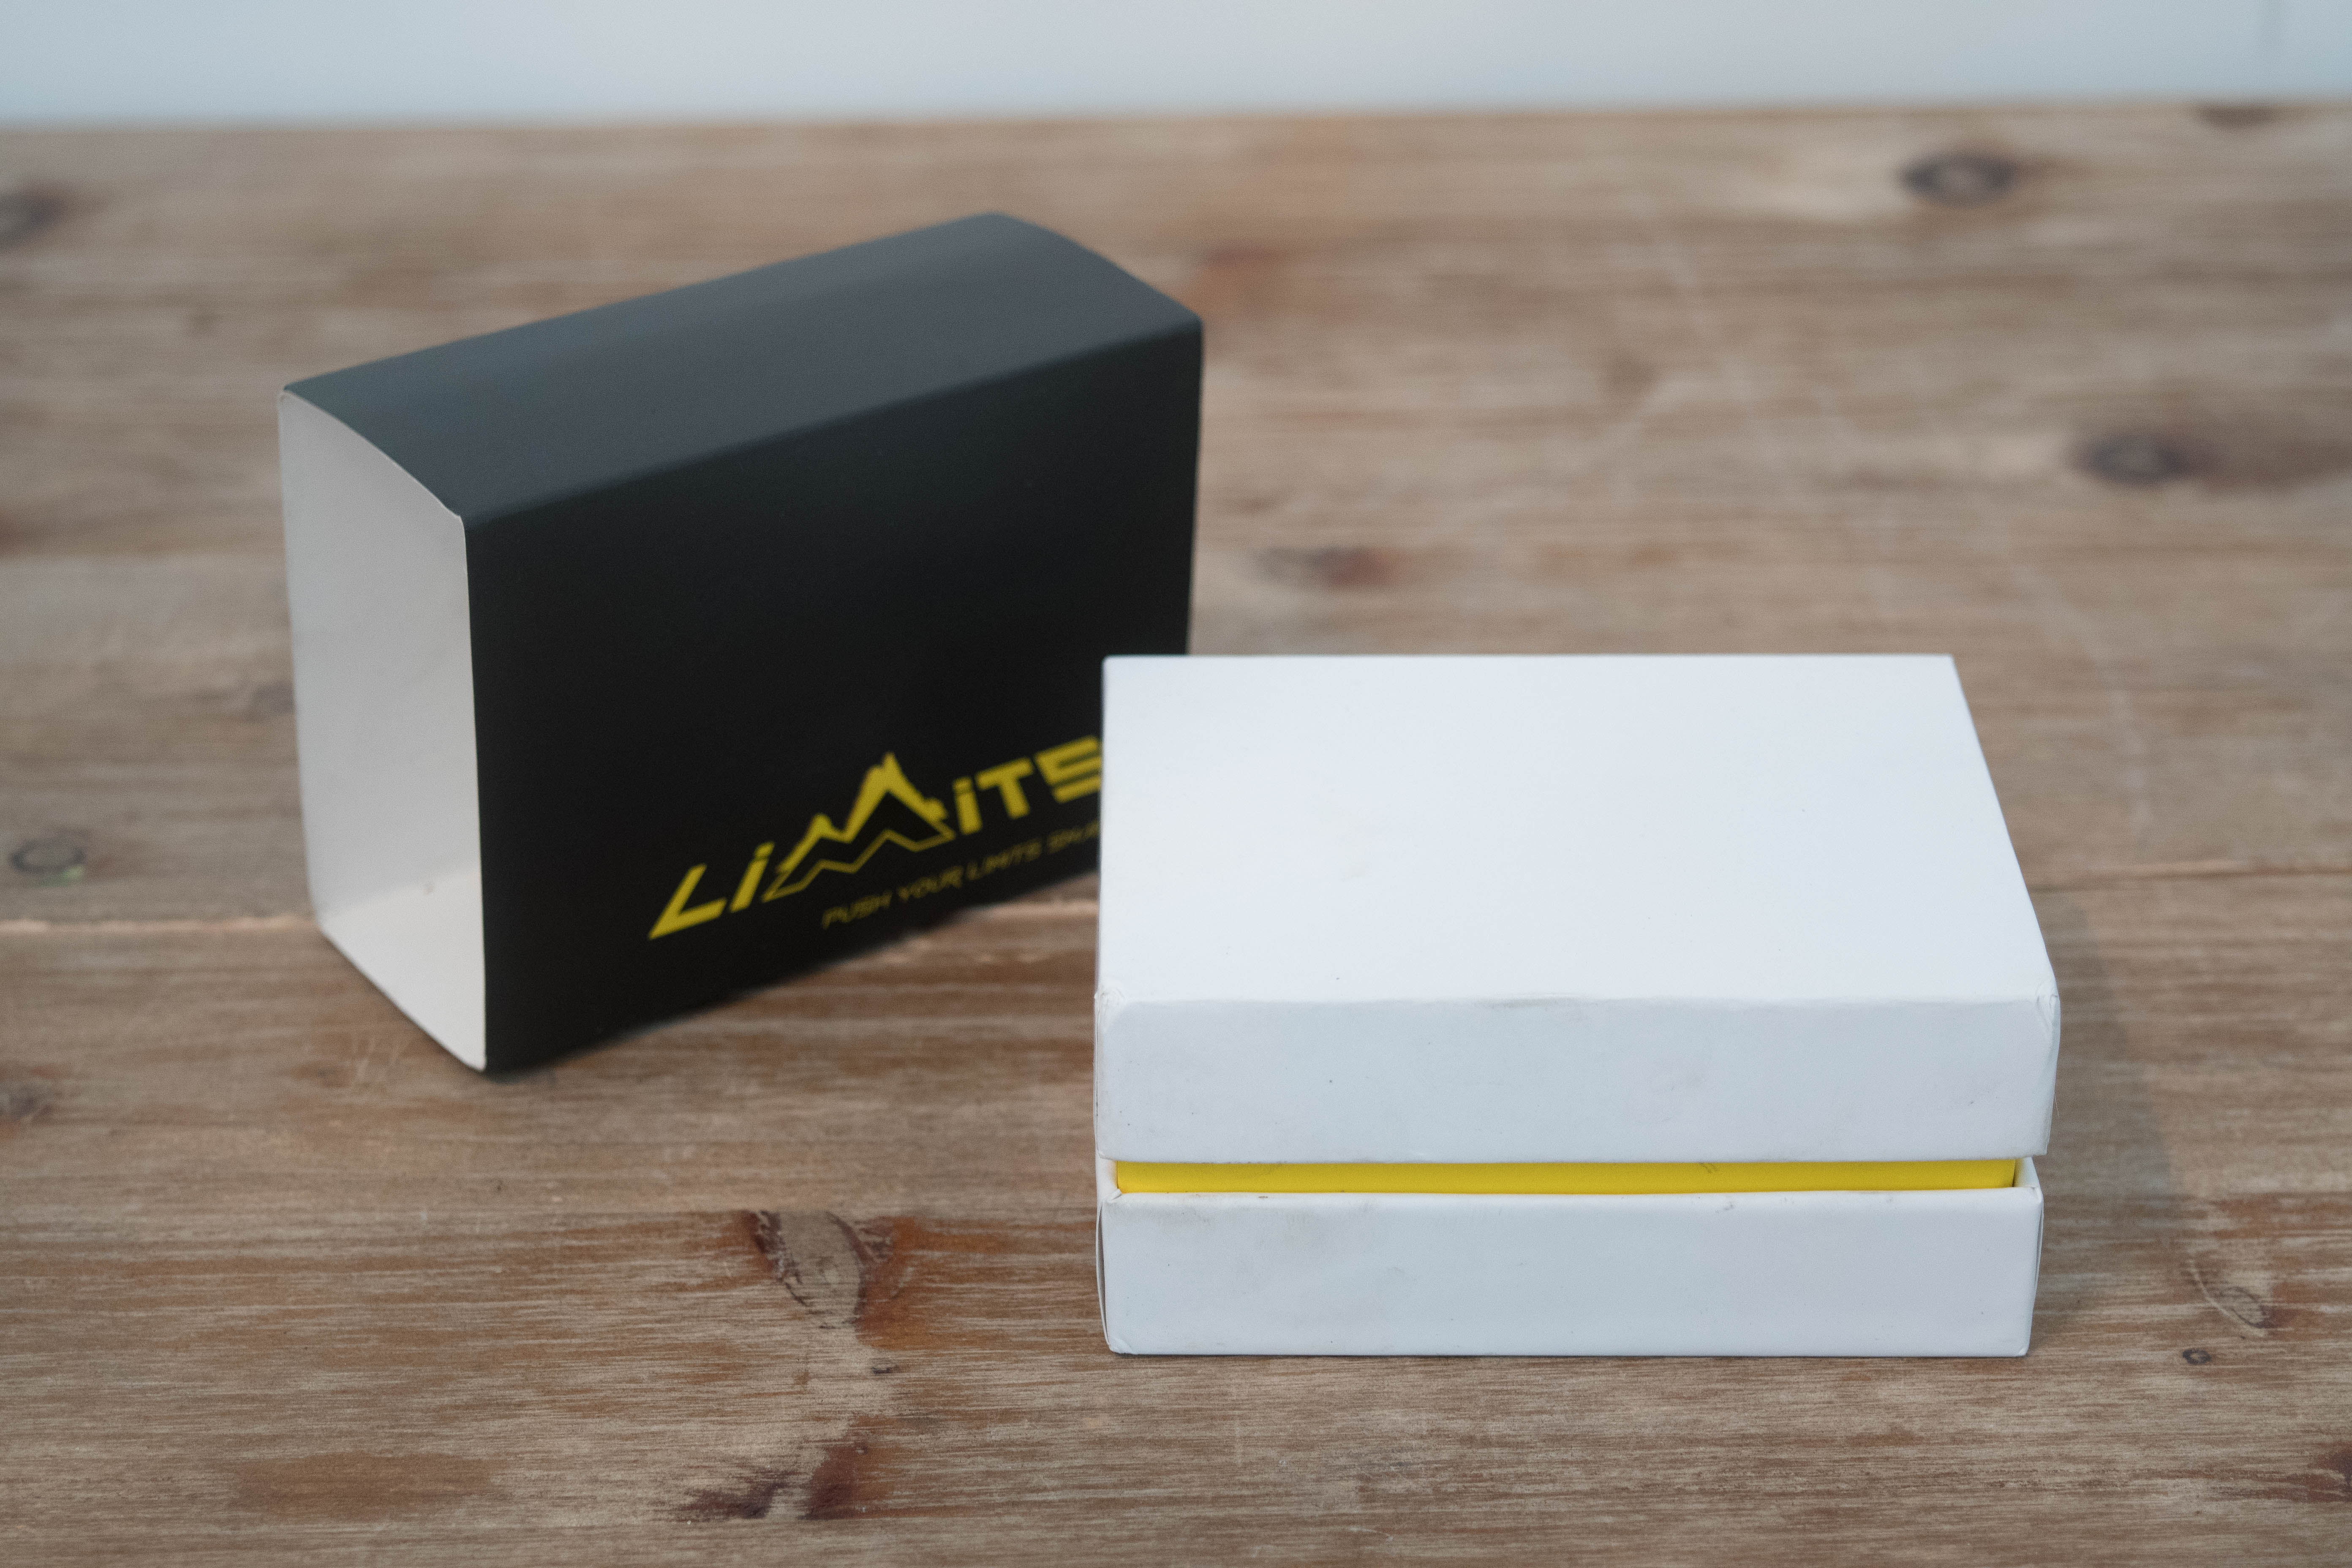
Note the box is much smaller than I anticipated, hence the inclusion of a can of Coke for comparison. I think if I had an egg handy it would be about the height of an egg standing up.
I do not believe the unit was used prior to my receiving it. However the parts were likely removed from the box originally to get out the batteries, which is likely why there are some grease marks on the internals of the box. I do see some very light oxidation looking orange stuff on the internals of the metal parts inside the LIMITS unit and the spare. I don’t know if it’s rust, but has a similar color. Super faint/thin layer. I’ve seen this before on parts that are not final/finished from companies, as if there hasn’t been a protective coating applied yet. This may be due to some other factor, not sure. Either way, it appears harmless at this stage.
Installation:
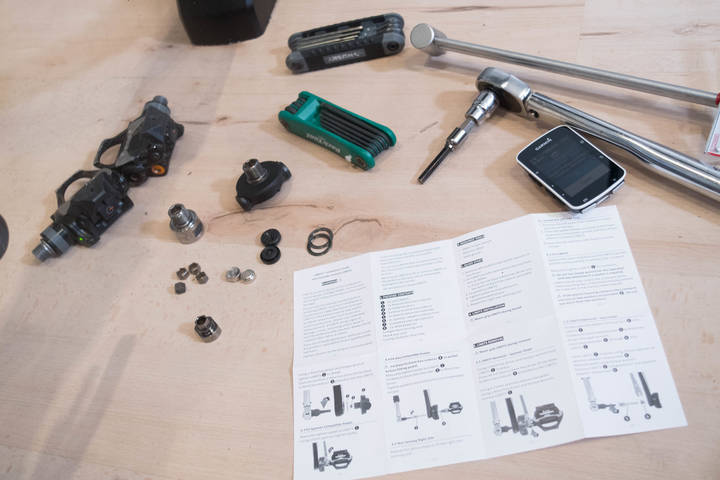
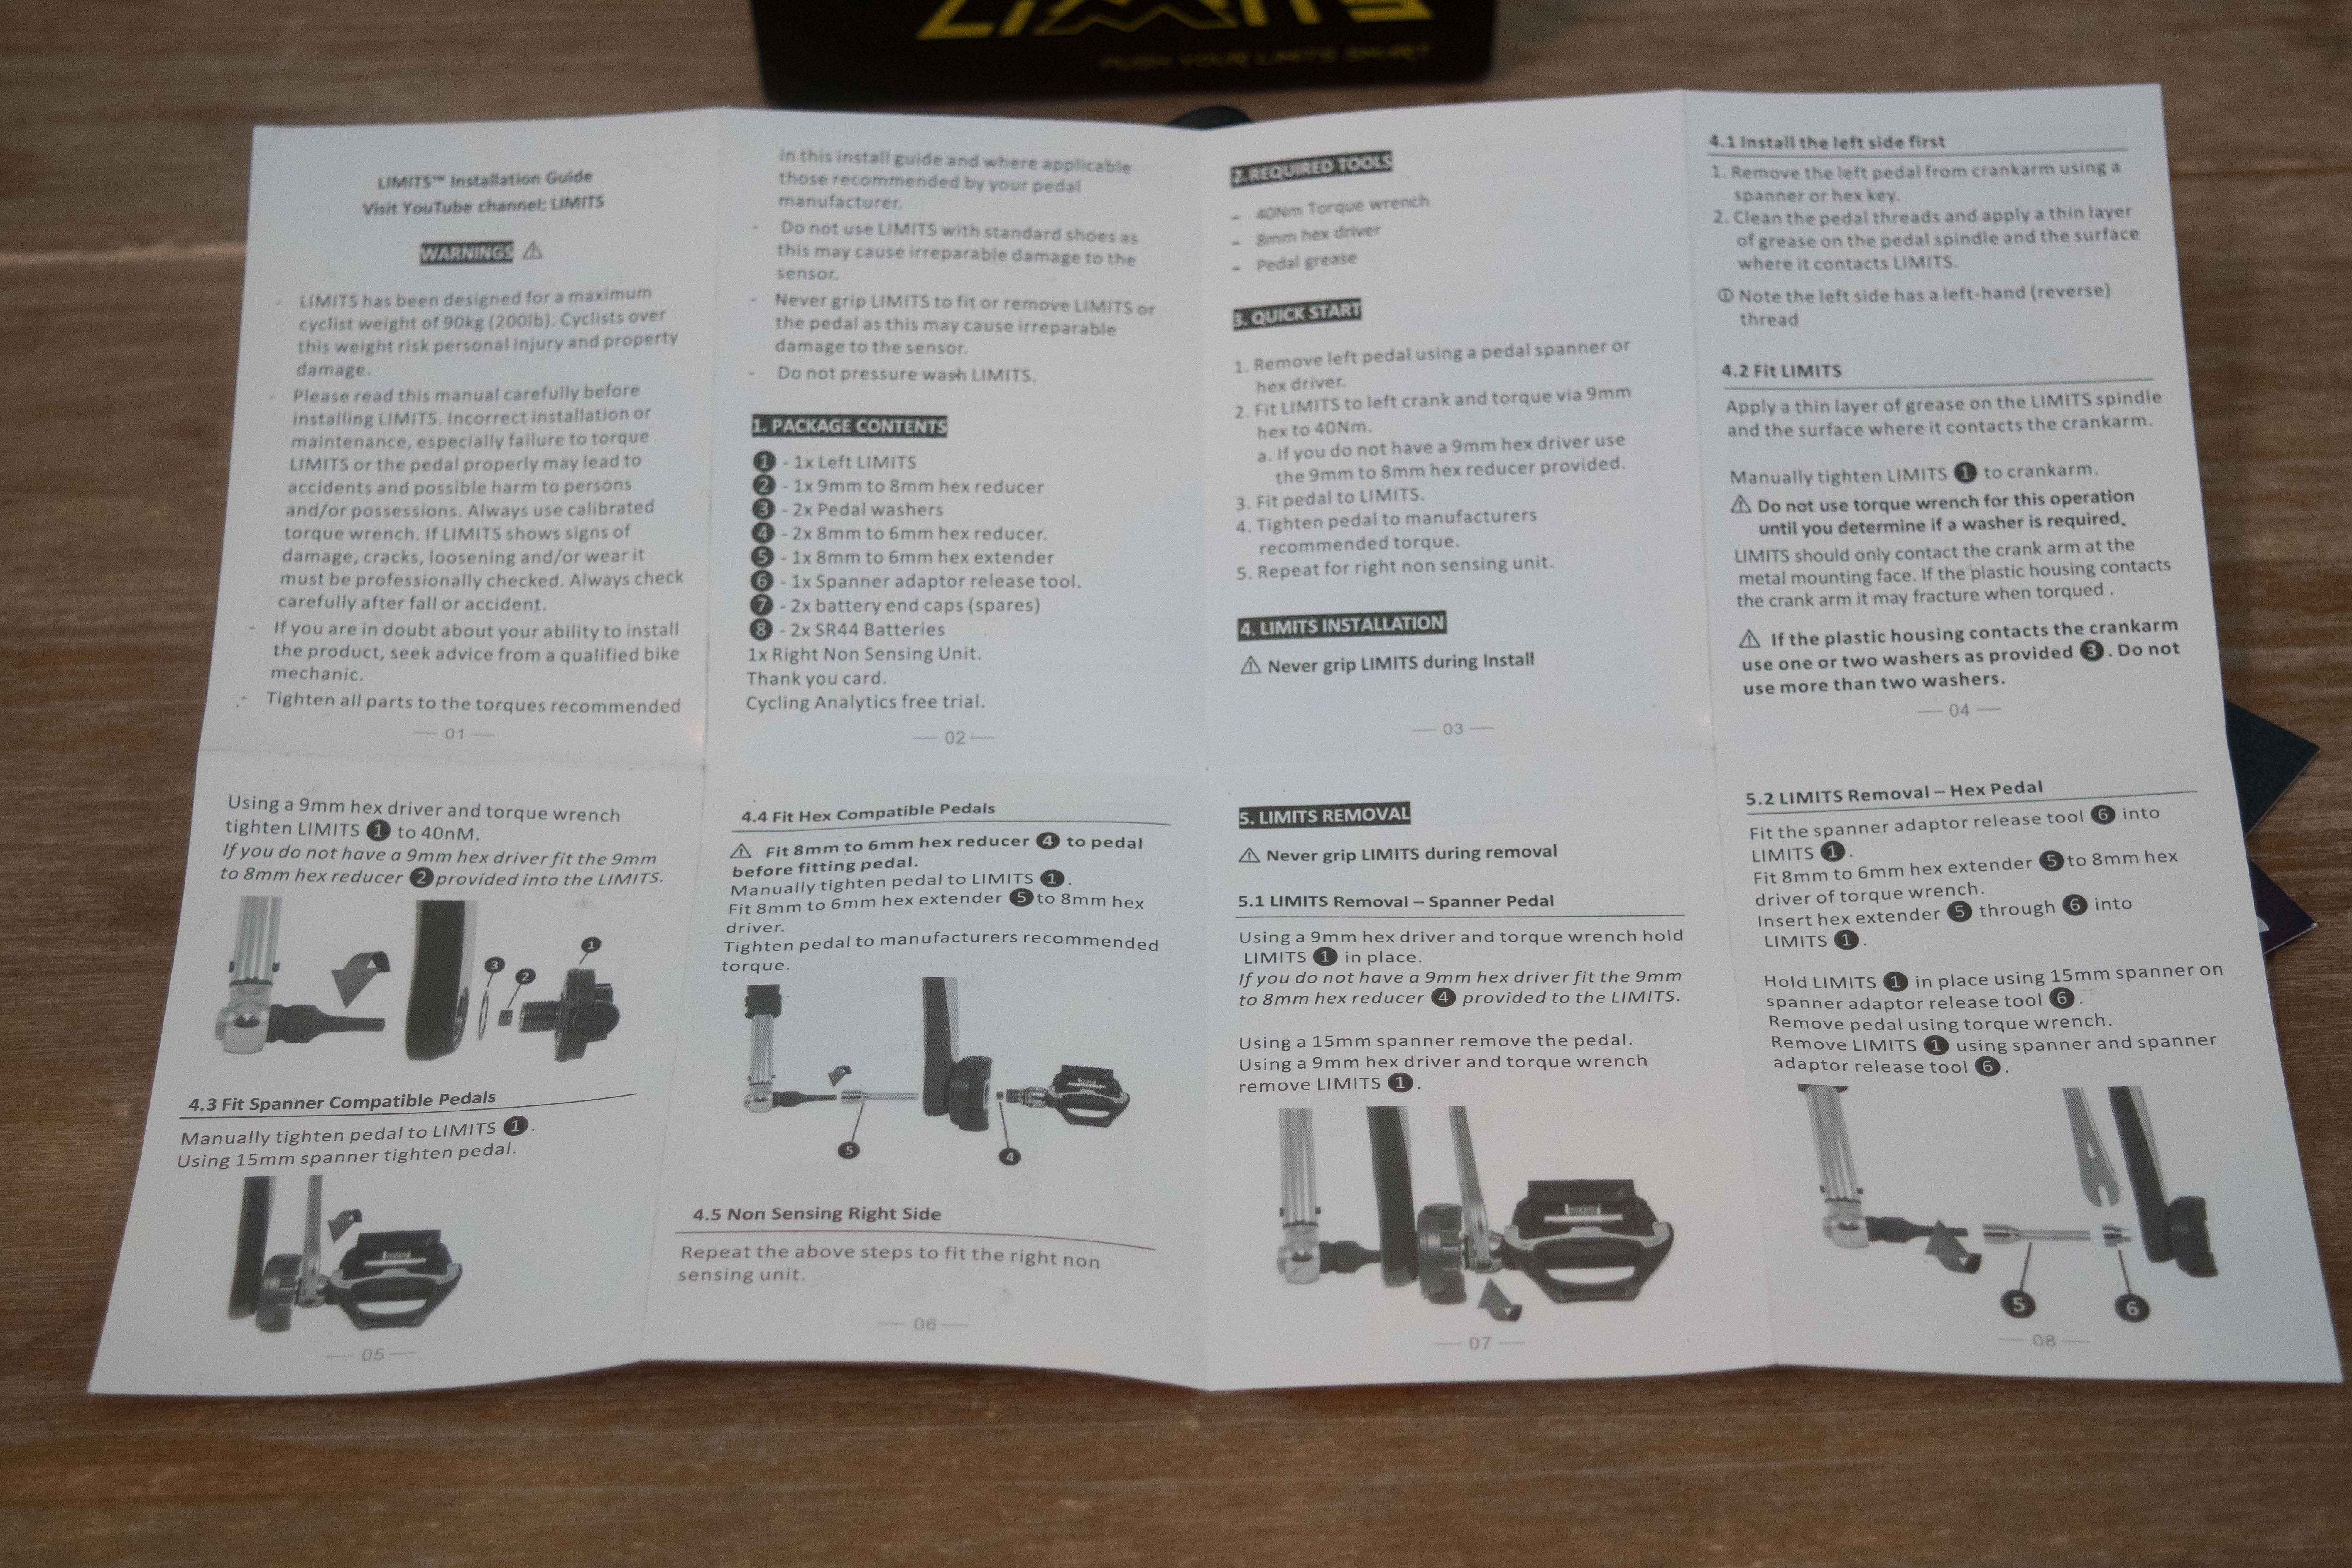
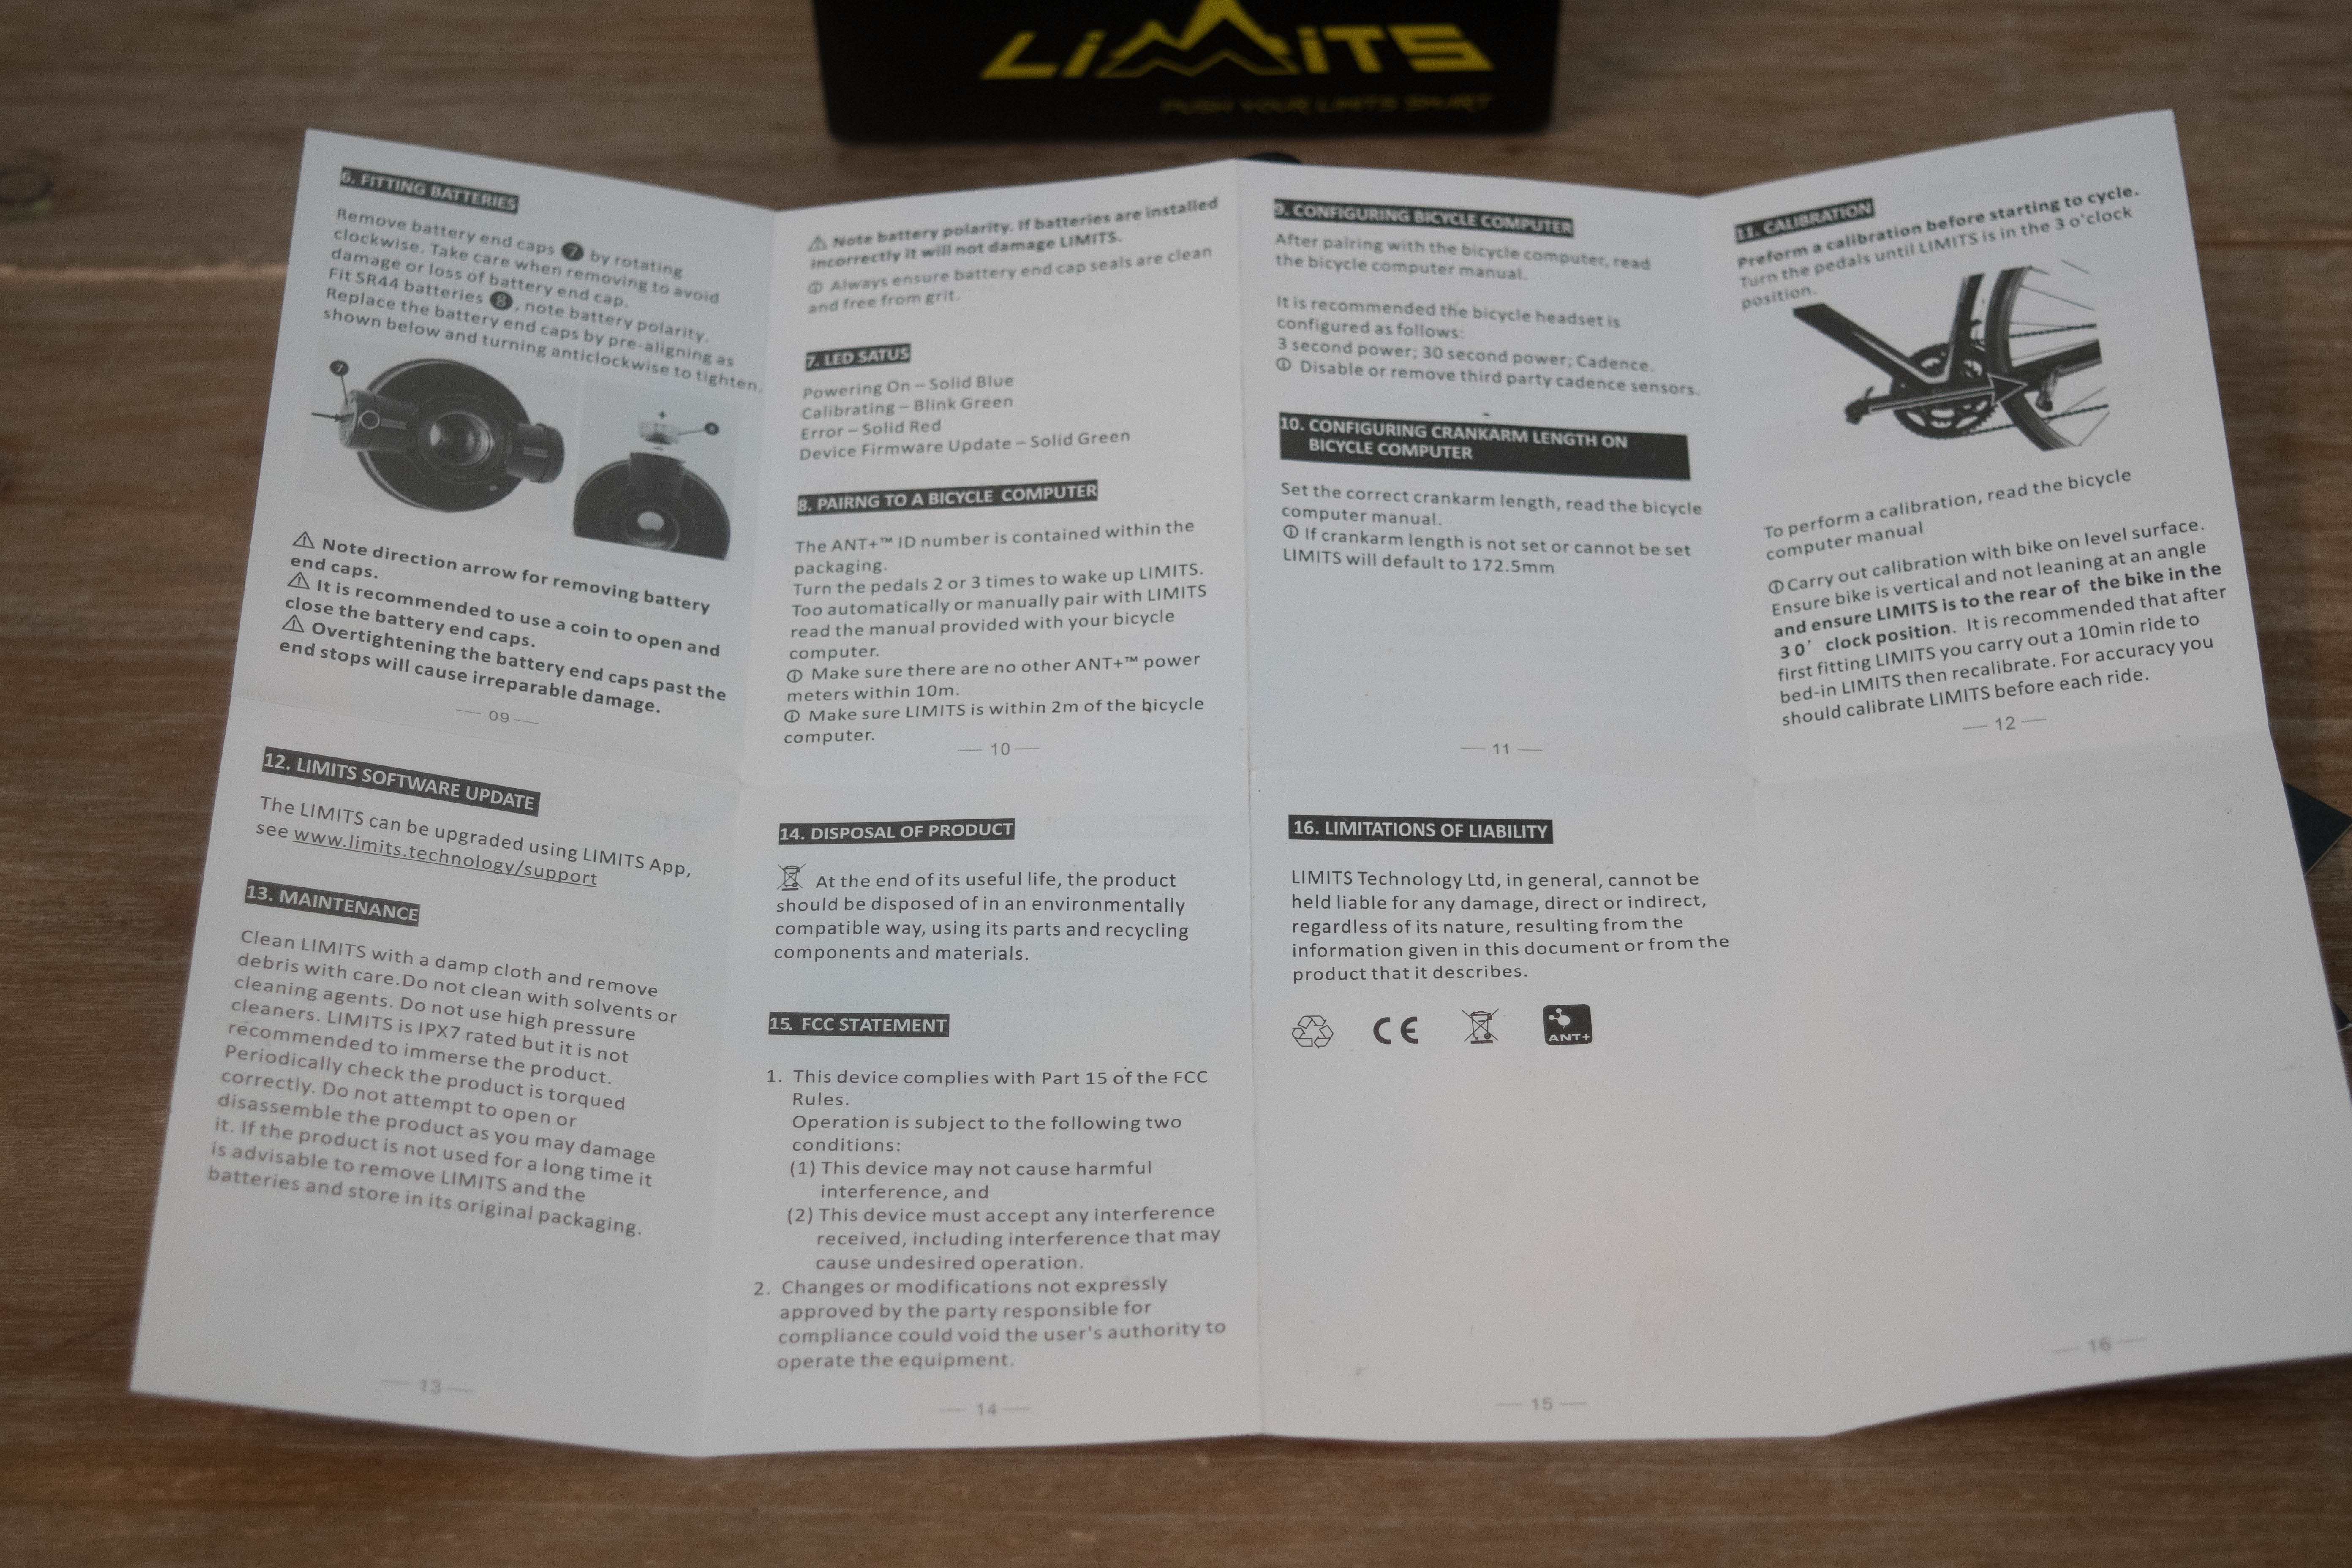
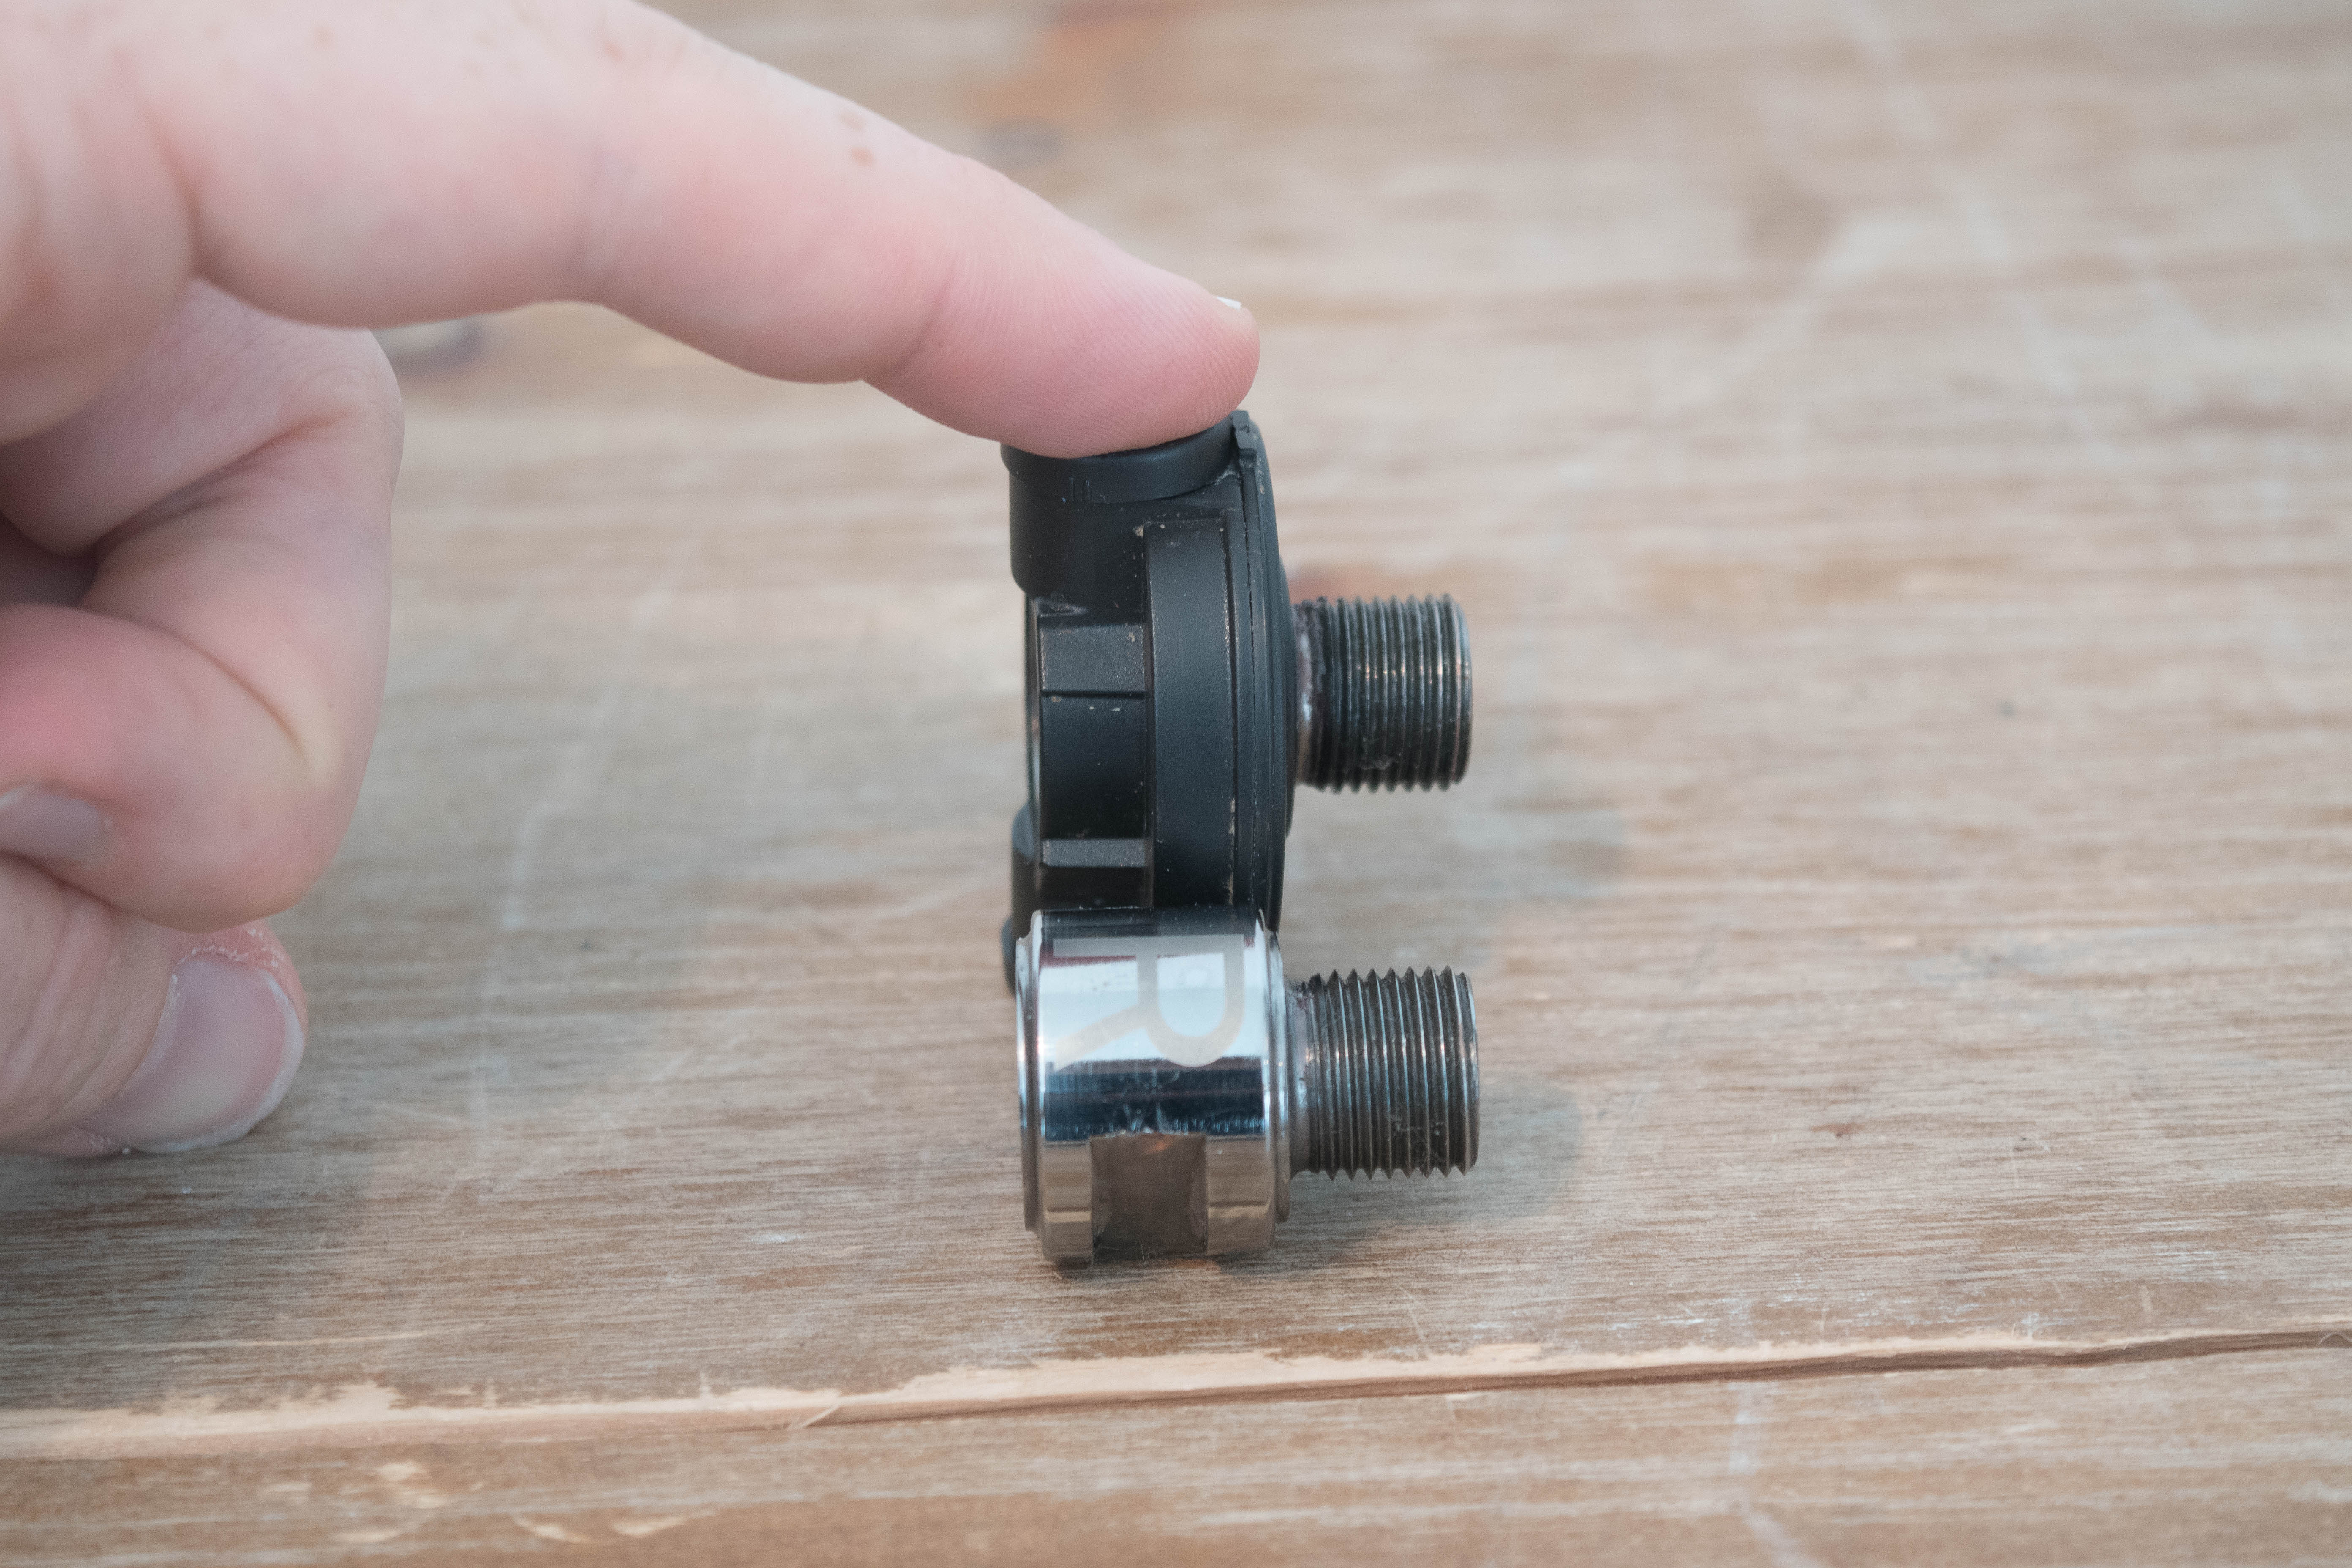
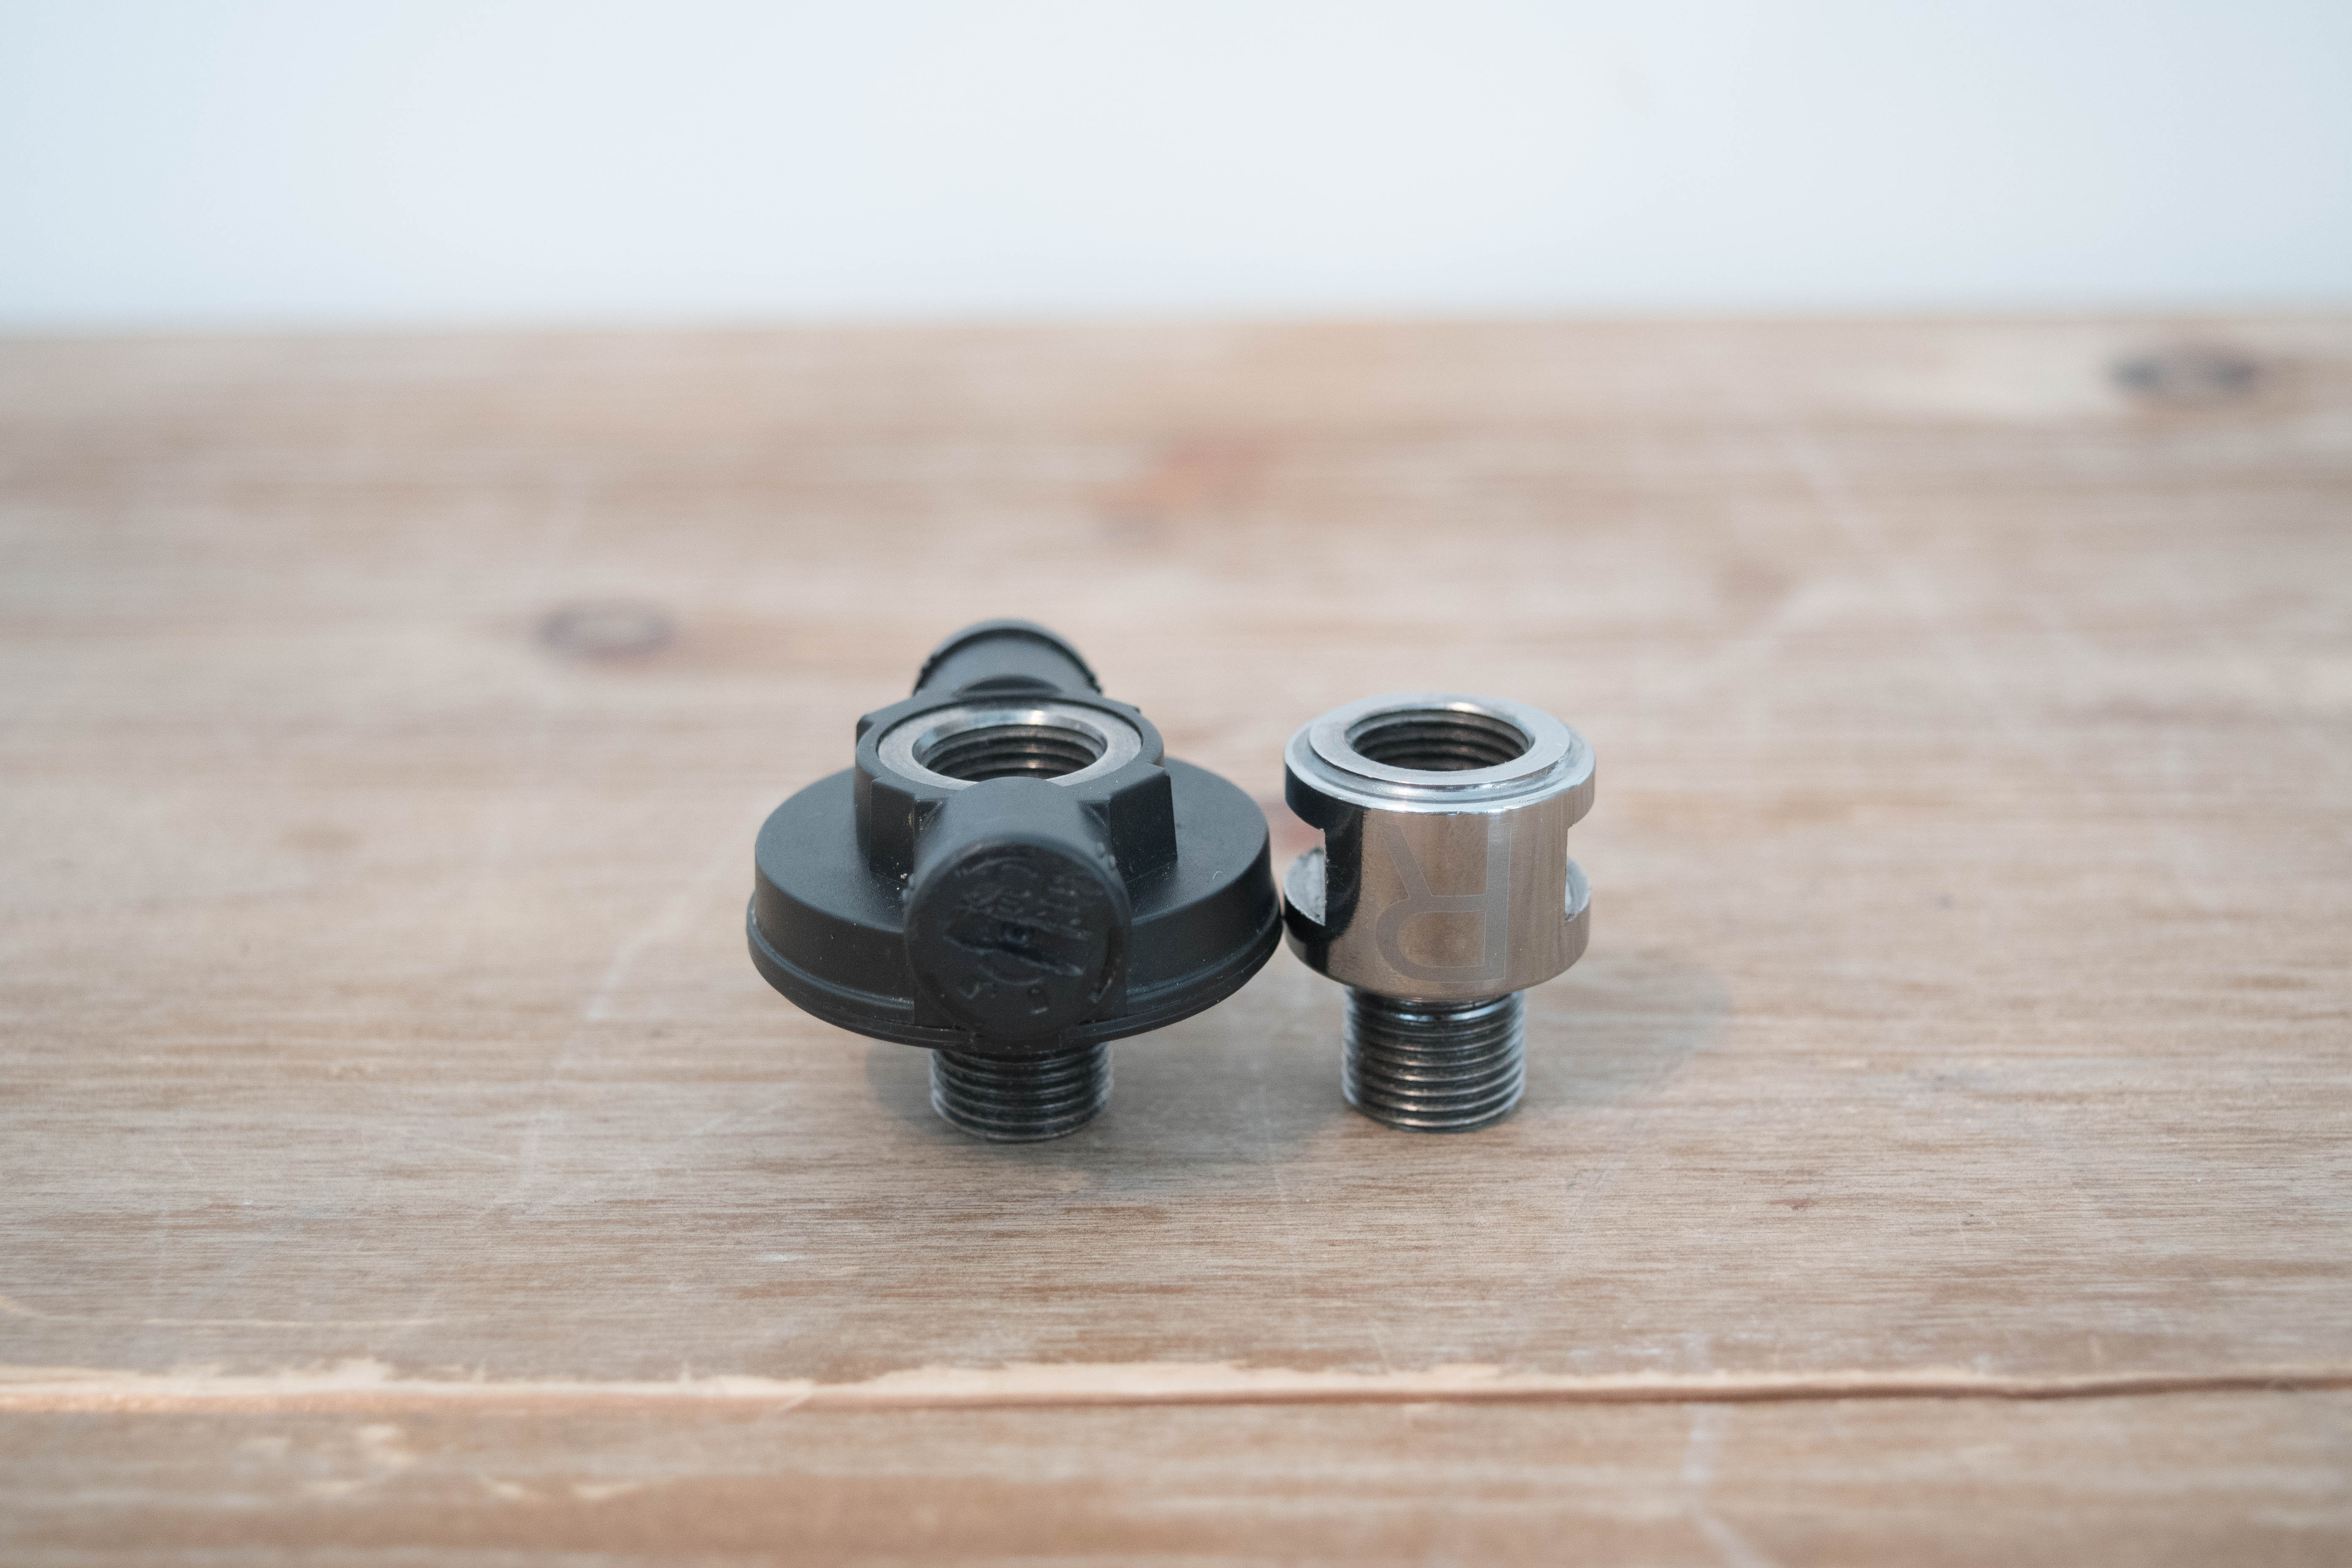
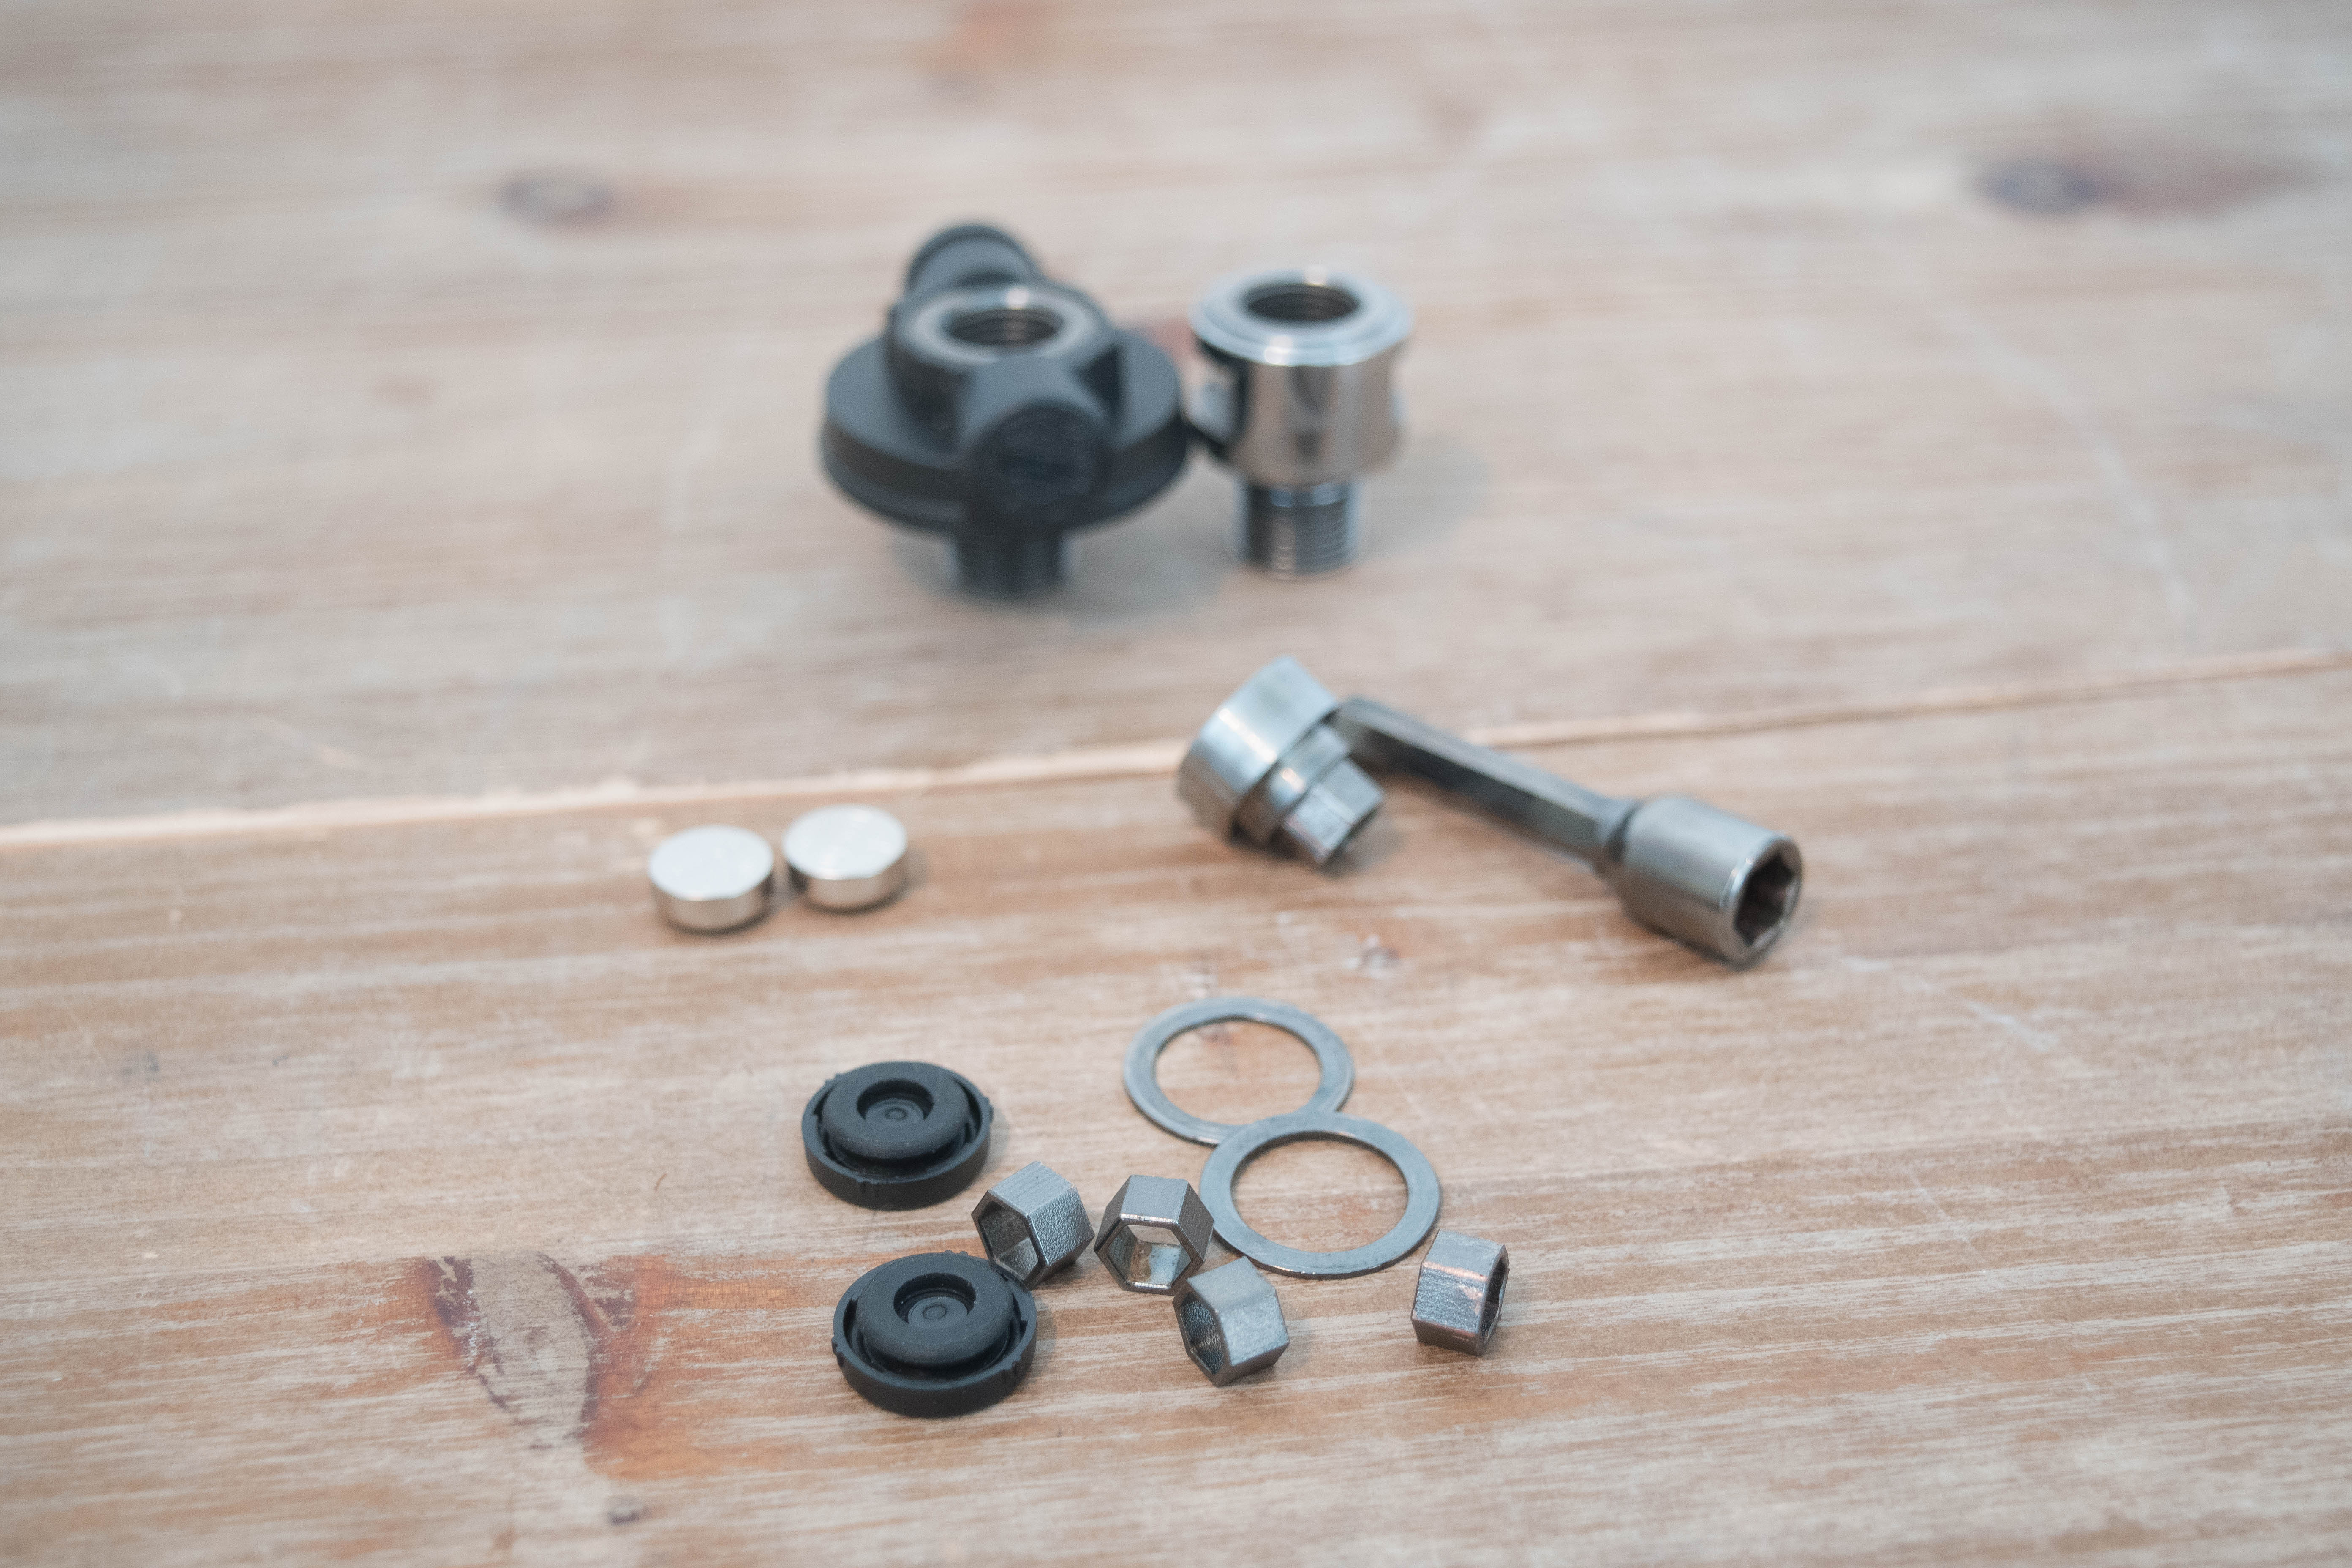
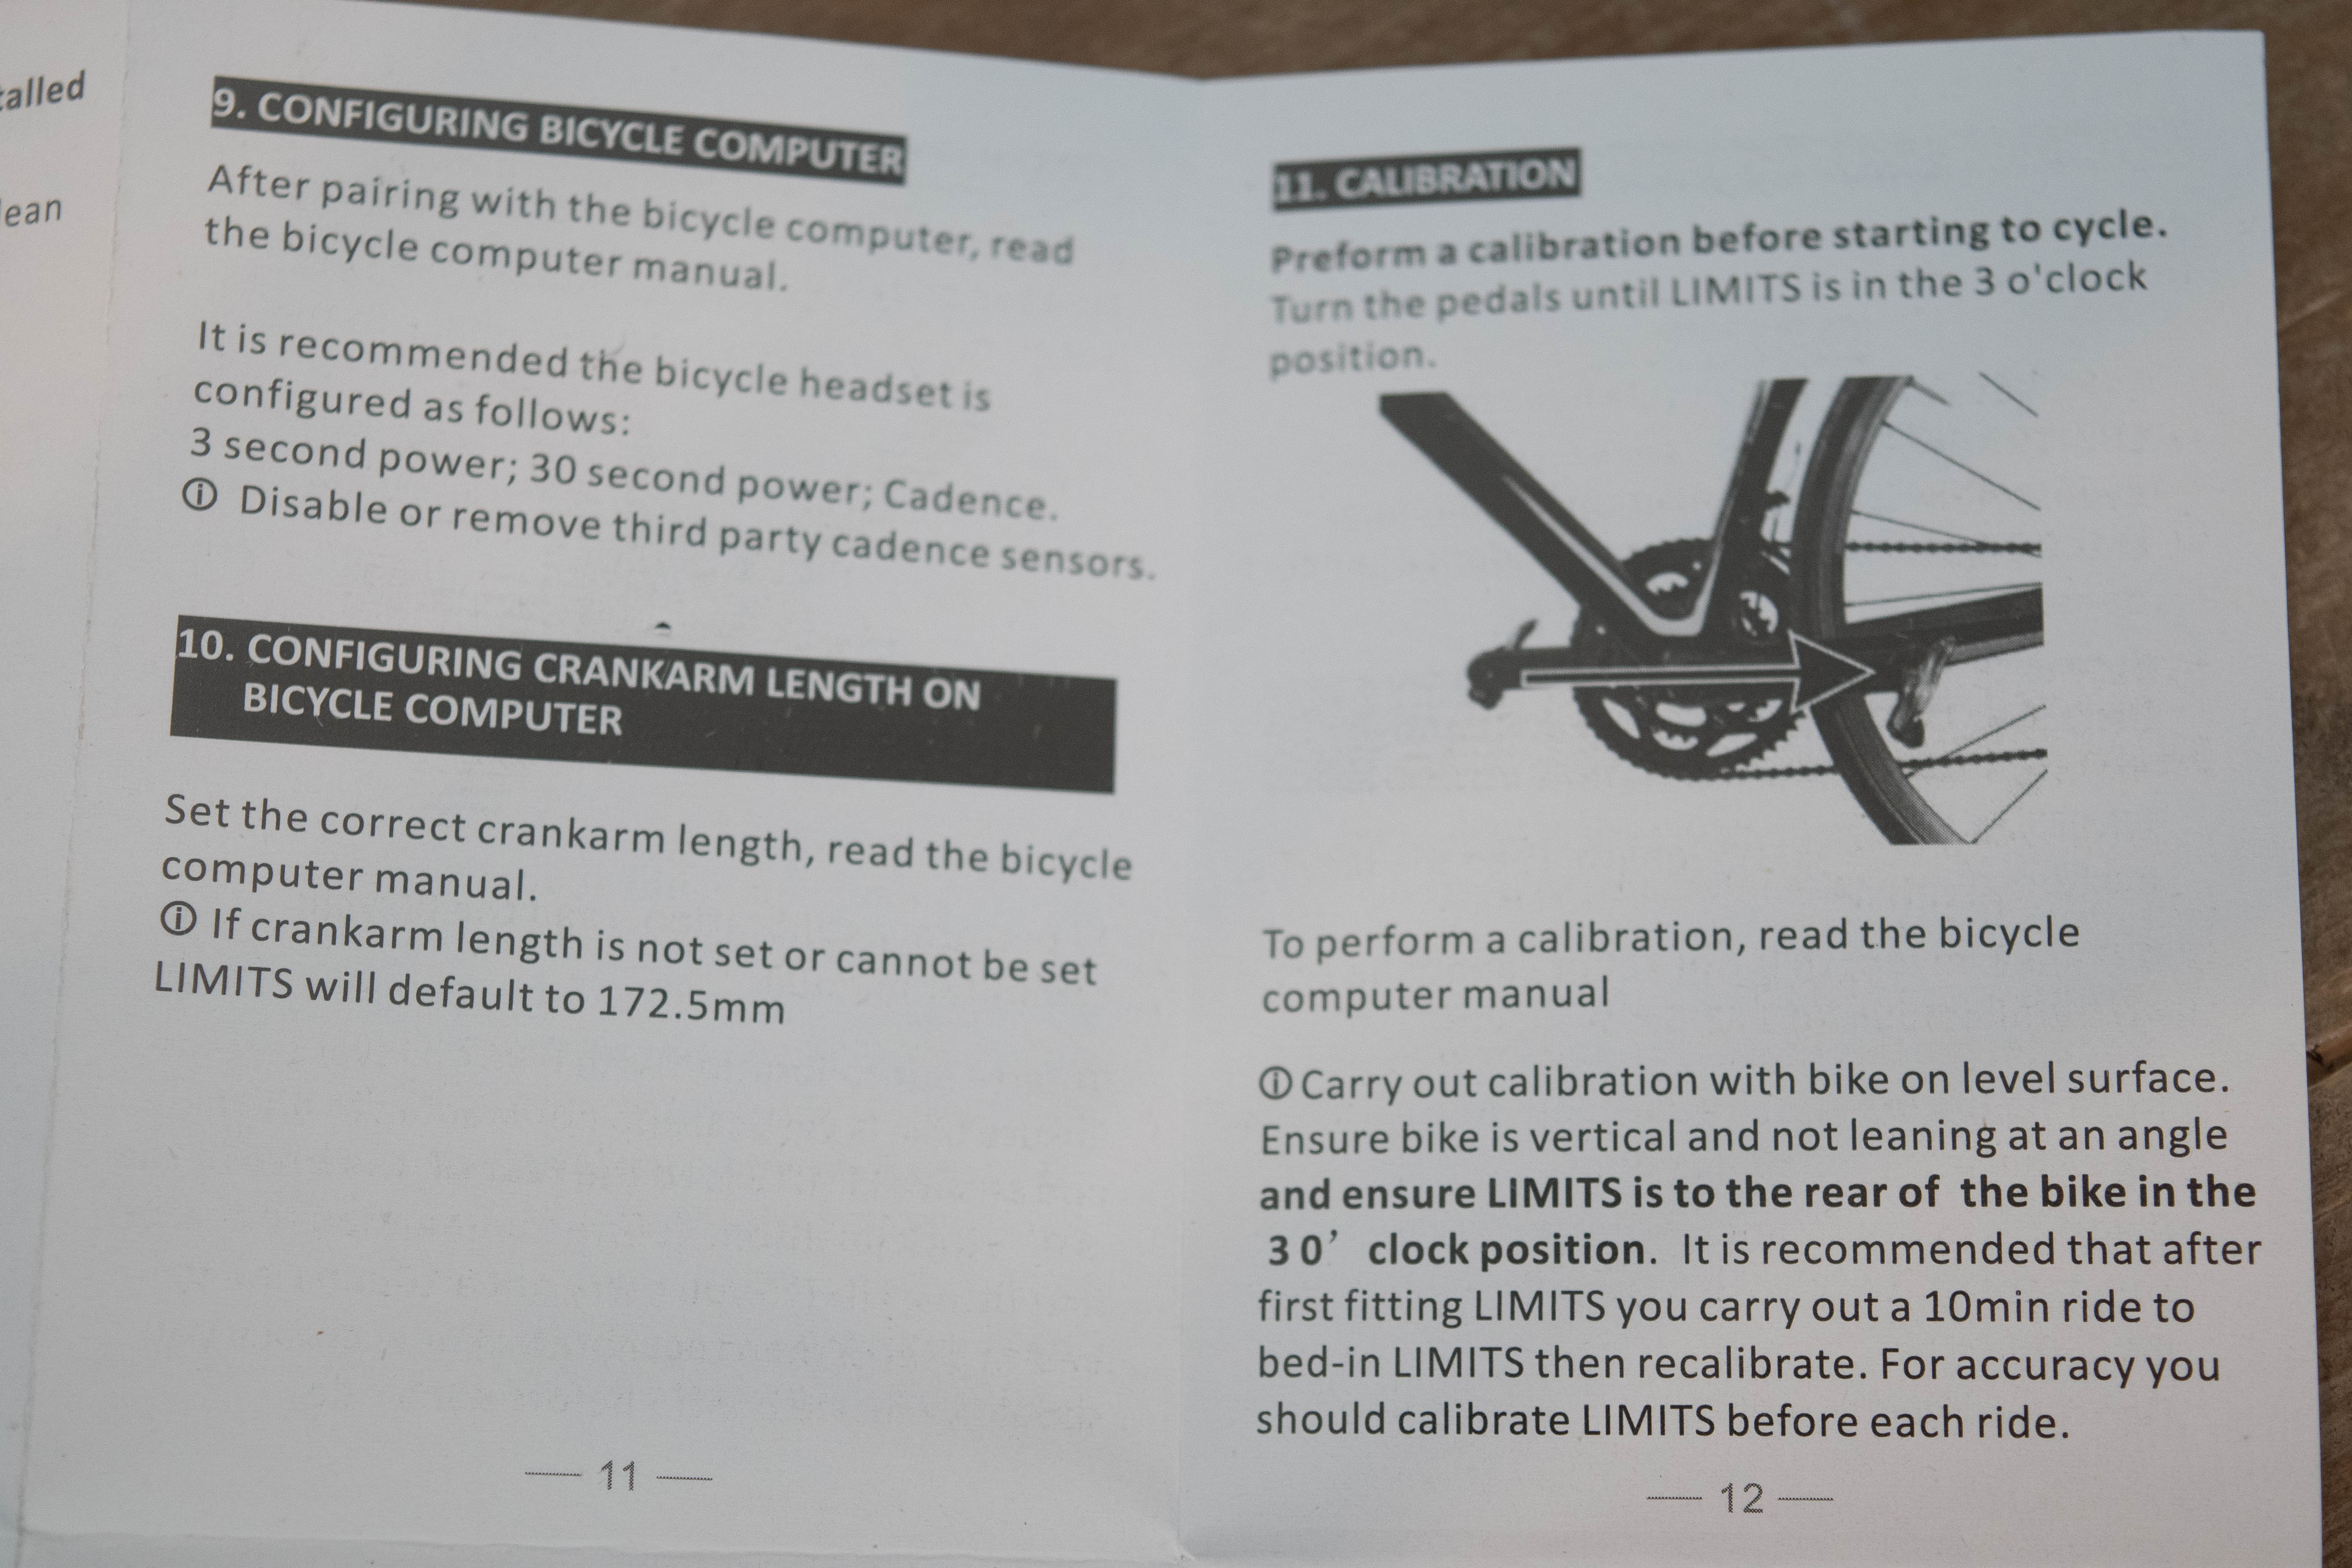
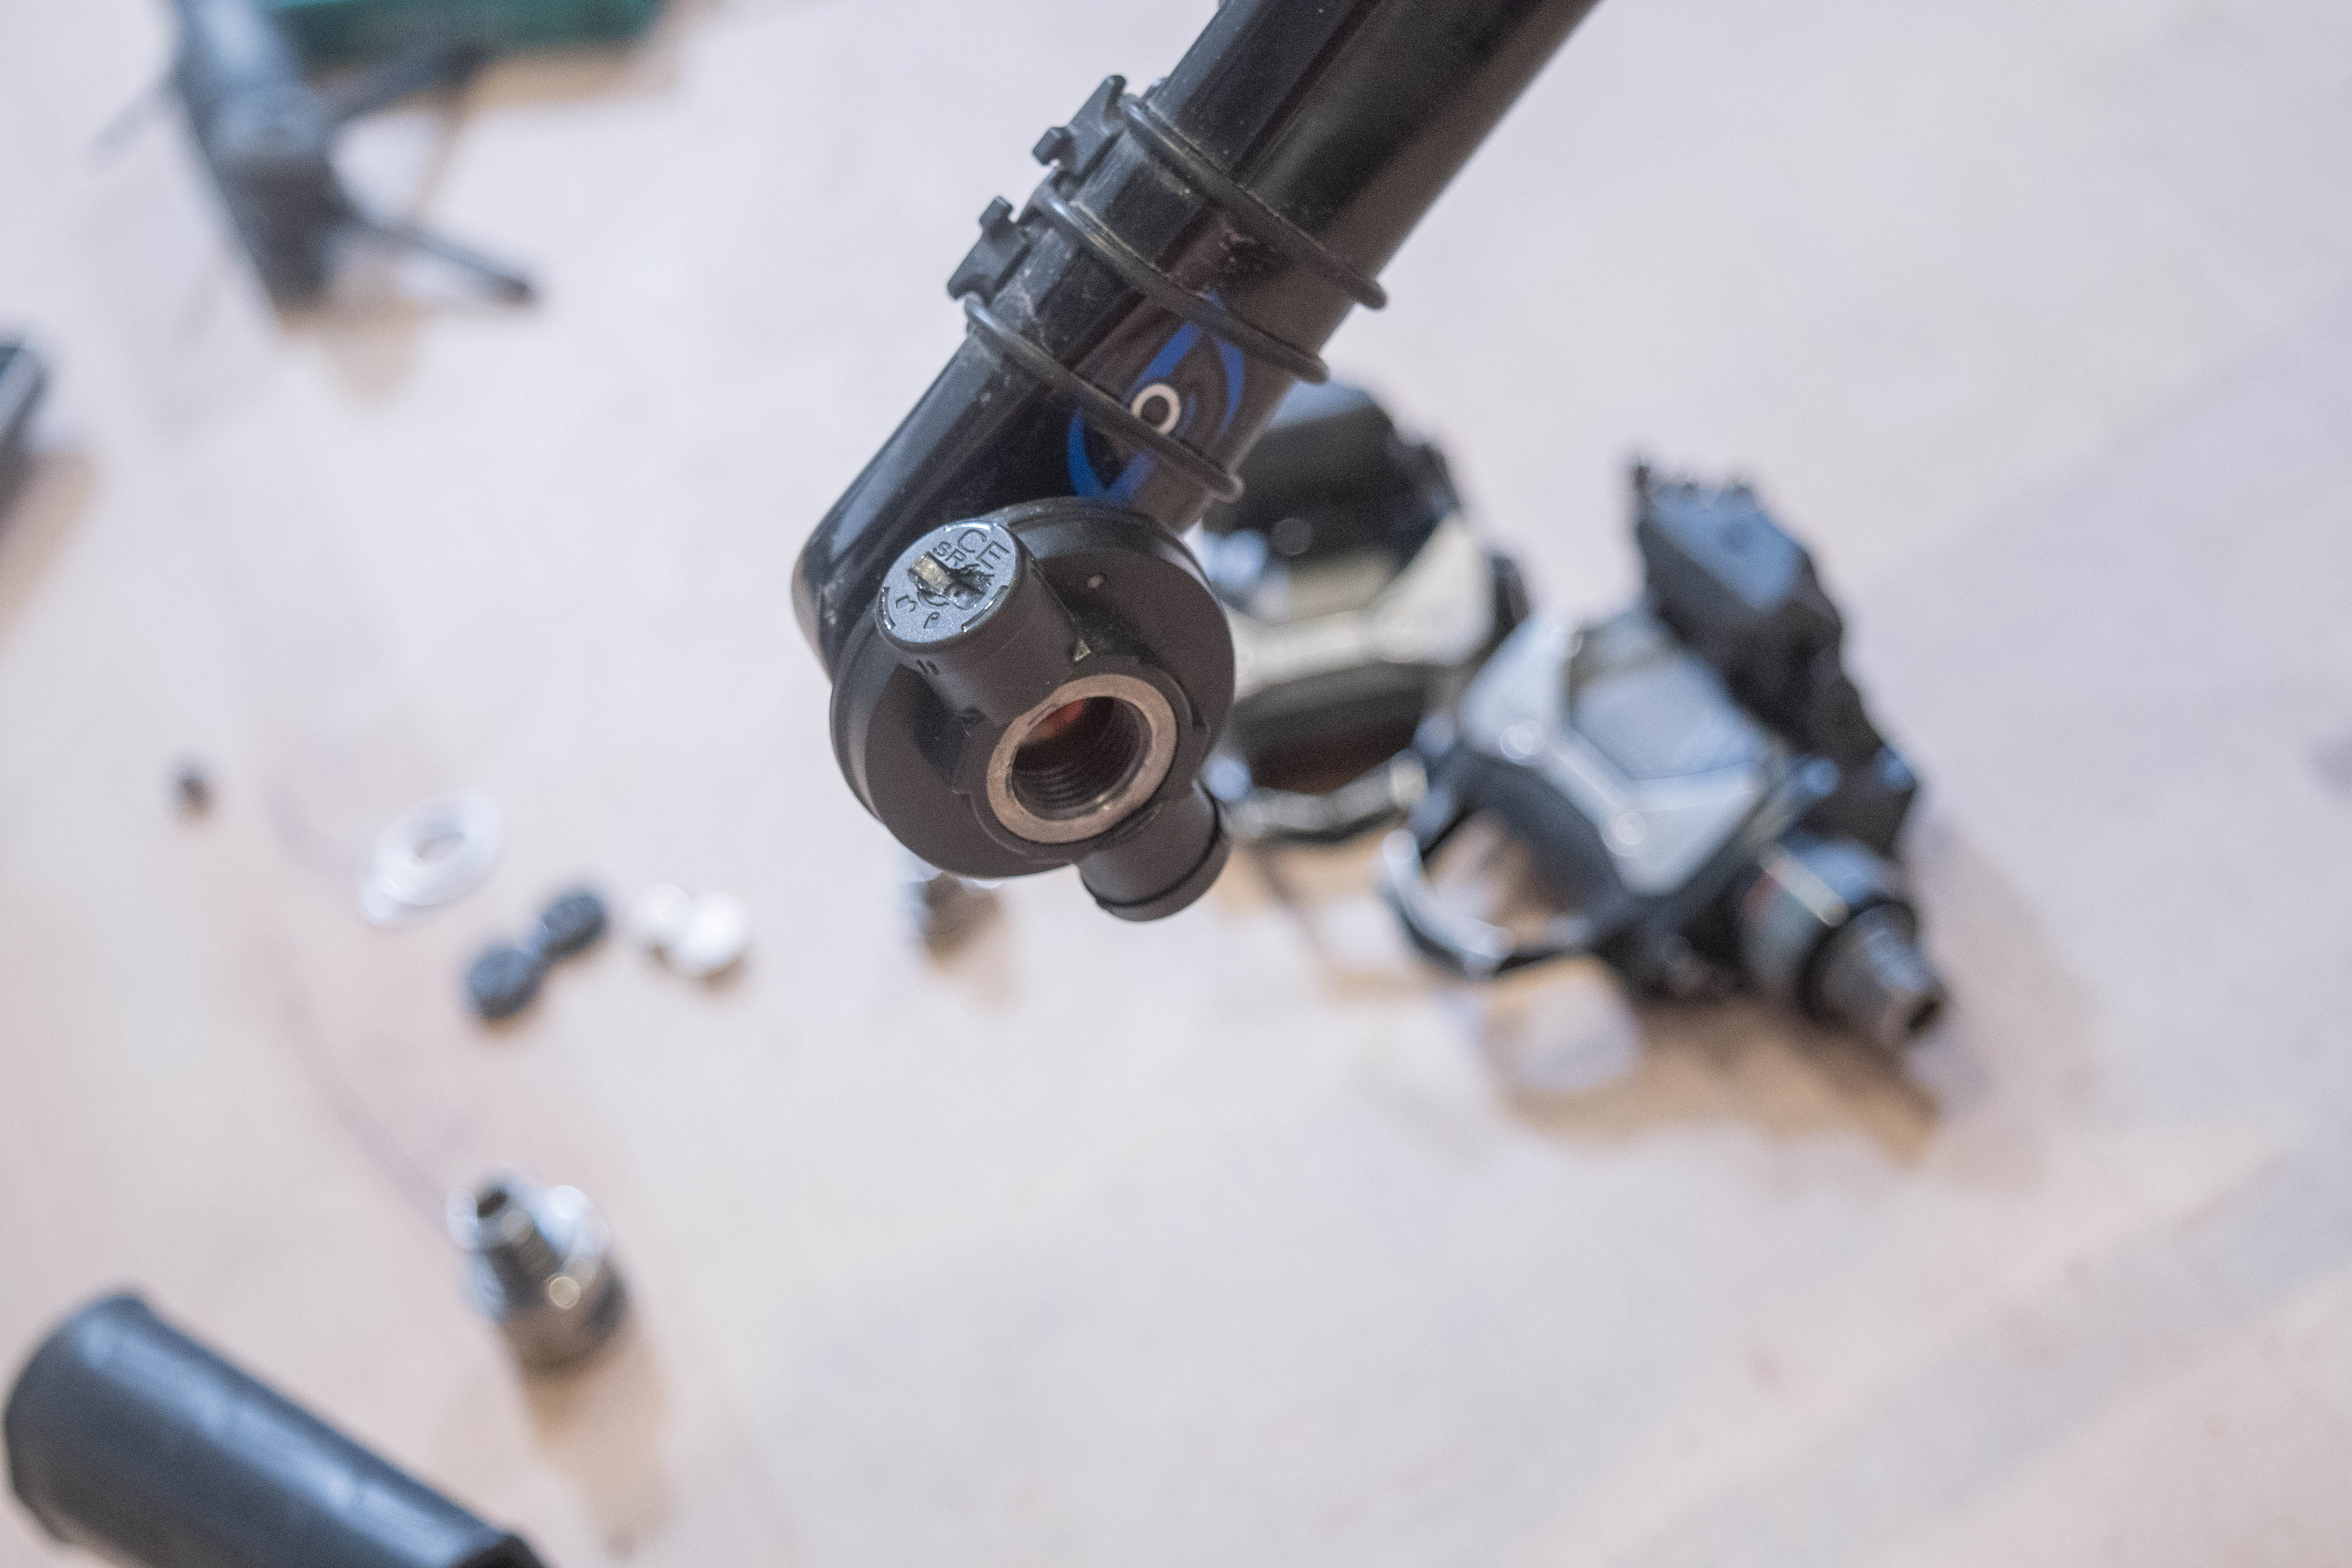
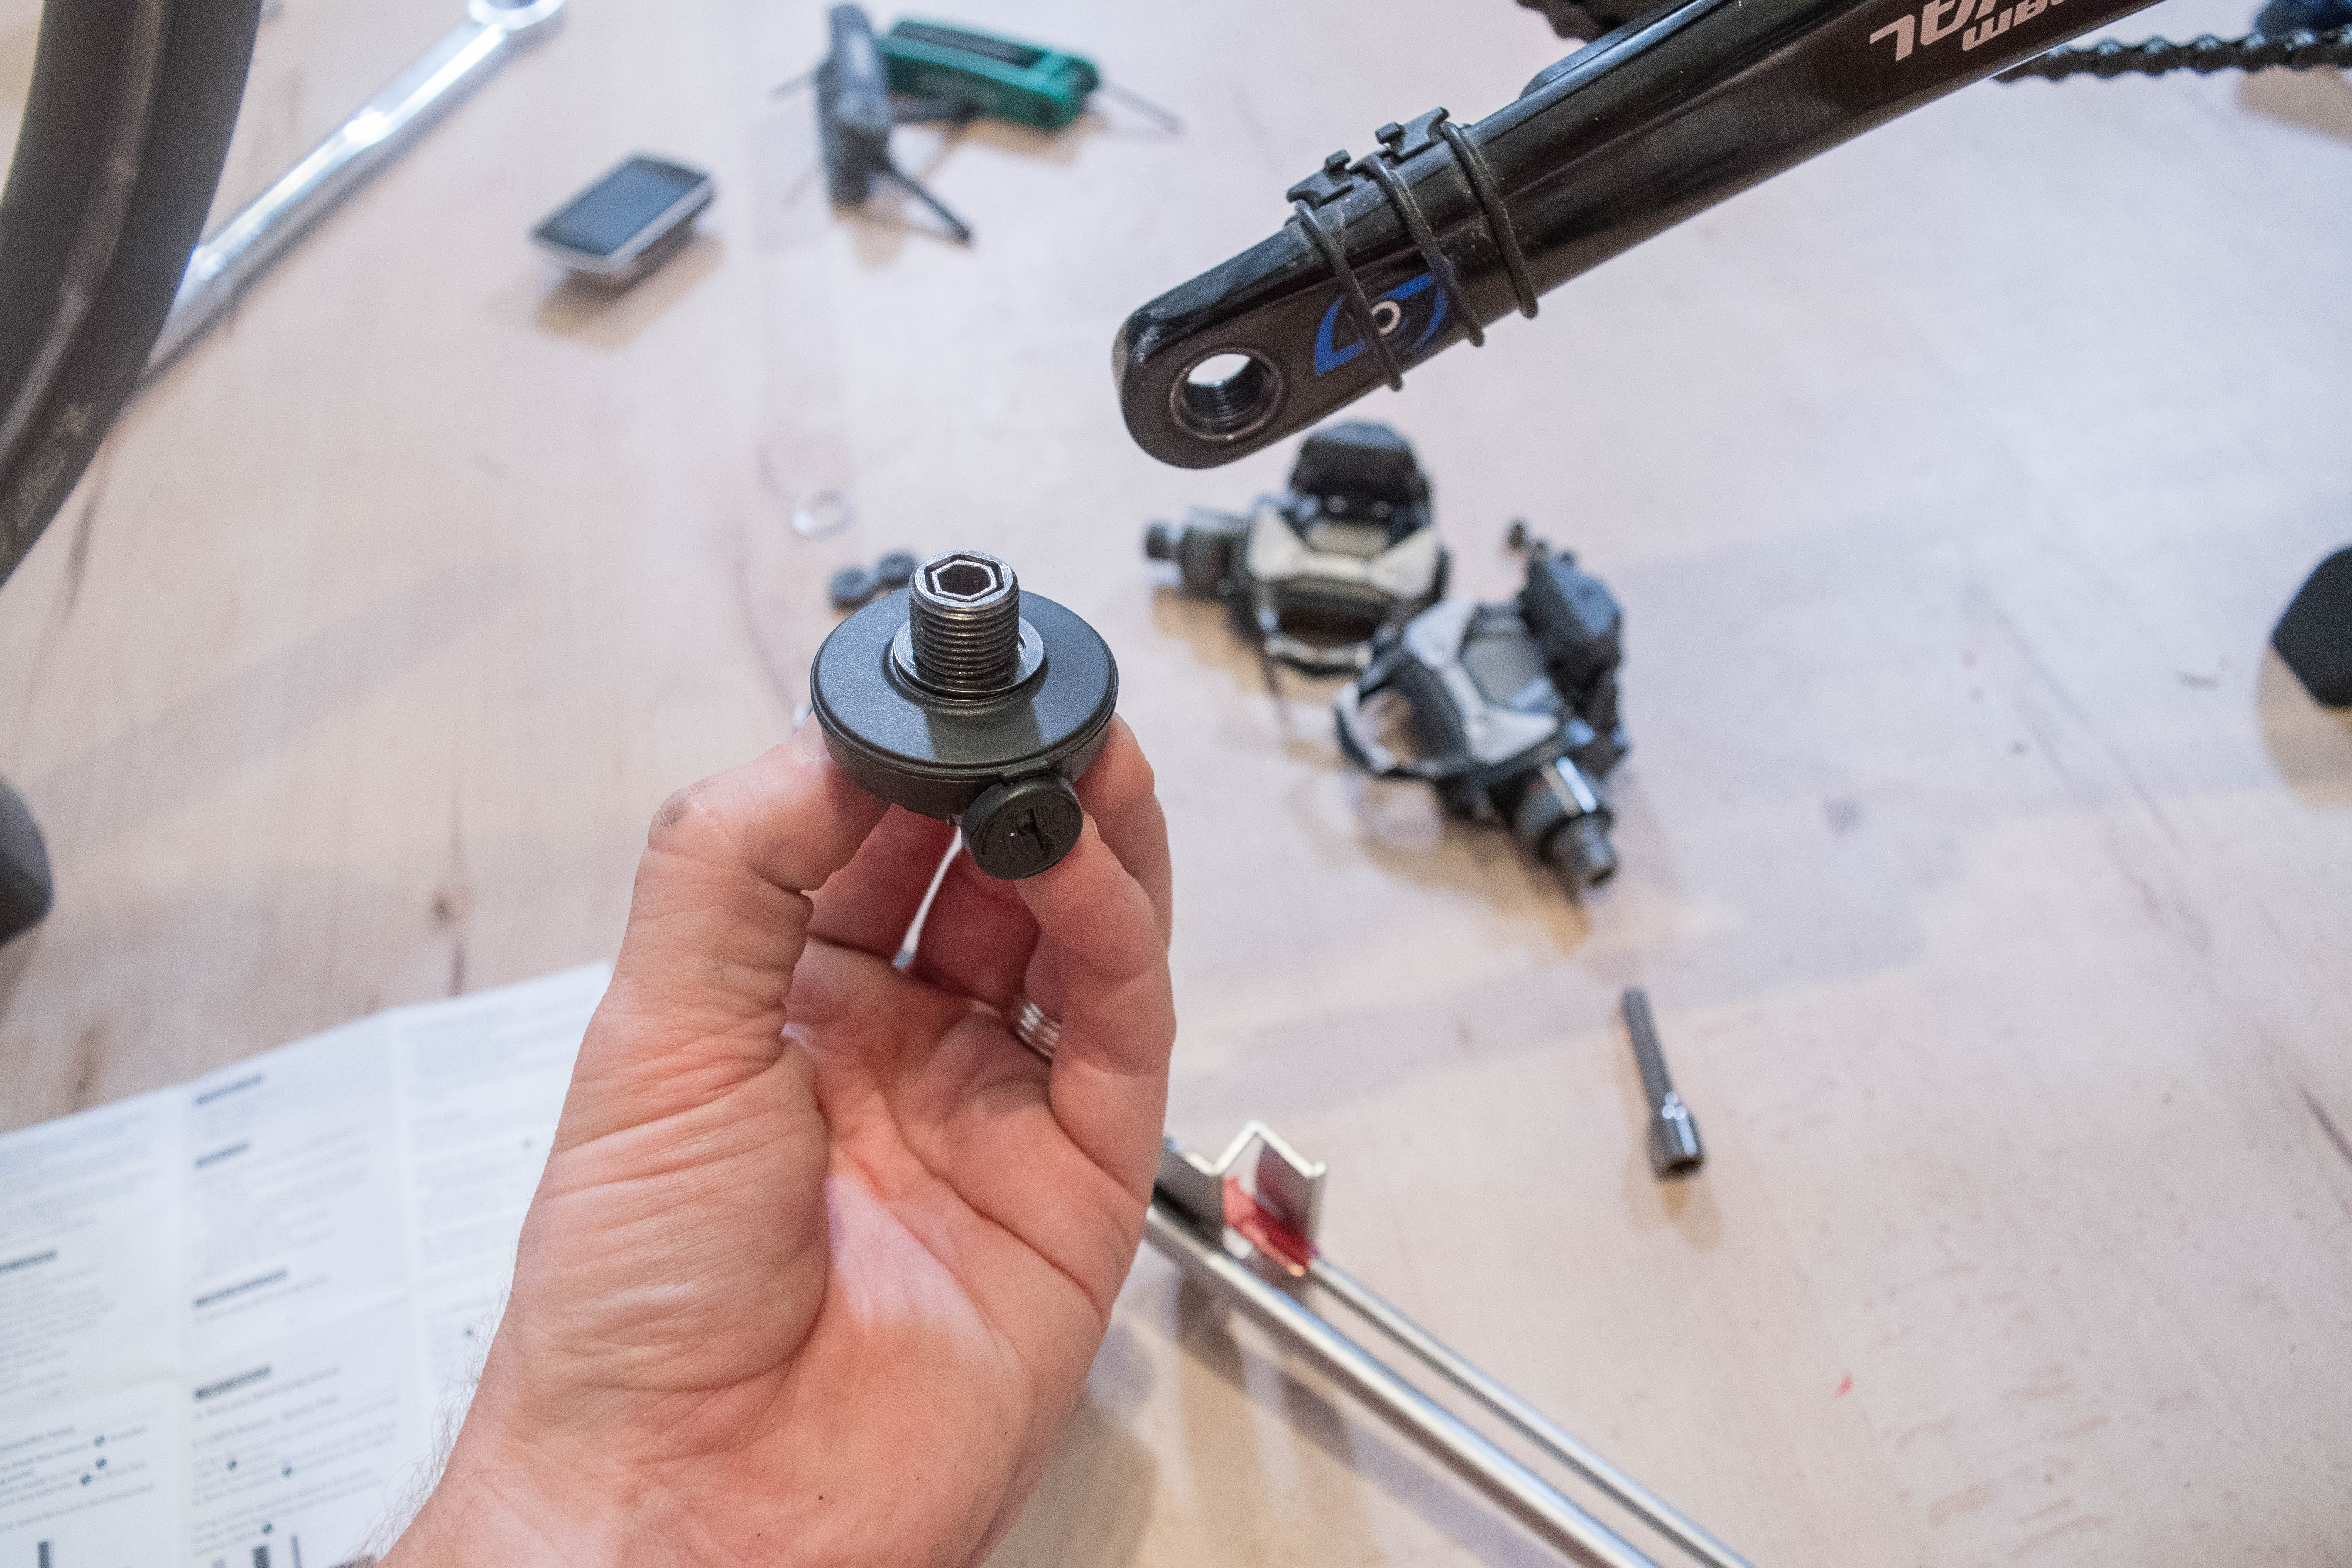
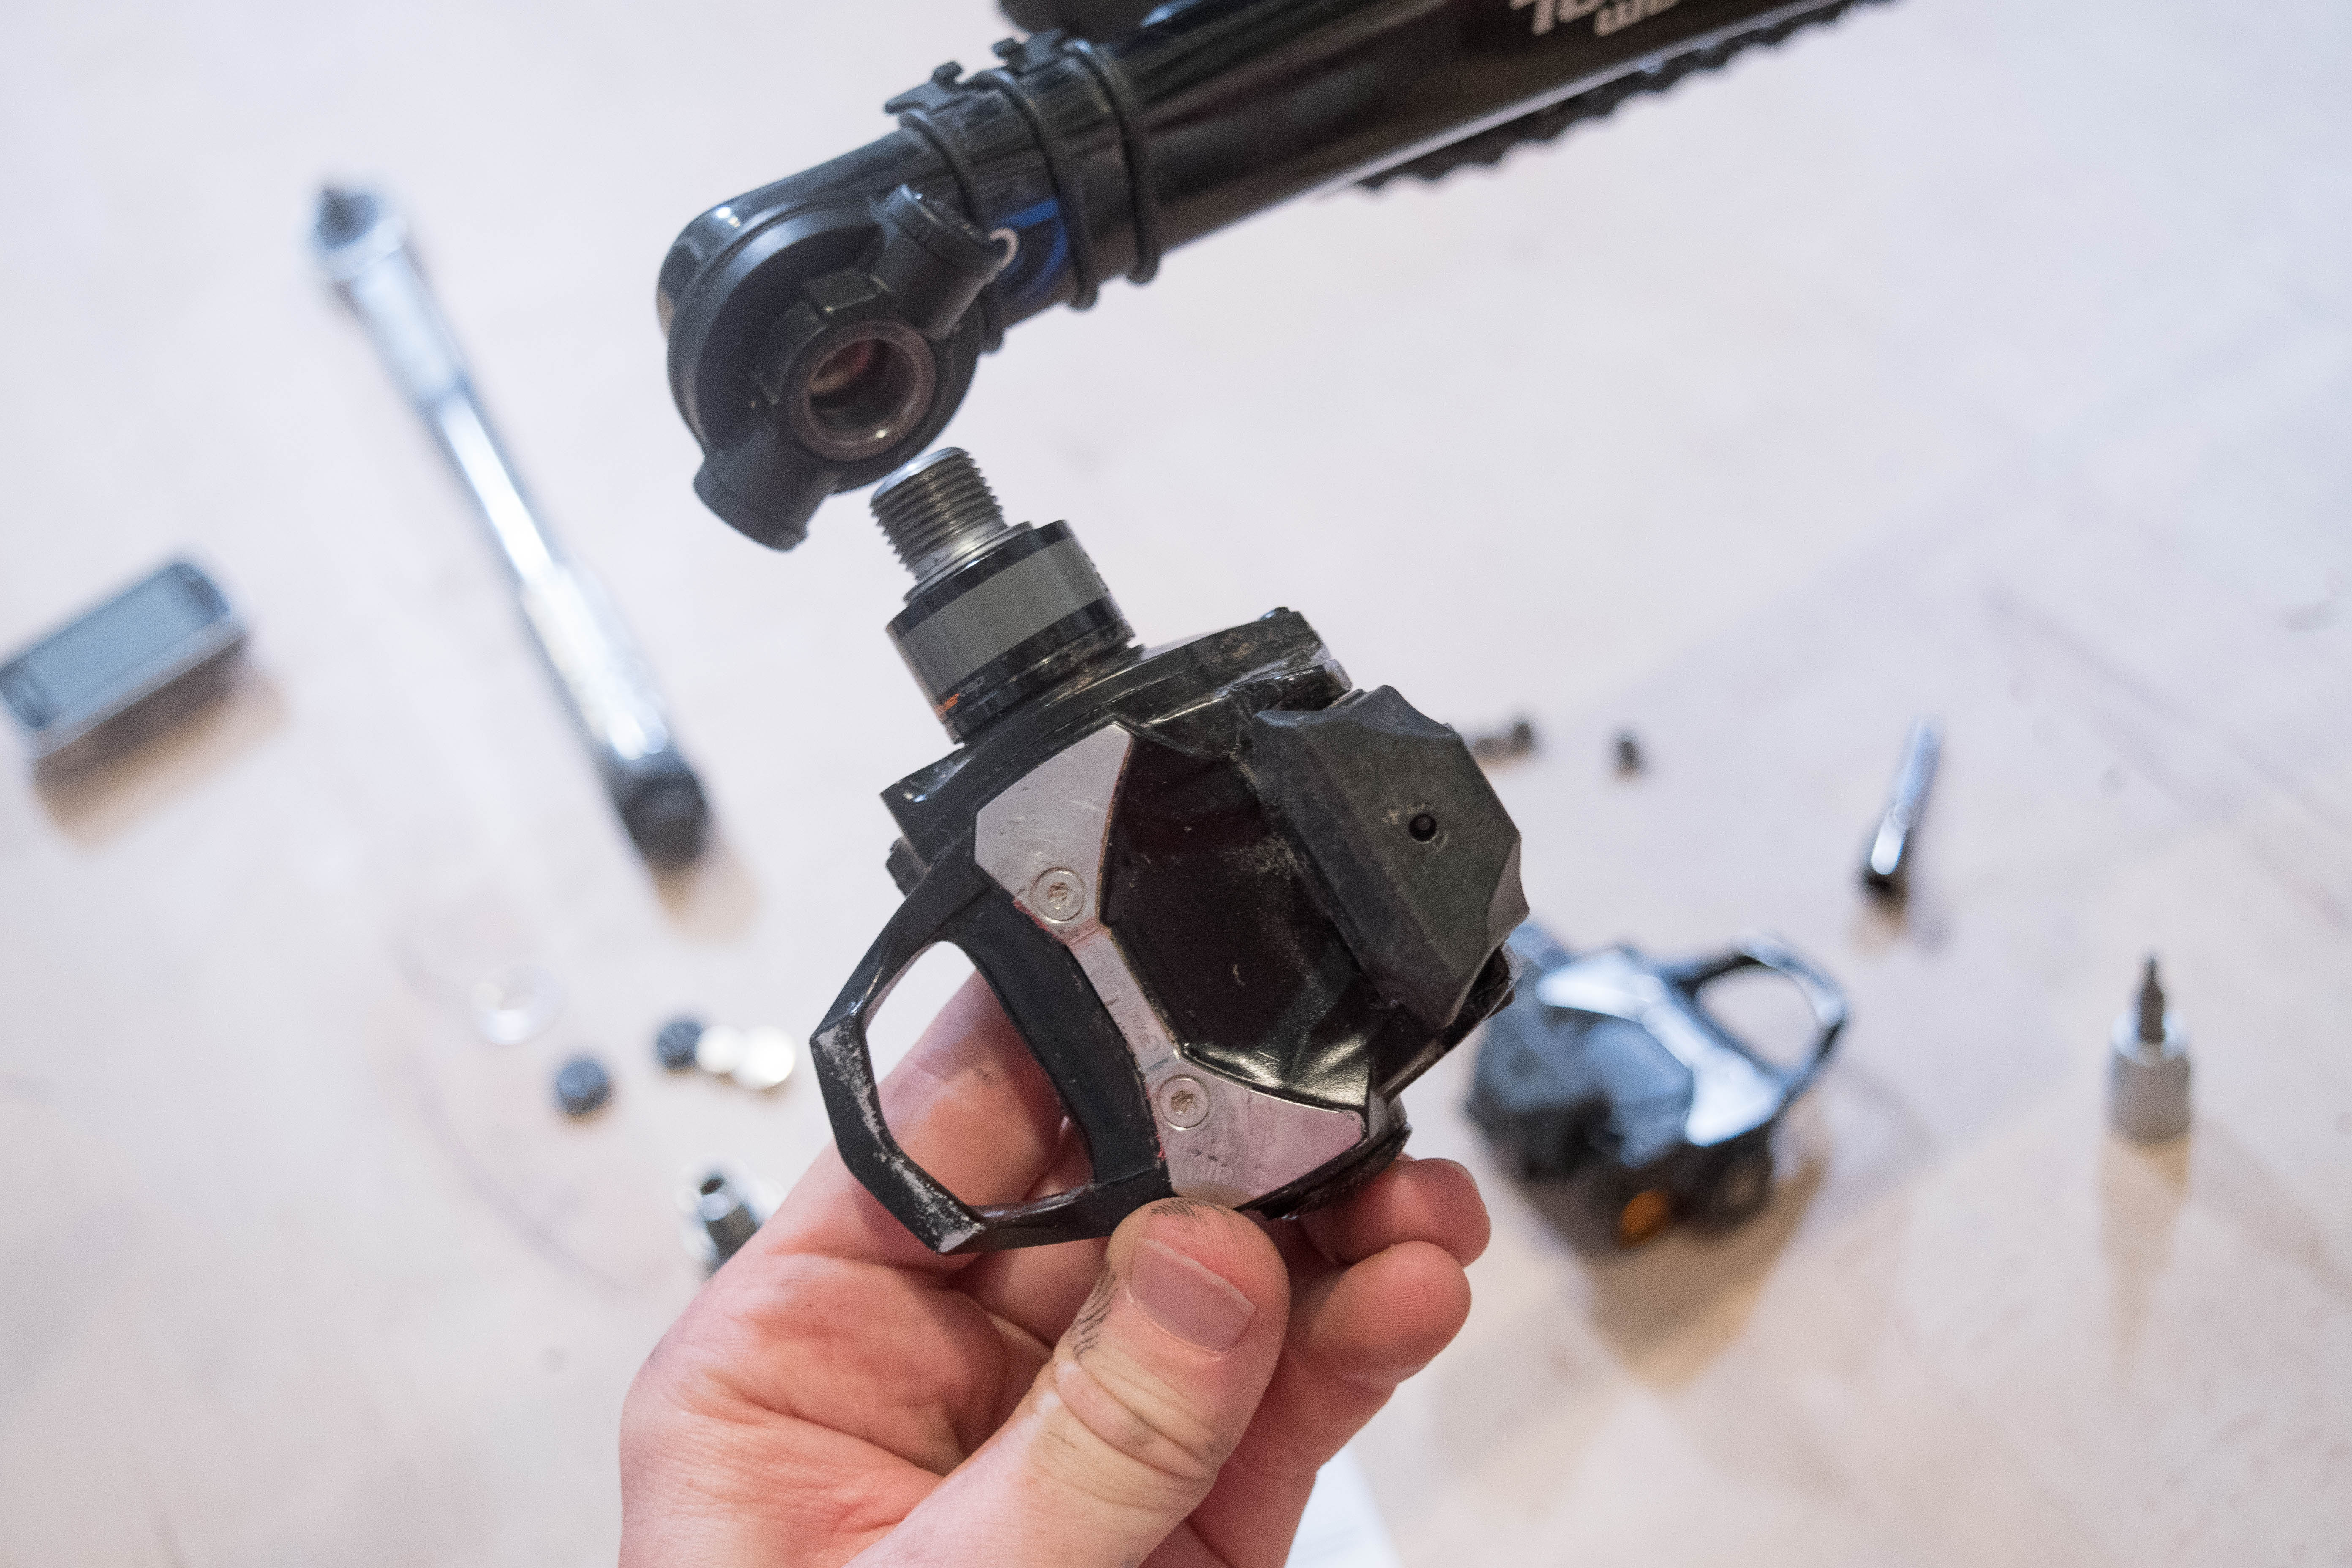
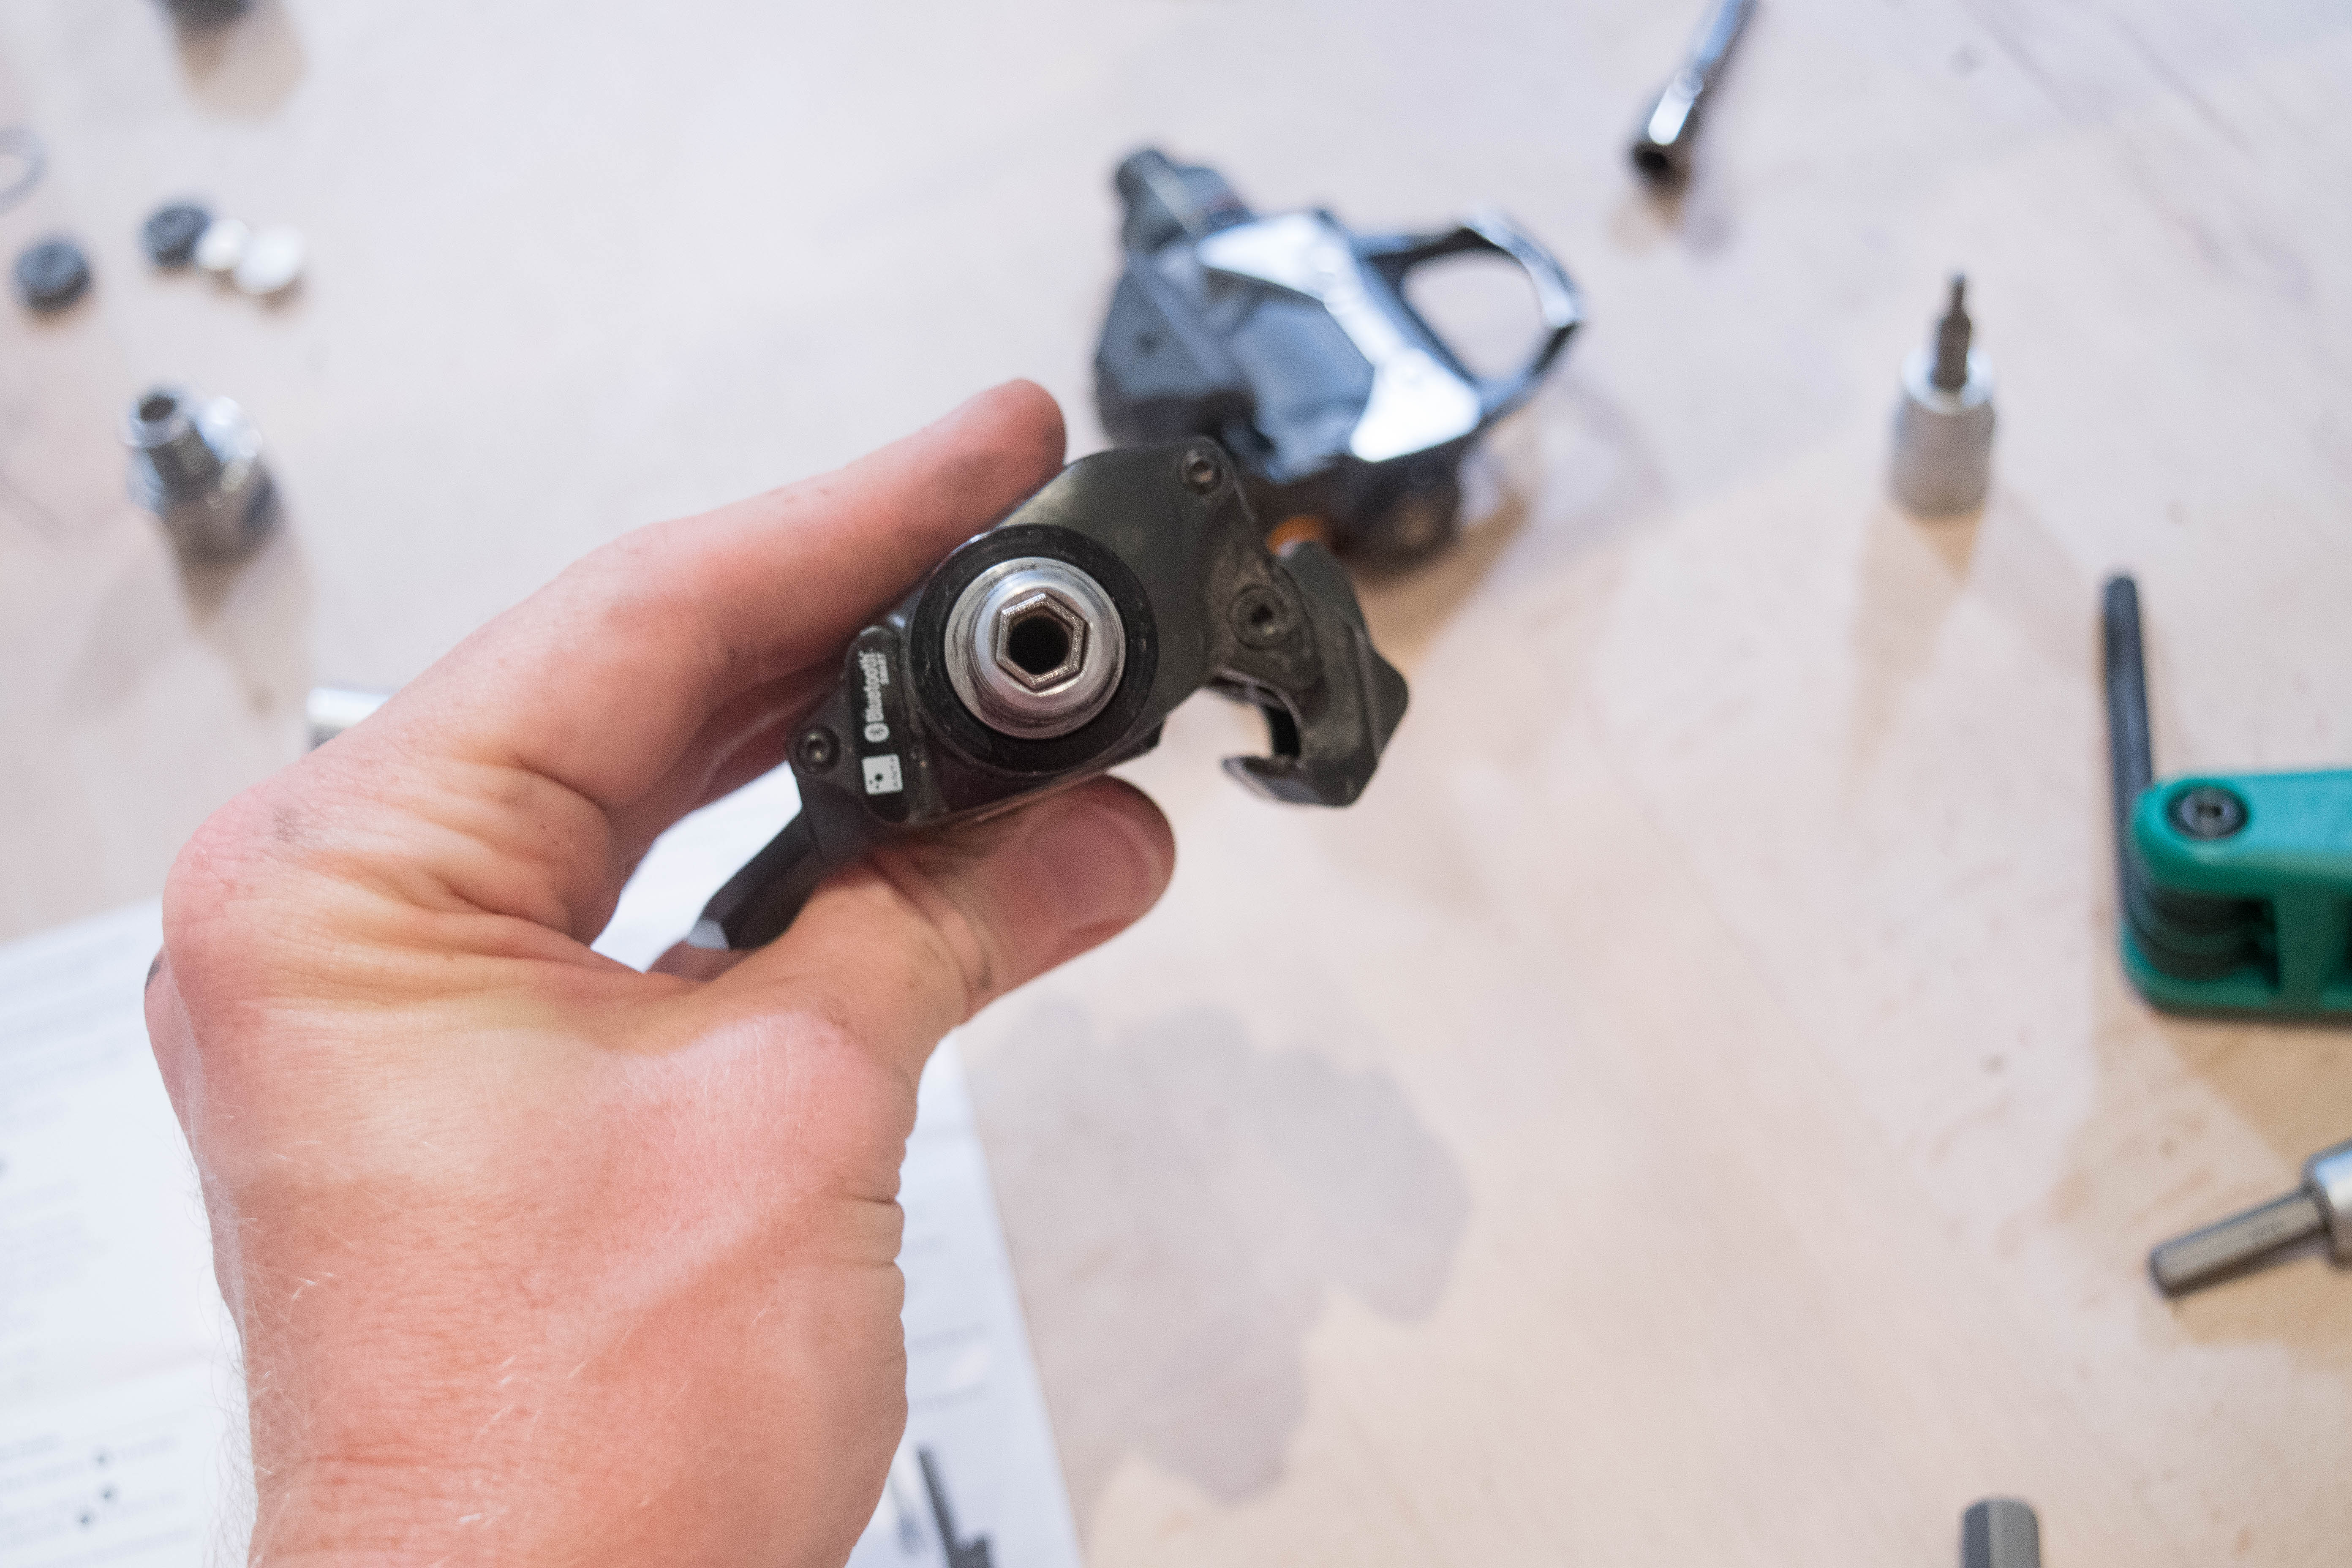
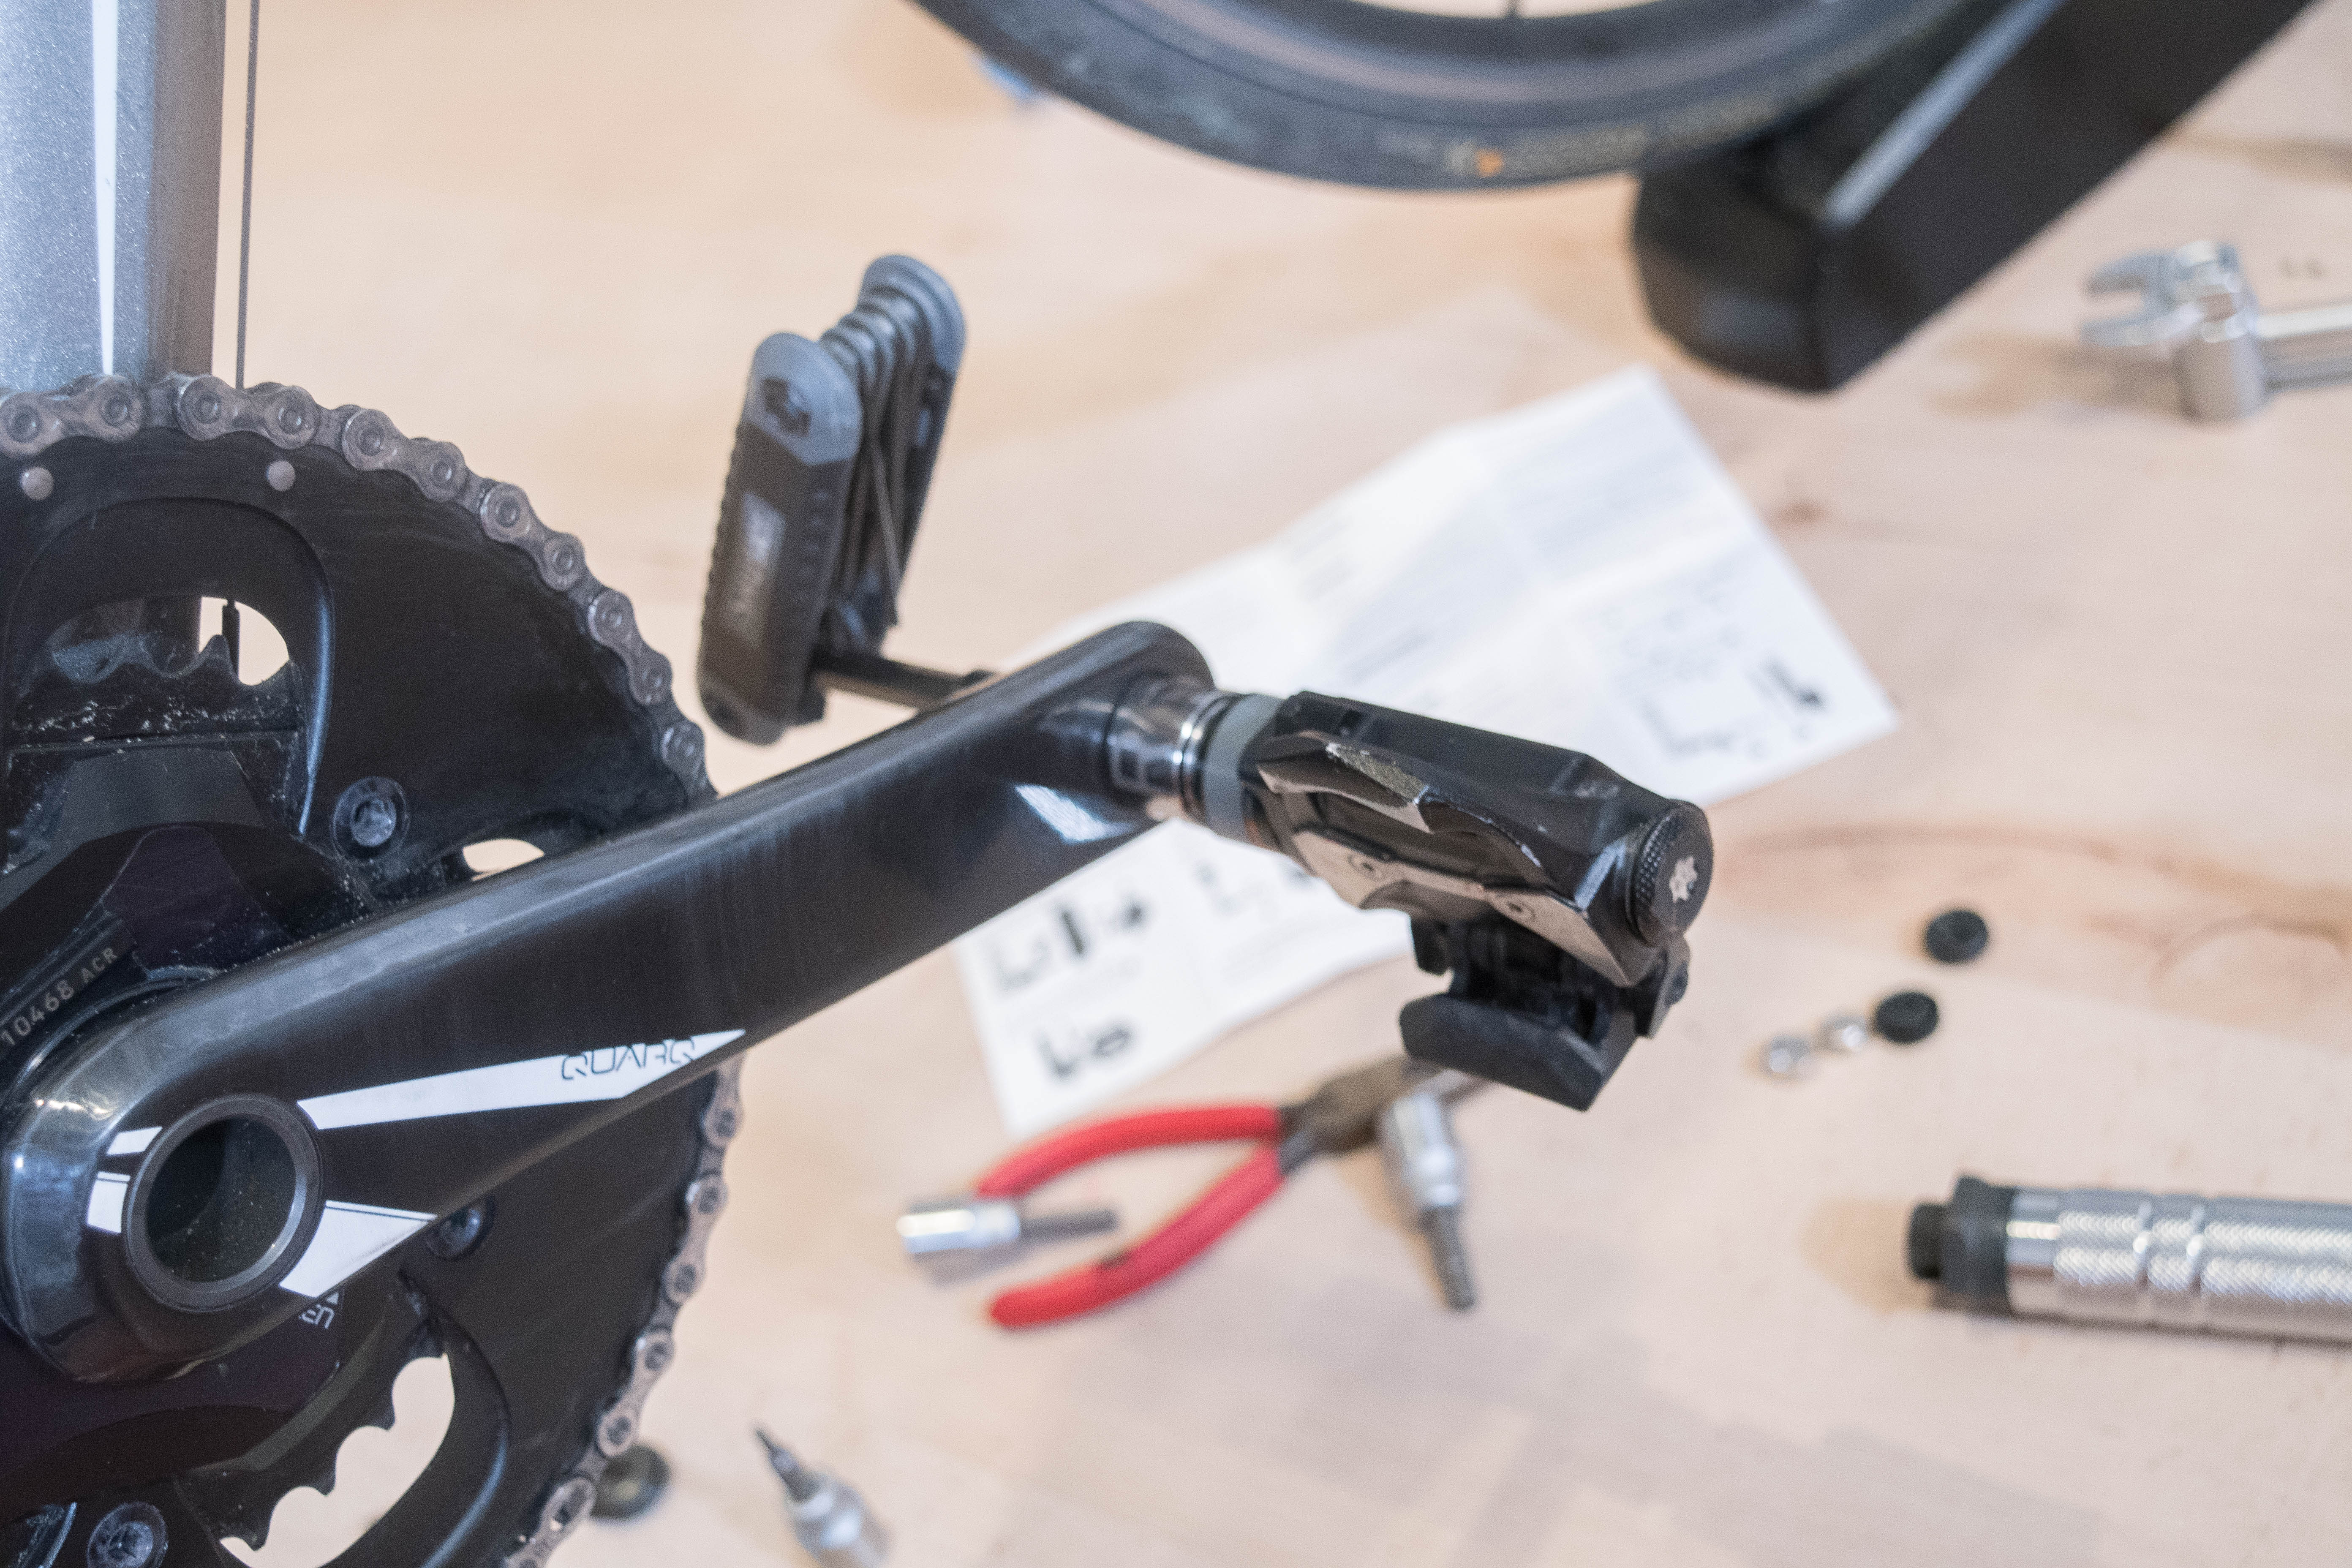
Next, was installation. I used the paper instructions included in the box. Here’s some photos from that. Note that like some other power meters (i.e. Garmin Vector), you will need a torque wrench to properly install.
It took me about an hour to install it, most of which was due to the instructions being a little bit confusing. An easily fixable problem after they’ve received a bit of feedback I’m sure. Otherwise things were fairly straightforward.
The only notable item is that if your pedals don’t have a way to use a pedal wrench on them between the pedal body and crank arm, then be super-careful when using the internally required 8mm to 6mm step-down spacers, that it doesn’t fall in between the pedal threaded portion and the internal LIMITS shell. Always apply steady force from both sides (this isn’t noted in the manual). Else, you’ll get your pedal stuck half-way on/off and no (easy) way to ever really separate the two. It’ll make more sense when you have to install it yourself.
Once done and batteries are installed, it’ll show a blue light indicating it’s booting up.

Following installation I set the crank length (in my case 175mm), and then did an initial calibration putting the LIMITS power meter in the correct position. I then did a 10 minute set-in/calibration/bed-in trainer ride, followed by another calibration (Cal value 170). Upon seeing oddities with power (significant separation/drift) within 30-45 seconds I did another calibration (Cal value 172). I then did a ride of about 5 minutes to further normalize things (Cal value 179). At that point I headed outside for an initial test ride.
Accuracy Testing Process:
I haven’t written a full post on power meter accuracy testing, so I’ll do the short-hand version for now. I believe in testing power meters across a broad range of conditions – both environmental (i.e. indoors/outdoors/cold/hot/rough terrain/etc…), as well as workout types (intervals/high cadence/low cadence/sustained efforts of a set value). This is based on years of power meter testing and figuring out where power meters often fail the most (cold but shifting to warm, and rainy on rough roads, in case you were wondering).
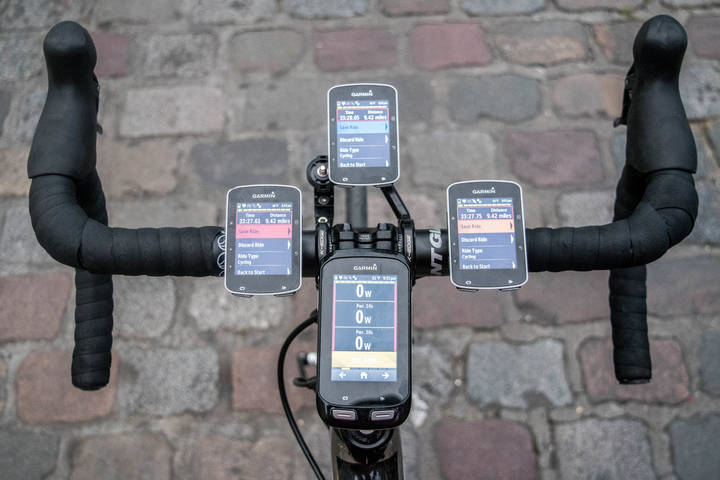
When it comes to the bike that I’m using to test LIMITS, it’s a Giant Defy2 road bike. Both the bike and all other power meters and head units on it have been purchased by me. The power meters being used concurrently on this bike are:
Unit 1: PowerTap P1 Power Meter Pedals
Unit 2: Quarq RIKEN Crank Spider Power Meter
Unit 3: Stages Left-Only Power Meter
Unit 4: PowerTap G3 Wheel Hub Power Meter (upon return of rear wheel from servicing)
Trainers: Wahoo KICKR trainer & TACX NEO
+ the LIMITS Power meter
On occasion I may add other units to the mix, both trainer based and non-direct force power meters (i.e. PowerPod or PowerCal). The goal in looking at power meter accuracy data is to establish either agreement of power meters (a majority or quorum), or to establish a known reason why the majority may be incorrect. An example where the majority could be incorrect and a single unit getting it right would be rough roads where all but one unit had issues (it happens). Normally though, the majority are correct.
I use a custom developed tool that takes standard .FIT/.TCX files from major GPS computers and plots the data onto charts. It also provides additional power meter analysis capabilities to more easily demonstrate errors (i.e. Mean/Max charts, Left/Right comparisons, etc…). Each of my test rides goes into that system, and the link next to each one allows you to open it up in the same platform that I use. Additionally, you can download the original .FIT files and do your own comparison.
In the case of testing right now, I’m using Garmin Edge 520’s, Edge 1000’s, and Forerunner 920XT’s to capture the bulk of the data. I often will capture data twice (on more than one device), if I suspect any sort of issues around transmission (i.e. drop-outs), allowing me to narrow down the specific cause.
Things to note/analyze:
Cadence: Look for variances, and if variances exist – see if in satellite view they line up to rougher roads (i.e. cobblestones)
Variability: Validate that if a given unit is low (or high) on one ride, it doesn’t fluctuate above/below other PM’s, it should at least be consistent on a given ride
Temperature drift: On rides with significant temperature differences, validate a unit doesn’t drift slowly high or low
Responsiveness: Sometimes when a company can’t fix variability issues, they’ll add smoothing. This manifests itself easily in sprints
Accuracy: Obviously, it should be within 2% or so of the group. Note that if multiple units have +/- ranges of 2%, then it really could be as far as 4% apart
Mean-Max Graph: This is the great equalizer of power meter graphs. It’s the closest you can get to having a single chart declare accuracy
Left/Right Variations: Because some power meters are left-only, you’ll want to use the option to compare left against virtual left (such as on the PowerTap P1’s)
Smoothing: In most of my graphs I apply a dynamic smoothing value of 5-10 seconds (depending on the length), which makes it easier to analyze. The smoothing value is listed at the bottom of the analyze page.
Ride Average Power: Be very careful when looking at this value. Two power meters can be completely wrong the entire time, and still have a nearly identical average. It’s the worst possible metric to use when comparing data sets. If you see someone using average power as the comparison point, close your browser tab on that site.
Finally, a brief word on accuracy/consistency religion. Often I’ll see people say “It doesn’t matter if it’s accurate, as long as it’s consistent”. Unfortunately, that’s not the case with power meters. While something may be consistent to itself, eventually you’ll want to replace that product when it fulfills its natural life (or is killed). You want those two products to match, otherwise you’ll have years of otherwise very valuable power meter data that’s useless. Further, popular race time estimation sites like BestBikeSplit and others really depend on having accurate power meter data to feed into their models. If your data is wrong, your time estimations will also be wrong. All of this ignores the fact that typically speaking I’ve never found a power meter that was consistently wrong. In fact – when I see issues they are *always* inconsistently wrong. Be it based on cadence, temperature, road conditions, etc… I’ve yet once to find a single unit that was purely 5% high/low or 10w high/lower. The math simply doesn’t work that way in power meters.
LIMITS Power Meter Data
Below is the ongoing data from my testing of the LIMITS power meter. Note I’ve included the initial calibration ride, merely to demonstrate the importance of the initial calibration ride. Like any other power meter I test, I do a settling in ride. While the results seen there were slightly unusual for an initial calibration ride – they certainly aren’t unheard of. Said differently: Don’t over think that one ride.
I’ll update the table below each time I ride. As a triathlete, I don’t ride every day, but roughly every other day in order to fit in both runs and swims. Again, you can download the original files after you click the ‘Analyze’ link next to each set, towards the bottom of that page.
LIMITS Data Sets
| Date | Workout Structure | Indoors or Outdoors | Analyzer Link |
|---|
| 13-June | Initial Settling/Calibration Ride | Trainer | Analyze |
| 13-June | Post Calibration 5-min Validation Check Ride | Trainer | Analyze |
| 13-June | Initial Outdoor Test Ride | Outdoors | Analyze |
| 14-June | Indoor low-cadence/high-cadence & steady-state 20min interval | Trainer | Analyze |
| 17-June | Evening sunset ride | Outdoors | Analyze |
| 18-June | Long steady-state held intensity | Trainer | Analyze |
| 22-June | New bike Settling/Calibration Ride | Outdoors | Analyze |
| 22-June | Riding in the mountains with temp shifts | Outdoors | Analyze |
| 26-June | New bike Settling/Calibration Ride (returned home) | Trainer | Analyze |
| 26-June | Afternoon 90min ride with cobbles | Outdoors | Analyze |
| 28-June | Zwift Trainer Ride | Trainer | Analyze |
| 29-June | Caen Ride to Sea and Back | Outdoors | Analyze |
| 01-July | Afternoon Park Loops | Outdoors | Analyze |
| 09-July | Evening Versailles Ride | Outdoors | Analyze |
| 12-July | Evening Vincennes Ride | Outdoors | Analyze |
As for when I’ll write a review, I would likely base it on once LIMITS starts shipping units to backers. Or, if for some reason they determine that the unit given to the backer who gave it to me ended up not being a final product shipped to backers – then I’d reset and start again.