
You know what I like about quick releases? They’re quick. No, not just for the purposes of attaching your wheel – but rather, for the purposes of this post. I mean seriously, how long a post could I possibly write about a quick release thingy? Actually, it’s not even the entire quick release – rather, it’s just the itty bitty nut at the end of the quick release axle. Just one nut. Actually, two nuts. That’s because they sent me two of their nuts to try out. But normally you’d only buy one of their nuts, and it’d cost you 35GBP/49USD/43EUR.
Unboxing the Nuts:

The packaging is pretty basic. Which is good, you don’t really need a lot of fanciness for good nuts. If some perfect honey-roasted nuts can sit in a generic plastic baggy, so can the NUT-R.

There are three parts to this nut: The long stainless steel piece, the little black GoPro adapter, and the screw at the top. That’s it.

Unlike a bag of Planters though, this does come with some warning instructions for installation. They can basically be summed up as: Just ensure it’s tight.

If you look at the NUT-R from a build standpoint, it’s beastly. It’s not plastic, but rather stainless steel, and I can’t really see you breaking it easily. If anything, the part that I could see breaking upon some horrible impact would be the tiny little GoPro attachment piece. But in some ways that’s probably best that it’s the ‘break-point’ in case you somehow manage to clip it. Plus, that little piece probably only costs a few cents anyway. Note, it’s still a very sturdy piece of plastic – just, it’s not steel.
Note that in my case I have two NUT-R’s, though the exact number of nuts you’d have would depend on what you bought.
Setup & Config:
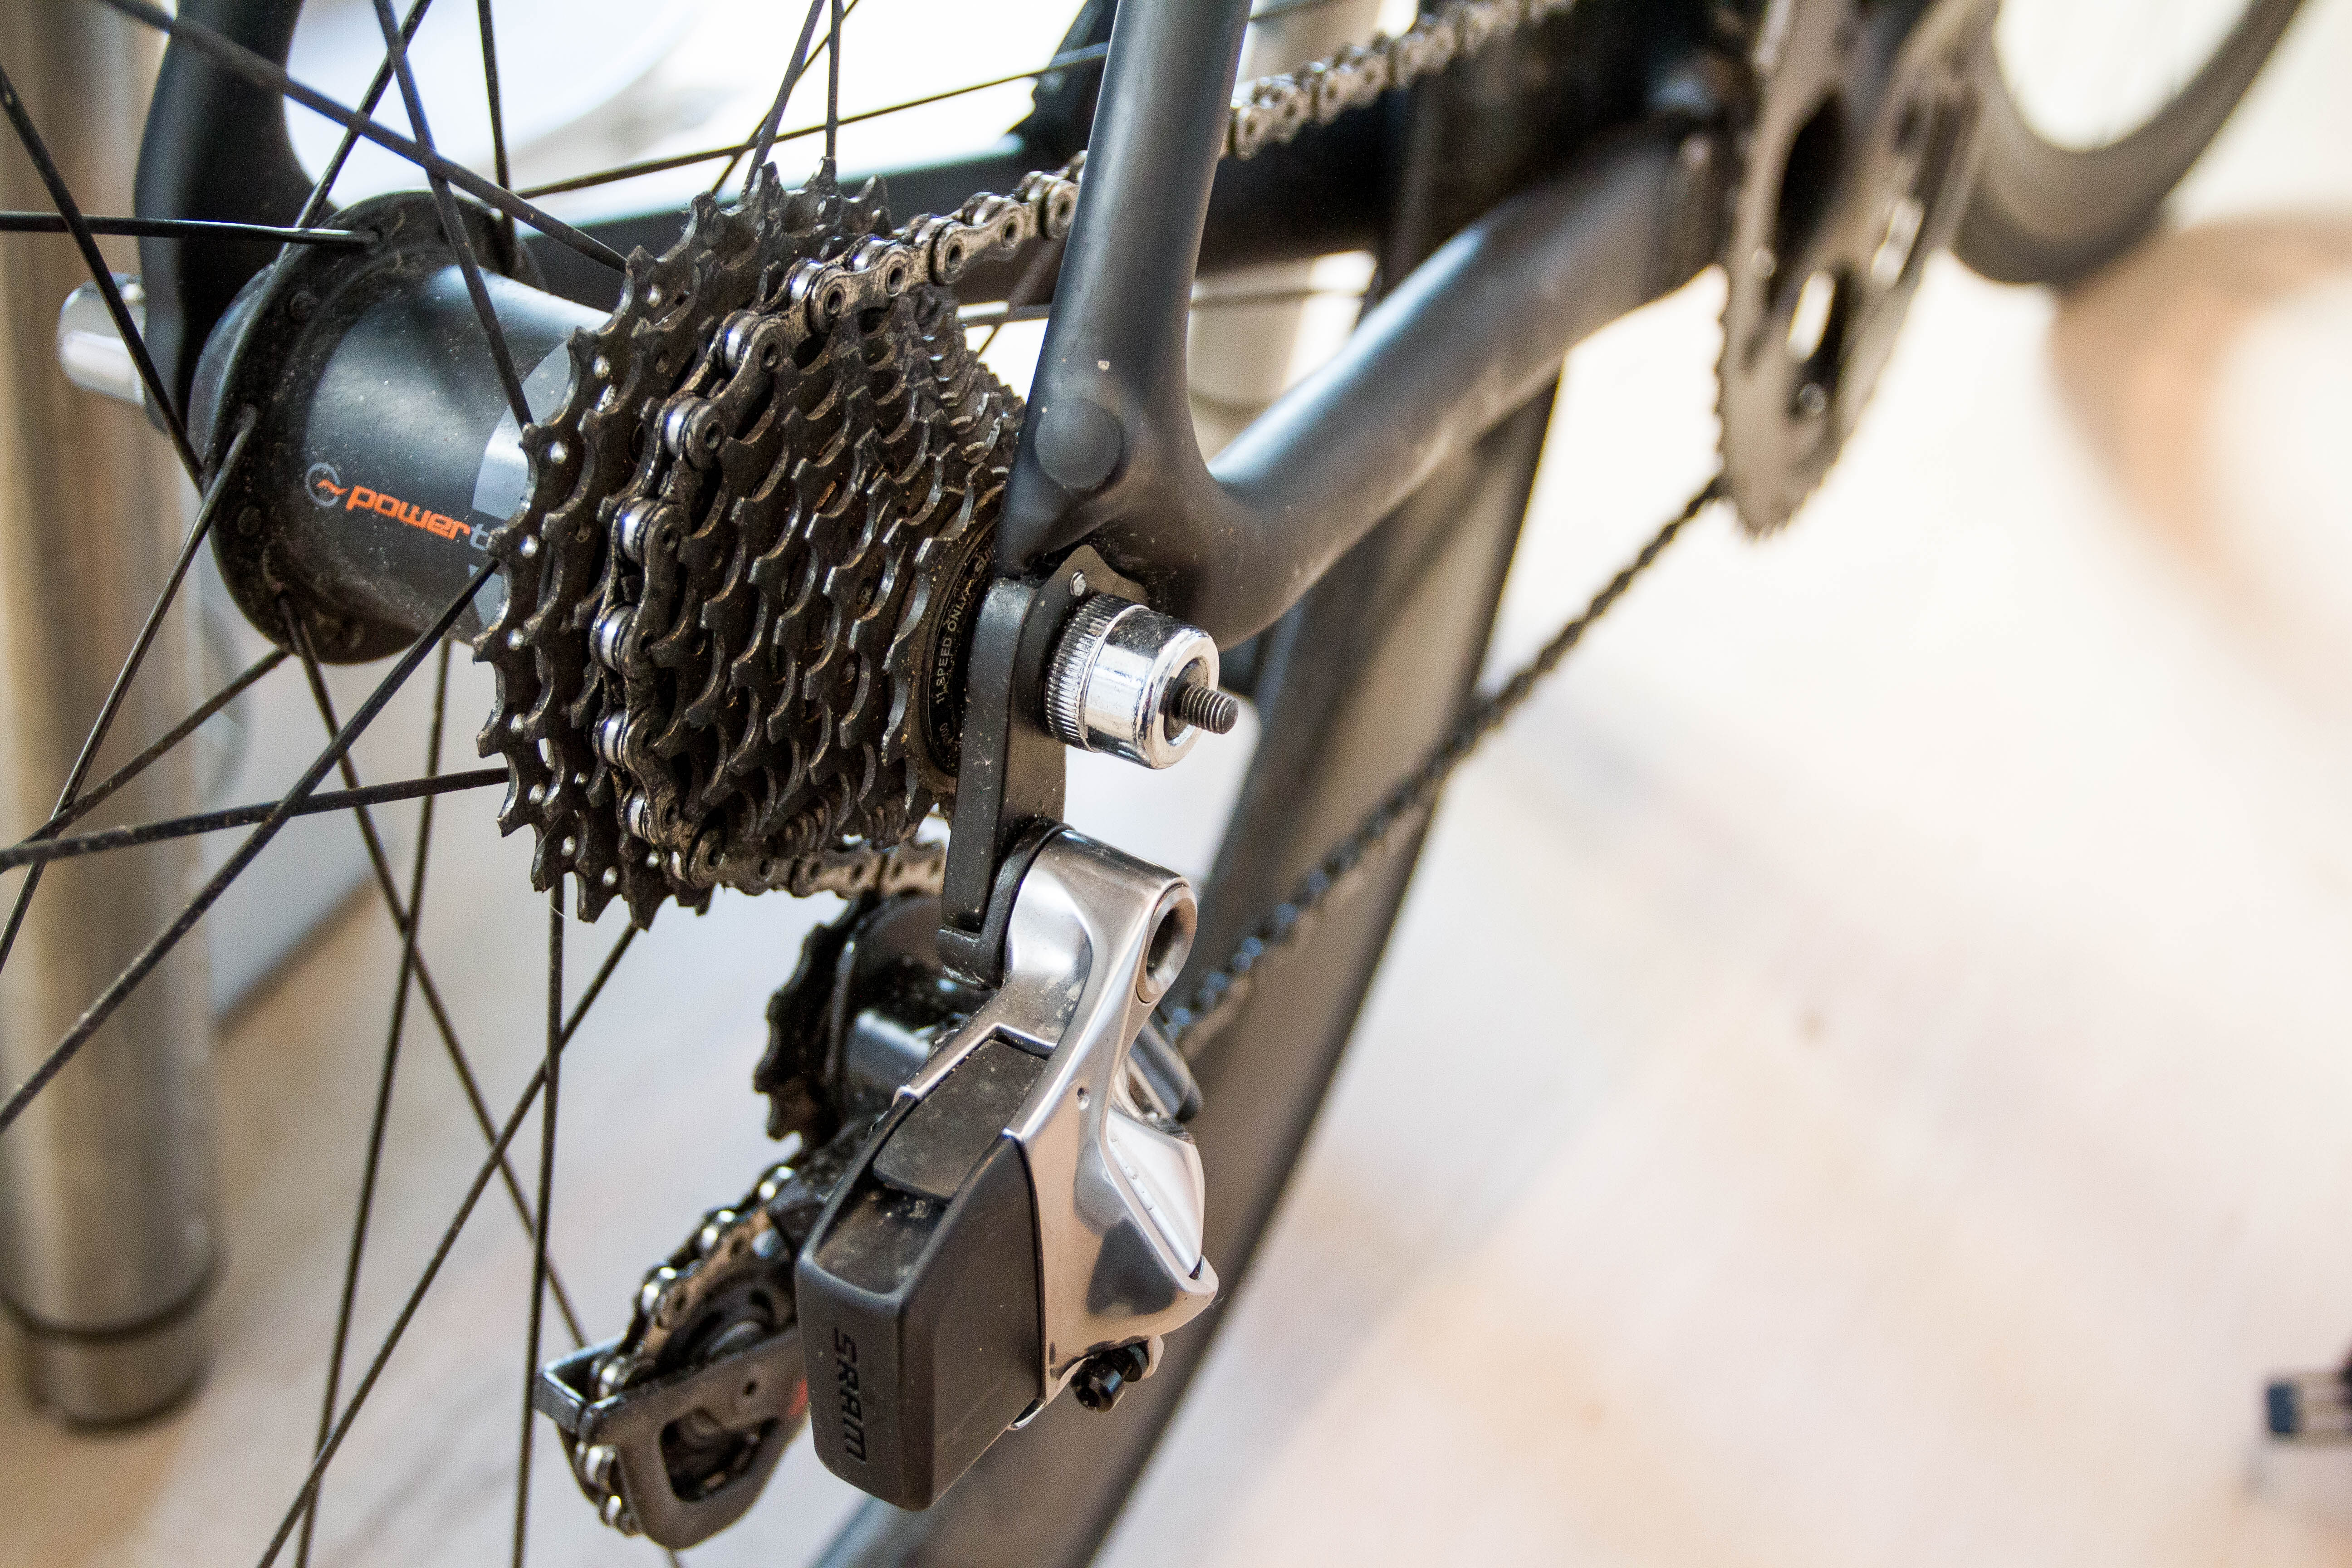
If you can tighten a quick-release skewer, you can likely utilize this product. First up, you’ll grab your wheel. Actually, there’s no need to remove your wheel from your bike – it just looked prettier on the table as the backdrop for my photos:

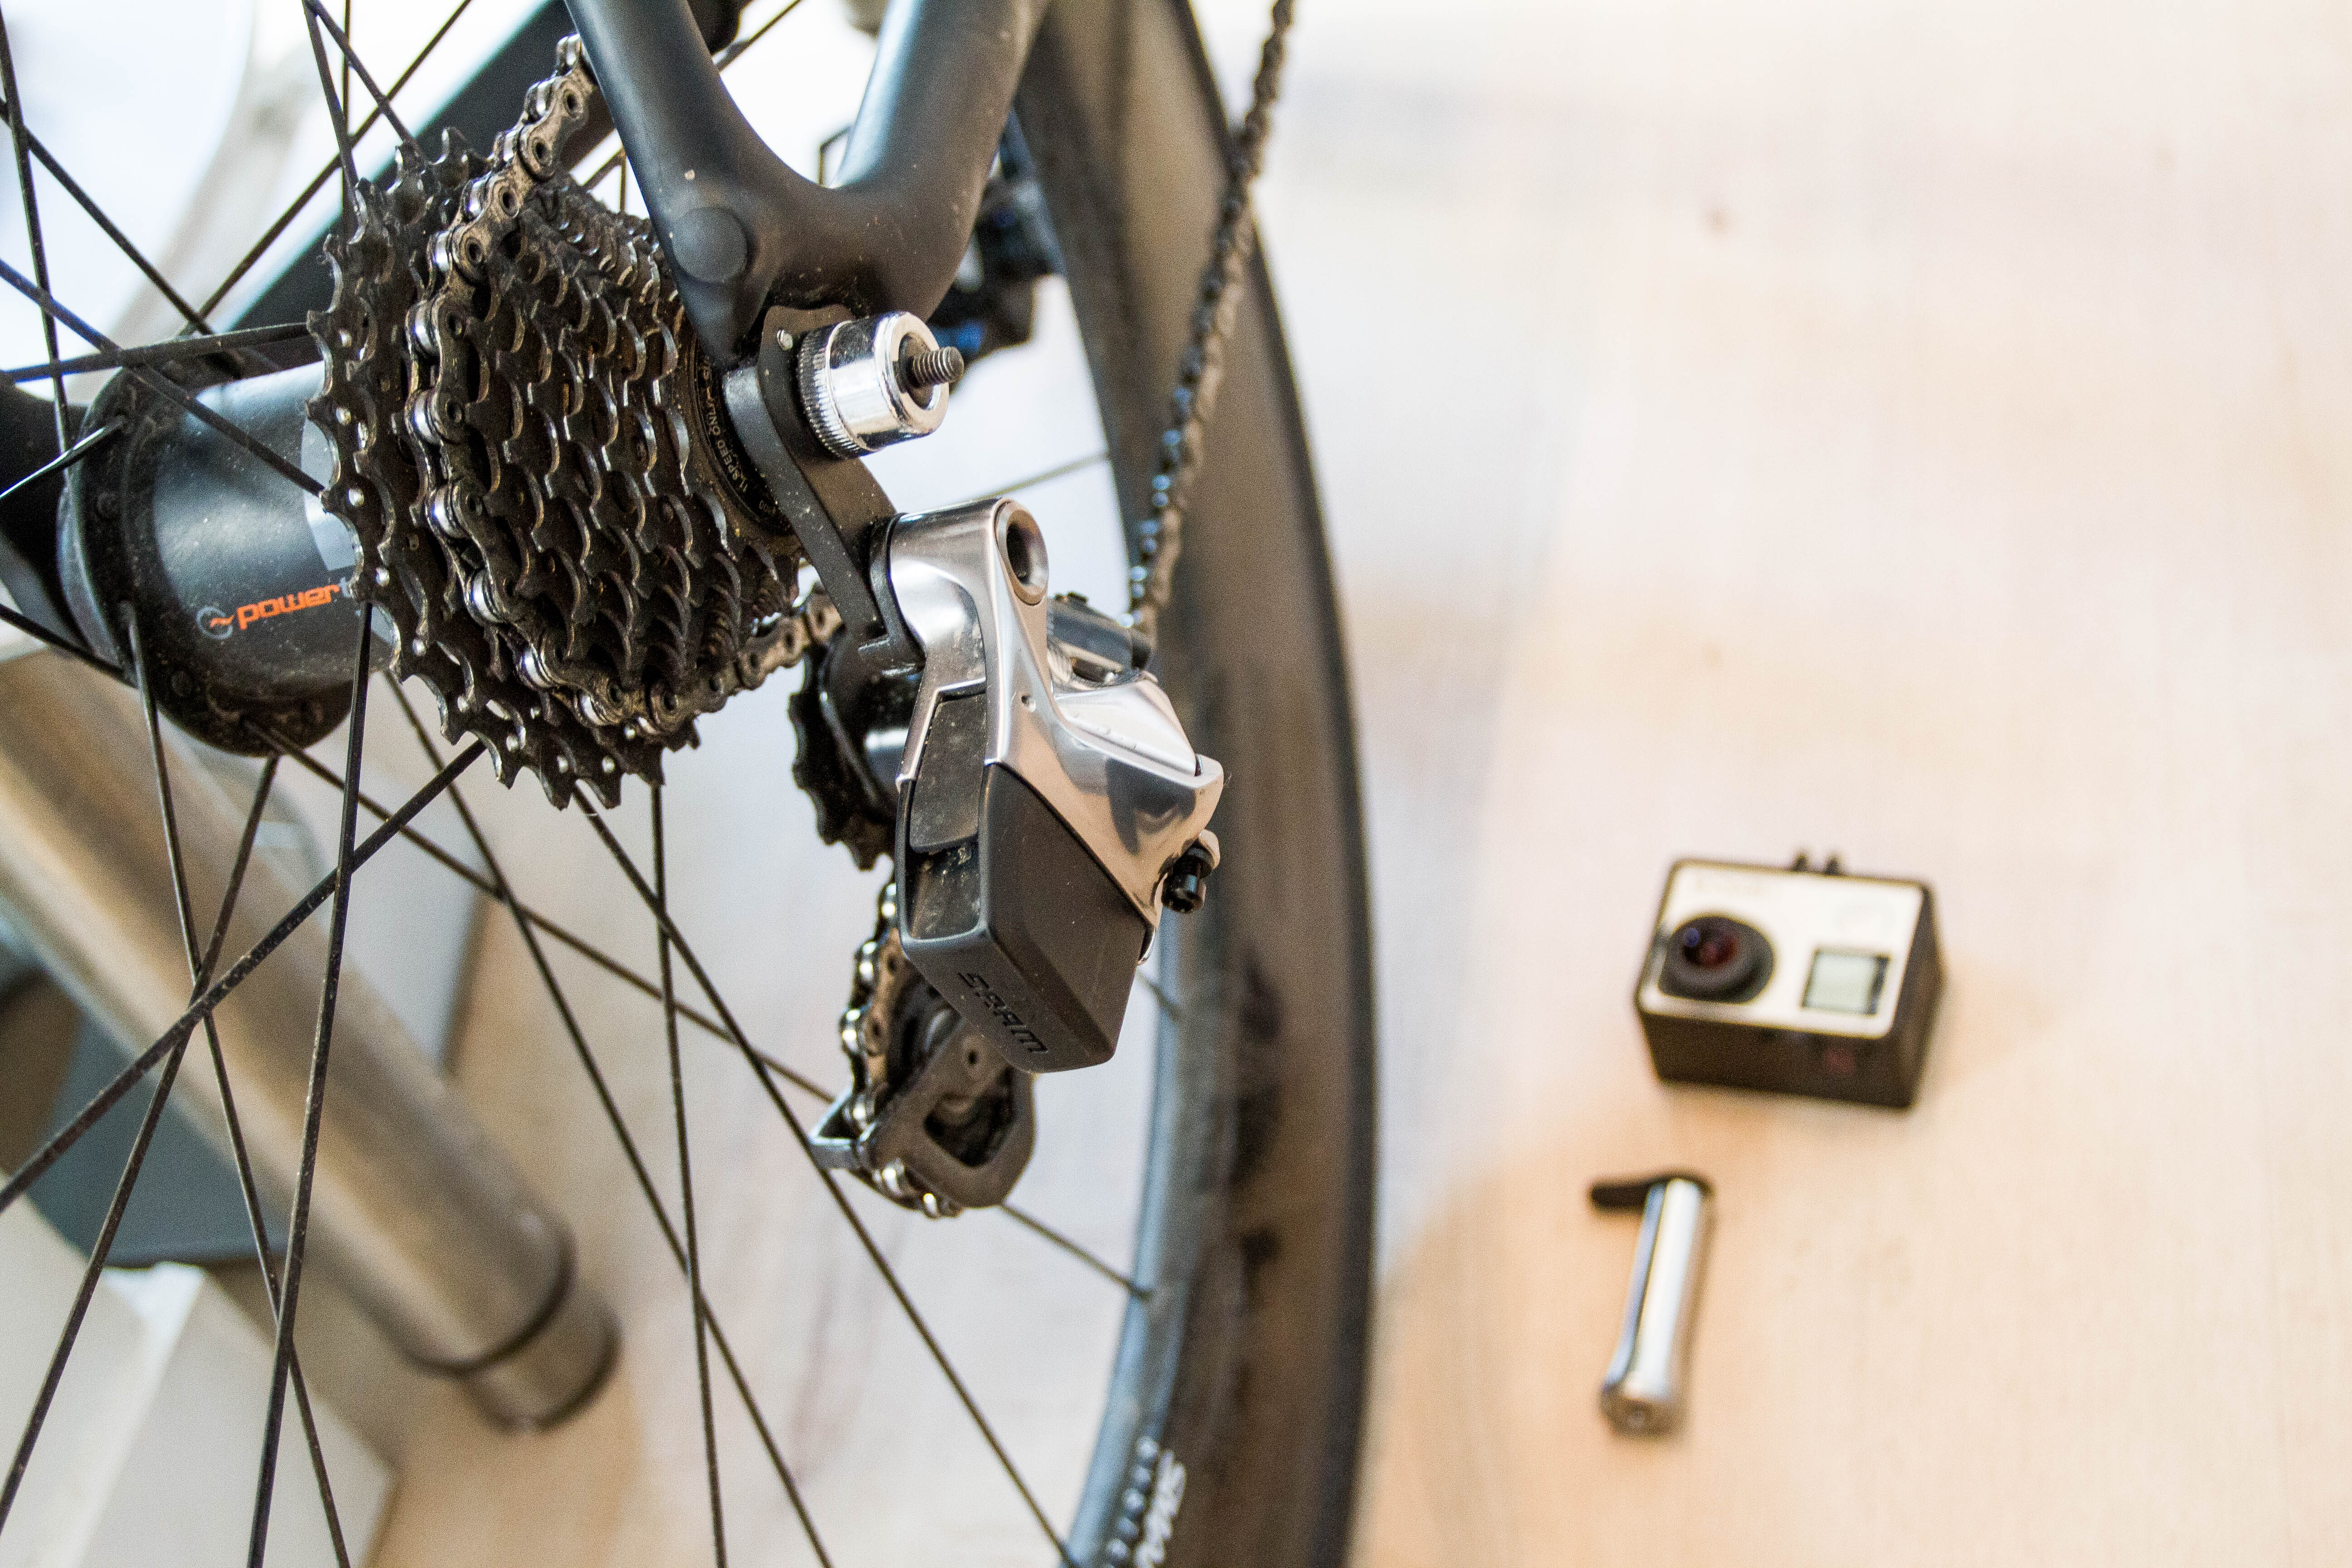
Next, you’ll remove the existing quick release nut from the skewer. The other side has the lever. Don’t try and remove that. Simply untwist the only nut there is. It takes a few seconds. Leave the springy thing there.

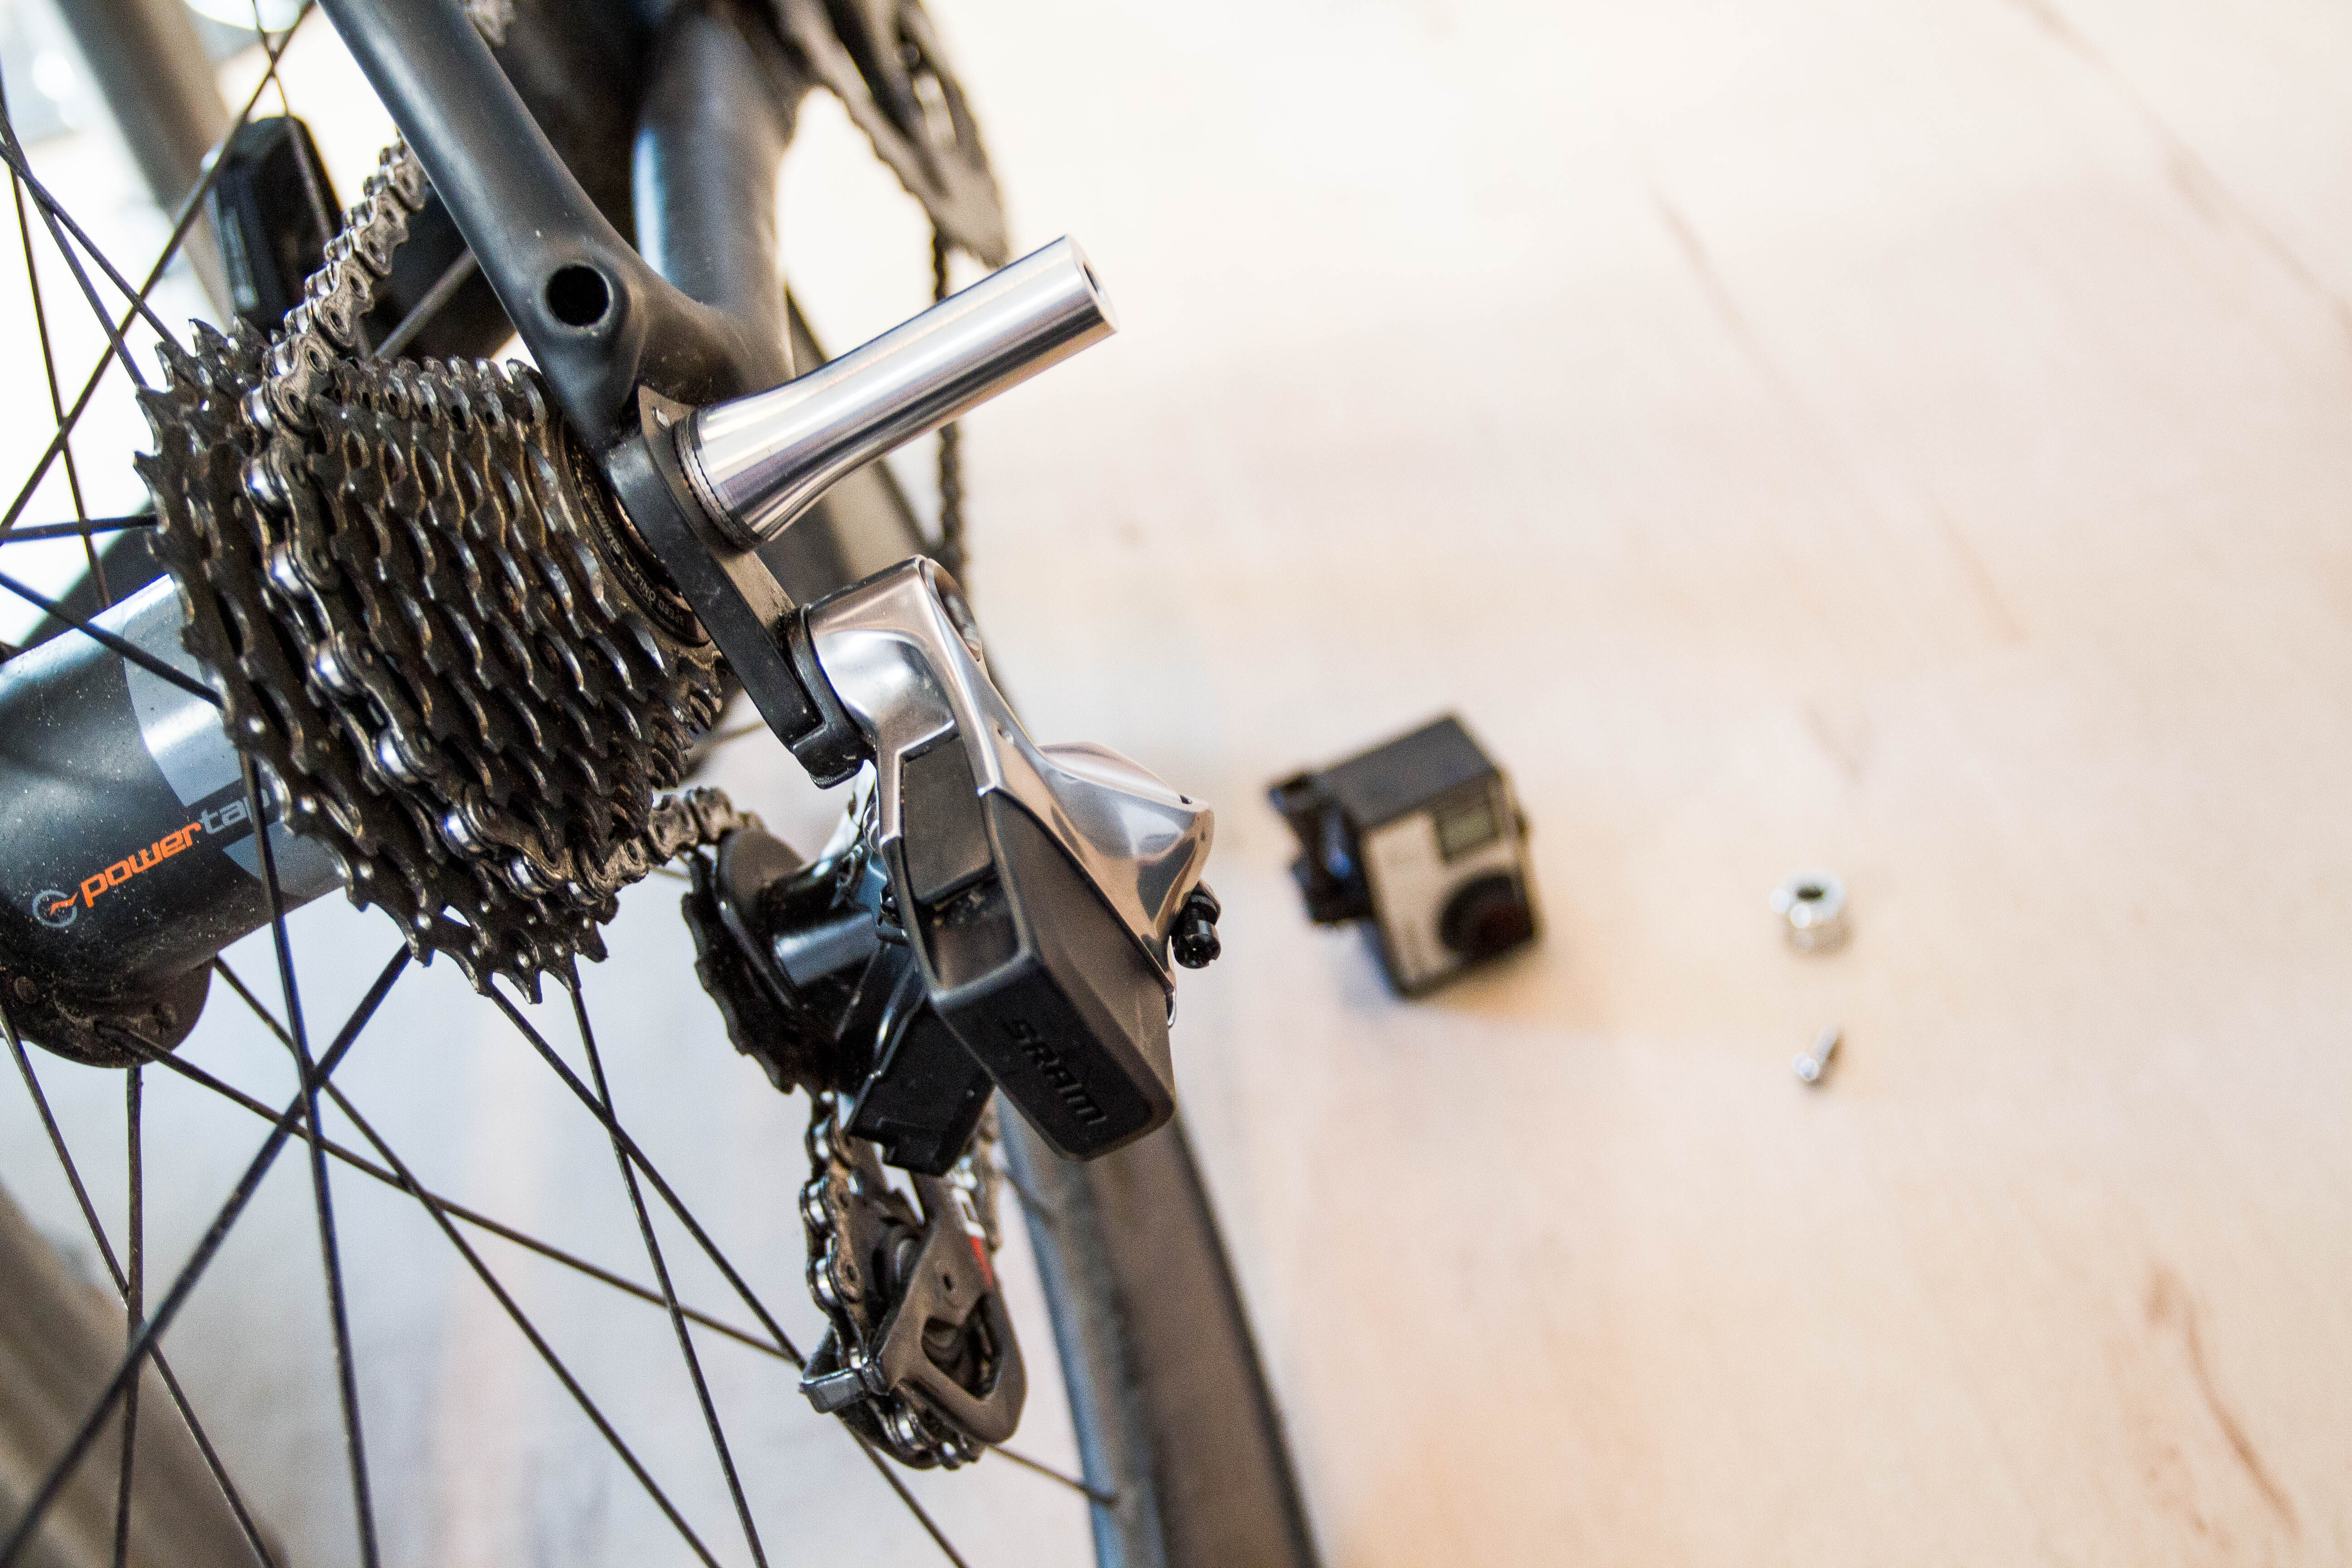
Then, go ahead and twist-on the NUT-R. Super easy.

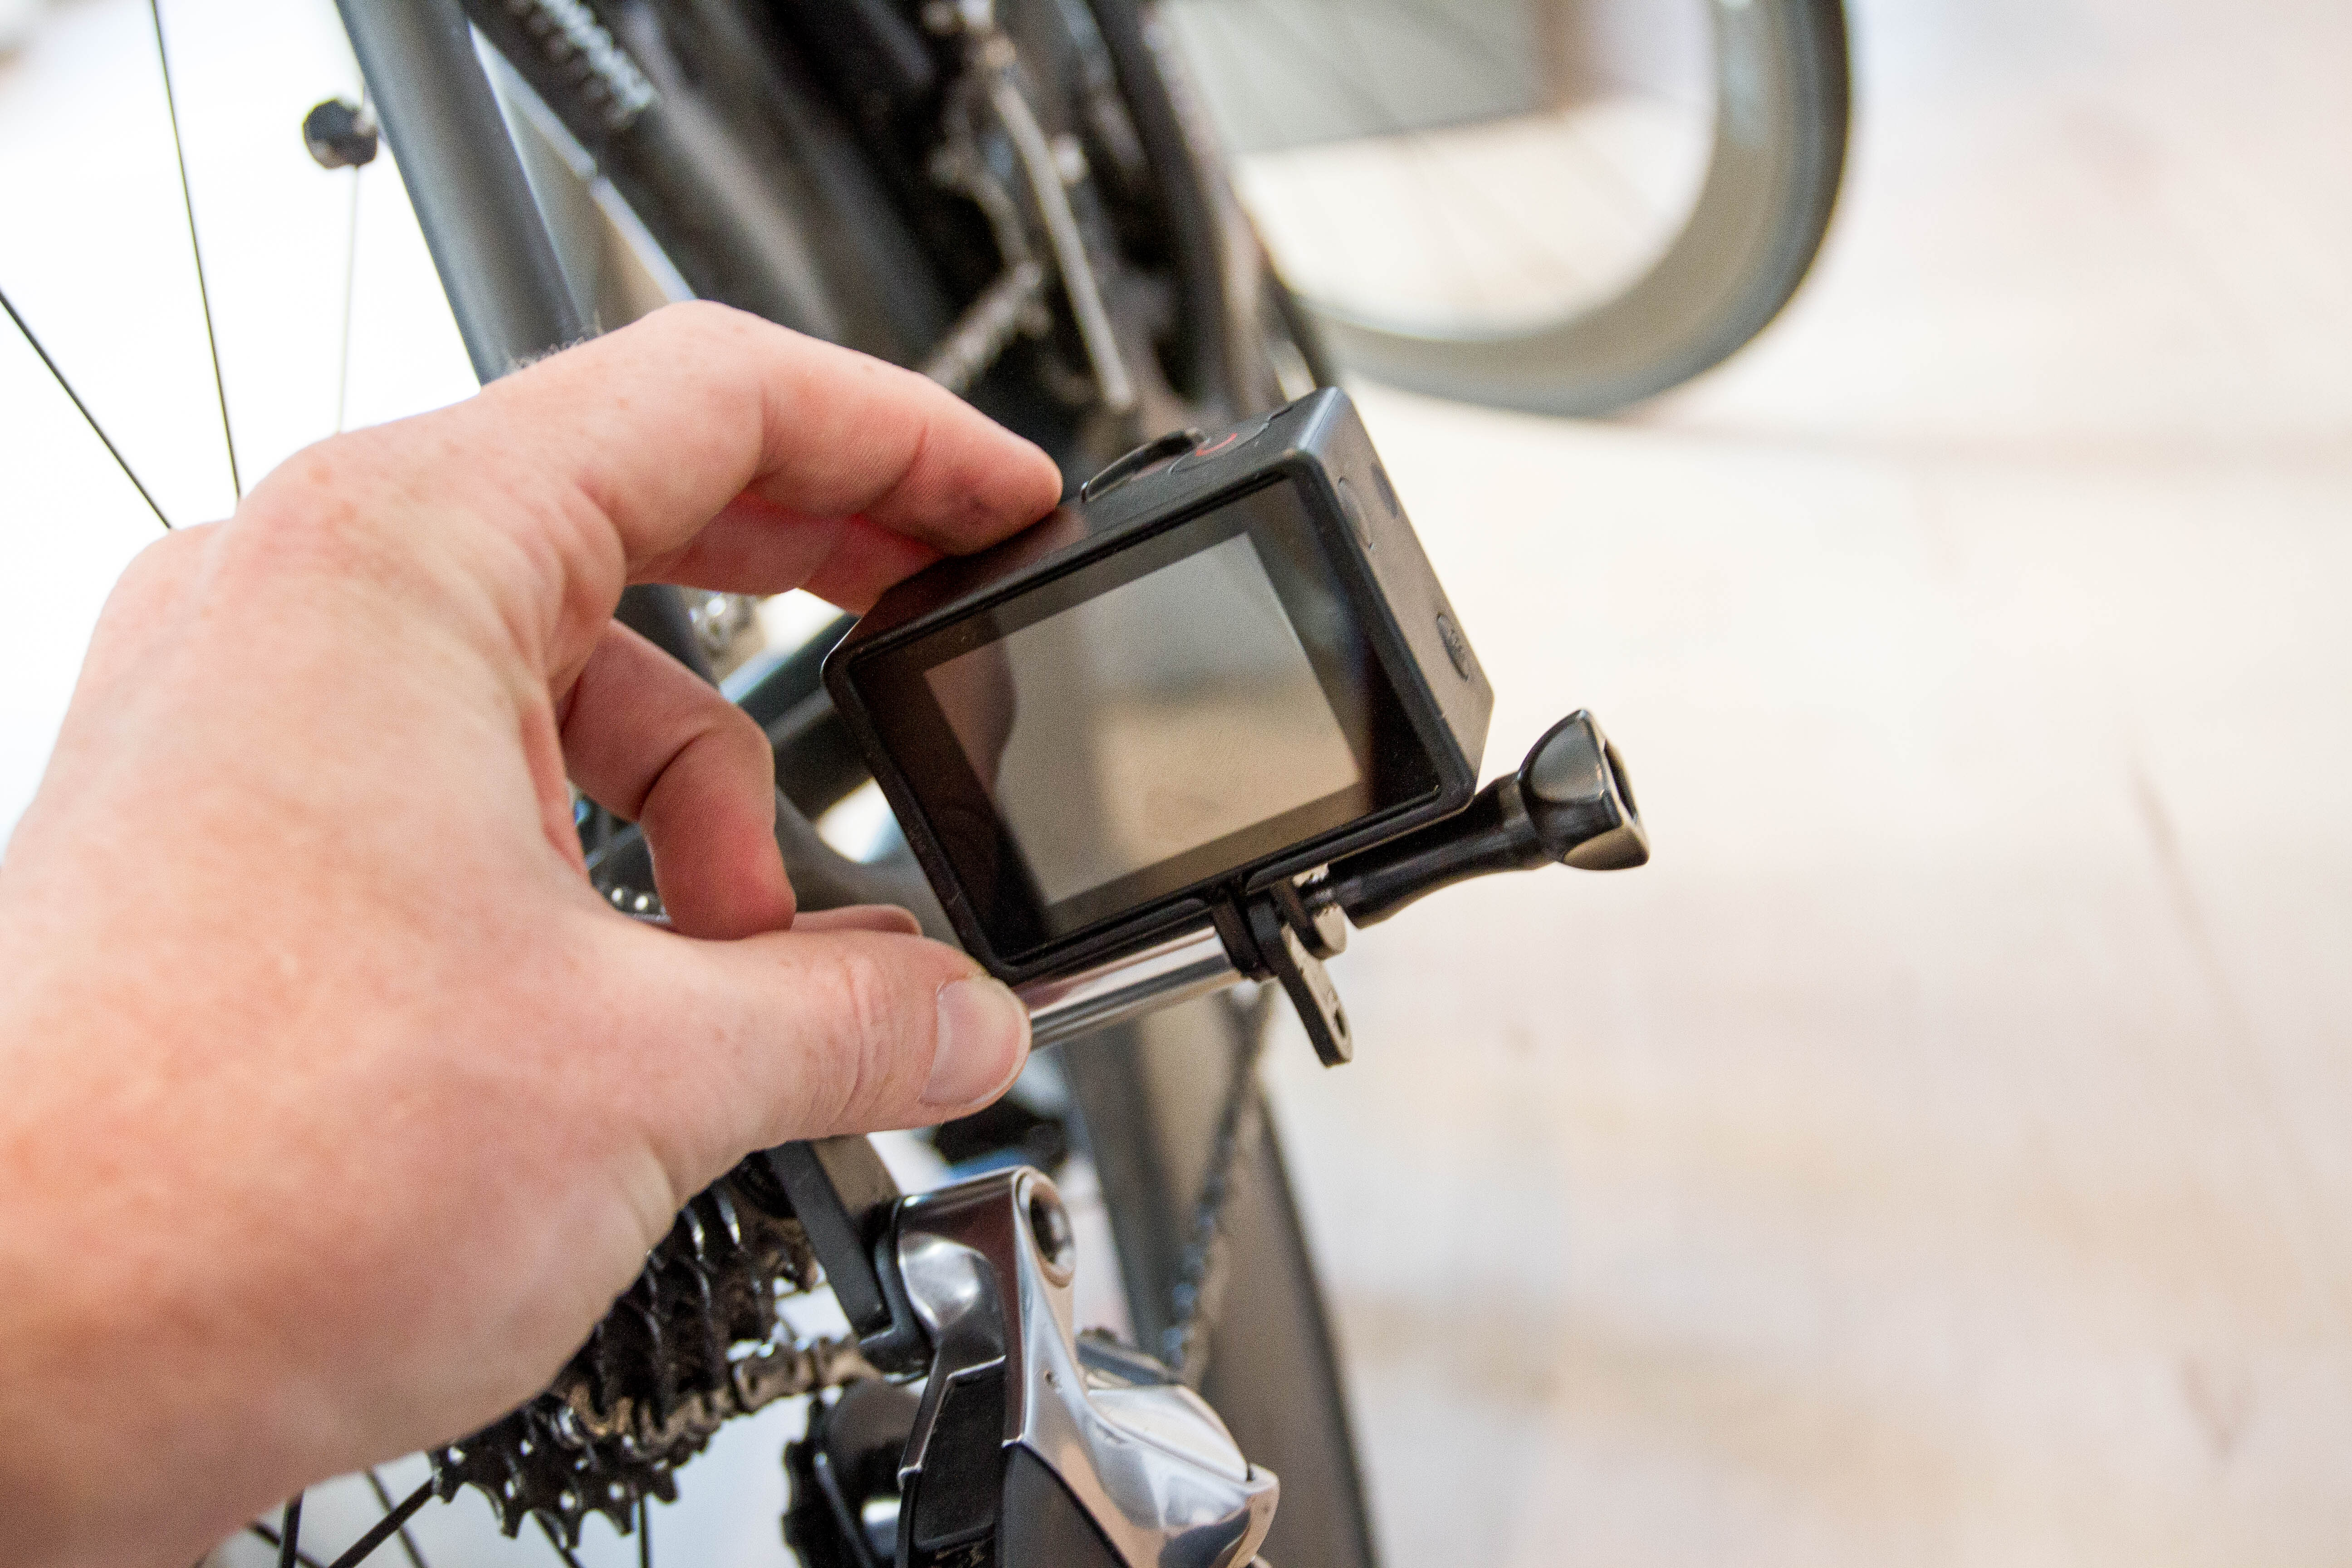
At this point you’ll see the black GoPro mount floating around the end. You simply remove the screw located there and attach your GoPro to it:

Then, you can use either the GoPro thumb screw, or the screw that came with the NUT-R (seen in previous photos). In general I’ve used the GoPro thumb screw simply because I’m lazy and don’t feel like grabbing a hex wrench. However the included screw would give you a bit more torque potential to really crank it down tight. On the downside, that makes adjusting it mid-ride more difficult.

Now in the above example, I placed one NUT-R on my front wheel. But realistically your rear wheel will probably look cooler (as you’ll see in footage). So here’s that install in a short mini-gallery. One item of note: The trainer skewer I had was a bit longer than normal, so it was too long for the NUT-R (creating a gap). So I just swapped it out for a regular skewer and the NUT-R fit perfectly.
And with that – it’s out onto the road we go!
Cameras & Footage:

I should point out that pretty much any GoPro mount compatible camera will work with the NUT-R. As long as the camera is not crazy wide, it’ll just lock right on. Heck, even if you have a tripod mounted action cam, you can use these little GoPro inverter-converter pieces. I’ve got boat loads of them, and they are great for cameras like the Sony Action Cams and others that have tripod-style mounts. That in turn means you could even mount a small point and shoot camera down there.
Do remember the instructions said to keep it under 250 grams however (so no mounting your DSLR there!).

Ok, with everything ready it’s time to ride.

For the most part, there’s no interaction with the unit. You could mount it on either side of the front wheel (assuming you’re OK with breaking any style rules for having a quick release lever on the wrong side).
If you didn’t torque the crap out of it during install, then it’s reasonably easy to rotate around and shift the angle as you see fit (it stays put). So in the case of the front one sometimes I faced forward, and sometimes faced it back. And on the rear one, I sometimes angled it up a bit, and other times down a bit.

The net result of which is this short video from a loop around the hood:
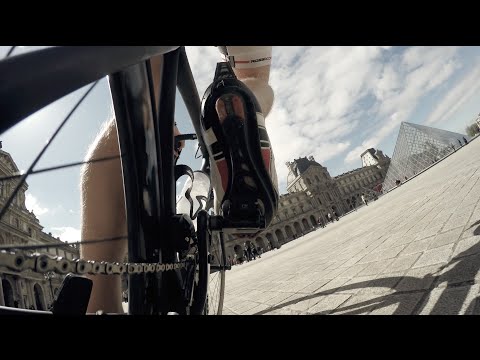
Pretty cool stuff. While I’ve previously used other mounts to get similar viewpoints, they all had a very high level of sketchiness. For example, I used a small GoPro bar clip mount on my bike frame a few months ago, near the rear wheel. But that was increda-close to the spokes (a few millimeters), so if anything had bumped the wrong way, bad things would have ensued.
This is much cleaner and far safer. Also note that it doesn’t extend more than perhaps 1cm beyond where your shoes extend (horizontally away from the bike). So it’s not really increasing your rear width appreciably. Of course, in a tight pack if folks are right up against the edge of your wheels I could see potential badness.
In the front it’s far less than your handlebars are:

Of course, there’s probably only so many times you’d use shots like these before the novelty might wear off. But if you had one and passed it around within your group of cycling friends, then it probably works out pretty well.
Nonetheless, I’m always on the lookout for cool GoPro mounts, and this definitely hit the spot.
With that – thanks for reading!
FOUND THIS POST USEFUL? SUPPORT THE SITE!
Hopefully, you found this post useful. The website is really a labor of love, so please consider becoming a DC RAINMAKER Supporter. This gets you an ad-free experience, and access to our (mostly) bi-monthly behind-the-scenes video series of “Shed Talkin’”.
Support DCRainMaker - Shop on Amazon
Otherwise, perhaps consider using the below link if shopping on Amazon. As an Amazon Associate, I earn from qualifying purchases. It doesn’t cost you anything extra, but your purchases help support this website a lot. It could simply be buying toilet paper, or this pizza oven we use and love.


Know of any good tri bar mounts for the go pro?
Unfortunately not, it’s still a big gap. I had talked with the K-Edge guys at Interbike about them taking their existing aerobar mount and making it combo-capable, which would mean you could have a Garmin above and a GoPro below (nestled in the bars), but nothing yet.
JC if you run an X-lab torpedo then look at mounting a k-edge go big adapter to the underside of it on your tribike.
How would the Go Big adapter attach to an x-lab torpedo? I’ve used both the original torpedo and the newer versa bracket and I don’t recall any obvious way to attach that adapter to either of them. Do you have drawing/picture that shows how that works?
Looking forward to the SRAM eTap review that I see on that bike. ;)
Current plan is out by the end of the week. Waiting on one last thing to include.
That’s awesome! I have been looking forward to SRAM eTap but wanted to see your impressions and opinions of how ready it is (when it’s ever available and in stock that is). Thanks as always for your reviews and hard work.
Really don’t want you to post a good eTap review. That’d be an expensive impulse buy but one I fear I’ll be making
Read this. Watched the video (which was lovely btw) and bought one. Boom. Cheers bud.
PS Unrelated….. but please tell me the garmin 810 is set to be Varia Vision compatible?
I’ll check, I can’t remember what the final plan was there.
Cool camera mounts, but I think those legs need a shave. :)
Joking aside, I think the front wheel cam set to look forward could get som really cool footage if you ride in a peleton.
Thanks for the review!
Yup indeed! I had put a few front-facing shots in the video, but without other riders it doesn’t quite look as exciting.
Hi Richard! We currently don’t have any footage riding in a packed peleton but our pre-launch video does have some cool footage descending some mountains in Spain with other riders in shot. Here is the video link: link to vimeo.com
We are currently working on more videos, Richard, including commuting and pack riding so please keep an eye out for us on social media or our website. Cheers!!!
Damn! You are brave as hell biking in Parisian traffic! Great shots though!
I’ve been using something similar for a while now and it is a bit less expensive.
link to amazon.com
Cool, hadn’t seen that option before. Nice find!
Ray/Coedy I’ve got that Rec-mount. here’s a video link to youtube.com good bits 2:30-3:15 and 12:30-13:10
Thanks for the link – ordered. Shipping from Japan so i’ll be waiting a few weeks :(
Have you had any problems getting your GoPro to fit in the Rec Mounts product? I’ve ordered a couple of their adapters and so far NONE will fit a GoPro properly.
Hey Bill, we benchmarked the Rec mount axle adaptor when testing our Mount and it was a little tight when fitting the camera. It did fit, though.
I havent had any need to purchase any Recmount adaptors so i can’t comment, but considering the tolerances on the gopro interface don’t need to be tight, it’s disappointing that the manufacturer can’t make them fit.
Cheers
Greig
this is great – Ray do you think this would be fine with the older Garmin VIRB?
Yup, no probs, just use the GoPro mount adapter.
(The one that came with it)
Well that’s that tune stuck in my head for the rest of the day. Thanks Ray :)
Haha…yeah, been stuck in my head now for hours. Oh well – one of my favs since moving here!
Sold!
Hi Ray,
Nice review,just at right time when I was looking for tuffs to do interesting shots with the cheap cam (SJ4000, for beginners it’s good :) )
One question tho: how could you avoid shaky videos and make them super smooth like this one?
Regards,
Andras
In this case, I didn’t do anything to the video from a vibration/steady standpoint (straight out of cam and into editor).
Sometimes I’d use a gimbal* for other stuff, but not in this case.
*Like this: link to dcrainmaker.com
Did you use any image stabilization in post processing that video? If so which program?
Looks too smooth.
Ooops, sorry, I took to long to type that question.
Then I saw someone else beat me to it.
No worries! But nope, nuttin’, straight out of camera (plus a simply filter for color).
That’s pretty cool. Now to buy a some go pros and edit together a video with 4 separate cameras on one ride.
Very cool! Now it’s time to buy a few more GoPro’s and edit together a 4 camera bike video.
So what’s the 8-shaped bit of plastic for if it’s just used as an odd sized washer? I can see it as per mounts in other locations that sit about letting you bolt-on/off as you see fit, but perhaps an error by Ray has highlighted a perfect solution. It’s trivial to change a QR nut, so adding the camera + mount: done.
And it stops all that vibration shaky I’m-filming-the-floor gumph.
Nice.
I think you are correct.
Mounting it to the plastic tab may give you a sacrificial piece similar to a derailleur hanger if it came to crashing.
See my note below on why it’s important: link to dcrainmaker.com
It strikes me that one of these mounted rear-facing on the front axle on your off-side would be a big improvement on a seat-post mount for recording ‘near-miss’ footage for forwarding to the police, as you really get an impression of how close things truly get to hitting you when you can see the bike in the frame. Thanks for the post!
Hi Matt, you make a very good point. Our mounts have been very popular with the commuters at our base in London as they are very discreet and can provide a very good perspective for evidence if involved in a collision. Certainly in London, I feel that the popularity of headcams for commuting seems to provoke a bad reaction from drivers due to the numbers of viral videos showing poor quality driving and the “cyclist vs motorist” aftermath. Positioning the Cameras low down on the bike makes them less visible to motorists. I personally commute with a forward and rearward facing camera mount at all times just in case the worst happens. Cheers!
Joe Dassin music!!!!! priceless!!!!!!!!!!
Agreed! Brilliant music choice.
One can see you already spent quite a few years in Paris :-)
I bought a similar mount from Rec Mounts late last year – it’s my absolute favorite mount! I didn’t do the chain view on this ride, but still really fun viewpoint! link to vimeo.com
Here’s the link – make sure you go through Ray’s site to Amazon though! link to amazon.com
Something tells me that most of your install pictures are wrong.
Looks to me that the GoPro should be mounted on the end of the plastic, not to the screw inline with the skewer.
Otherwise, the plastic tab thing is a total waste.
I’m thinking it’s a coincidence that the threads on their allen screw to mount the plastic tab matches the GoPro screw.
My install pics match theirs in the manual. Attached (sorry, only pic I have handy at home at the moment).
The plastic spacer has a very real purpose: Allowing you to clamp down torque on the GoPro two-prong mount via the screw, otherwise the two-prongs would bend inwards with enough force (eventually snapping with enough force/time).
I think I understand what they’re doing; they’re using the plastic piece between the two prongs of the GoPro case to keep them separated & parallel. If I’m right, I’m not sure why there’s a tab, maybe to give you a second mounting option ¼” off of the hub???
OK, that extra tab just seems odd to me.
It gives you something to hold onto when you undo everything, but presumably there’s nothing stopping you putting the other various GoPro extensions in there to give more options like a 90 degree turn. Might be fun to mount it looking at the sky with a spinning wheel centred at the bottom of the frame, or looking at the ground whizzing by sideways.
Hi Ken, thanks for posting your question. Yes you are correct regarding the usage of the Black Plastic Spacer. The Spacer is designed to fit in between the two “legs” of the GoPro and as Ray mentioned, prevents the legs of the Gopro bending inwards. The reason why this mounting method was chosen was that it creates a much stiffer connection between Mount and Camera giving near vibration free Camera footage, even over rough surfaces. The Spacer’s “tab” shape was selected to allow it to be easily installed as our first prototype had a completely round Spacer and installation was quite fiddly… The extra hole on the Spacer also gives the option of adding a lanyard to prevent the spacer being lost. If you have any further questions then I will be happy to answer them. Thanks!
nice video and music
You have convinced me.
Do you have any recommendations of any particular brand for updating the scewers while you are on the general topic?
When it comes to skewers, I don’t know much. I just have a pile of them and try to make them match the wheels. :)
Love the video, the sights or Paris and even a Citroën DS. Rainmaker does “Rendevous – C’était un Rendez-vous”. You should have met up with ‘the girl’ at the end….
Great video and review. Possibly a bit pricey for a piece of metal with a few screw threads tapped into each end though.
this is awesome, been looking for something like this for the Garmin Virb Elite,
Awesome Slo-Mo Instant Replay at :43. Lucky blow-by on that piece of trash; could easily have been a catastrophic derailleur event. Nicely done.
Really cool, just ordered one, Thanks for the review
Nice. Pulled the trigger on that straight away.
I will probably use it to replace my K-Edge under saddle mount for a rear pointing camera to catch tailgaters.
Do you have any impression of how stable it is compared to the K-edge under saddle mount?
Well, as no one could answer my question I put a video together comparing the nut-r with the K-edge. Both are pretty good but I think that the Nut-r wins.
I’ll be removing the K-edge and reclaiming the spot for my saddle bag.
link to youtube.com
I also did just a simple ride through London video trying to show the K-Edge in some cycling traffic:
link to youtube.com
Hi Giles, your video is superb! It shows a real difference between the K-edge and our Mount over rough terrain. You are making our job a lot easier :-)
We are glad you are enjoying your Mount! Thanks
Thanks mate – I also have the k-edge and ordered the skewer mount.
Is Nut-r by the way a sexual reference?
That made me laugh Gabe!
NUT-R®’s name is actually based on the British word “nutter” which means crazy.
We just abbreviated it. Cheers!
Please don’t tell me that adaptor is a flat 3D printed part!
If it is it will snap like a carrot over a rough surface.
Hi Phil, thanks for your comment. 3D printed parts initial got bad press due to the brittleness of the early generation materials. So without us actually having a 3D printer and experimenting with materials, we would have totally agreed with your comment and question the Spacer’s integrity. However, the material we use has very predictable mechanical properties and is not brittle. Also, since the Spacer is only in compression, it is very unlikely to fail. This has been backed up by miles of testing on some pretty harsh road surfaces here in the UK. Cheers!
Fast service too just got an email saying shipped.
Hello Ray,
thanks for the video. I was impressed by the quality, I expected a lot of vibration on the coble stones, but there was nothing. “Oh Champs-Élysées” is the ultimate selection of music for this video. But I do like the interpretation of Zaz too.
Ray,
thank you for such a superb website. Quick question for you, in order to avoid the inevitable video shake from the road, what post production tools to you use to smooth the video?
thanks
Ed
No post processing for shake in these videos at all. Only post-prod I did was adding a filter for color (giving it a slightly older look).
In other videos I’m generally too lazy to wait for a post-processing export to complete for stabilization, so I usually just use gimbals initially (or really solid mounts like the K-Edge ones).
Sorry didn’t read this first.
I use the k edge but it’s a bit shaky and at times not so good to look at.
Thanks again.
I just did a century with my new GoPro 4 silver.
Looks pretty good but a bit shaky through out.
How did you get this video to be smooth. I’m thinking of getting this product as well
I had it mounted on k edge
Thanks.
Jay
Ray, thanks for your impressions. You think, this is an option for mount a PowerPod in a TT bike?????
Regards
No, I think there’s too much going on in that area from a wind standpoint (rear anyway). With the front, I’d be concerned about the impact of wind through the spokes and what that airflow looks like.
Always with your fast answers. Thanks Ray. (Y)
He he, nice one. Ray, I’m just surprised no one has launched into you yet with pedalling technique tips :)
Not one comment about socks… Strange…
he’s wearing tri shoes. No socks req’d.
“it just looked prettier on the table as the backdrop for my photos” – my highlight of the entire post, even better than the nutty stuff. :D
Where’s the jello? My friends and I find fixed GoPro bike mounts unuseable due to the wavy “jello” effect that results. Helmet or body mounts only. Chip sealed roads are particularly challenging. To see smooth video on those roads is baffling.
What dark magic do you posses, Ray?
Nothing done in post on that front, just a filter for color. Filmed on the Hero4 Black in 4K. Not sure which model you have, but I typically don’t see much jello in my shots on bike.
Hi Bhamstar, we are really happy to see your comment! We spent a fair amount of time engineering the Mount to provide the best quality footage possible. Vibrations were kept to a minimum due to the extreme stiffness of the design, our unique method of mounting the Camera to the Mount and the fact that all parts are pre-loaded once installed. The Body of the Mount is made from Stainless Steel and gave us much better footage results than an aluminium mount of comparable geometry as the SS is inherently stiffer. The end product looks very simple, but the journey to end up with this design was not. So we are happy you appreciate it! Cheers!
I’ll probably get one So I can mount a go pro backwards on the rear to video my baby boy in our tow behind trailer.
Which housing is on your camera in the top pic?
It’s the GoPro blackout case: link to amazon.com
Basically the same as a regular case, except that it’s black and doesn’t show the unit from the outside. I often speculate that GoPro made and released this housing simply to be able to test new products in public.
In this pic… it looks like there’s only a frame that goes around the camera but there’s no front…
Oh, sorry, that was is called the ‘Frame’: link to amazon.com
Fantastic. Thanks.
I got my mount and really like it. Videos so far are very good and smooth.
I am a little concerned about what happens if I fall off the bike. I should think that my camera will get wrecked but what about my frame? I image that the mount could exert a fairly significant twisting force on the frame and potentially bend it?
On a carbon frame I am pretty sure that it won’t be designed for that. I have a Ti frame so it would just bend but not snap.
Am I being paranoid?
Hi Giles, it’s great to hear that you are enjoying the Mount already and witnessing the stable footage it can record. The question you pose is not paranoid one :-) and it doesn’t have an exact or correct answer. It will be down to individual opinion.
Our opinion is built up from our own studies of the quick release system, testing (and breaking) them, and speaking to industry experts who work on bicycle qualification and testing on a daily basis. We looked at many failure scenarios and the result was a conclusive stance that the Threaded Axle would fail well before the frame’s Dropout would sustain any damage. Axle failure would however, only occur in the most extreme crashes as any bending force exerted on the Mount would have to overcome the massive clamping forces created by the quick release lever. Also working in favour of limiting frame damage is that during the majority of crashes, a large proportion of the rider’s weight is unloaded from the bike and usually directly contacts the tarmac (or object), leaving the bike only partially loaded (so less force will act on the Mount). I hope this puts you more at ease using our Camera Mount.
I wouldn’t necessary say that your Camera will be a right-off either after a crash (but this will depend on the type of Camera Case you use). We would recommend the standard GoPro Polycarbonate cases as they are really tough (and waterproof). I have personally been in two serious crashes (head-on with another cyclist @25mph and a car “hit and run” which put me in hospital with a broken arm and head injuries) whilst out testing our Axle Mounts. Both accidents, my bikes and Mounts (inc Camera) came off with no damage at all. I however, was very lucky!
My personal views on crashing, Giles, is that as cyclists, we are consistently playing a rigged game vs gravity. Its all about probabilites as you will no doubt know. If you have any more questions or feedback then please let us know. Thanks, Greig
Here is a new video showcasing the NUT-R® Mounts in Sierra Nevada, Spain. Enjoy the scenery!
link to youtube.com
Cheers!
Cool vid! You think this is safe in crit races?
Good question Gabe!
Just like Giles’s question regarding crash damage, it all comes down to individual perspective/opinion.
From a company perspective, we recommend safe distances are kept between rider’s using our Camera Mounts and surrounding riders, at all times.
We do realise these safety notices will get ignored, resulting in our Mounts being used in races :-)
What I can say is that we have tested both front and rear mounted Cameras in bunch riding and fast “chain-gangs” without issue. These weren’t one-off tests either as we had a small group of external testers using the Mounts. We had no issues whatsoever during this test period. We haven’t used the Mounts in races yet (it is the off-season here in the UK) but we do aim to in the future. Videos will follow over the coming months :-)
From a personal perspective of using the Mounts in bunch racing, Gabe, I would only recommend mounting the camera on the front wheel as it is more concealed (it is protected by the handlebars) than the rear wheel. The risk during bunch racing (with the Camera mounted on your front wheel) would be if the Camera touched the rear wheel of a competitor. While this is technically possible, it is highly unlikely.
If you have experienced bunch racing before (you probably have), you will know that in most cases, a crash is caused from only a small overlap in front and rear wheels (<10cm) causing a rider to lose control of their front wheel and lose balance. This accepted "danger zone" for wheel overlap is still over 20cm away from an Axle Mounted Camera. So it would take extremely poor (and dangerous) riding to overlap wheels to such a degree that a competitor's rear wheel can potentially contact a front axle mounted camera.
If you need more reassurance, Gabe, try looking at the tip of your front wheel's position relative to the rider in front's rear wheel during riding. You will find that unless a crash is inevitable, the area where the Camera would have been is actually very well protected.
In conclusion, Gabe, there is no right or wrong answer as it will be mostly affected by a rider's ability on the bike and race craft. If you are an experienced racer who knows your limitations, then the probability of any mishaps will be very small.
Thanks
Greig
Thanks for the follow up.
I would agree that mounting it at the rear could pose a potential hazard. Especially in instances where someone rides practically over you. While we ride and protect our handlebars I’ve gotten taps on the rear before by other rider’s wheels.
here are some photos of bunch riding in a race and a local training race ride.
hmm cant add multiple photos.
No problem Gabe. Great onboard photo! Cheers
Very happy with the new camera angles
Here are some of mine
GMR
group ride
Very nice! The palm tree one looking up is great.
Hi Gabe, the photos look awesome! Unfortunately we had hail storms today in the UK, so I can only dream of sunny days and palm trees :-)
Gabe, do you mind posting your pics on twitter and tagging us? Or can we use your pictures to show your cool pics? Thanks!
Would love to see something for through-axles. This would be great for trail footage. Better than road in my opinion (can see suspension flex and chain slap, which I think would look cool)
Interesting – though I’d be keen on seeing the 20mm Maxle version!
One point – the pricing is wrong – it’s £40 gbp – and it’s priced at two different price points on the Nut-r site as well.
Ray – if you’re interested in cool GoPro mounts you should have a look at Raceware direct – 3d printed mounts for GoPro (and computers, lights, and combinations of all these things) eg link to racewaredirect.co and if he hasn’t got a design for your requirements he’ll print one. Been using his GoPro mounts for some time in three different frame positions. And just waiting for a garmin 1000 mount in purple to match our road tandem…. :-)
Another video that shows how useful these camera mounts can be – skip to the end of the video and the front mounted Nut-r really shows how close the lorry gets as he straightens up.
and of course I forgot the video link:
link to youtube.com
Hey Giles, I saw and commented on your video earlier in the week on twitter. It was a close one!
It’s worth mentioning that the angle you are using has many benefits that would help the police in the event of an accident as it shows:
1) Where you are looking.
2) Your steering and braking input.
3) How close the vehicle is to you.
These are important factors in determining blame and I guess you can’t see these with any other Camera Mount.
Safe riding and thanks for posting!
For anyone still following the message board here is a quick of video of team NUT-R® with the London Dynamo race team training in Richmond Park, London. Thanks
link to youtu.be
Excellent. Wanted to buy virb ultra 30 for my rear or forward camera, but i have Cervelo P3 and saddle bag, thus would be difficult to us saddle mount, I didn’t really like more stuff on my handle bar.
This could be an alternative.
I could just put it in the front wheel and alternatively face the camera to the front or to the back.
Thanks
Yes Setiawan, the NUT-R Mount will free up handlebar space and can be mounted on the front or rear wheel (facing forwards or backwards). Have a great festive period! NUT-R
Hi Ray !
4 years layer, do you found any alternative to fix a GoPro on the wheel or it’s still the best option ?
Thank you
It’s the best I know of! Though, no thru-axle option that I know of unfortunately.
I still use it from time to time though.
On the strength of this review, comments and it being a UK company, I ordered one of these on 14th August. Very disappointed to find out
a) it isn’t made and despatched in the U.K. as the site implies,
b) the company are slow to respond to emails and
c) I still have not received my order
I hope it is worth the expense and grief if it ever arrives
Since DCRainmaker’s test in 2016 we have sold these Camera Mounts worldwide and have a great shipping record. Unfortunately in Teresa’s case, she was very unlucky and her Camera Mount is either in very slow transit or lost. We have contacted Teresa to try to remedy the situation. All emails were answered within 1 day so apologies if this is not fast enough.
To clarify Teresa’s statements, we ARE a British company, with a British manufactured and distributed product. In Teresa’s case, we had no UK stock left and needed to ship Camera Mounts from Europe. The expected shipping time for this European service (5-7working days) was highlighted at the time of purchase which our courier has obviously failed to meet. It is very disappointing when these situations occur especially given the hard work over a number of years to build upon this fine product.
For anyone interested in finding out more about our Camera Mounts, please visit our website.
Given the number of Camera Mounts in service since 2016 and the ZERO failures, these Camera Mounts now proudly come with a unlimited length warranty. If you break one, you deserve a medal!
And finally, a further apology to Teresa for failing to meet her expectations!
Greig @ NUT-R
Thank you Greig for your comments, emails, replacement part and cute donation to my charity page cheekily asked for.
I haven’t yet fitted or used my Nut-R but am hoping to this weekend.
I hope you stock and send parts from the UK again soon as the European experience is not good, unfortunately, for UK buyers.
Thank you again for everything
Kind donation (autocorrect changed it to cute!!)