It’s been just shy of two months since Skydio announced the Skydio 2 drone, which is virtually entirely dedicated to sports tracking (in the consumer realm anyway). I previously tested the R1 drone about two years ago, which did incredible things in terms of autonomous tracking, but also wasn’t practical from a price standpoint ($2,500) or a size standpoint (roughly like a pizza box).
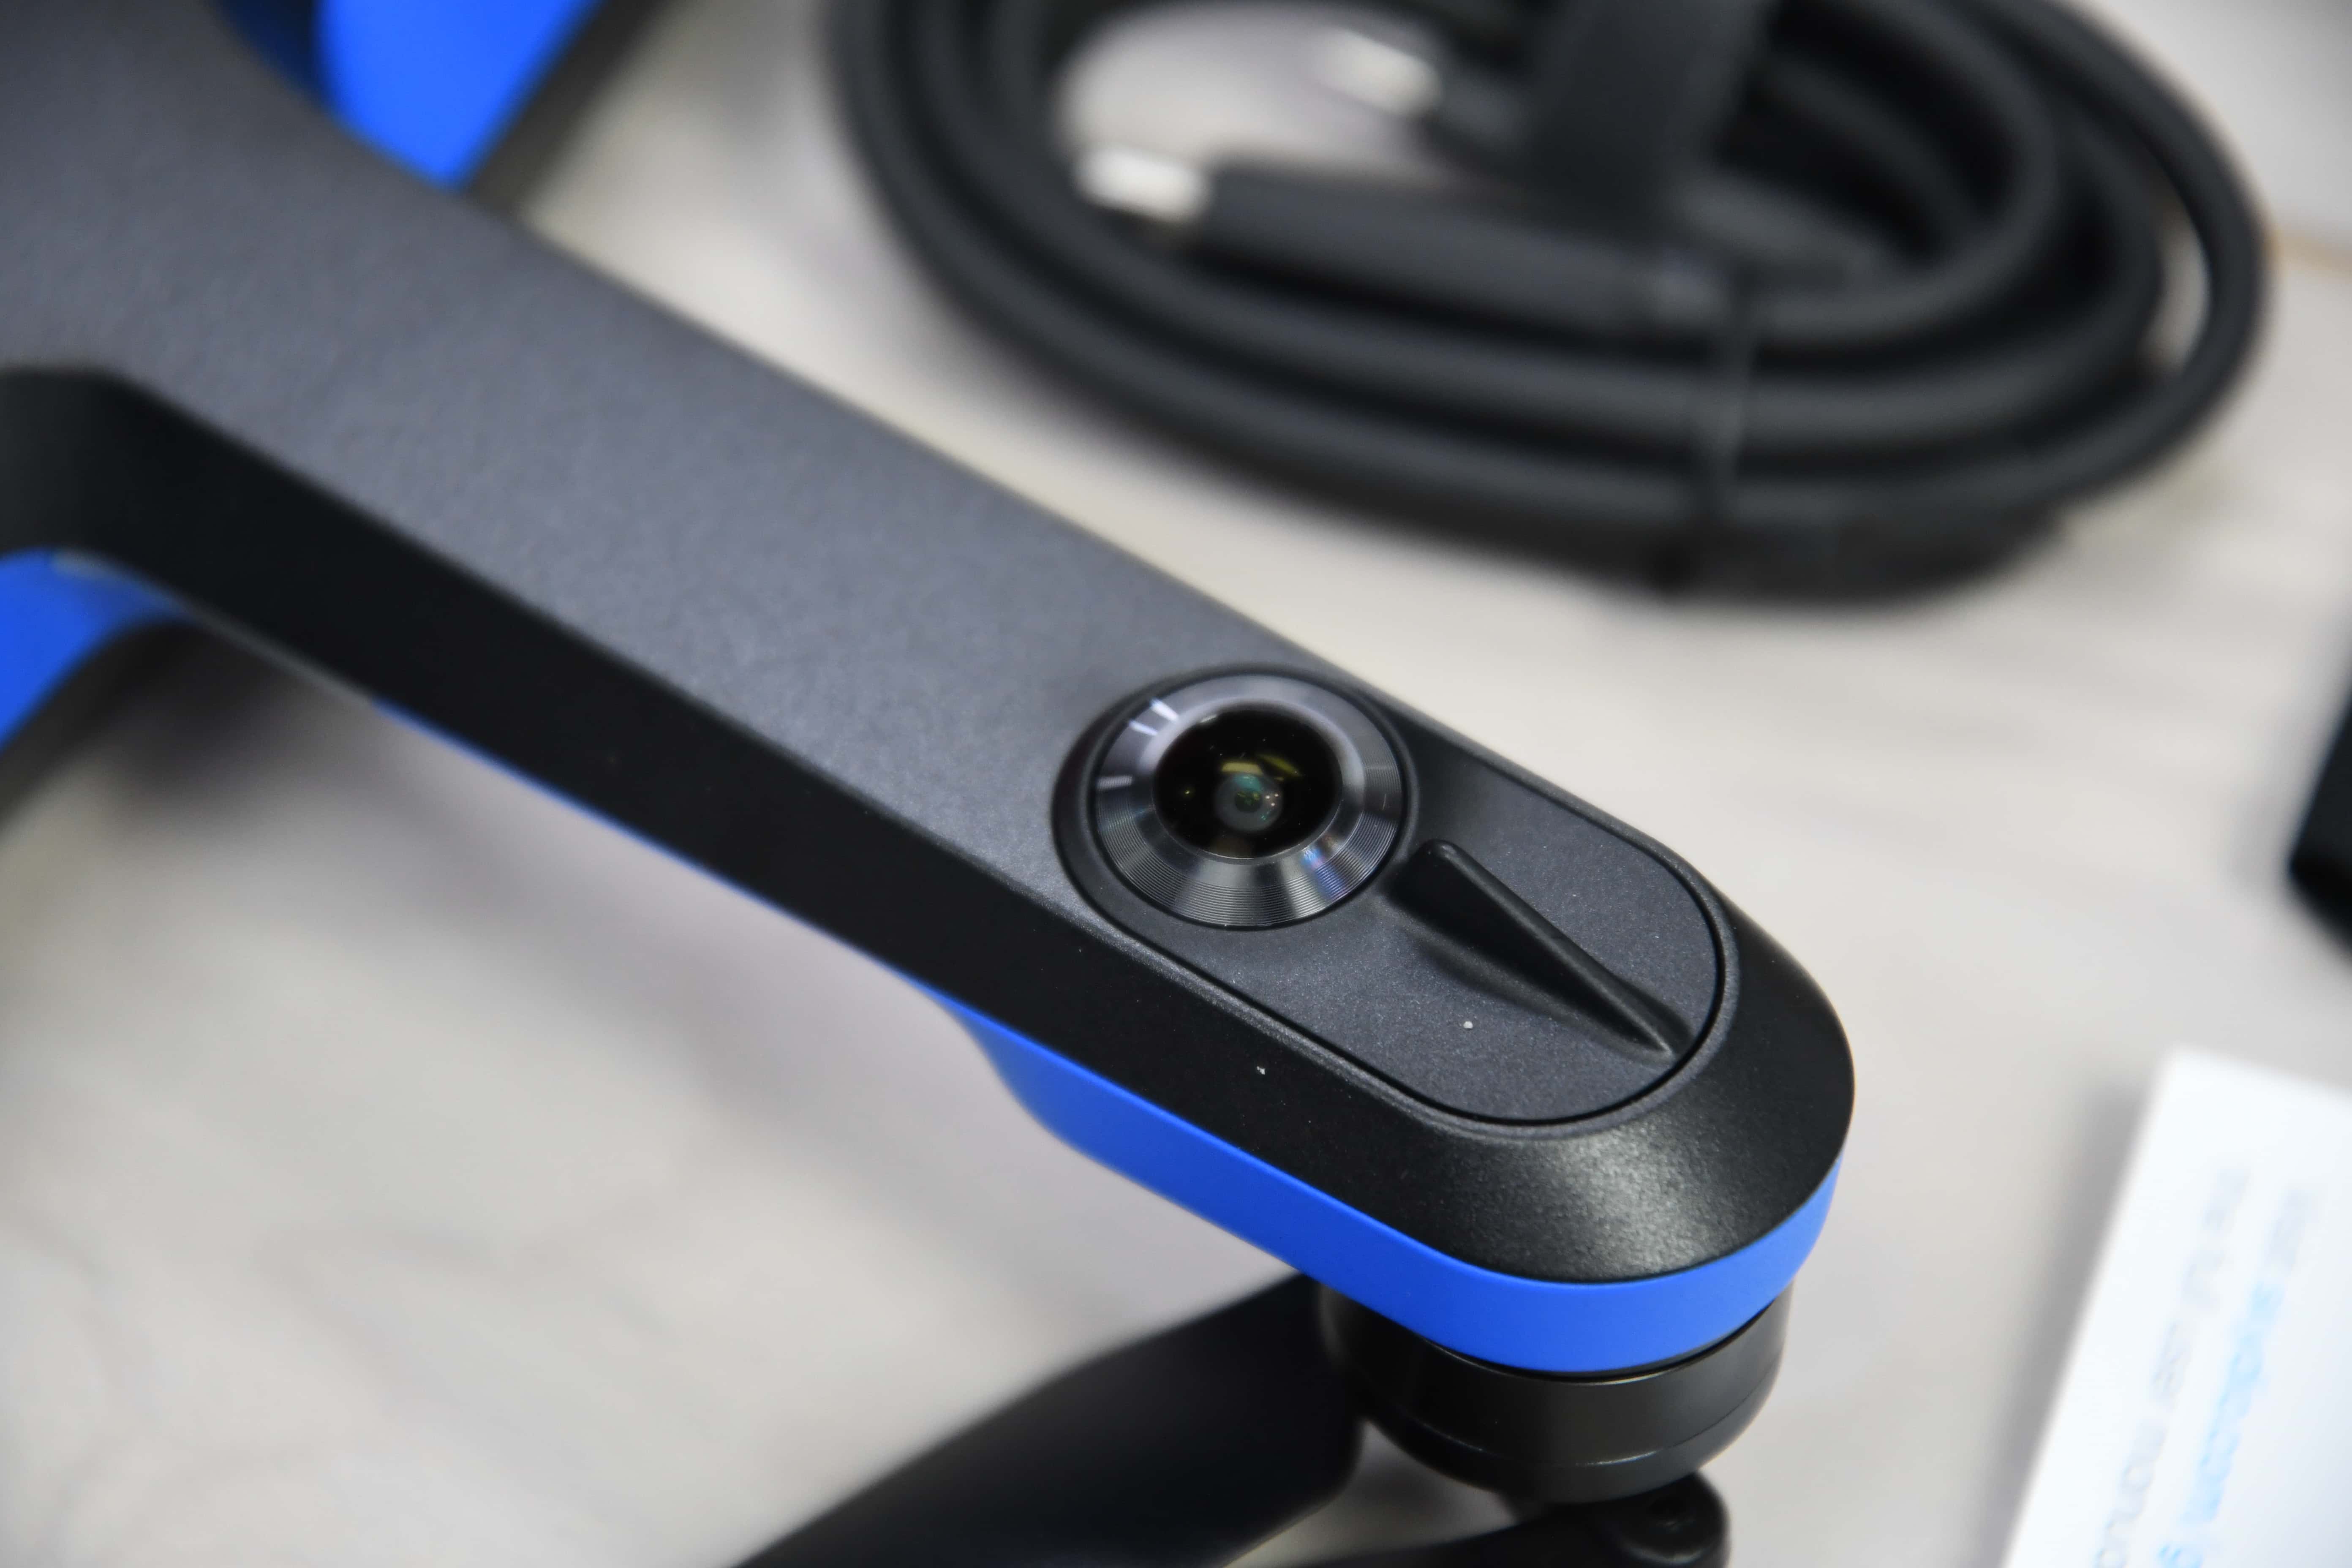
The Skydio 2 (which I’m going to abbreviate R2, because that’s what’s stuck in my head) – is $999 and roughly the footprint of an iPad. Plus, they dramatically increased the image quality up to 4K60 HDR as well as introduced a new GPS beacon in cases where visual tracking isn’t possible (such as through dense trees), so it can keep following along (kinda like the old AirDog drones). It does all this by using seven (yes, 7), cameras at 4K resolution each.
Of course – while it’s just started shipping today, I’ve been using it for a bit now in my rides and runs, trying to see how well it handles – and whether or not it’s a replacement for my seemingly ever-growing fleet of DJI drones. I put it through its paces, from road riding to mountain biking, trail running, and more.
Now – if you want to simply see what this drone is capable of, video is the best format. Just watch the first 30 seconds or so of the video below to get a flavor for it.
Finally, while this review was completed on a media loaner – note that I have already put down money for a pre-order reservation. Once that opens up (today I think), then I’ll go ahead and convert that into a real order. This media loaner will get shipped back to Skydio – complete with all the dirt, grass, tree branches, and other bits of adventure goodness you’ll see stuck to it.
Unboxing:

First up we’ll walk through what’s in the box. Note that there’s the base Skydio R2 unit (everything shown in the case), and then there’s extra accessories you can buy. As you’ll probably soon realize, Skydio has essentially brought the base price down to $999 by excluding the cost of so many accessories (such as the controller or Beacon). Once you add in the Beacon, an extra battery, and maybe the controller – you’re not all that far away from the price of the R1. Of course, the extra battery bit isn’t terribly different than DJI – though almost all of their drones now come with controllers by default.
In any case, here’s the little carrying case.

It’s roughly the size of a small laptop in width/length, and a slight bit chubbier. It easily fits into any backpacks I use – even a GoPro backpack (or GoPro backpack knockoff) I often ride/ski/run/etc with (when going someplace cool). For comparison, here it is next to the DJI Mavic Mini Case:


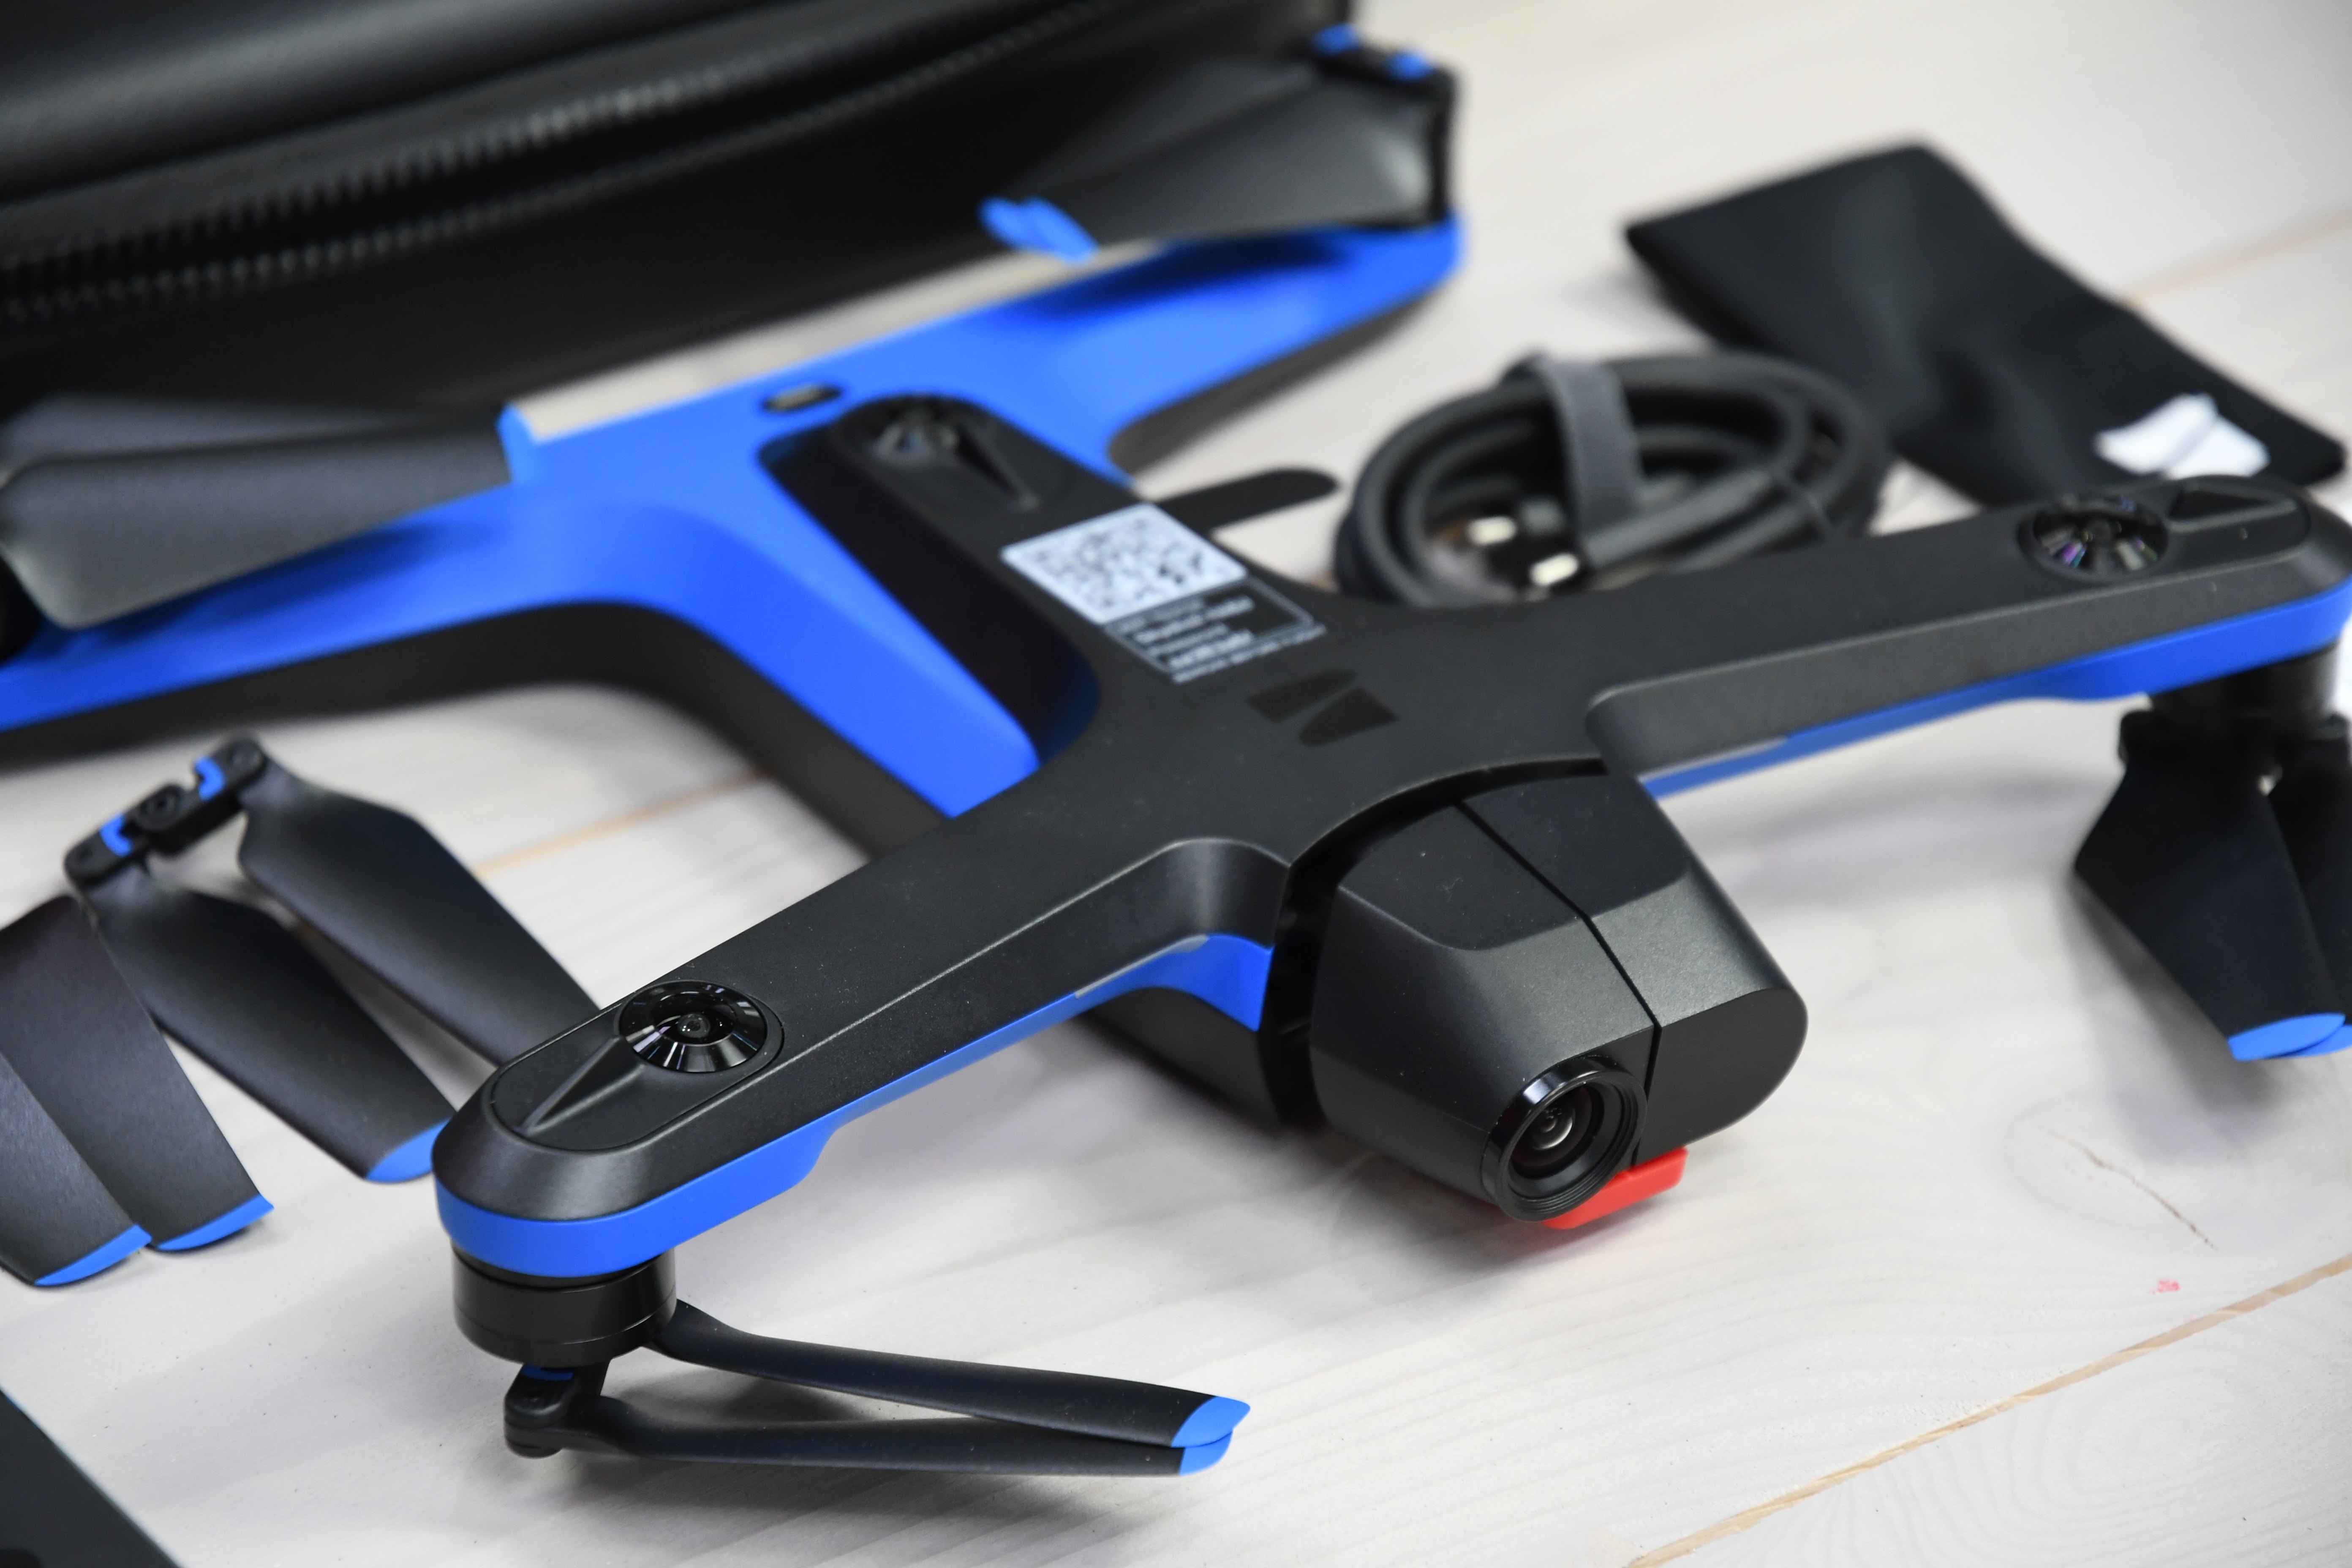
Crack open the case and you’ve got the drone sitting there looking at you:

And here’s all the parts/pieces removed:

Inside that case there’s:
A) 1xBattery
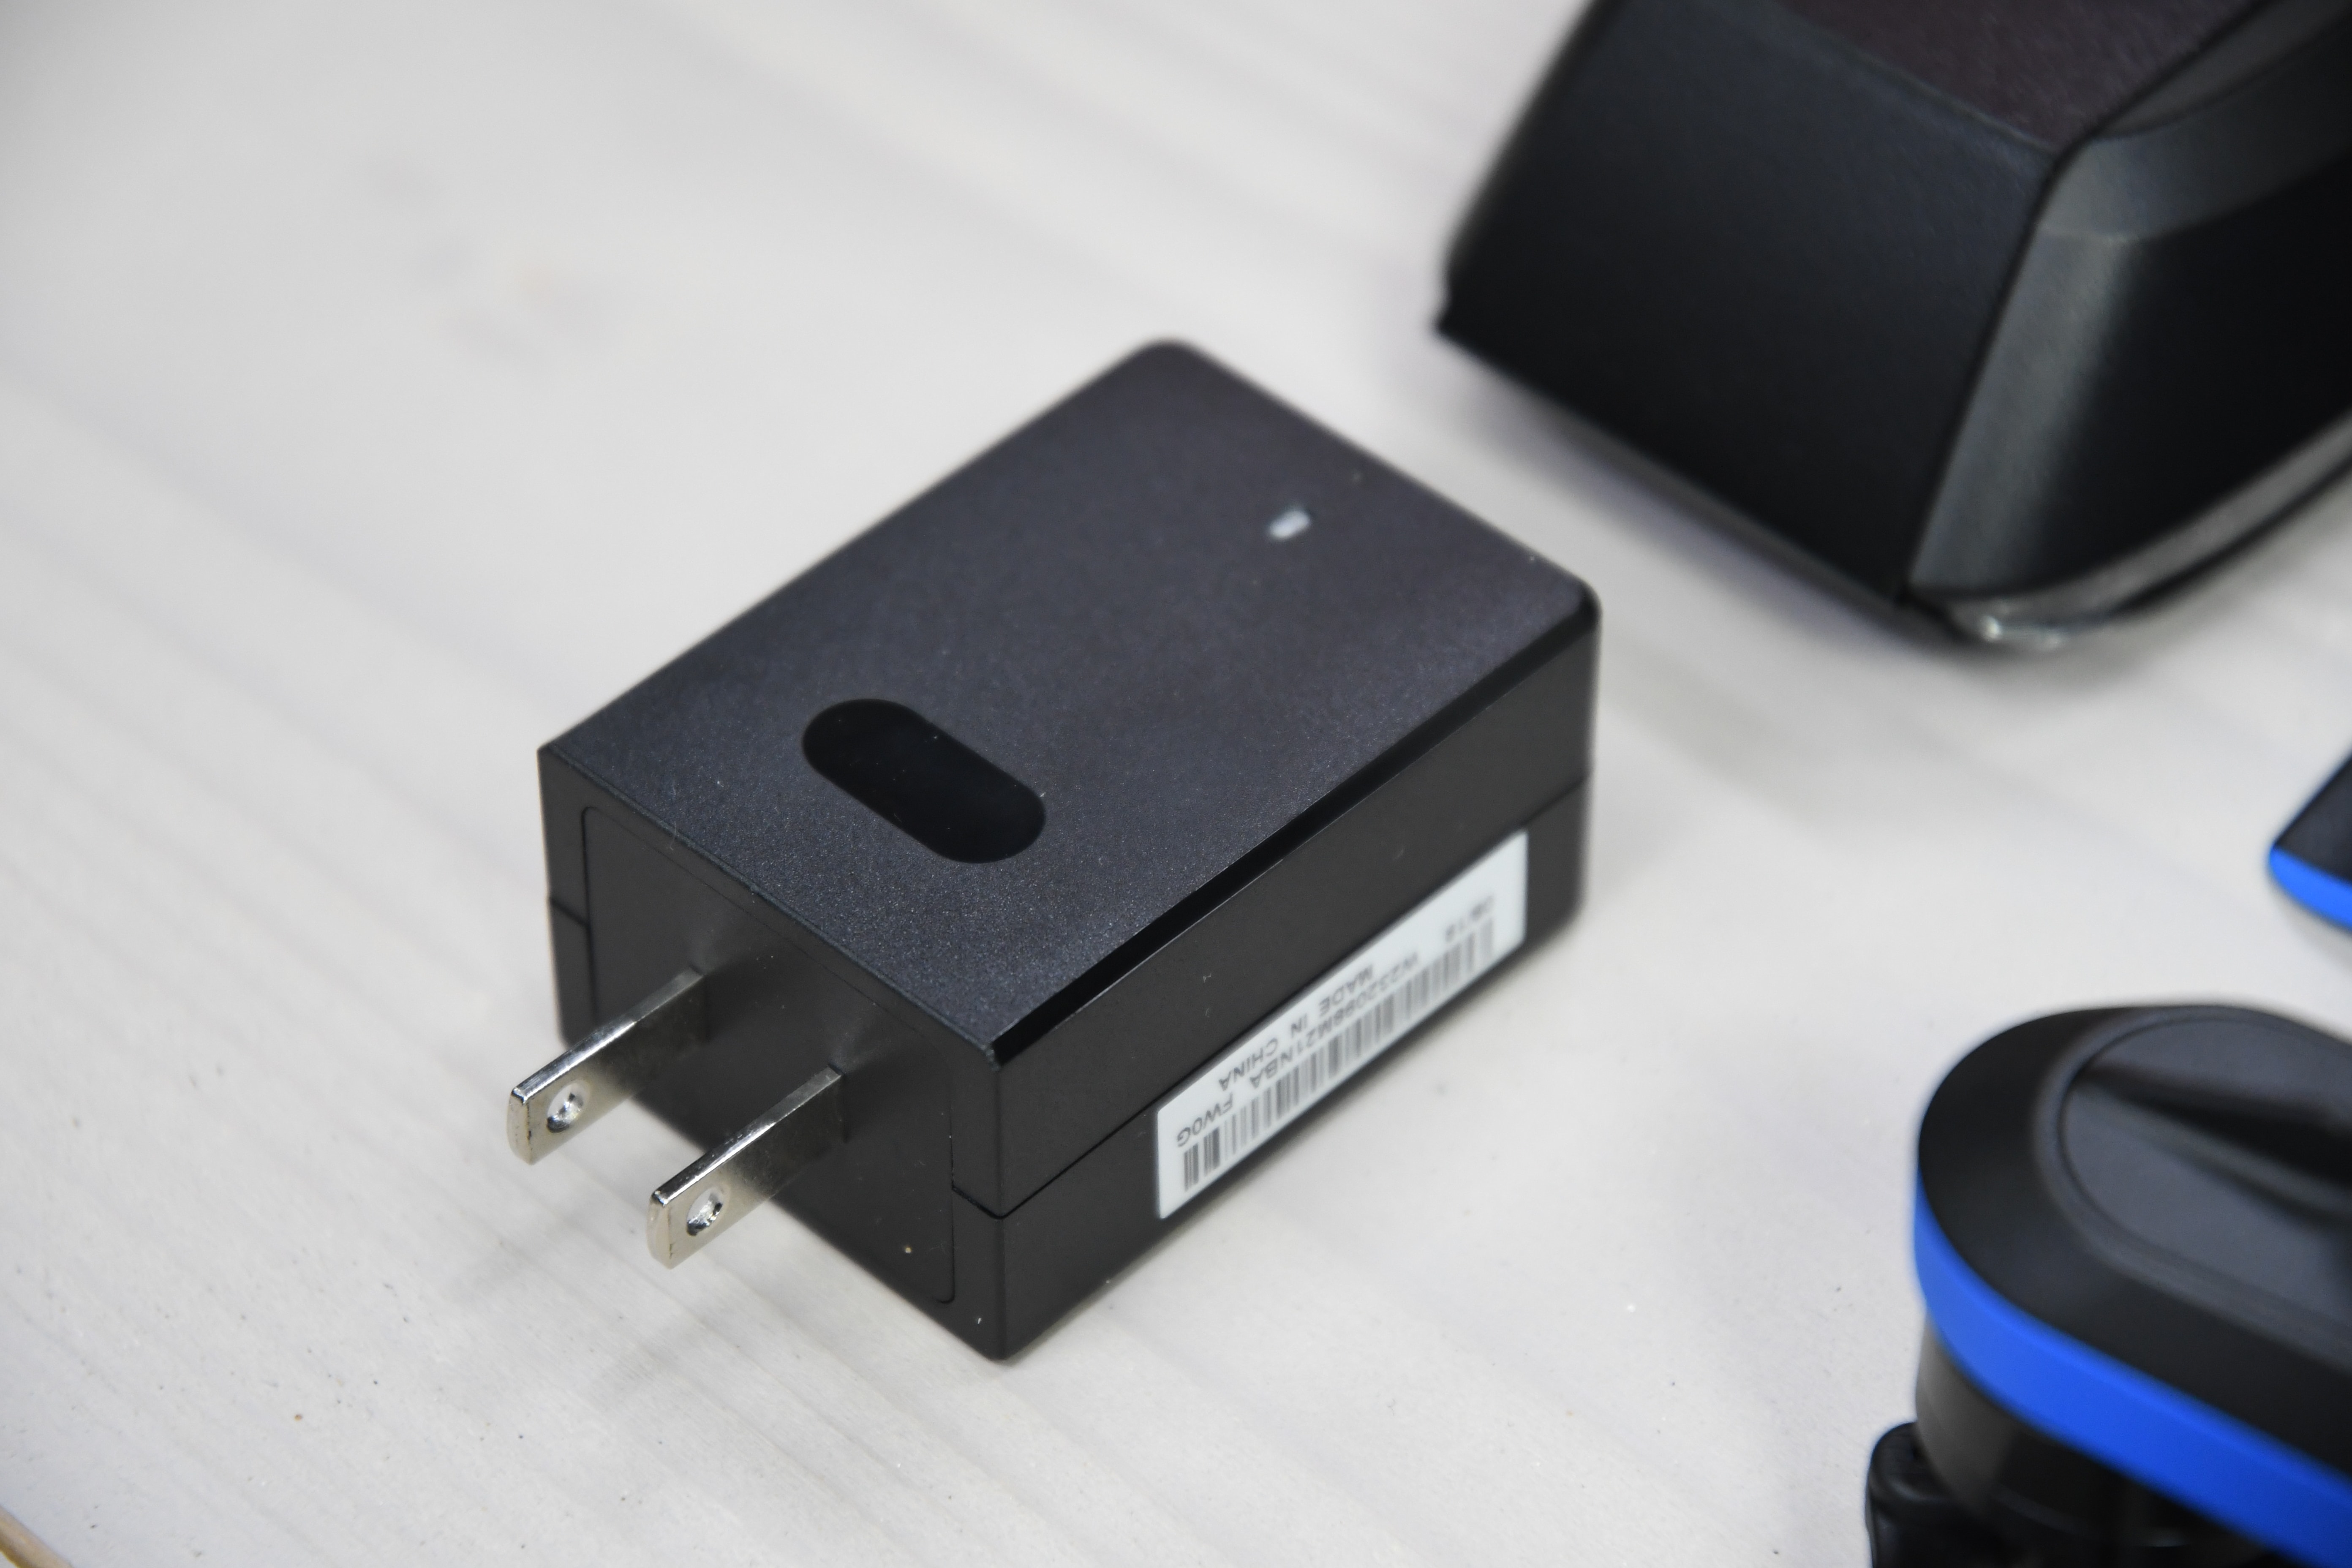
B) 1xUSB Wall plug
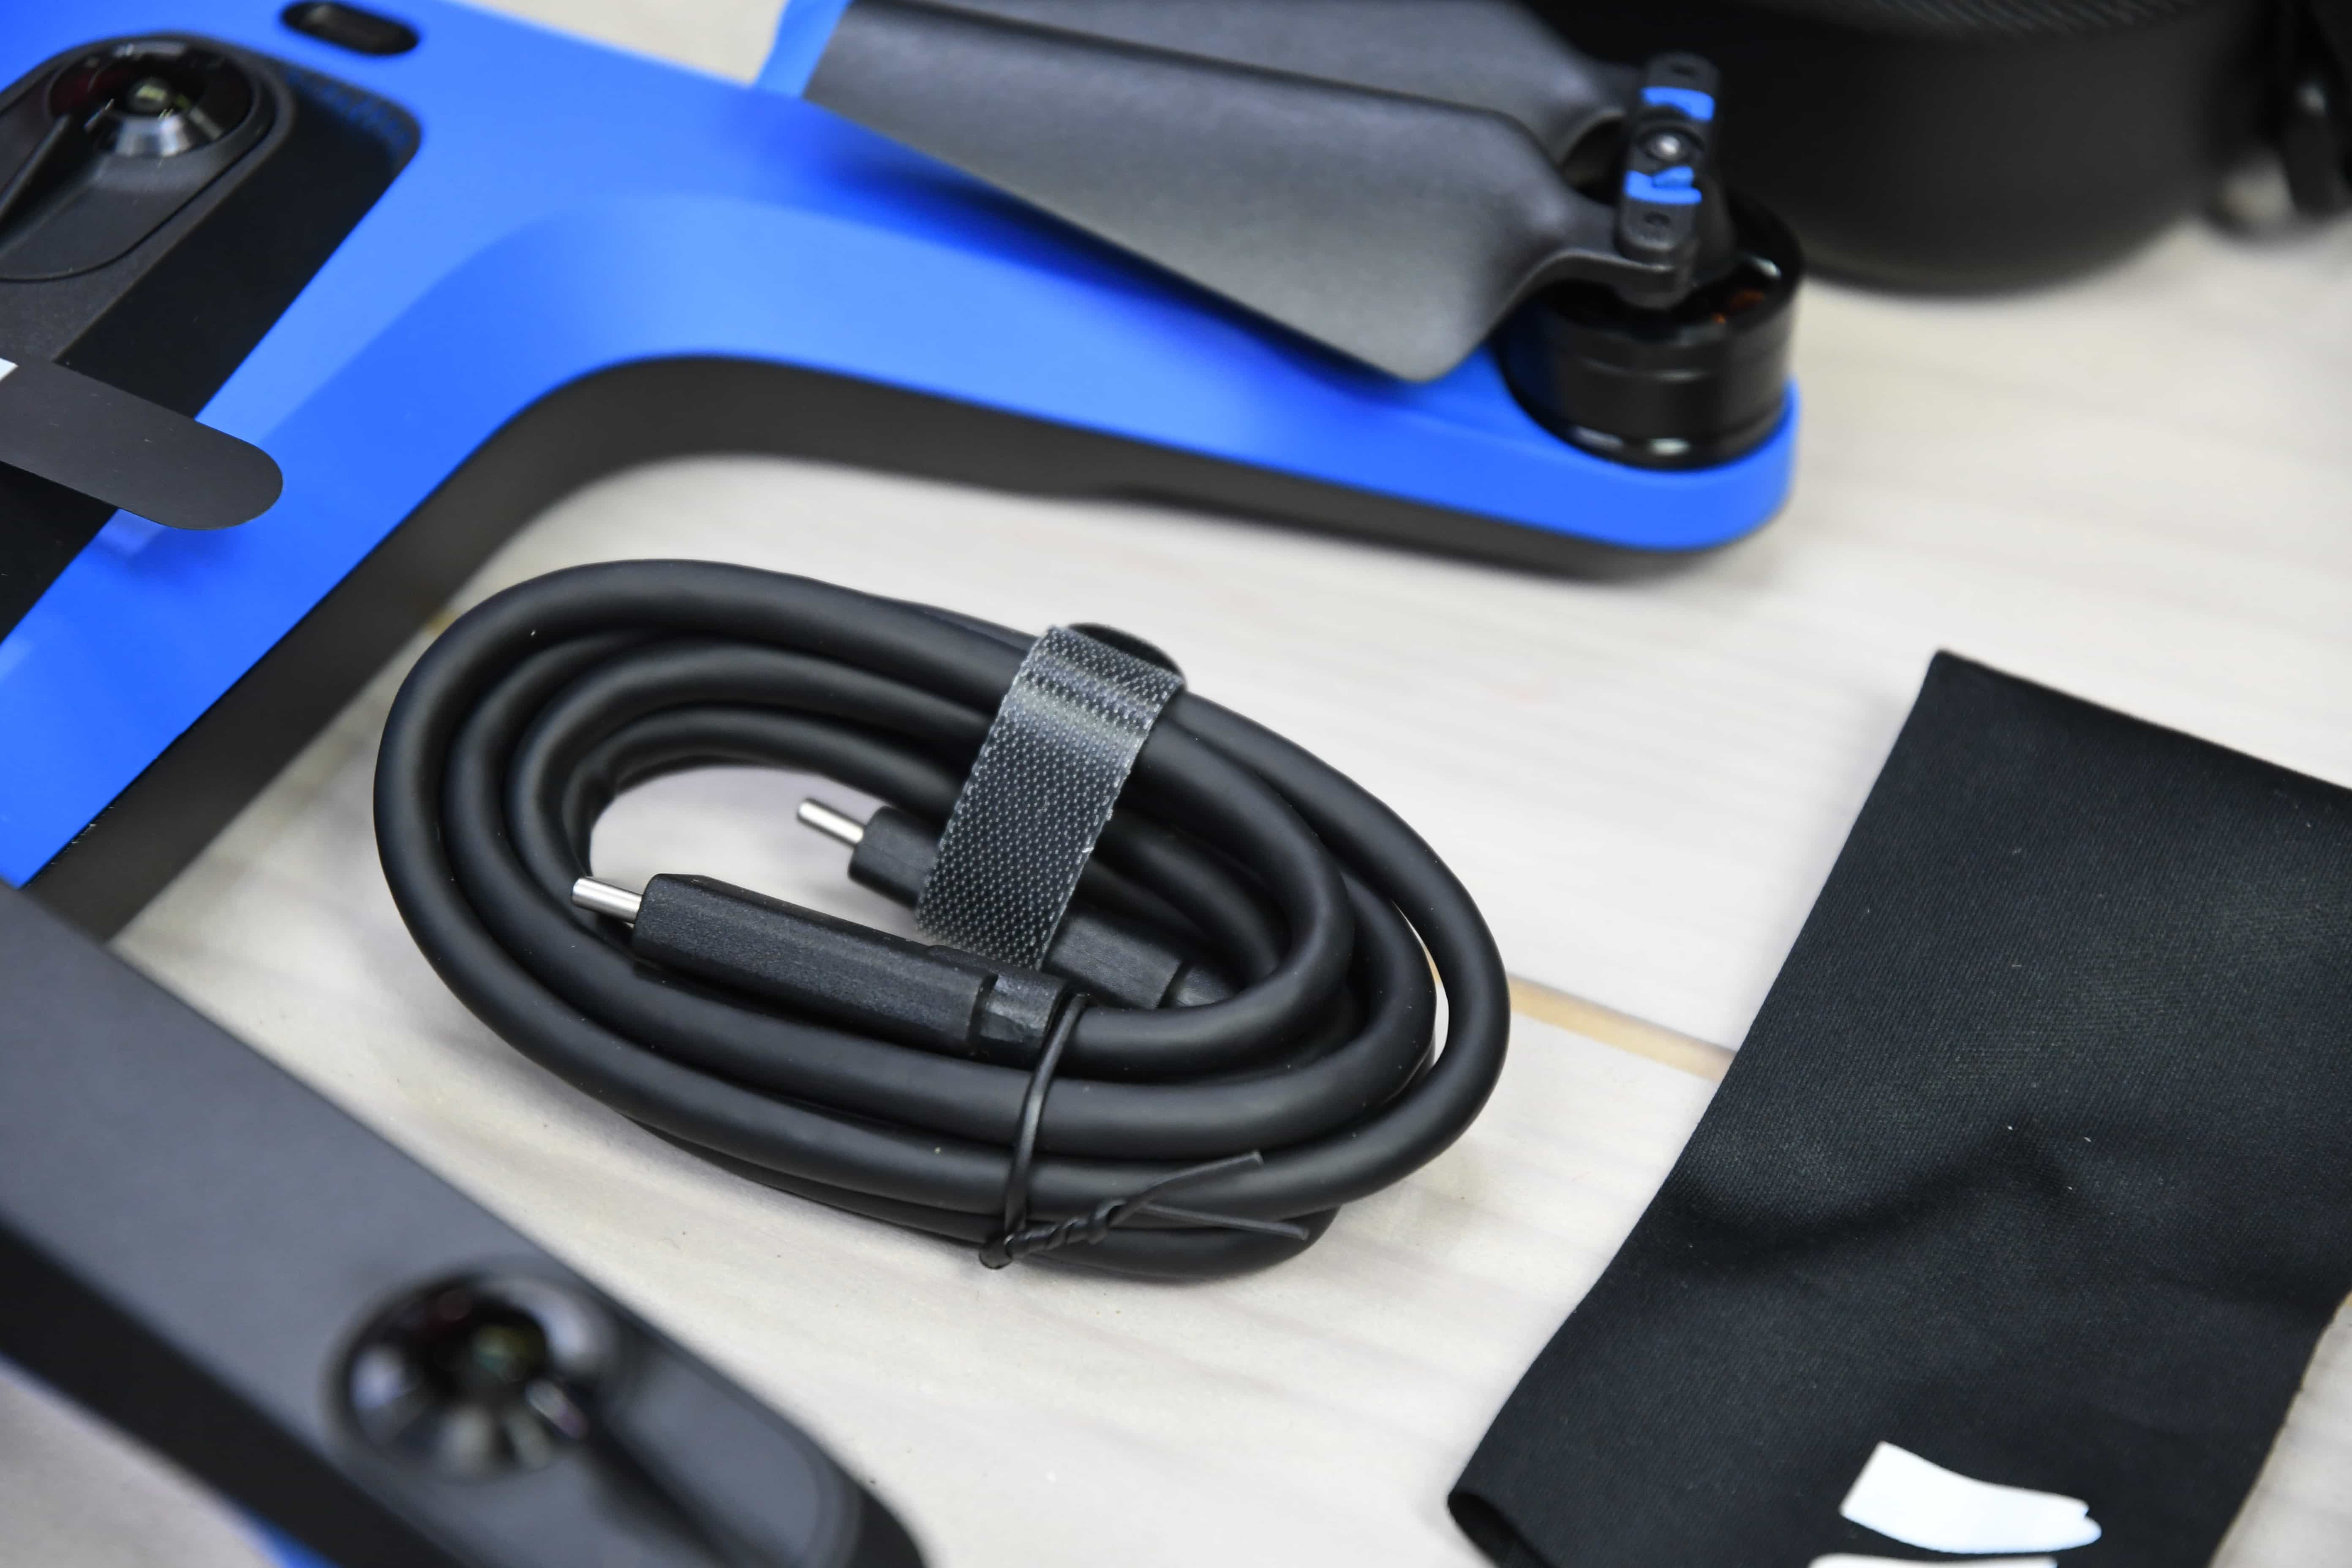
C) 1xUSB-C Big-Ass Thick Charging Cable
D) 1xSkydio R2 Drone
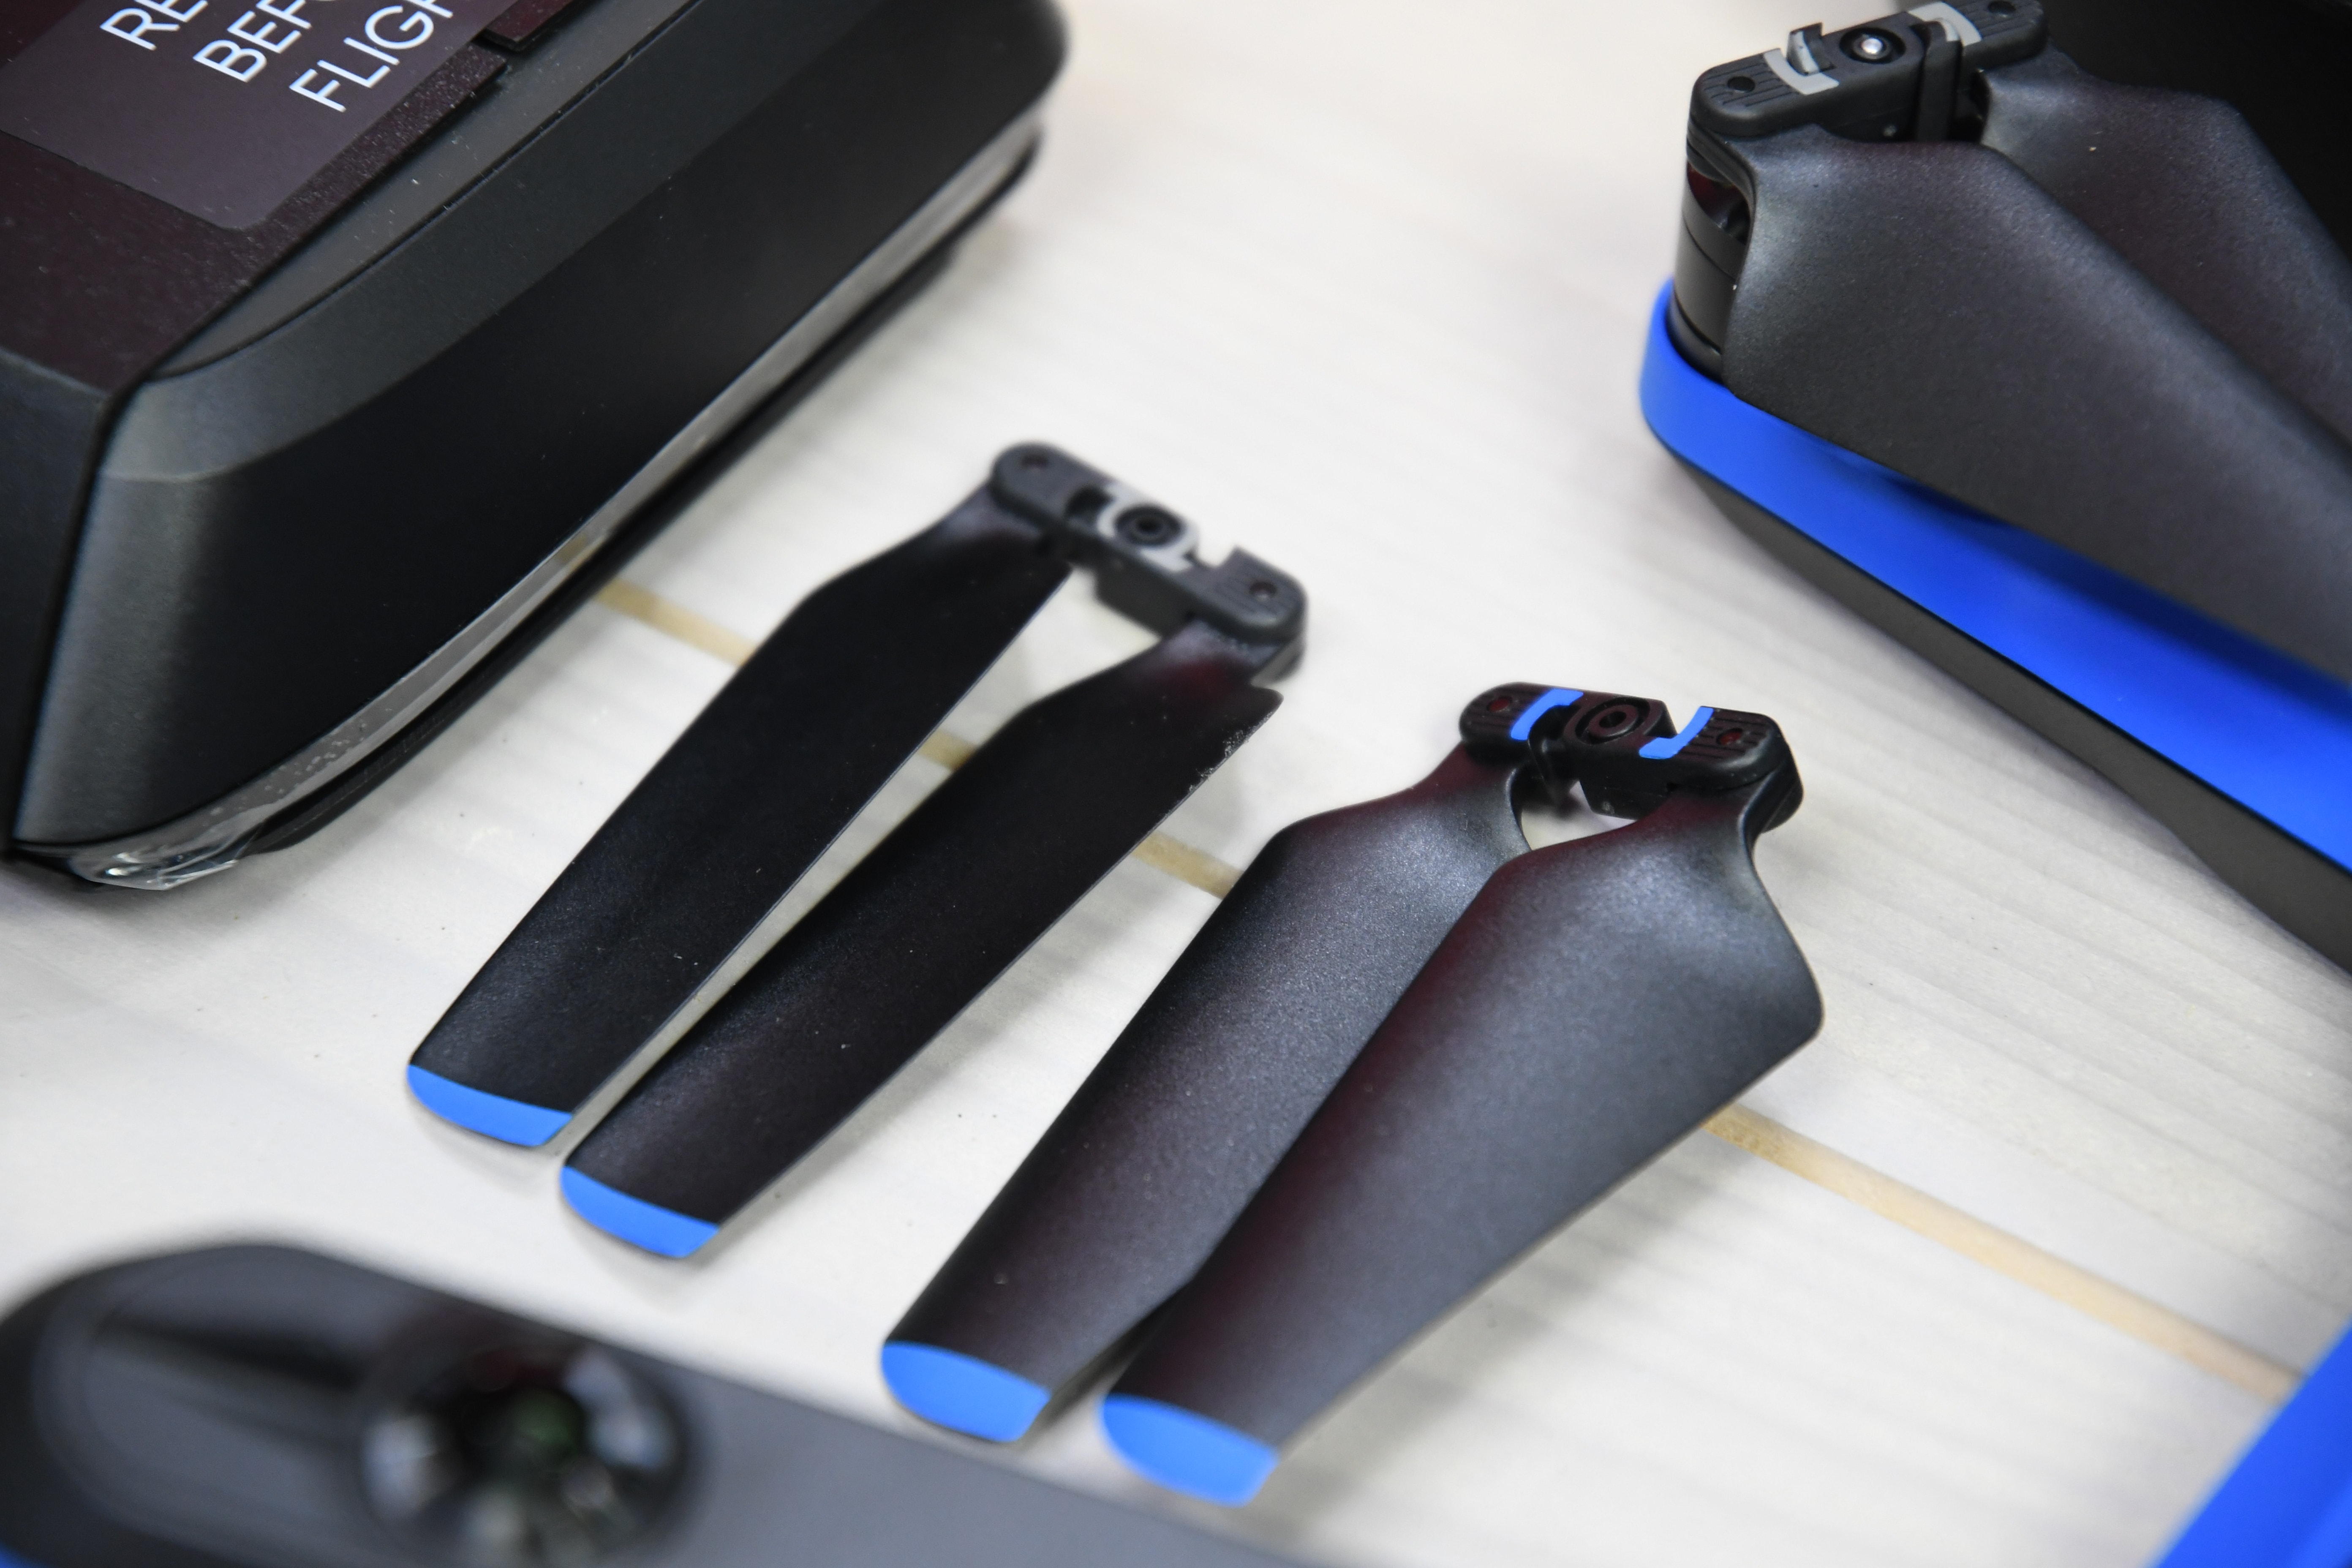
E) 1xExtra set of props
F) A small cloth for cleaning cameras
G) A piece of paper with some text on it
And here’s a quick little gallery of all those parts, which are pretty self-explanatory based on the list above:


Note that the case can hold two batteries, the Beacon, the drone, and the USB-C charger pretty easily. It’s not a perfect fit – but it fits just fine and dandy.

As far as accessories go, the main three are: The controller ($150), the Beacon ($150), and extra batteries ($100). Here’s the boxes for all three.

Now to be clear, you don’t need the controller. You can use your phone to control it just fine, or the Beacon too. The controller is if you want longer range control of the drone than the WiFi distance from your phone. The controller is technically just a re-branded Parrot Skycontroller 3.


In fact, if you flip it over, you’ll see that it says quite plainly it’s just a Parrot Skycontroller 3:

You can even buy that exact same controller on Amazon…though, it’ll also cost you the same $150. However the Skydio is loaded with special firmware, so you can’t mix and match.
As for the Beacon – it’s not from Parrot. Best I can tell it’s all Skydio. The Beacon’s purpose in life is for sports tracking where you go out of visual range, but still want the drone to follow your signal. This is essentially akin to what AirDog had back in the day, a small transmitter that you have that transmits your GPS location to the drone. The Skydio R2 will seamlessly (well, mostly), switch back and forth between visual object tracking (non-Beacon) and GPS tracking (Beacon). The Beacon also allows you to change the view, and do some basic control to get it out of a tight spot.
Here’s my Beacon, albeit after a bit of wear and tear (I electrical tapped it to my handlebars in a pinch one day, so it looks a bit…loved).

Like everything here, it charges via USB-C as well:

It also has a small lanyard on it, though, there’s no case or mounting system for it yet. Skydio says they’re working on something there. In the meantime, I think for cycling I’m going to simply cement/epoxy/sticky a quarter-turn mount adapter to the back of mine when I get it in, and that way I can use it with any Garmin-compatible quarter-turn mount out there.

With that, let’s get into using it.
The Basics:

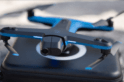
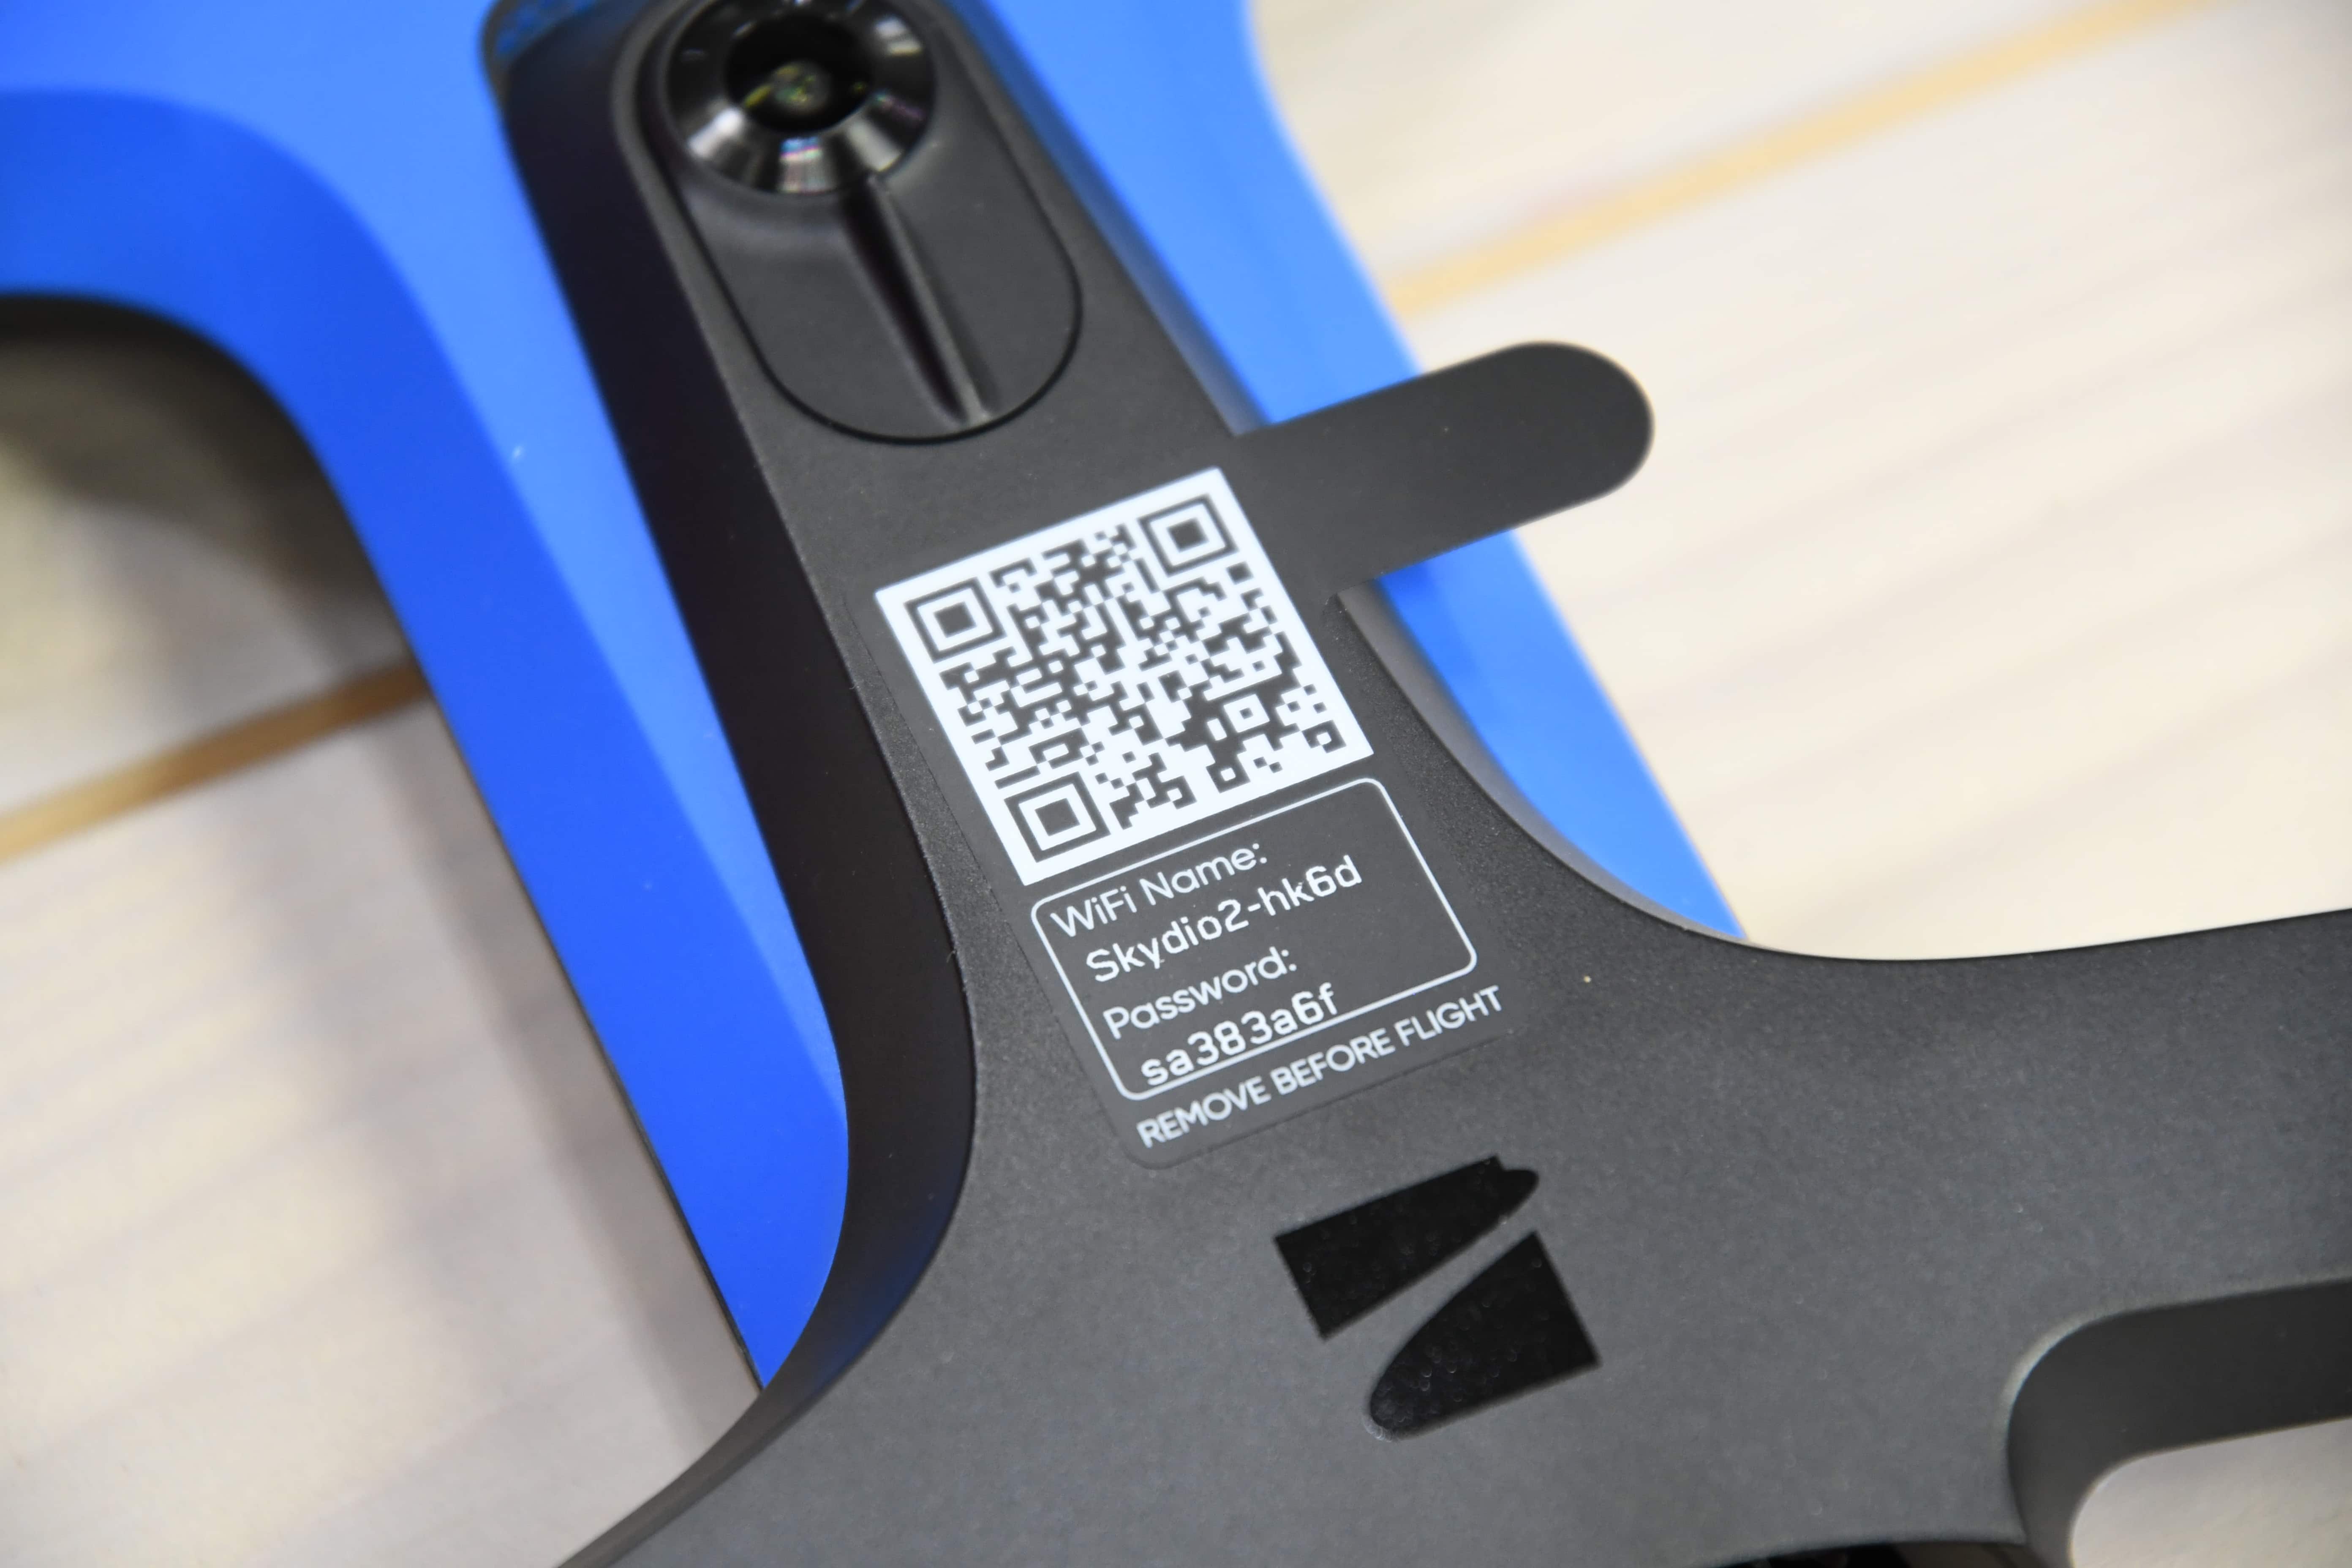
The first thing you’ll do upon powering on the unit is connecting it to your phone via WiFi. That’s done using the sticker atop the drone. That same WiFi information is also inside under the battery. In fact, that’s where you’ll find two MicroSD card slots. The slot on the left is for regular videos/photos (your use), whereas the slot on the right is for logging/diagnostic purposes.

The battery meanwhile snaps atop that, it’s actually magnetic. By and large that works great.

One minor caveat though is that if you come from the DJI world and are used to hand-catching a drone followed by quickly turning it over upside-down to turn it off, this will cause the Skydio R2 to depart the battery (less than ideal). So…just an FYI before you do that…to maybe follow Skydio’s instructions instead.
From a charging standpoint the batteries charge in about an hour using the standard/included Skydio USB-C charger. However, I found out that if you use a MacBook charger, it definitely won’t charge as fast unless you have a higher 65w charger. I had grabbed my smaller MacBook Pro charger and it didn’t even finish charging overnight. Kinda crazy. So just a word of consideration to instead simply bring the Skydio charger rather than your MacBook one – it’s more than powerful enough.

Next, once you’re ready to roll you’ll go ahead and turn on the Skydio R2 by holding down the battery button (which also shows battery status) for five seconds. A few seconds later you’ll be able to connect to it via WiFi to your phone.

At this point it’ll do a self-calibrating test as well as start the ‘autonomy engine’. Also, it’ll validate the unit has enough space to fly. Note that it doesn’t appear to do any sort of checks against places that you aren’t allowed to fly. So you’re on your own for ensuring you’re in a place that’s legal to fly.


Before we take-off, here’s a quick walk through the settings. First up is camera settings. There’s a toggle for video, and toggle for photo.

On the video side of the house you’ve got the following modes:
4K: 24/30/48/60 FPS (HDR available at 30/48/60 FPS)
1080p: 30/60/120 FPS (No HDR options)
Recording format: HEVC H.265 or AVC H.264
For almost all of my recording I kept it at 4K/60 HDR in H.265. Note that by default the unit will automatically record anytime it takes off. That’s the little ‘A Rec’ icon you see next to HDR up above. The other option is manual recording. Frankly, there’s no good reason to do manual recording here. MicroSD card storage is absurdly cheap, just set it to always record and never have that sinking feeling when you’ve missed something later.
At the top of that menu is the toggle to switch it over to the photo control panel:

On the photo side you’ve got three options:
Timer: Off, 1-second, 5-second, 10-second
HDR: On or off (not available in RAW mode)
File Format: JPG, or JPG+DNG (RAW)
Now this might sound like a silly thing – but I *LOVE* the 1-second timer interval. For some entirely stupid reason, DJI only allows a 2-second interval. That might not seem like much of a difference, but it really is in sports. When you’re moving at 20MPH/30KPH, the difference in location between 1-second and 2-seconds is huge. I use the 1-second recording option to get the shots I want.
Meanwhile, down below for both photo and video is the same set of four manual control options:
White Balance: Auto, 2300K, 3200K, 3800K, 4300K, 5000K, 6500K
Shutter Speed: Auto, 1/30, 1/48, 1/60, 1/96, 1/120, 1/240, 1/960, 1/1920
ISO: Auto, 100, 200, 400, 800, 1600, 3200
Exposure: Auto, –2.0, –1.5, –1.0, –0.5, 0.0, +0.5, +1.0, +1.5, +2.0
(Note: Only white balance is available in HDR mode)
Looking for some sample footage? No problem, see below (but, also see my note immediately after it):
Note that I typically don’t change *anything* when I upload sample footage for product reviews. Meaning, if I shoot in 4K/60, I just stick it in Final Cut as a compilation and then upload it to YouTube. But it appears the 4K/60 is really making YT compression struggle. So, if you want to download these files (pre-YouTube), here ya go:
I shot everything in my review at 4K/60 HDR in H.265.
Beyond the camera settings, there’s three settings options for the drone/controllers, with the first one being the most important – minimum floor height. This basically tells the drone to not go any low than 8ft (2.4m). This is essentially a safety check against hitting moving objects like people walking around. Personally I’d love to see this slightly configurable (as it is on other drones), as 8ft isn’t enough to clear an unexpected cyclist on a mountain trail. Remember that object avoidance doesn’t work (in theory) for moving objects.

Next, you’ve got options for the phone controller setup. For myself, I switch to the ‘Joystick’ mode, which mirrors that of the DJI drones. Otherwise it’s super confusing for me. Whereas if you’re new to drones, the other modes might work just fine for you.

After that, there’s the controller options if the controller is connected, which allow you to configure the gimbal and controller sensitivity. With all that, it’s time to go outside and do some sport testing. After all, that’s why you bought this thing.
Sports Tracking:

Now – if you’re not planning on doing sports with the Skydio R2, then honestly there’s better drones out there. Ones with deeper photography options or more automation around pre-planned moves (read: DJI’s higher-end drones). The whole point of the R2 is sports, though the company is working on enterprise customer solutions too (and once you’re in that realm they’re focused on leveraging all the obstacle avoidance AI). But for me and you, it’s all about sports – be in human-powered or moto-powered (or wind/etc).
So first, we’ll get our R2 up in the air. I’m going to start without the Beacon – so just what you get in the base package for $999. In this case you’ll take-off first by holding the little take-off icon on the phone:

Within a few seconds the motors will spin up, and up in the air it goes. From a noise perspective, it’s significantly quieter than the Mavic Air.
Once up in the air you’ll see a preview from the camera on the screen. All you need do is simply tap a person/object and it’ll start tracking:

Once an object is tracked (in this case, using the default ‘Motion Tracking’ option), it’ll rotate a blue 3D banner around the object/person, as seen below.
Now you’ll have the option to choose which orientation you want to film from (front, back, side, etc…), as well as change the height and follow distance.

Otherwise, it’s time to get moving. In this case, it’ll follow you entirely based on visual object detection. In my experience the only time it mixed up two subjects in the frame was when Des and I were both wearing virtually identical outfits (blue cycling jackets, black cycling pants) – and that was in lower near-sunset light in the trees. It didn’t mix us up in any other case when riding together.
From a testing standpoint, here’s how things went for me (sans-Beacon):
Running on road: Never lost me.
Running in trees: Eventually managed to get it in a spot it couldn’t pass through once.
Road cycling on open roads: Never lost me. Astounding.
Road cycling in dense trees: Only lost tracking a couple times when it got itself in a tree pickle
Mountain biking in light trees: Didn’t lose me or us.
Mountain biking in dense trees: Didn’t track well at all.
Obviously, there’s plenty of otherworldly scenarios one can track, but that’s all the things I have at my disposal. From a specs standpoint the unit tracks up to 36MPH (57KPH), and has a battery life of 23 minutes. That seems about right battery-wise, and from a speed standpoint we didn’t have any issues up till around the mid-20’s MPH (40KPH) or so. After that, I didn’t have the means to test any faster (regrettably no hills where I live near Amsterdam).

As I said, in running, it tracked flawlessly while just following me around on normal running paths.


It was where I went off-road and deep into muck and mire that challenged it a bit more. Specifically the super thin winter branches without any leaves. It’s here that it would occasionally get stuck trying to follow me and would need assistance. It never crashed though while running, but would run into an issue of its minimum 1-meter bubble around it – which is the clearance distance it requires in order to pass through a space. Still, it actually got through the spots you see below (though eventually got to a point it couldn’t go any further, as seen in the video).


When it came to road cycling, it was flawless on open roads, and even super impressive for the vast majority of one tree-lined route. It was only when we started asking it to do questionable things (swing out in between rows of trees) that it struggled a bit to maintain visual tracking.

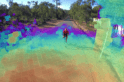
Still it almost always pulled it off. Getting shots like these (see the video for plenty more):

Finally – what about mountain biking? Well, that was a bit tougher. For more wide open areas like the below, it easily tracked us. In fact – not only that, it managed to keep the two of us wearing very similar jackets/clothing straight.

Same goes even in light tree cover:

However, once we got in the trees it just couldn’t handle the density of tree branches – and would cease moving forward because it couldn’t get around obstacles to meet the 1-meter threshold.

And it was here that it chalked up its only crash. I’m not entirely clear 100% what went wrong, but I had tried to take over with the beacon to manually get it out of the pickle when it caught a tree branch and went tumbling down. You can see it within the main video. Still, despite the fall from quite a ways up a tree, it was seemingly unharmed.
In fact, there were a number of times where the R2 went through small tree branches and just kept on flying. Keeping in mind that right now it’s winter and virtually all of the branches are super hard for object recognition systems to see due to how thin they are without leaves.
Next, while tracking you can also do special moves, called Cinematic Skills. These moves make certain cinematic shots. These skills are as follows:
Motion Track: It’s basically just following you, from any relative angle of your choice (always behind you, always to your right side, etc)
Fixed Track: This also follows you, but stays at a given perspective – for example always staying pointed at the water
Orbit: This will endlessly rotate around you either clockwise or counterclockwise
Cable: If you mark two ends of a path, you can keep the camera on that path while visually tracking you
Hover: This will simply hover in place, while tracking you – it’s great for getting approaching/departing shots
Atop that, there are four specific “One-Shots”, where the unit will do a specific move, and then return to whatever you were doing before you started the skills (such as normal tracking). They are:
Dronie: Flies away from you while keeping you in frame
Rocket: Goes straight up, keeping you in front as if looking down from an airplane
Boomerang: Like an orbit, but more oblong in shape
Vortex: A blend of an orbit and a rocket – flying upwards and orbiting concurrently.
These one-shots are cool, but they mostly work best when rather still or walking slowly. Any sort of running or cycling speed and it’ll usually fail to continue tracking me after the move is complete. It thinks it can, but ultimately it just doesn’t work well in regular visual mode (and the only one you can trigger from the Beacon is a Dronie).
Ok, so back to my overall thoughts on sports tracking – ultimately I’m impressed.
For most tracking where you’re not deep in the woods, it’ll happily track you. And the more comfortable you get with how the drone works, the better you can get at creating awesome shots using the different modes or the phone/beacon as a controller (or the controller itself of course). It’s easily as good as the R1 was, just in a smaller and more portable package.
As with the R1 though, I think Skydio really needs to seriously think about the minimum clearance bubble and get a bit more aggressive there. It’s not really a human safety thing, as it is more of an aircraft safety thing. And while many of the R2 marketing videos show manual control around tight spaces, from an automated flying standpoint, the reality requires a bit more clearance. Still, it’s impressive – I just wouldn’t bring it with you mountain biking through tight trails.
Thoughts on Accessories:

So here’s the thing – the R2 is definitely cheaper than the R1 was. $999 vs $2,000+. And yes, you can definitely run it just fine with just the base kit. Well, mostly.
After bunches of testing, I’m going to amend that thought slightly. I’d say that yes, it’ll work and track you just fine with just your phone and using visual object recognition/tracking. However, I think the core strength of the drone is when its paired to the Beacon, to be able to bridge the gap (literally) to points where it loses you. Read: Denser trees.
To me, I see using it going forward as a blend. Sure, I can launch totally with the Beacon and all that. But I actually find I prefer to launch with the phone, while the Beacon is on and linked. I use the phone for setting up the initial shot, and any settings. And then I stash that away and use the beacon for mid-flight control (or, loss of visual contact – so it keeps tracking and catches up eventually).
So yes, I think the Beacon is basically required for anyone using this – unless you live in the desert or endless farmland where trees aren’t an issue.

So what about the controller?
Well, not so much. Sure, it’s fine – and there’s nothing wrong with it (ok, except the mount, I find it fiddly with my iPhone case). Also, I don’t understand why they used a phone link cable that’s not semi-permanently on there (you have to detach it to charge it) – which you’ll lose amongst your sea of other like-minded black cables…just like I did last night.
If you’re coming from a DJI drone (or any other drone), and want to split your time with shooting stuff using the drone in regular non-automated control mode – then sure, there’s good reason get the controller. Absolutely. But if you’re like me and are primarily using it for sport tracking – with a tiny bit of pretty landscape/etc stuff on the side? Then you can mostly just use the phone in a pinch for those shots – assuming you’re not going more than ~100m or so away from the phone.
Next…batteries. Yes, you’ll want two batteries. Maybe even three (just like DJI sells them in combo sets usually). One battery simply won’t be enough. Yes, the batteries do actually match their spec quite nicely. Bravo. But, it’s just so much fun to shoot, you’re going to want at least two. Especially if you’re in areas that are more tree-dense, because you may be stopping more frequently than you think to sort out tracking issues.

Where I dislike Skydio’s pricing is the dual battery charging plate – which somehow costs $129. No batteries included, nor even a USB power plug. Just a tiny little plate to mount the battery + extra battery you bought. Sigh.
Lastly, there’s the Skydio R2 extra warranty & replacement plan – which costs an astounding $500. Now in talking to Skydio, they envision this more for their enterprise customers than regular customers – and in that light, it makes sense. Still, in my opinion Skydio is missing the boat on some form of consumer-focused crash protection plan.
So in short, here’s what I’d recommend you actually buy:
A) Skydio R2 itself ($999)
B) One extra battery ($99)
C) Beacon ($149)
So all in you’re looking at $1,249 – or roughly a little bit cheaper than a Mavic 2 after the recent tariff increases.
Summary:

Ultimately – the Skydio R2 is easily the best sports-focused drone out there. There’s not really any question there. It does everything the R1 did, but better. It’s got far better image quality, a far better size/footprint, better battery life, and better controls via the Beacon and dedicated controller. It’s everything I wanted in the R2 after playing with the R1.
Well, almost everything.
As I said earlier, I’d really like to see Skydio spend quality time on getting that minimum clearance threshold down. The company says they’re working on it – but I think it’s what’ll make the difference between the R2 being a drone I take with me on every trip/ride/run where I want cool shots – versus only taking it on adventures that I know the bush/tree clearance is enough.
Still – that leaves a lot of adventures where it’ll work great. Especially less demanding scenarios – and especially in cases where it’s not the middle of winter with thin branches. For example skiing in the mountains with snow-laden trees would likely be easier for the R2 to track than the lowlands of leaf-less maple-like tree branches.
And there’s no doubt the R2 will find its place as a strong contender in my drone line-up, probably being used a fair majority of the time (the lack of ability to fold it up into a back jersey pocket size means I’ll sometimes take smaller drones for quick photos/shots). I’ve already got my pre-order reservation in, and should shortly convert that to a real order that gets me my own R2.
With that – thanks for reading!
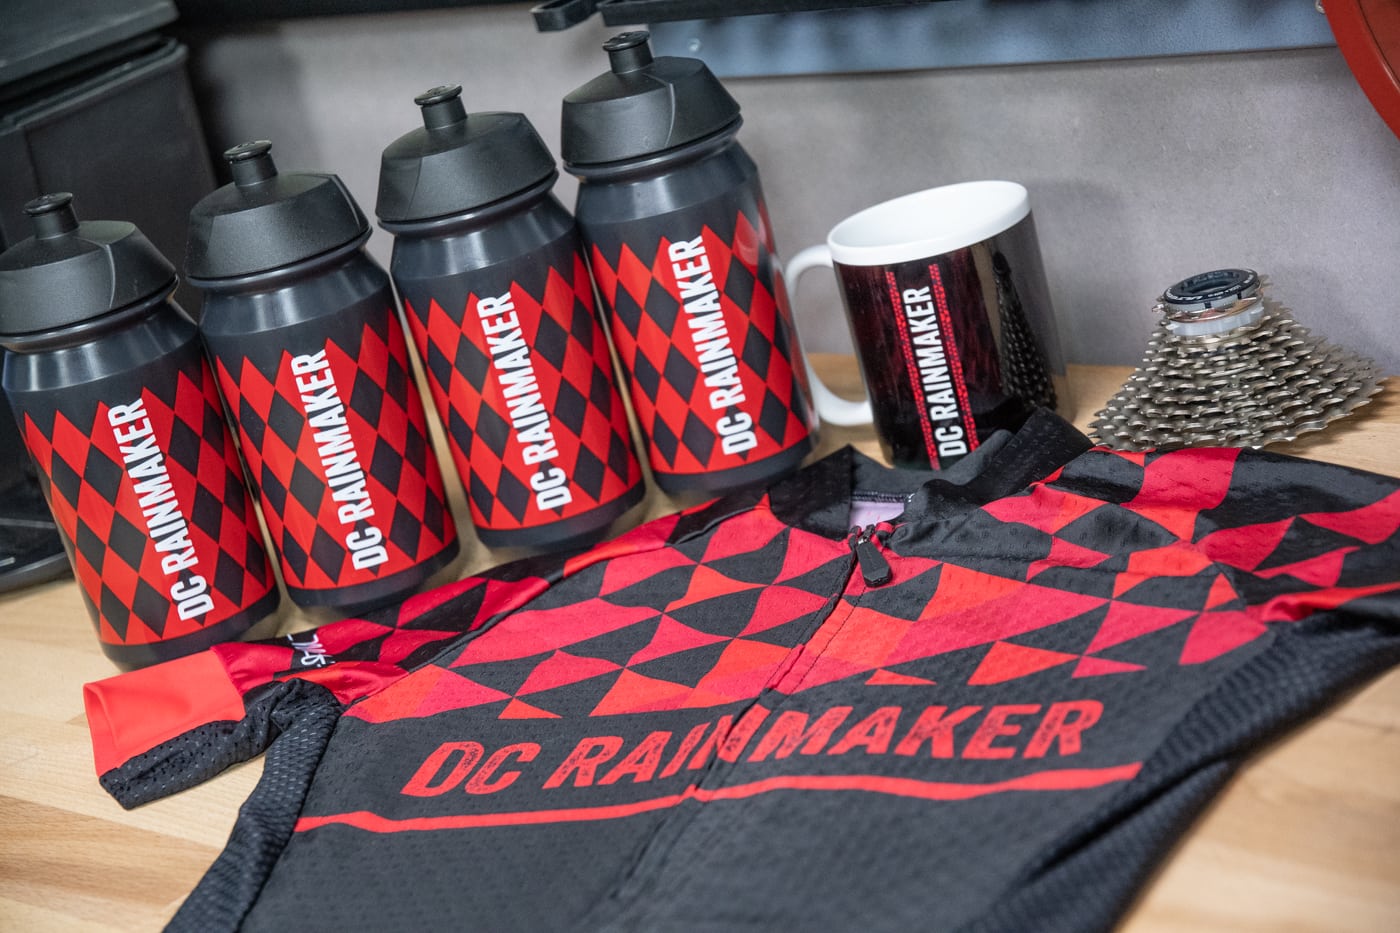
FOUND THIS POST USEFUL? SUPPORT THE SITE!
Hopefully, you found this post useful. The website is really a labor of love, so please consider becoming a DC RAINMAKER Supporter. This gets you an ad-free experience, and access to our (mostly) bi-monthly behind-the-scenes video series of “Shed Talkin’”.
Support DCRainMaker - Shop on Amazon
Otherwise, perhaps consider using the below link if shopping on Amazon. As an Amazon Associate, I earn from qualifying purchases. It doesn’t cost you anything extra, but your purchases help support this website a lot. It could simply be buying toilet paper, or this pizza oven we use and love.