There happens to be a few weekends each year that we know will be crazy busy…and this is one of them. It’s just a bit of a stars aligning sorta of things, where every possible event is on one weekend – primarily due to the holidays. Here’s what we were up to!
1) Friday Night: Christmas Party at our house
We kicked off the weekend with a bit of a cookie exchange and Christmas party at our apartment. Everyone bought some type of cookies they made, and then we also went with a more down to earth simple dinner (nothing fancy). Oh, here’s our tree all decorated (the one we carried via Velib).


In addition – we did a crazy chocolate painting thing. Our chef friend has been recently doing these chocolate painting events where folks paint in the colors on a chocolate painting that sits atop glass:


Then afterwards, the entire thing is flipped over to see an incredible edible painting. Afterwards you break it apart and take the pieces home:


Super cool stuff.
After that it was white-elephant gift exchange time. I managed to score a pair of leopard print suspenders. Others got equally ‘awesome’ gifts.


Obviously, that will be the highlight of my holiday gifts.
2) Saturday Morning: DCR Group Run!
Well, this one is easy! A bunch of people arrived at the studio and we ran!

Read this part of my DCR Open House post from earlier this morning for all the details!
Random Tidbit: Generally speaking we (The Girl and I, and our CupCakery staff) refer to the entire combined DCR Cave & Bertie’s Cake Studio as ‘The Studio’. When we talk about my DCR space, it’s ‘the Cave’. And our combined office (desk) space area is simply ‘the office’. If it’s her cake design area, we’ll say ‘the Cake Studio’. If it’s the CupCakery location, then it’s ‘the shop’ or ‘the CupCakery’. More than you ever wanted to know, but might help as to why we use the terms interchangeably.
To use in a sentence: We met in the Cake Studio, and ran around Paris. The Girl’s group swung by the shop on the way back, but the door to both the cave and the office were locked till later. ![]()
3) Saturday Evening: DCR Open House Time!
Like the previous bullet, I’ve posted a gazillion photos of this within the Open House section of the post from earlier this morning. Enjoy!

Oh, and to use the terms in a sentence: We opened the cave door to see all the gadgets, while the Cake Studio was packed with people and food. The office meanwhile, remained closed as it was a complete and total mess.
4) Sunday Morning: A Simple Semi-Versailles Ride
Early Sunday morning (by Parisian standards anyway), I headed down to the cave to get a few reviewed products back in the hands of companies that were in town, thus freeing up space in the cave. Woot to more space!
Afterwards, I loaded up my bike and headed out onto the quiet streets towards Versailles. I didn’t have a particular plan, but would have preferred to go longer.

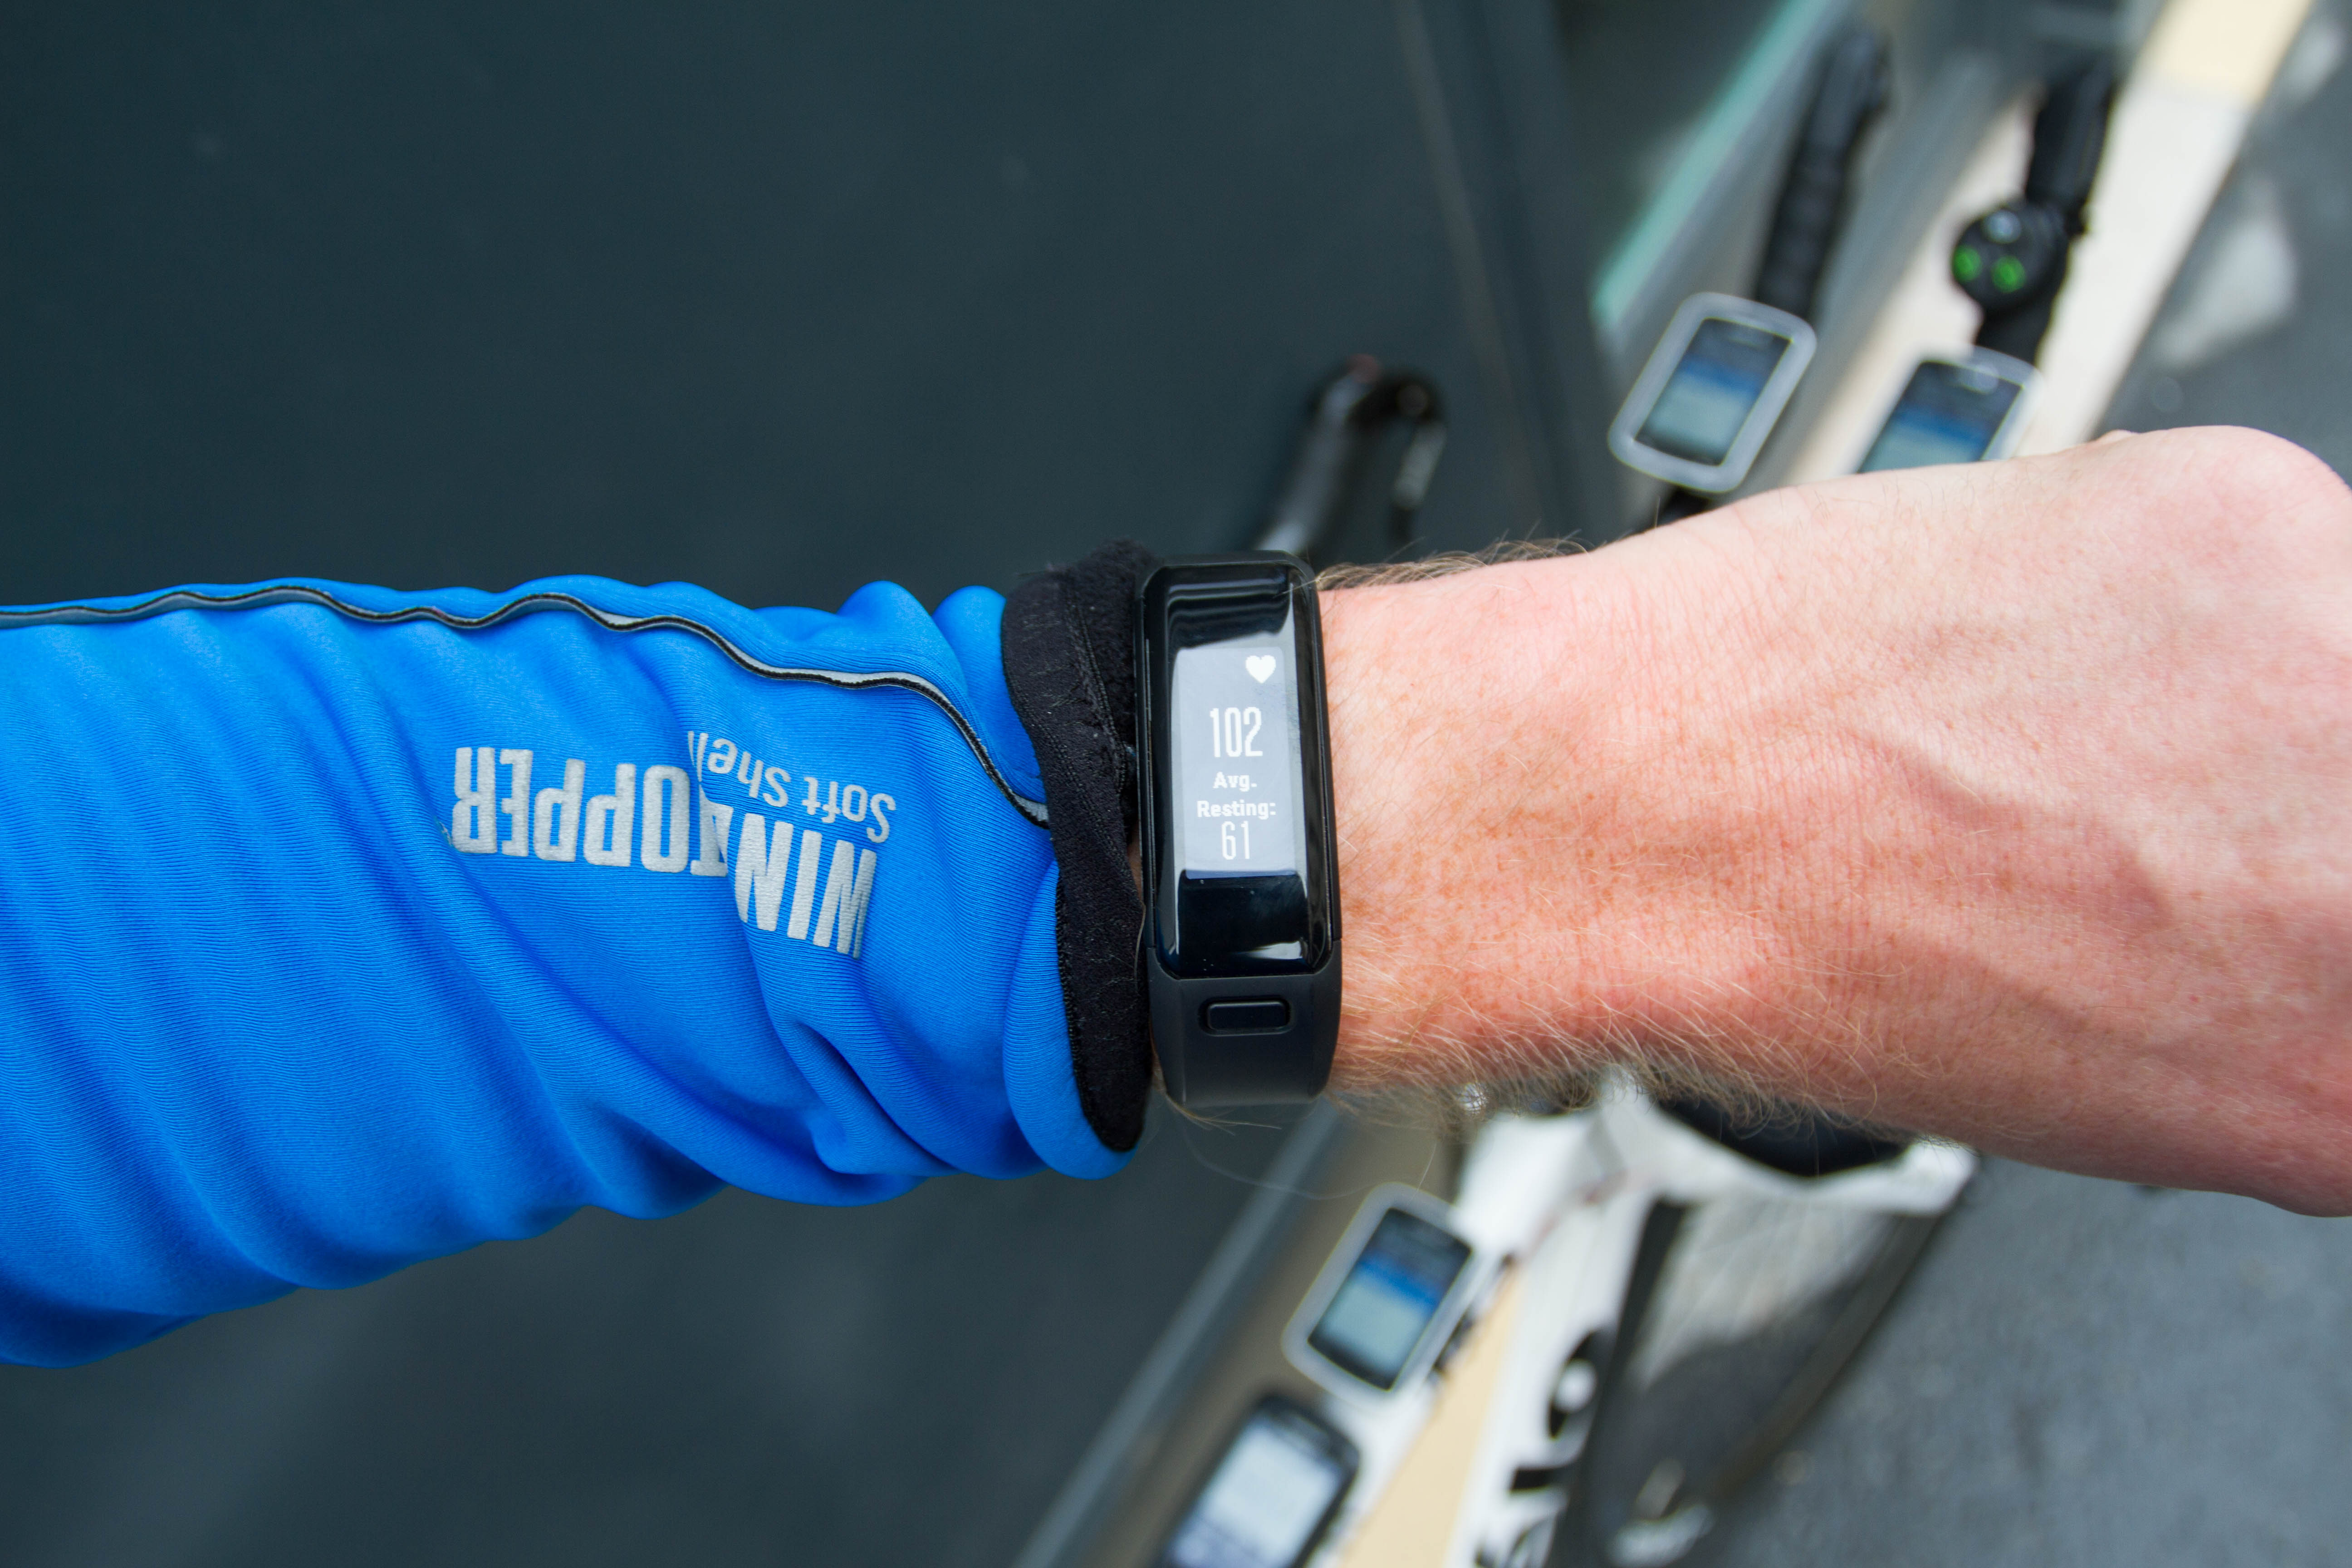
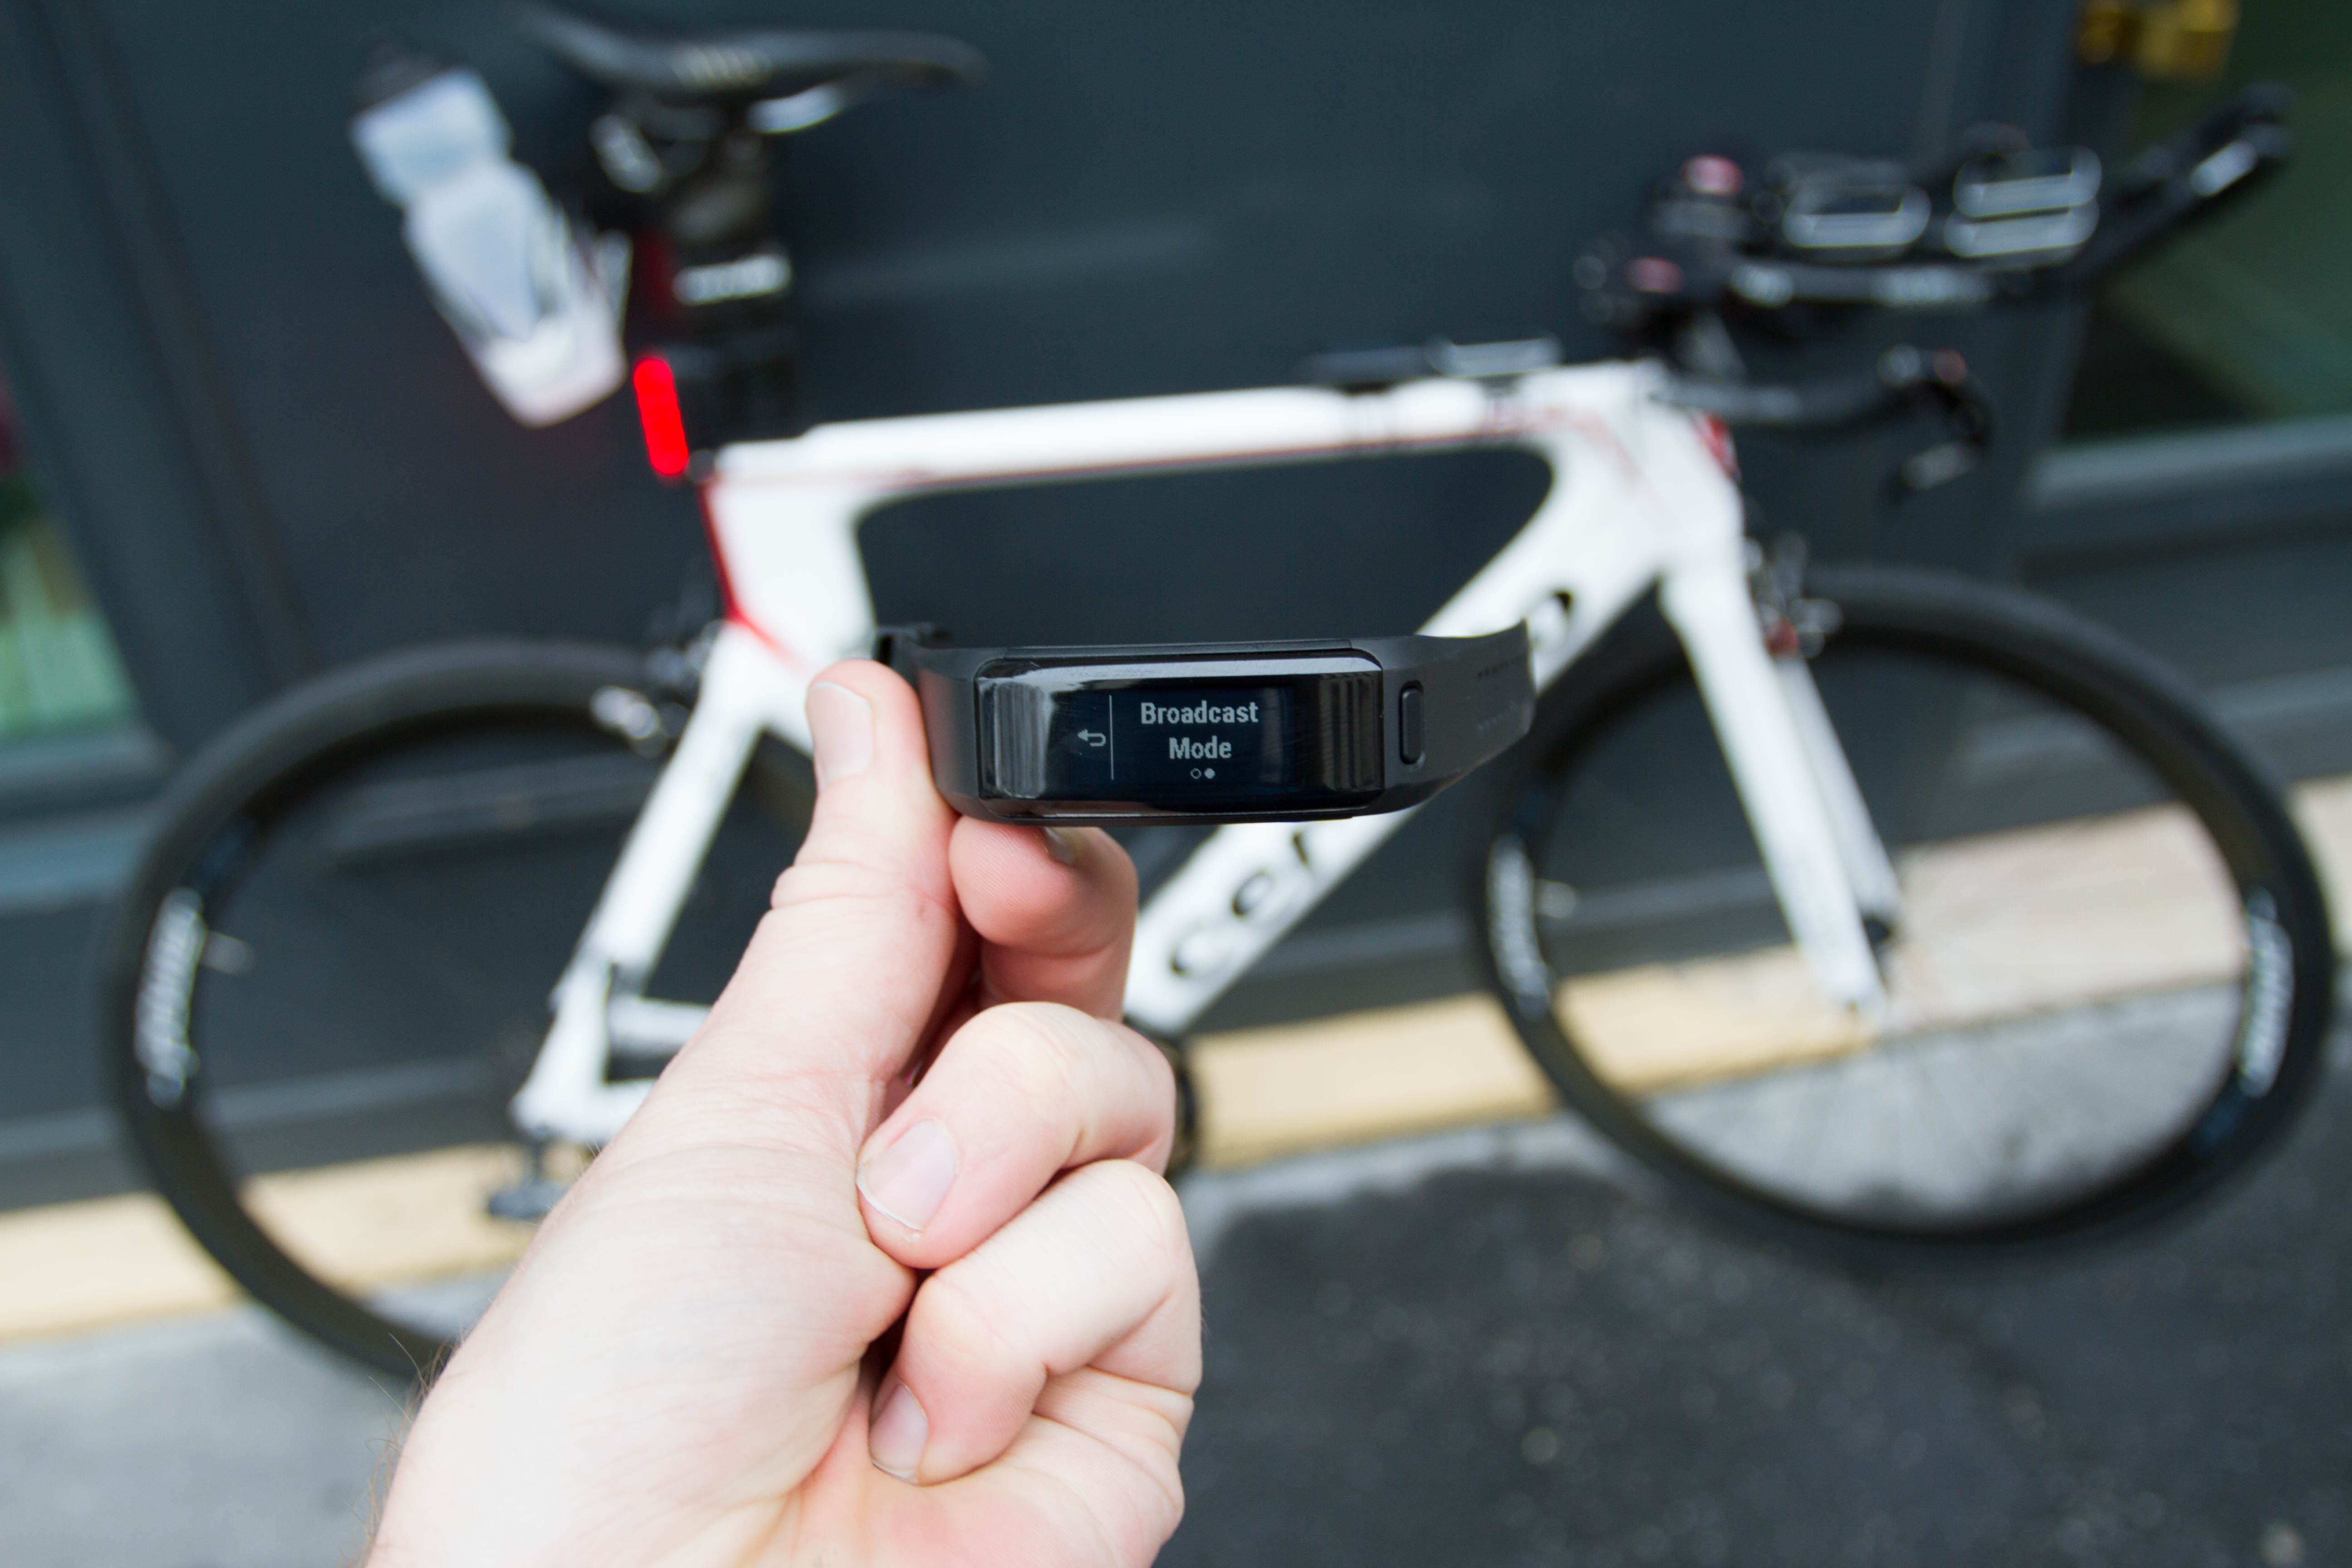
But with a catering delivery later on, I was time-blocked on length. Primary devices I was testing today would include the PowerPod and the Vivosmart HR:

With the PowerPod, it’s not really the ideal bike to test it due to lack of ideal TT-bike miount, so I’ll switch over to using a road bike after I get back from Christmas. But right now my road bikes are all taken apart while I prepare them for new power meter testing after the holidays.
For those curious: With the Verve Infocrank removed, I’m going to replace the crank system with a combination of crank sets and bottom brackets that will be flexible enough to accommodate systems like the 4iiii Precision dual system down the road, as well as others like a Stages dual system – all while also running some sort of crank spider PM (i.e. Quarq, PowerTap C1, Power2Max). While this may sound trivial, one factor one has to consider is ensuring all systems are non-carbon, so I could also layer in not just the 4iiii system (currently non-carbon) but also WatTeam (also non-carbon). My current thinking is going with a Power2Max combined with a lower end SRAM crank-set, so I can attach either the 4iiii left-only unit I have, or the Stages left-only unit I have. Both of which would also be WatTeam friendly. While the RIKEN AL would be tempting in place of the Power2Max, the crank arm wouldn’t be compatible for a pod-system like 4iiii, due to the non-flat surface. Phew!
5) Sunday Afternoon: A CupCakery Catering Journey
You know when you watch Top Chef or those other chef reality contest shows where the chefs have to move a bunch of food to prepare elsewhere, how they always wrap it up with plastic wrap?
Well, that’s real life. Here’s The Girl and one of our staff wrapping up hundreds of half-made cupcakes.

Back a few months ago when we catered another event I cut a crap-ton of PVC pipe pieces so that the cupcakes wouldn’t get squished by sheet pans placed together. That time we were delivering a few thousand cupcakes, so there was a lot of PVC pipes. Each of those empty spots is where a short 2-3″ section of pipe would go.

Speaking of which, I made the mistake of cutting those PVC pipes with a power saw down in the DCR Cave. This past weekend while cleaning up the cave for the open house…I was still cleaning out tiny fragments of PVC pipe. It’s like the pine needles from your Christmas tree that you find in August.
In any case, this was for a kids holiday party, so the kids basically decorate the tops of the cupcakes with frosting and sprinkles, to create their own little masterpieces. Observation: Many kids created some incredibly crunchy cupcakes.

Once we returned back from the event we spent the majority of the evening catching up on work, with a few episodes of Top Chef tossed in to break up the 7 hours of couch-sitting. Oh, and we made pizza:

And that’s a wrap!
FOUND THIS POST USEFUL? SUPPORT THE SITE!
Hopefully, you found this post useful. The website is really a labor of love, so please consider becoming a DC RAINMAKER Supporter. This gets you an ad-free experience, and access to our (mostly) bi-monthly behind-the-scenes video series of “Shed Talkin’”.
Support DCRainMaker - Shop on Amazon
Otherwise, perhaps consider using the below link if shopping on Amazon. As an Amazon Associate, I earn from qualifying purchases. It doesn’t cost you anything extra, but your purchases help support this website a lot. It could simply be buying toilet paper, or this pizza oven we use and love.


Ray,
Thanks for sharing your adventures!
I was really impressed by the chocolate painting. Would your chef friend be willing to share any tips and tricks for making one? Things such as the choice of materials and how he prevents the chocolate from sticking to the glass? I would love to make one for Christmas.
+1, that’s what MyGirl wanted to know too!
Would love to know that as well!
I’ll ask him if he has any tips. Essentially one of the biggest things was chocolate temperature. For example all of the chocolate for the initial painting was kept in sous vide baths, and then also for the end covering. Ensuring that it wasn’t too hold or too cold was key to working with it, especially from a time standpoint (obviously if you had all the time in the world you could be more flexible).
Thanks Ray. It would be great if he could share some tips for amateurs making a chocolate painting for the first time. Also, please congratulate him on his excellent web site. Paris is probably the only place in the world where you can make a living selling picnic baskets to romantic couples!
I can’t tell from the pictures, but were you painting directly on glass? I came across a link which talks about chocolate painting on lightly greased parchment paper.
link to instructables.com
What did you use as a base for your painting? Was it greased?
Hey everyone! Happy to see so many people interested in the chocolate painting. We use a dark chocolate for the the outlining and back of the painting to bring out the colors and colored cocoa butter for everyone to paint with. As Ray mentioned, when working with chocolate, temperature is key. We use Valrhona chocolate and the temperatures for making it workable are listed on the bag. In this instance, first you have to melt the chocolate at 52 degrees Celsius then bring it down to 28 degree and finally back up to 32. That will allow you to have the perfect shine and snap that tempered chocolate has. We use a sous vide set up as it allows for more precise temperature control and less waste. The colors we mix ourselves using edible pigments. The paintings are done on a sheet of acetate film over plexiglass. I make smaller bags that the artist, Mark uses for painting and then larger ones for covering the back of the painting. This really started with the artist and I happened to join in with the technique that we use to melt the chocolate. Here’s some more info about Mark, the painter. If I can answer any more questions, feel free to ask!
Whoops, forgot the link to Mark’s site. http://www.markalsterlind.com
Thanks for the tips Justin!
You mentioned that you mix the colors yourself using edible pigments. For the novice in chocolate coloring, can you explain how you create the colors. Do you use white chocolate as a base and then add coloring. What type of coloring do you use?
Hi Max,
For the colors, we use plain cocoa butter that we melt down and then add edible pigments to that. What you have access to regarding colors may vary depending on which country you live in but we are fans of Chef’s Rubber colors which are available in the the US.
We use a really good quality dark chocolate for the paintings and prefer not to mask the flavor too much so we don’t use any white chocolate, just cocoa butter mixed with white pigment.
Also, you should check out the Serious Eats post on the different methods of tempering chocolate. Kenji has a few options that may work for you depending on what you have at home.
link to seriouseats.com
Thanks Justin. Sorry for the amateur questions but some of these items are new to me.
I Googled cocoa butter and it seems to be sold as a base for a beauty product. Some of the names are RAW, PURE, ORGANIC. What should it be called for a colored chocolate application. Do I just melt it or do I need to add oil or something else to it?
I checked out the Chef’s Rubber site and they seem to list a large number of colorants. Some are water based while others are oil based. They also have a colored cocoa butter but I’m not sure if this is a colorant or a finished product. Which colorant do you recommend?
link to shopchefrubber.com
Is the white layer you cover it with on top also cocoa butter? In the video on Mark’s site it looks like melted white chocolate.
Want to try this over the holidays. Any other chocolate brands/types you recommend? Also, rough estimate how much chocolate needed for doing a painting the size of a standard piece of paper?
Thanks again!
Bruce
Sorry for the late reply Max! I get my cocoa butter from a supply shop so I would maybe check there. It’s just plain cocoa butter though. We use the chef rubber colored cocoa butter. We melt it down and then add it to our melted cocoa butter to color it. It also allows us to stretch out the colors more so they last longer. If you just use their colors, they’ll be beautifully intense. Hope that helps!
Justin,
Thanks for all the information and for the inspiration to try something new. I really appreciate it!
Max
what a busy weekend!! glad the many parties were a success!
You can’t not us the suspenders…I am sure you have a pic
Come on Ray don’t be shy show us your lovely suspenders!!!
I love the chocolate painting!
Hi Ray,
When testing the Powerpod are you using a magnet/reed switch based speed sensor or a newer accelerometer based speed sensor like the Garmin model’s which mount on the hub. I know the accelerometer based versions are subject to more noise on rougher surfaces like cobbles… then again so is the Powerpod I suppose.
I have a Powerpod waiting for me in UK customs and will be attaching it to my bike shortly to test against some of my other powermeters. One thing I am particularly interesting in seeing is how it copes in wet and damp conditions as this can be a difficult environment for detecting air speed.
Finally, when is the Vivosmart HR review due to land. I’m in the market for an optical heart rate based activity monitor for my girlfriend for Christmas. I was almost about to pull the trigger on a Polar A360, until I read your review! She has quite small wrists and doesn’t want a large bulky GPS model.
I’m using a magnet-based one (BlueSC v2).
I may try and see if I can sneak out the Vivosmart review at the end of the week, else, first day or two of next week. In short, don’t get it for cycling HR (pretty much horrible), but it’s not too bad on running for me.
Thanks Ray, much appreciated.
She doesn’t cycle much so she wants it mainly for running and general fitness tracking.
The Garmin one uses a magnetometer I believe in the speed sensor and not an accelerometer.
is that basically a crape for you’re pizza dough?
No, you can buy pizza dough that’s sorta rolled up. It’s just over 1EUR per pizza. Simple and easy!
If you ever need to cut PVC again, get a pipe cutter like one of these:
link to google.com
Also, include me as wanting more info on the chocolate painting thing!
This chocolate painting thing looks awesome!
That chocolate painting is awesome or was awesome.
I’m impressed you figure the whole crank/power meter(s) configuration stuff and being able to use them all, pretty amazing.
Thanks for sharing your weekend – Wishing you and the girl a great Christmas/New Year!
Hi Ray
Wish to know that I saw your post about First Ride of PowerPod.
So are you going to do PowerPod In-Depth Review anytime soon?
I wish to see that. Thank you so much. 🙂
Yup, I’ve started the review process, but given I’m travelling for the holidays, it’s not something that’ll be up immediately unfortunately. Sometime in January. Like most power meters, I usually ride for 30-60 days or so.
Ray,
I’m nearly scared to ask but are they American suspenders (UK braces) used to hold up trousers in place of a belt or UK suspenders (the holding up silk stockings type)?
Ray,
Curious here about your recovery, have you ever used tools like Normatec, Compex or MarcPro? Do you plan to make a post about recovery tech maybe next year?
“others like a Stages dual system”
So that’s confirmed as real/upcoming? Or is it like on the TdF that it was for select pros only?
Currently it’s selected Team Sky riders (+ others we probably don’t know about). But given they’ve got boxes for it now, I’ve gotta believe it’s only a matter of when, not if.