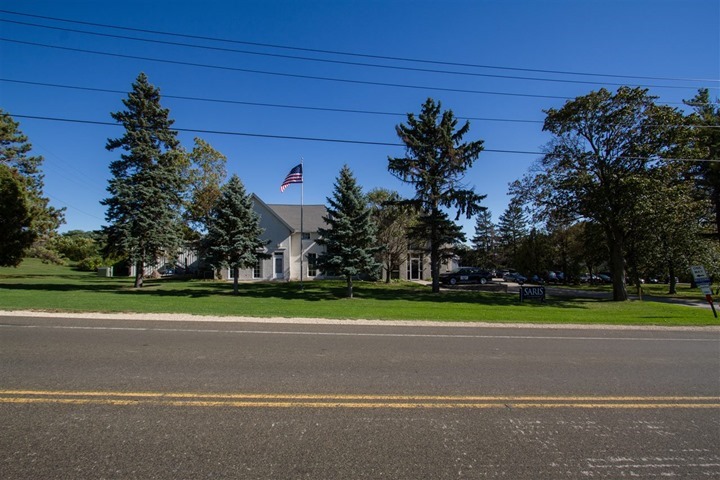
The night before arriving at the home of CycleOps I looked up the address on Google using Streetview, simply to know what I’d be looking for the next morning as I made my way over. But after the resultant imagery came back just like some sort of residential house, I thought to myself ‘Silly Google, got it wrong.’
Turns out, I was wrong – and Google was right.
Unlike most other companies situated in industrial parks or commercial office buildings, the Saris Cycling Group operates out of a converted 1850’s farm house rumored to have been used as part of the famous Underground Railroad. And, as I discovered for myself the next morning, when viewed from the street, it does indeed look just like a normal residential house:
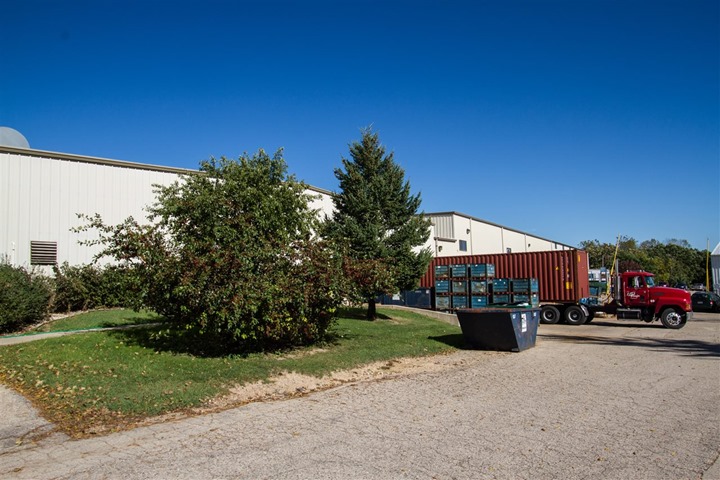
It’s not until you pull up into the main driveway that you get a hint of the football field sized buildings attached to the back of it.
But, let’s not get too far ahead of ourselves, as that’d be sneaking past the receptionist. Further, before we go too far I do want to call out that as usual, I paid for all my own travel expenses. Like most of my visits to various companies, I tie them onto existing trips I have planned, and this is one that I’ve been wanting to do for quite a while.
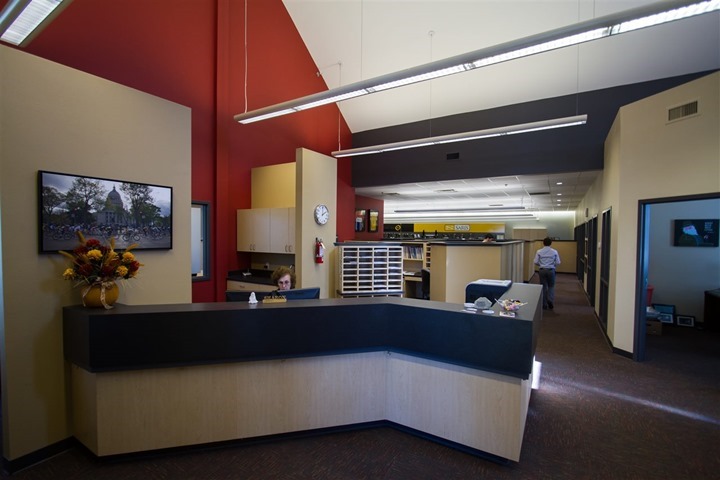
A look around the main offices:
Once you step inside the front door of the former barn, it really does feel very much like most other small office buildings.
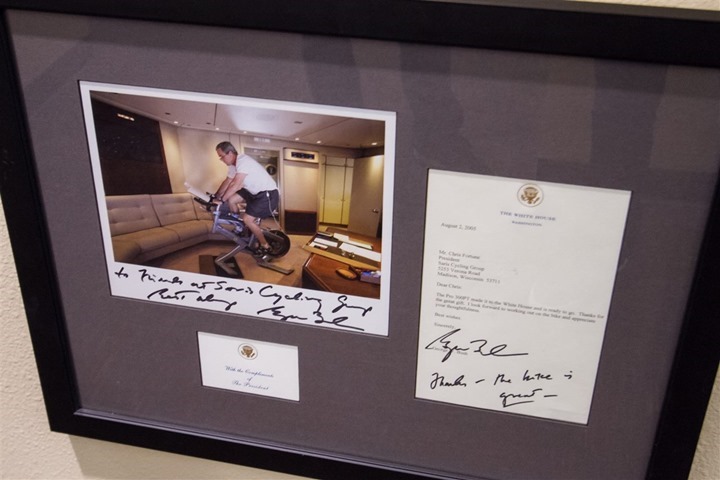
Like many companies, they have plenty of photos of charity events or famous people using their products. Though, unlike most companies they have a photo of the President using their trainer on Air Force One in-flight. Yes, seriously.
Also of note is that the very first PowerTap Mountain Bike hub actually went to President Bush as well, after he requested one be built (many know he’s an avid mountain cyclist).
However, fear not – they contribute equally to causes on both sides of the aisle.
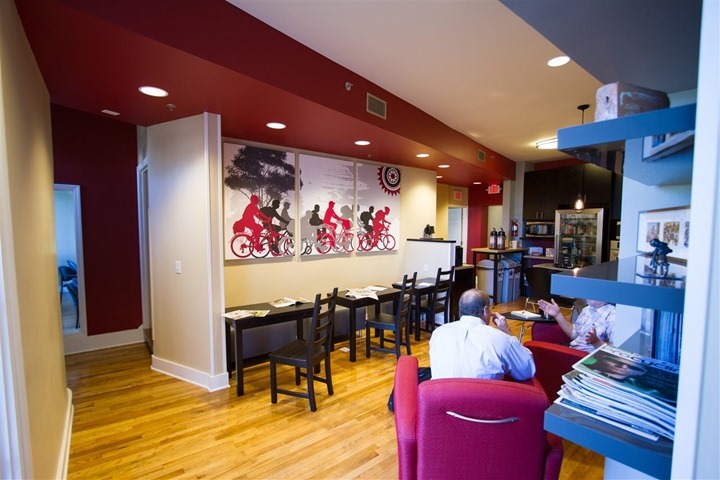
Around the corner they’ve got a bit of a lunch room, outfitted with plenty of cycling artwork. The wood floors in this room are the original wood floors from the 1800’s.
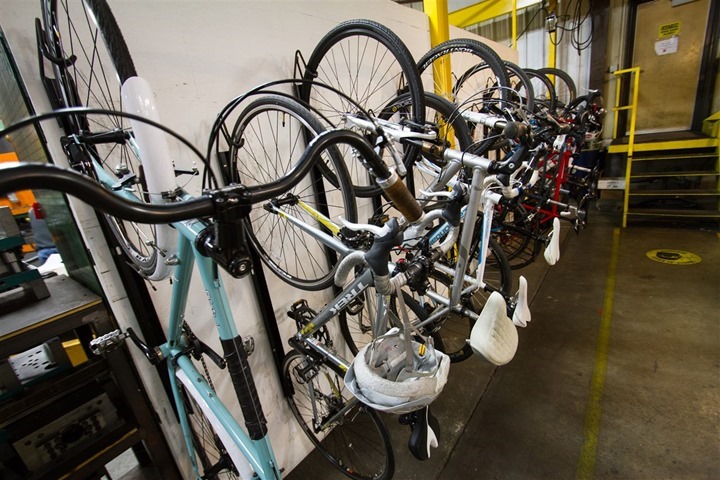
As you might expect, cycling comes pretty naturally for most at the company. They’ve got many employees who bicycle commute in daily. They’ve got numerous bike racks indoors for folks to stash bikes, as well as showers.
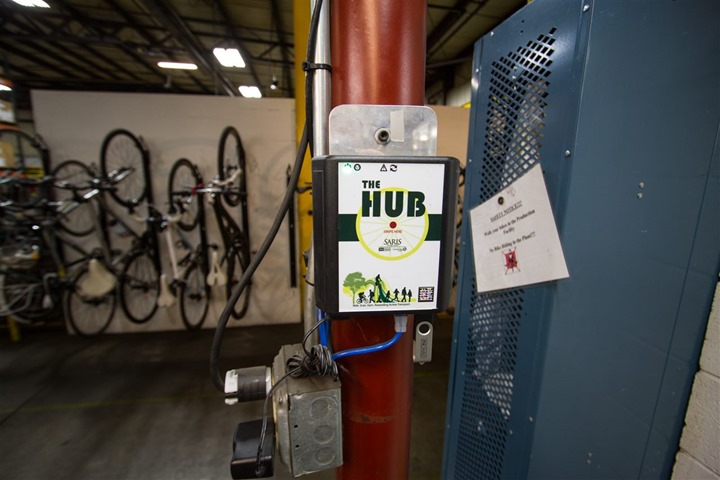
Additionally, they’re also working to promote their bike commuter system ‘The Hub’ which rewards folks for bike commuting with things like free plane tickets. You tap a tag (like at a gas station) over the system each time you ride in, and it tally’s it up and gives you points-based rewards. The platform was just launched in the past year, but they’re trying to expand it to local businesses and schools.
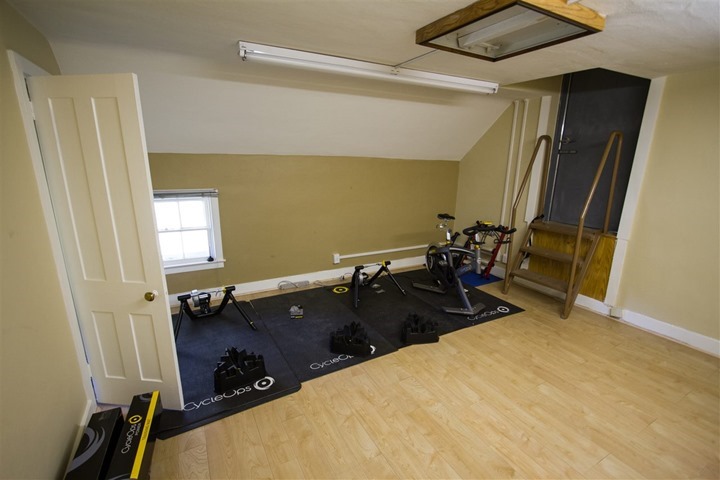
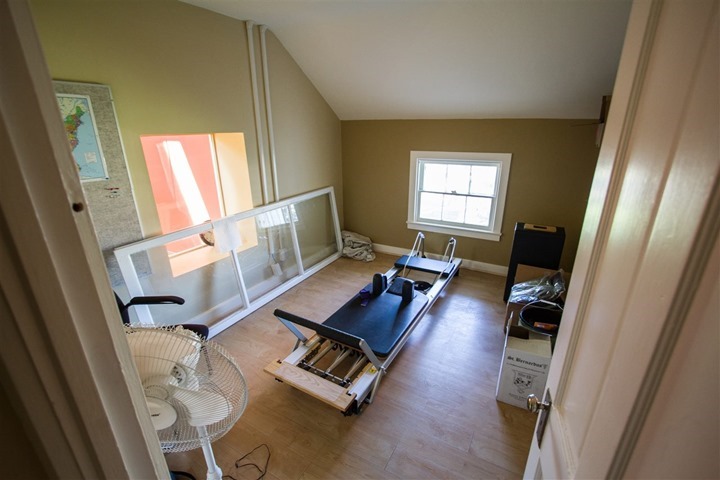
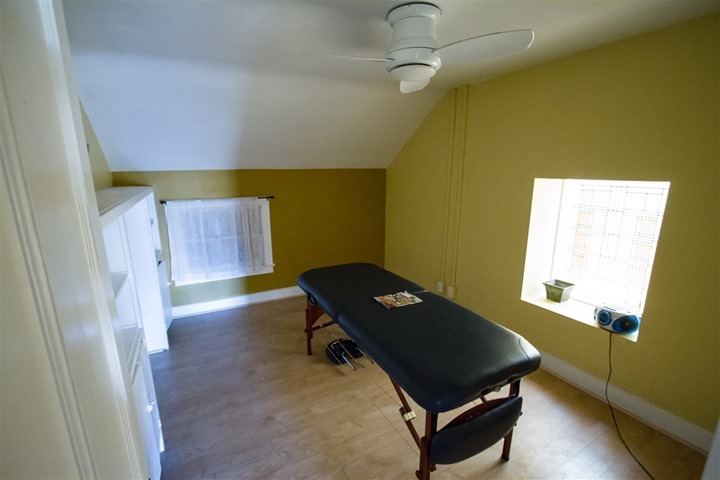
If you work your way upstairs to the top of the farmhouse, you’ll find yourself a smattering of rooms connected together acting as a makeshift mini-gym. You’ve got a ‘trainer room’ (TV’s behind me), then a Pilates studio, and finally a massage room for weekly free on-site massages. Regrettably, my visit did not appear to coincide with the free massages.
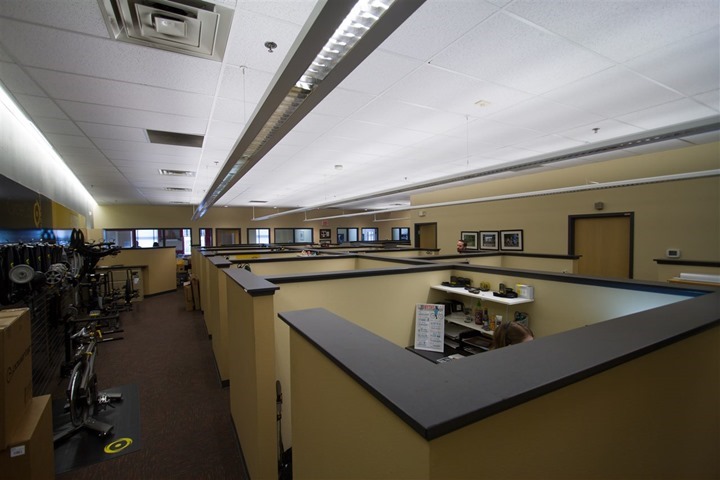
Heading back downstairs they have a medium sized cubicle office area, where most of the customer service folks hang out. What you see below is for the most part 80% of the office/cubicle space in the building. It’s not a terribly large cubicle-driven operation.
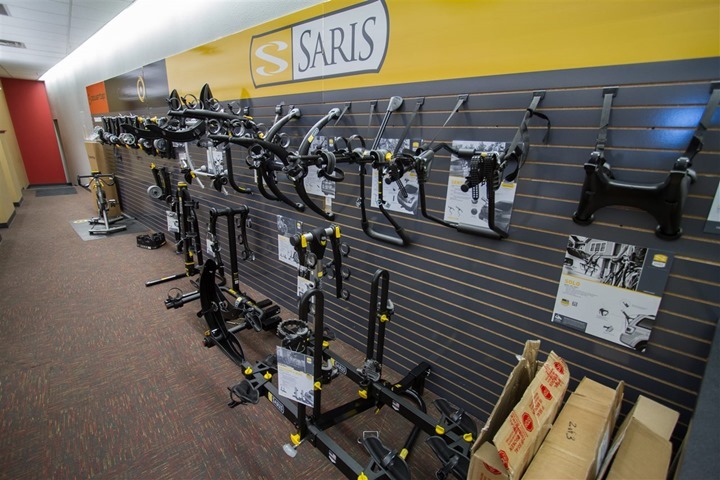
To the left is their wall of products – with virtually every current product there. This serves two purposes. One, to act as a pretty wall. And two, to act as a quick reference point if a customer service person needs to walk someone through a physical product while on the phone with them. No doubt most of the time they can do it from memory, but this can be useful to double-check some minor detail.
As you can see above, the Saris Cycling Group really covers four core areas:
1) Automotive Bike Racks (putting bike on car)
2) Stationary Bike Racks (i.e. bike parking)
3) Bicycle Trainers & Software
4) Bicycle Power Meters
Within that, it’s divided into three branded areas/organizations:
1) Saris: Bike Racks of all sorts
2) CycleOps: Trainers
3) PowerTap: Power Meters
I’ll walk through each of those different groupings over the next few sections.
In fact, about the only thing I didn’t have a chance to really cover was the mountain bike trail they built behind the building – complete with 27 roaming turkey’s. Turkey review this will not be.
With that, let’s head onto the factory floor:
Building trainers and bike racks:
As you’ll see here in a moment, virtually everything produced by Saris and CycleOps is made in Wisconsin, or within 2.5 hours of it, and then ultimately every product they sell is assembled in this building.
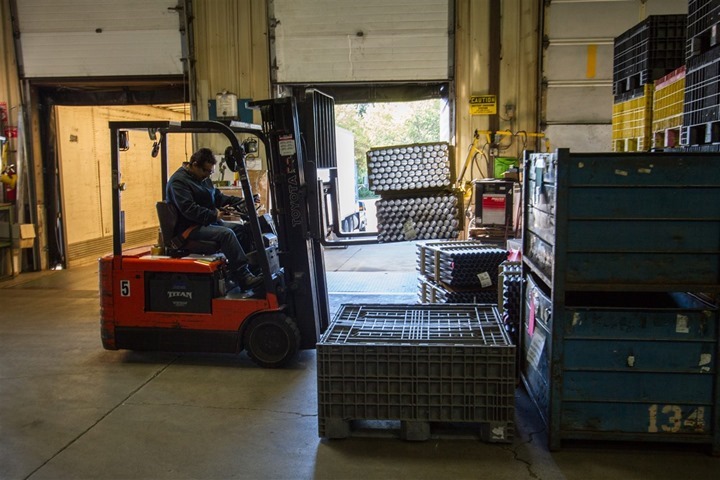
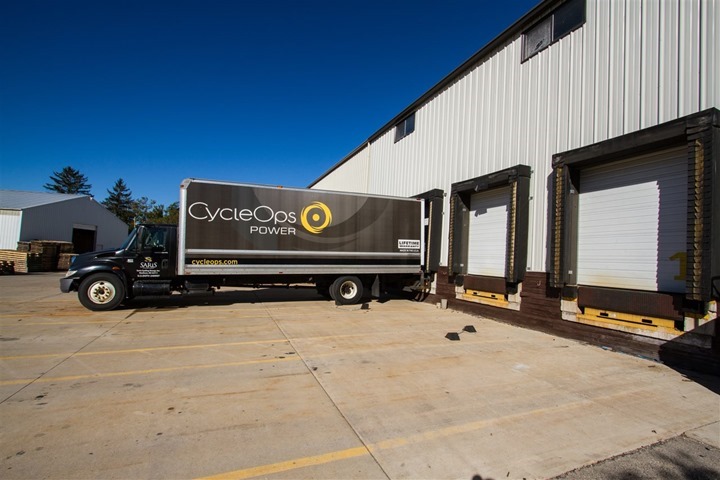
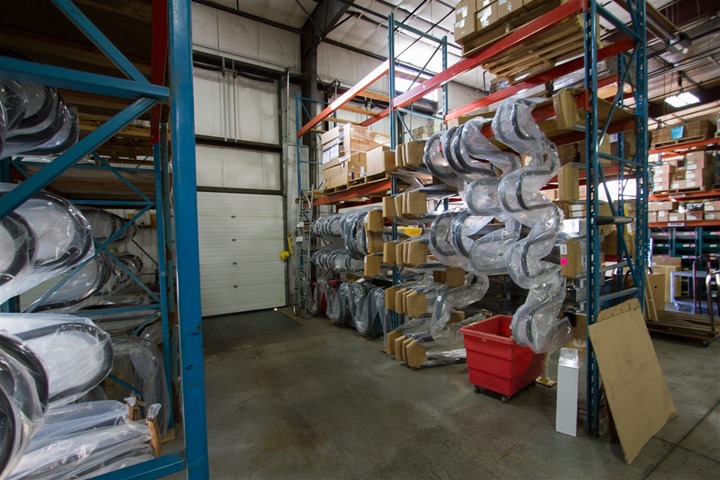
Starting with the components for trainers and bike racks, the raw materials are offloaded each day by truck to the factory.
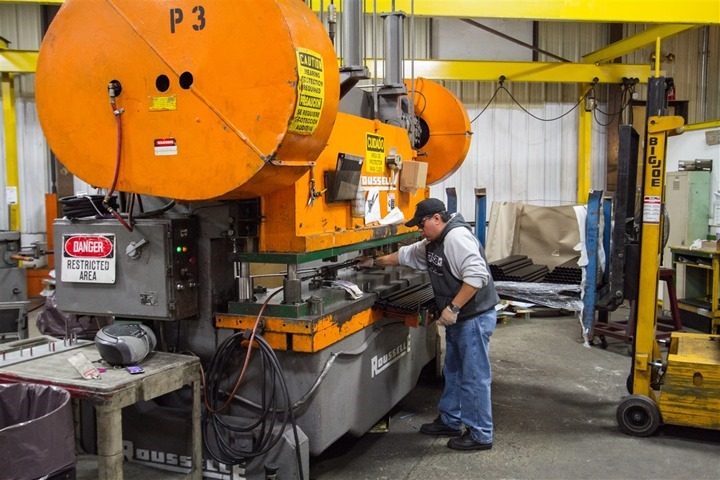
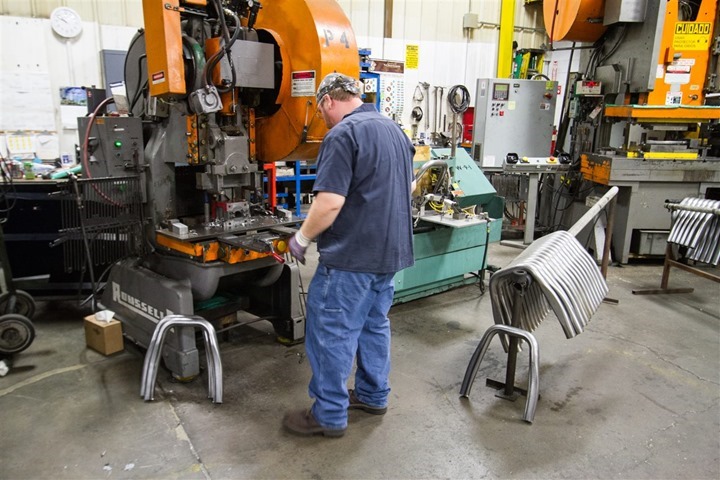
From there the metal tubes are placed into large machines and cut and drilled. Below you can see a tray of these metal tubes being loaded into the giant orange machine before having holes drilled and spit out the other side.
Below, frames having just been bent around the corner, are then loaded into this machine which also drills the holes.
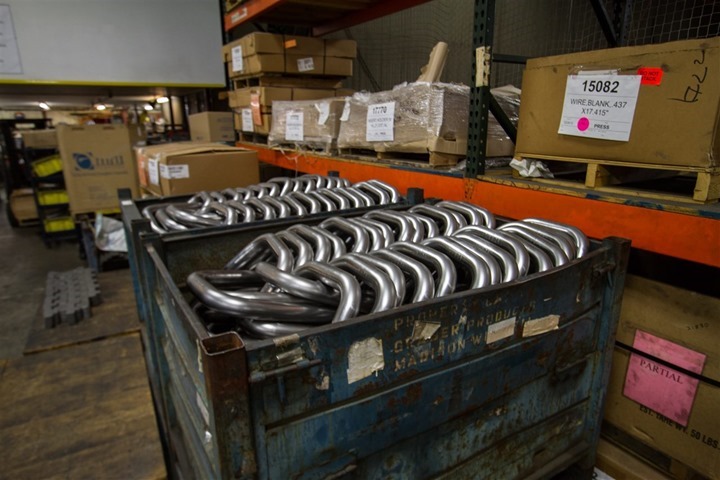
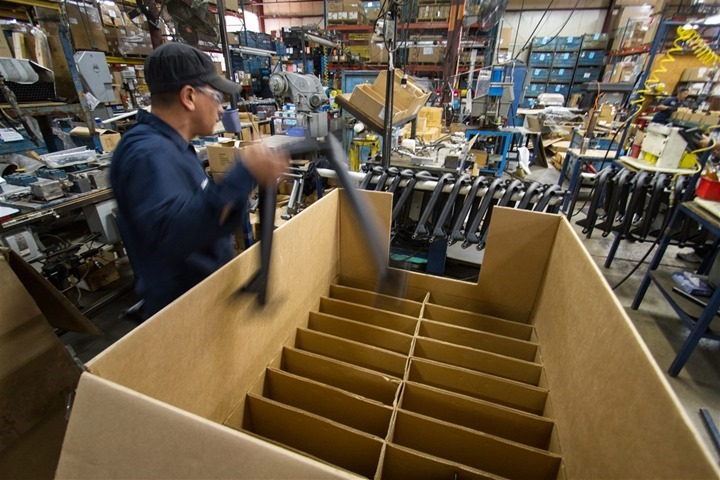
The man above is pulling the trainer stands from the bins below:
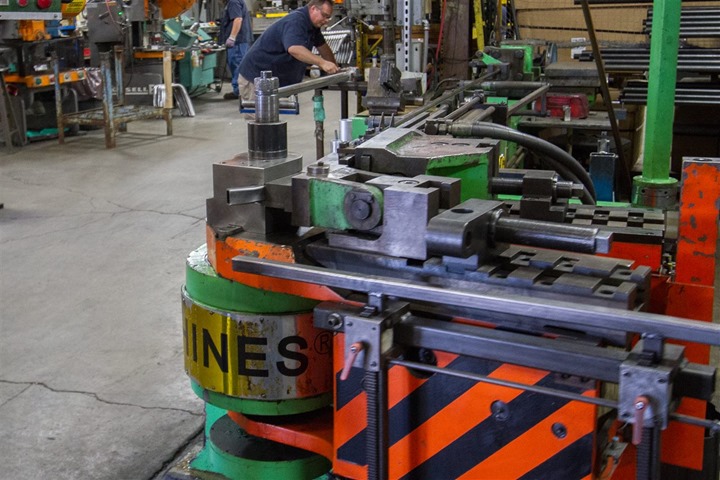
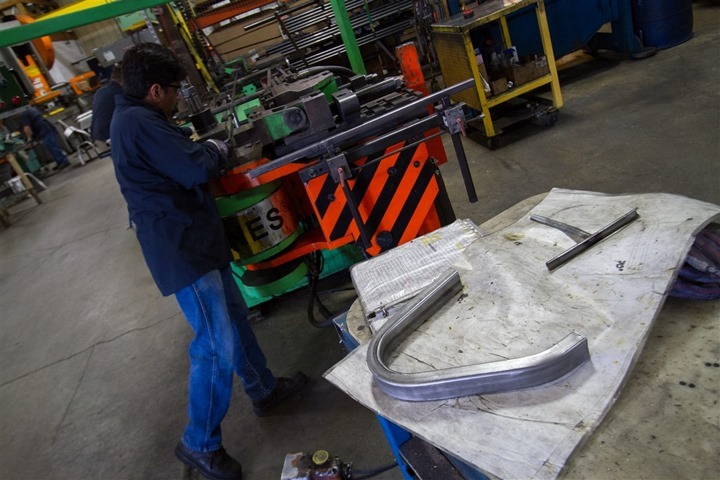
Around the corner the materials are bent using vehicle-sized machines which know the precise angles for each component, based on entry into a computer.
You can see one of the two frame pieces below after being bent:
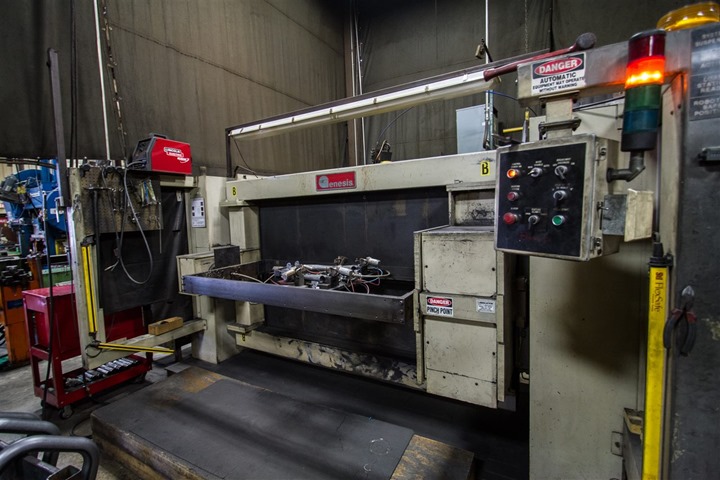
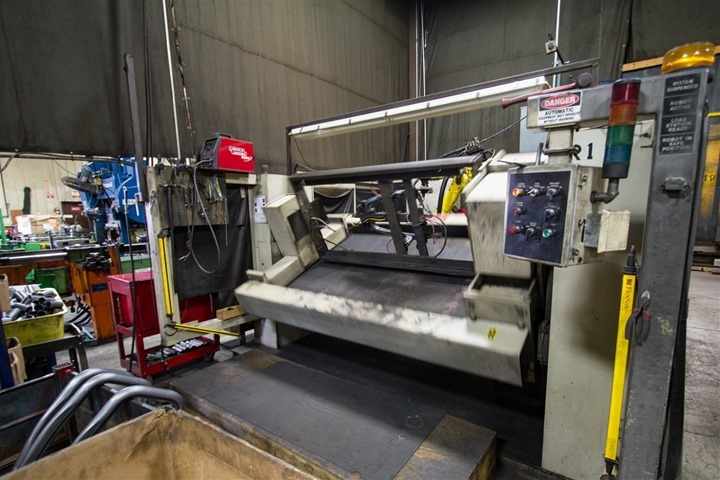
Next, the trainer stands are brought over to one of numerous automated welding systems. The metal pieces are laid down in the bed you see below, before being flipped over like an upside-down Ferris wheel to the other side where the welding occurs out of human view by a gigantic robotic arm.
When the robot finishes the welds, it’s flipped back over to this side where a worker removes the frame and inspects the welds before putting it into the bins.
Once the welding is completed, the metal parts are ready to leave the factory. Well, temporarily anyway. The single thing that the Saris facility doesn’t do is painting. It would cost them over $1,000,000US to build a paint facility onsite. Whereas instead they have local companies that can do it cheaply and at high quality.
So each day at noon one of two Saris trucks leaves the facility with all of the parts made from the raw materials you saw above. They then drive to a handful of companies – all within a 2.5hr radius of Madison, WI – and drop-off the components for painting.
Later that afternoon, the truck returns with newly painted components from the previous day’s drop-off.
Those components then arrive as you see below, painted and ready for final assembly.
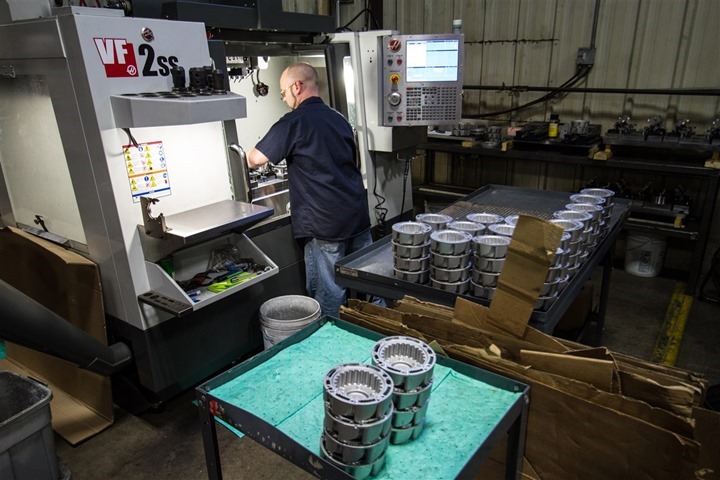
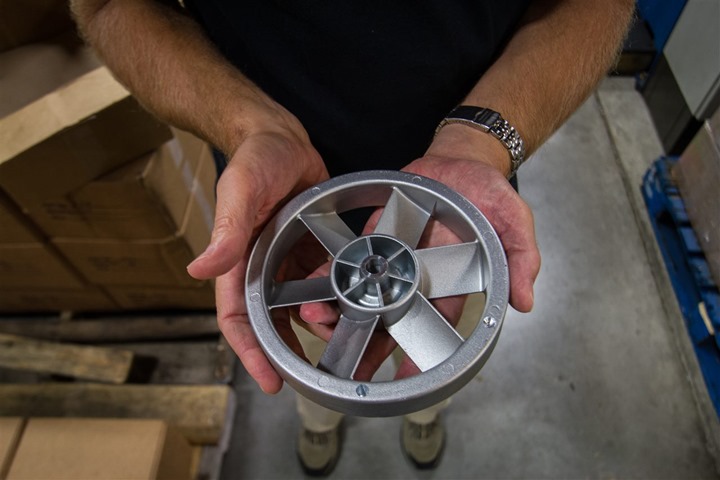
Final assembly includes pieces from a few areas of the building. First is all the frame components that you’ve seen thus far. Then they have things like the flywheel and resistance units. Below, the hubs are being machined and then cleaned.
Next, we have the flywheel.
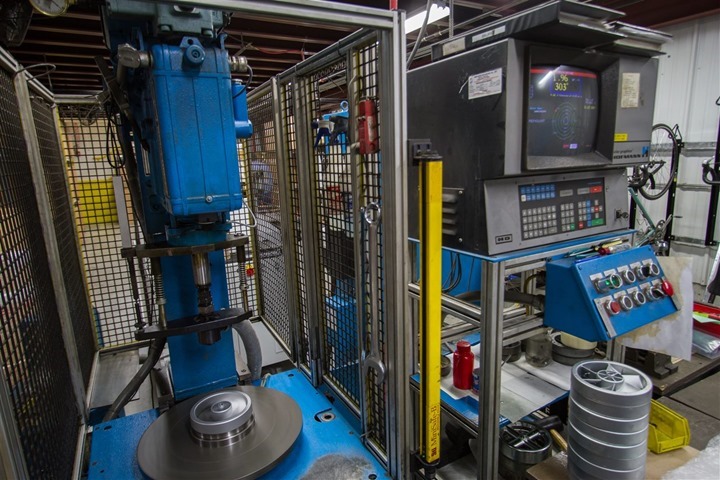
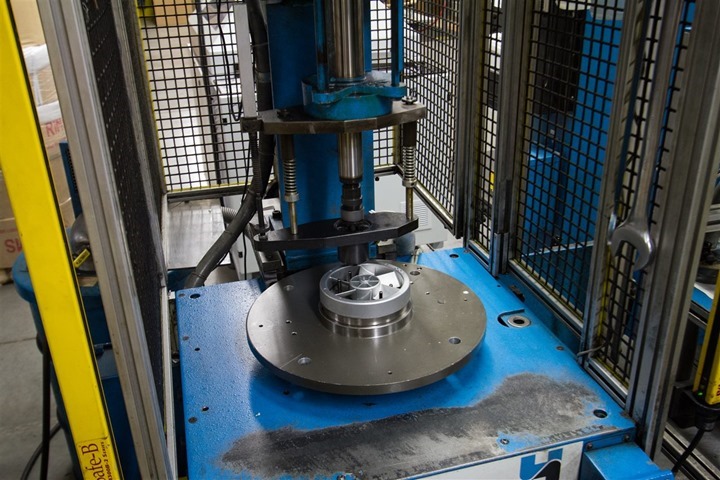
The raw flywheels aren’t quite perfect, so in order to rectify that they are spun at high speed on the below platter, which calculates any portion of the flywheel that might be off-balance. You can see the computer screen to the right calculating this.
To rectify the abnormalities, the unit then automatically drills tiny little bits out of the flywheel to even it out. The machine then re-tests it and continues until balance in the universe is achieved.
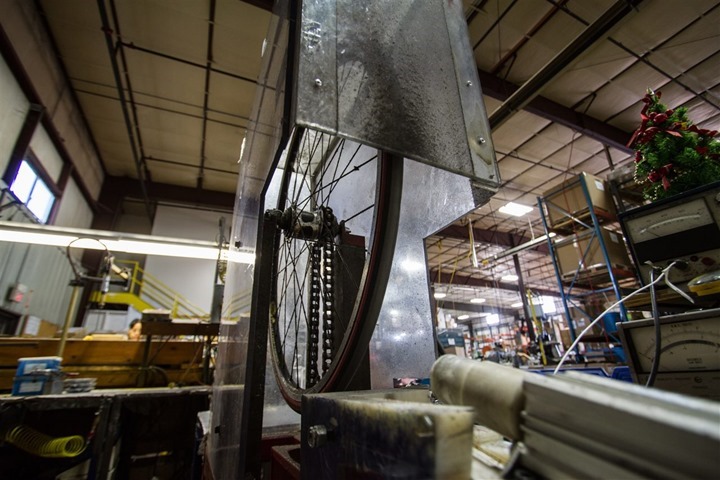
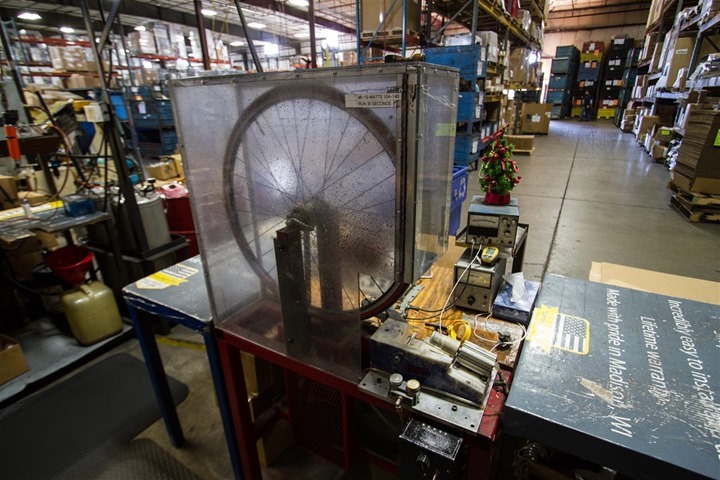
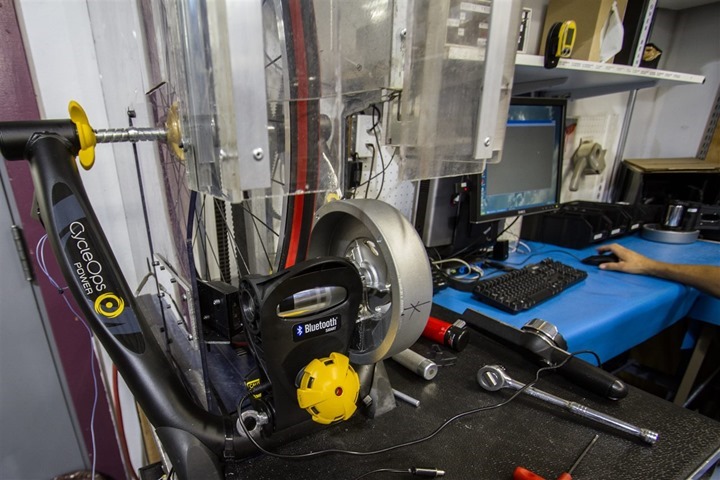
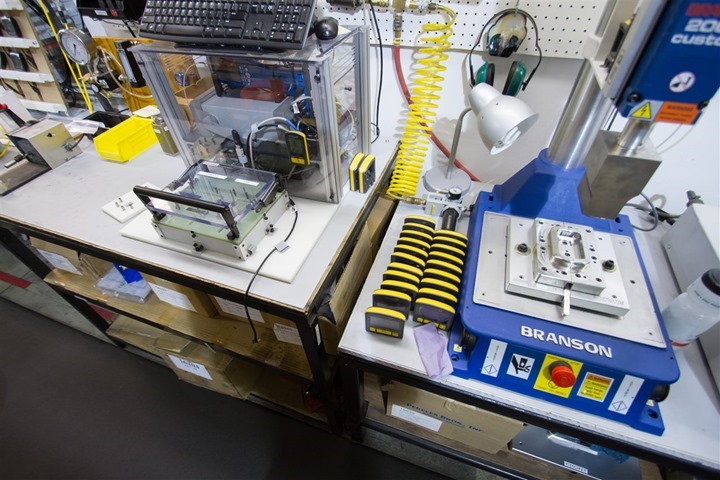
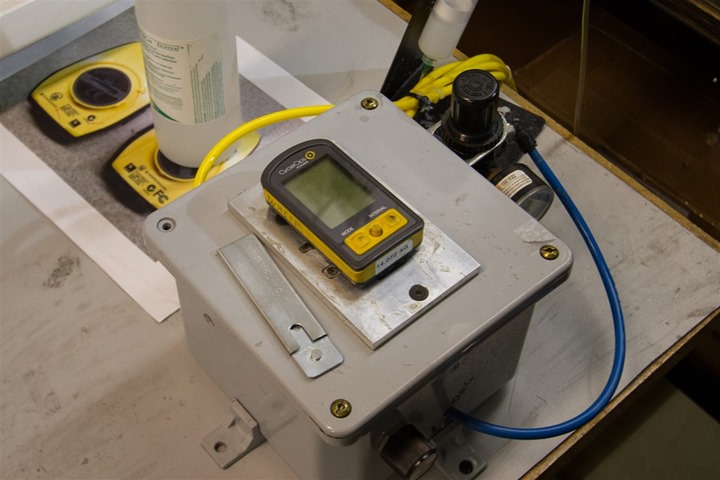
Next, before assembly, the trainer’s resistance units are tested to ensure they operate within spec. This occurs using a simple wheel connected to a PowerTap hub that you can see inside. Each unit is temporarily attached and the wheel is brought up to speed.
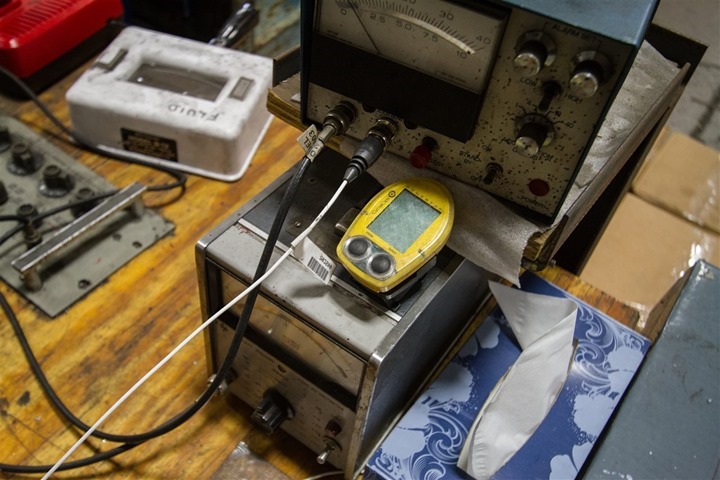
Off to the side, an operator will check it against a pre-established value for that trainer on their PowerTap head unit, known to most cyclists as the ‘Little Yellow Computer’ (LYC):
For the trainers with electronic resistant control units, the testing is a little more in-depth and a little more automated.
The test suite looks similar, but is instead controlled and verified by a computer software program. Interestingly they noted that as they’ve started to ramp-up production on the Bluetooth Smart trainers, this has required overhauling this entire process from a software standpoint, to deal with the different wireless protocols.
In fact, in order to take the below photo two engineers had to step aside that were actually testing the testing suite.
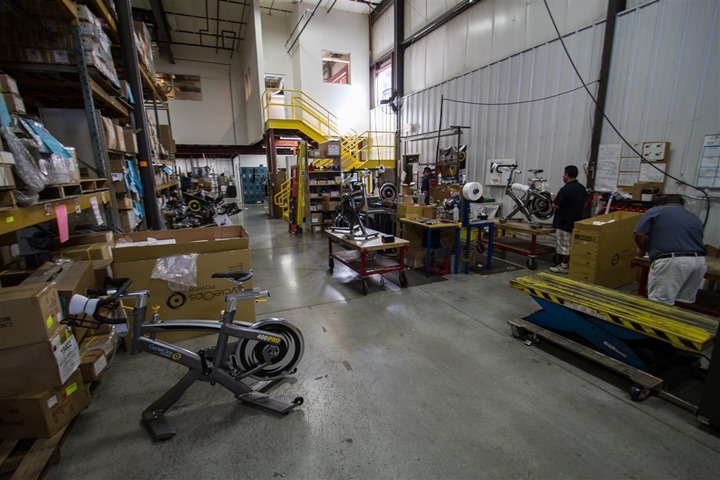
For the indoor bicycles, these are made in a much smaller area and are far more low-volume. The overall process is much the same though of components all being made in-house and then assembled at the far end of the building. Interestingly, each and every trainer is actually ridden on by one of the the employees, going through a quick validation to cover everything from component build to noise.
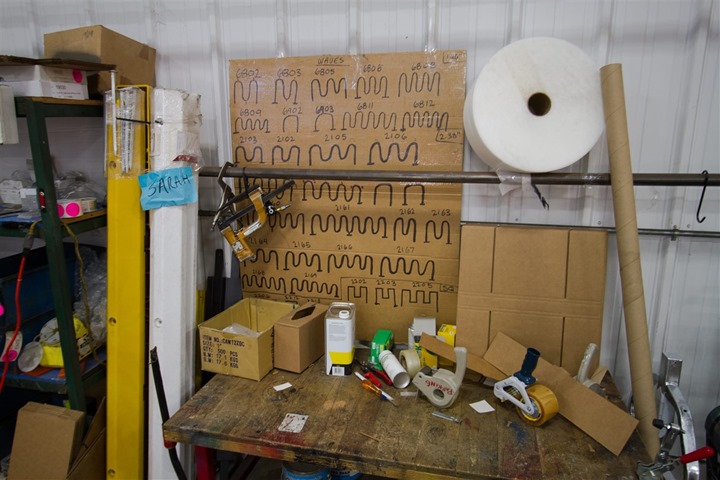
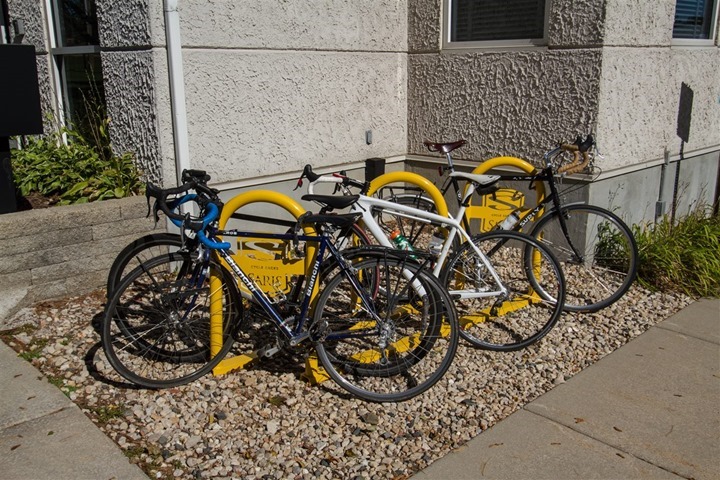
Before we get everything all packed up on the trainer side, I should briefly detour to outdoor bike racks. These too are made here as well, usually out of a single piece of metal bent and contorted into the various shapes and sizes seen below:
Then they’re simply packed up and ready for shipment:
Or, installation out front:
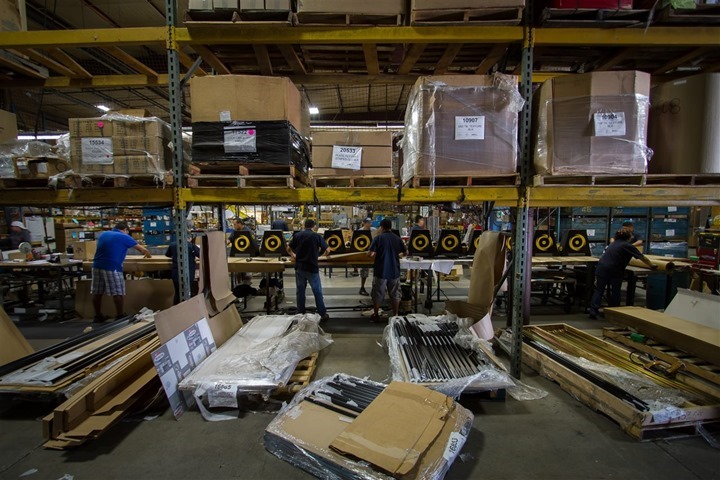
Finally, it’s time to assemble all those trainers and car racks. In real life, this happens in approximately four minutes.
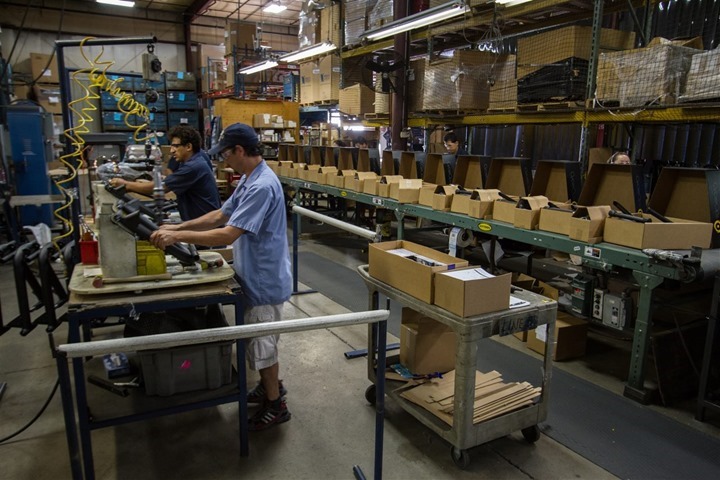
The bent and then painted frames are removed from the boxes offloaded from the trucks:
Then the frames have various nuts and bolt attached to them, before being placed into the moving assembly line you see to the right – containing manuals, misc parts, and packaging to keep them stable during transit.
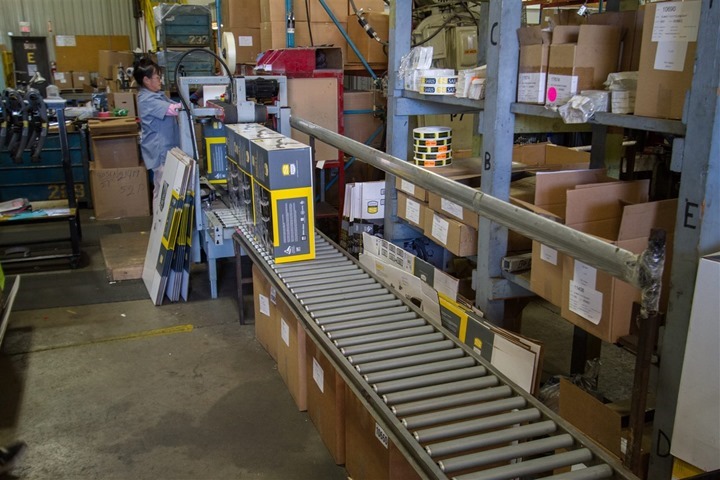
At the other end, both trainers and car racks alike are sealed up.
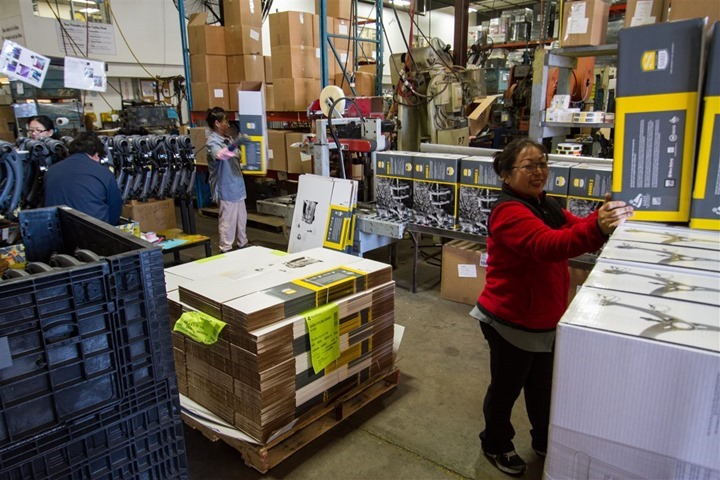
Finally, they are stacked and palletized ready for shipment out to distributors or retailers.
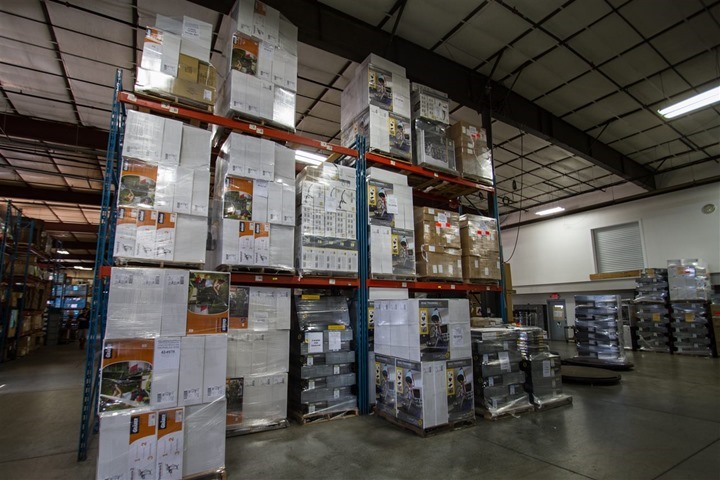
Below is everything that’s being shipped out this day – thus far – as of about 10:15AM in the morning. By the end of the day, plenty more will be here.
A couple of interesting and random notes about production. First up is that there are approximately 90 employees within the production facility, operating across two 8 to 9.5-hour shifts on 4.5 days per week. The first shift begins at 7AM and goes till 4:30PM, while the second shift then picks up and goes on till 3AM.
The goal being to finish production at noon on Friday, though sometimes that goes over in burst-periods – at which point the employees receive overtime pay. They noted they prefer the 9.5hr shifts as it allows them to burst if required to a full Friday without impacting employee home-matters such as daycare arrangements or the like.
Next is that factory employees at Saris typically don’t have a specific assigned job. Instead, they all start out at the same base pay level and then accumulate skillsets in a specific given area, raising their base pay. Each skillset may sound tiny and trivially different, but ultimately enable a person to move from building trainers in the morning to building car racks in the afternoon.
Skillsets aren’t as broadly as just ‘build a trainer’, but rather much tinier such as handling a specific component material. Each skillset task area may increase pay 10/cents/hour, with the goal being for an individual to accumulate as many skillsets as possible – sorta like achievements on a gaming platform.
Finally, they are paid bonuses on net units built as a team, rather than as an individual. They are specifically rewarded with bonuses in finding ways to increase productivity through new tooling or procedures, rather than simply adding human power. It was noted that they have incredibly low turnover of employees, which seemed to jive with my discussions with many of them having been there a decade or much longer.
How to make your own PowerTap in 22 easy steps:
No really, it’s actually quite easy. In fact, I built one myself. In writing down all the steps this morning, I’ve totaled 22 assembly steps in the process to build a PowerTap hub from base components, though I’ll save you photographic proof of some of those steps.
Now the PowerTap is a bit different in that they aren’t making all the components here onsite. Instead, it’s more of a final assembly process, with different components coming from different (mostly) regional suppliers.
While I did indeed build a PowerTap hub (and wheel), I first watched someone else do it before playing Simon-says.
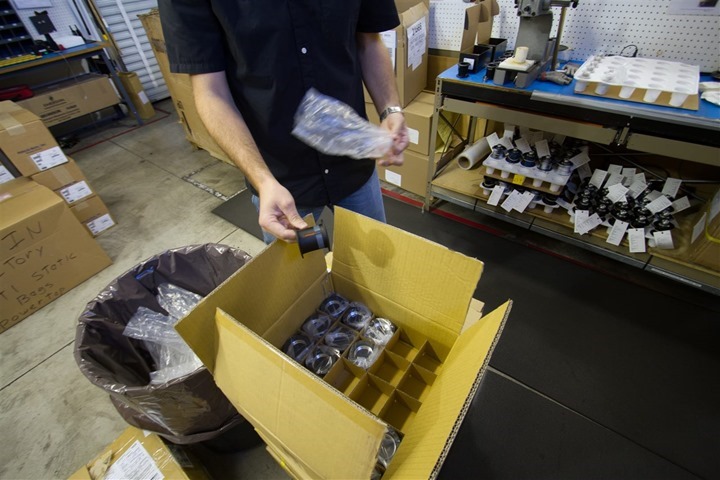
First up is removing an outer PowerTap hub casing (below from box), and then grabbing a torque tube (in the white tray to the right). The torque tubes are really where the magic happens in the PowerTap and include the all-important strain gauges. These are made in Asia and then shipped here for final assembly.
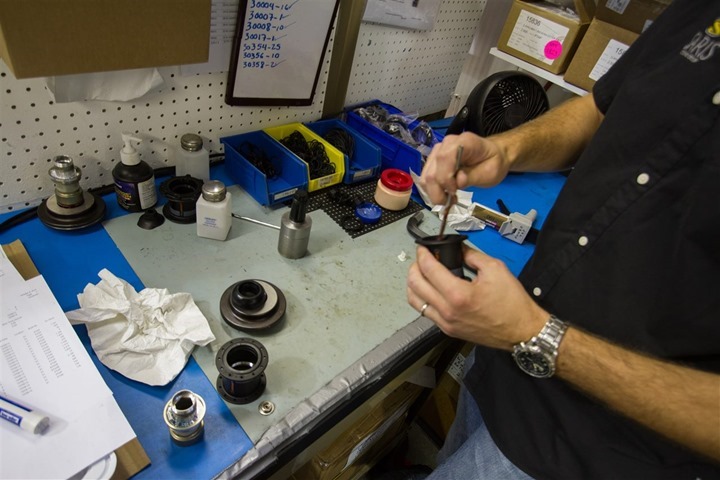
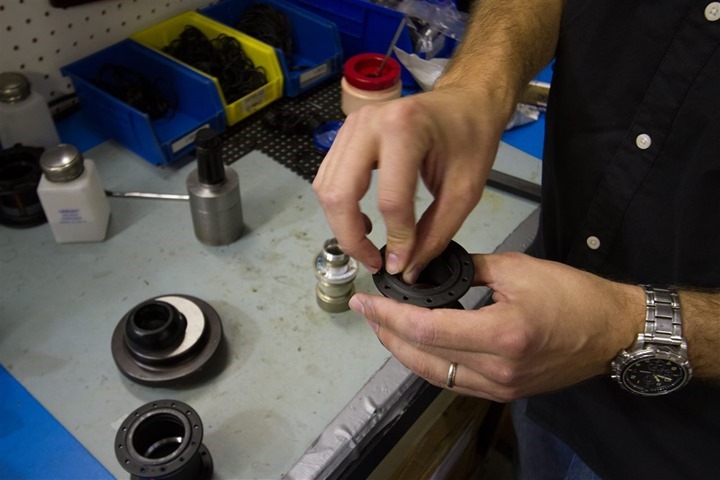
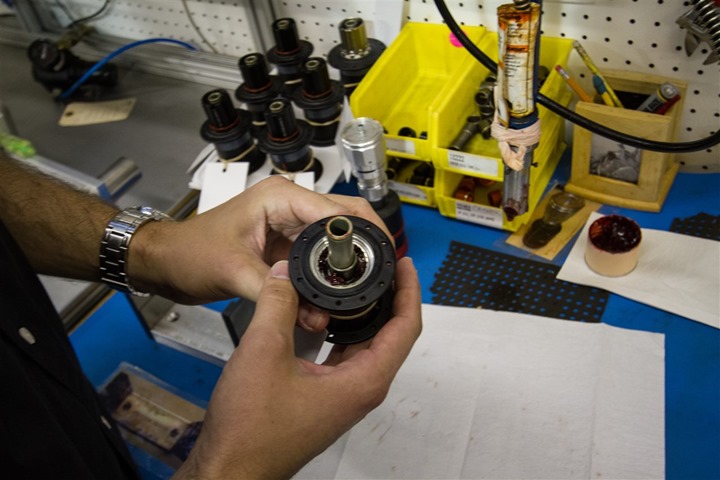
Next, you’ll grease the threads of the inside of the casing:
Then comes a quad-beveled o-ring placed on the inside of the casing:
Next the torque-tube is validated to ensure it complies with the sizing standards (before assembly). The tube is dropped into a rather snug mold. If it doesn’t fit, one must acquit.
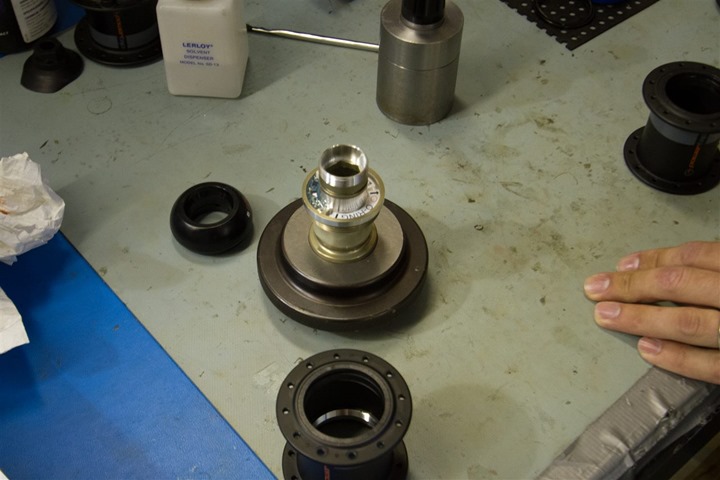
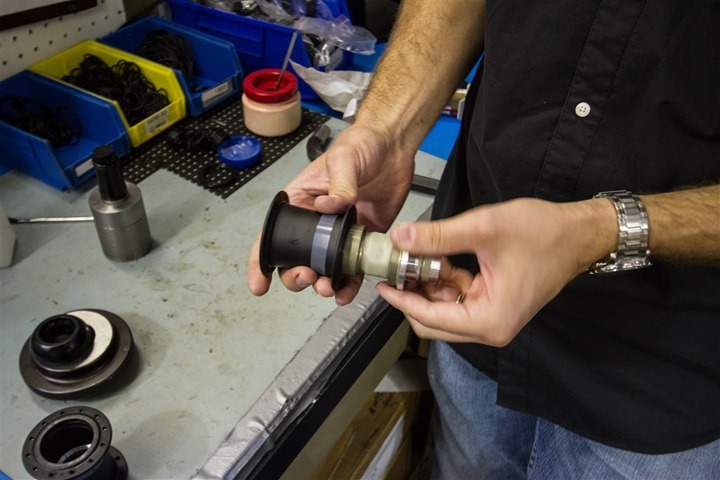
Next, the torque tube slides into the casing:
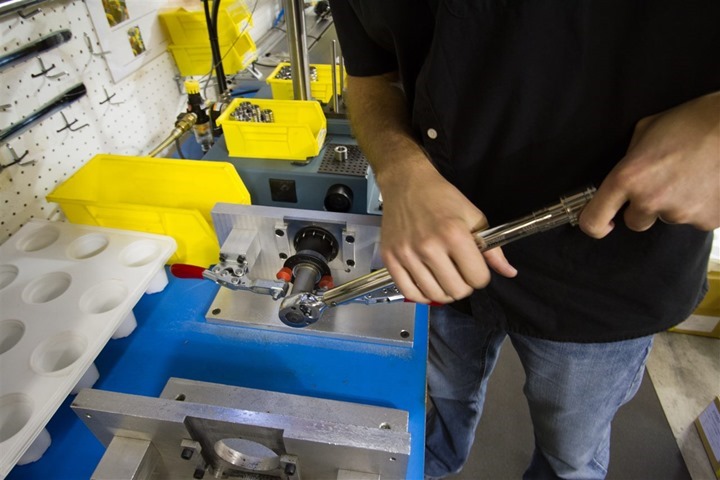
After giving it a couple of spins to hand-tighten it, the unit is plopped in a stand and a manual torque-wrench is pulled out. The inside torque-tube is tightened to 60-foot-pounds of pressure.
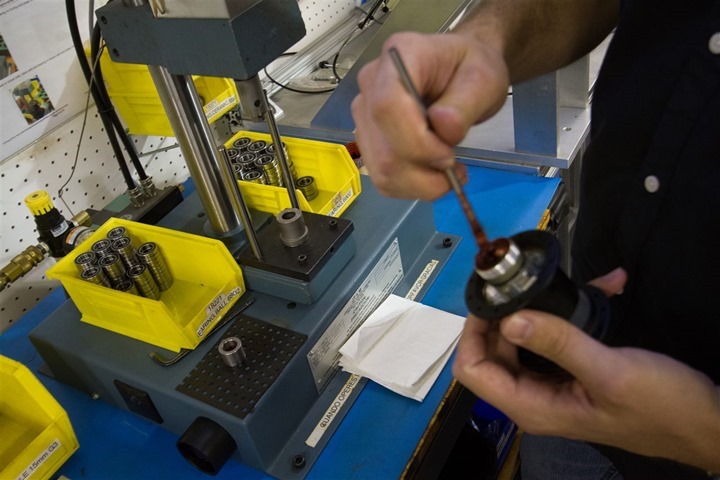
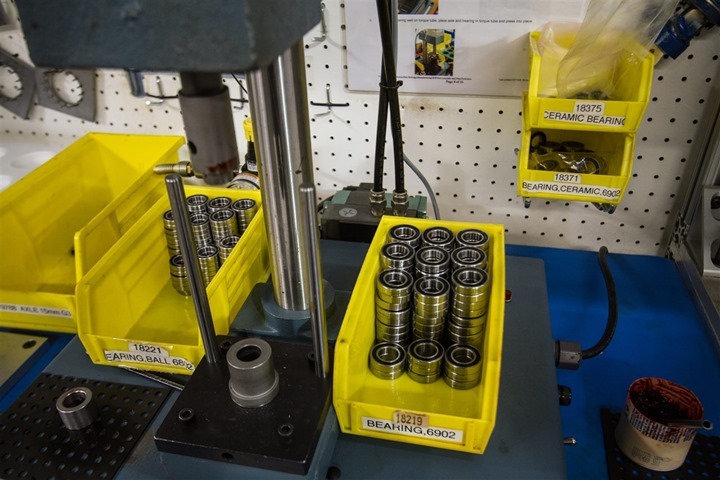
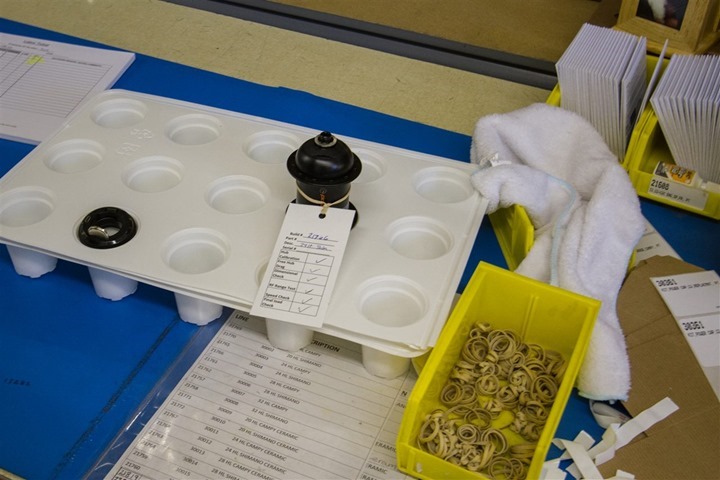
Next, the unit prepares for bearing and axle installation. You can se the bearings off to the side in two little buckets. Meanwhile, the unit is greased once again.
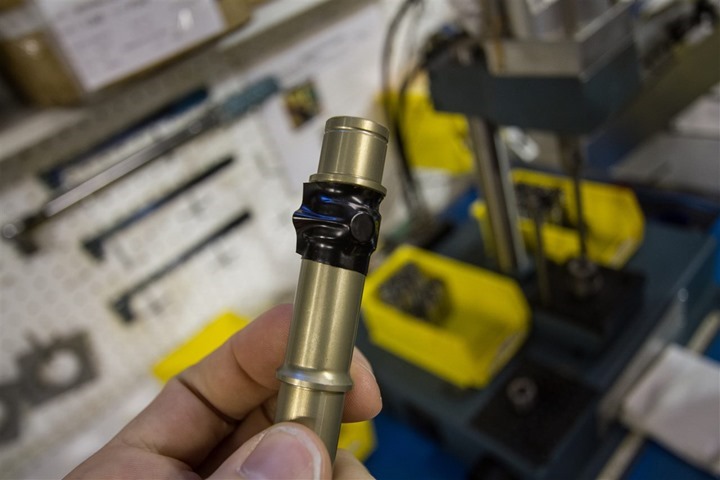
After grease is applied, the axle is added. Below you can see the magnet on the inside of the axle, which is used for measuring wheel speed inside the hub.
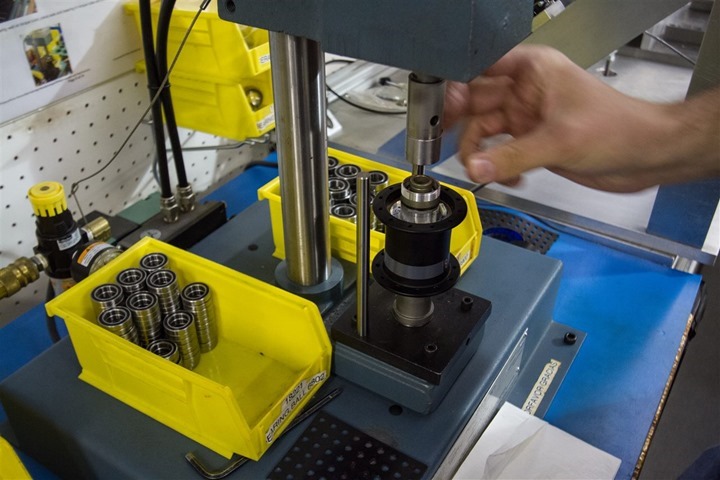
After placing a bearing on one side, the unit is placed into a machine that presses the bearing into place.
The unit is flipped over and done again for the second bearing on the opposite side. Interestingly, the only difference in the entire installation between the traditional bearings and the more expensive ceramic bearing option occurs here. It’s as simple as whether you grab a bearing from the container on the wall, or one next to the machine. That’s it.
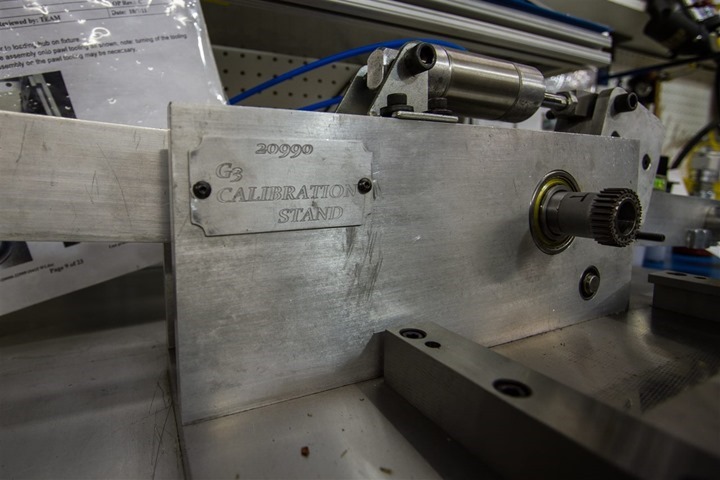
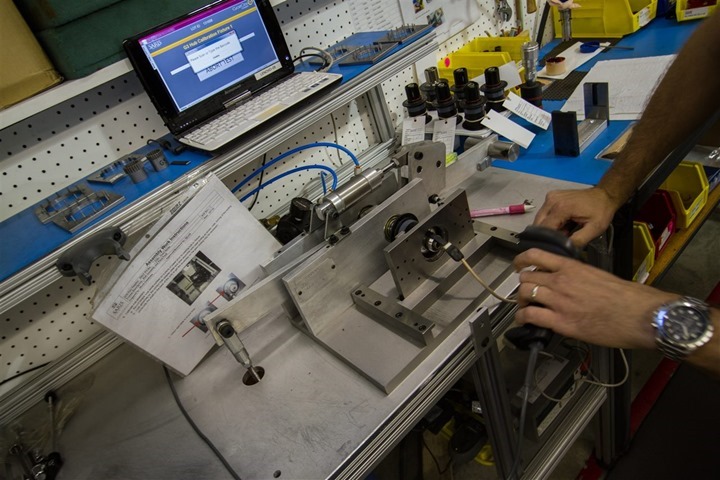
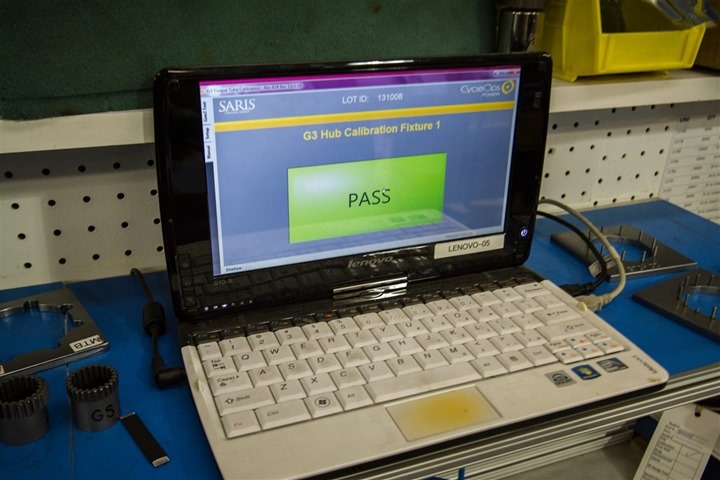
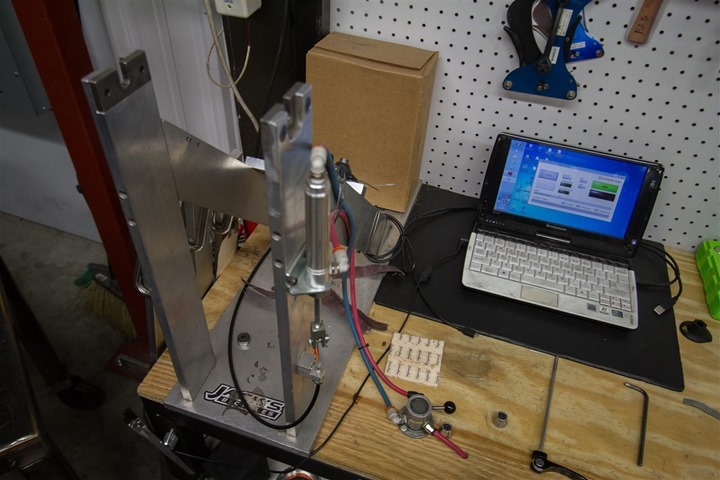
Next the unit is placed into a calibration stand that engages the hub as if it were a wheel. A wire is connected to the connector on the side of the hub (where the electronics pod would normally go), and the test suite runs through a number of calibration steps – ultimately validating and programming the initial load on the power meter.
The goal here being a nifty green box:
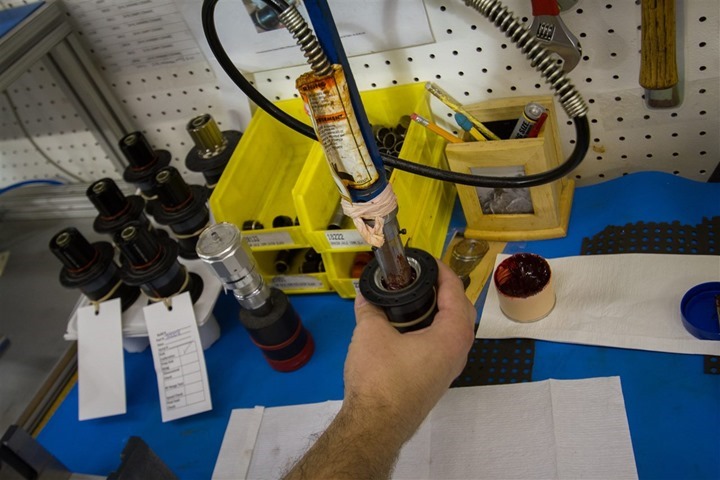
Next, more grease is added. This time via a sweet grease gun.
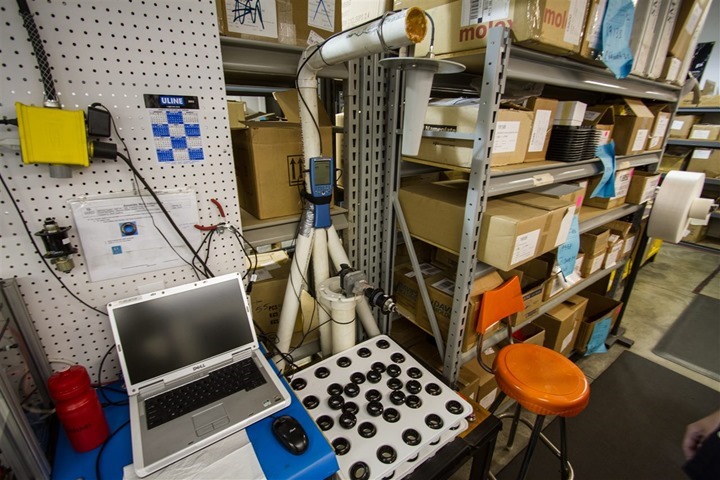
Following grease gun injection you simply twist on a spacer, the free hub, and the finally the electronics pod. Now before the caps are added, they are initially tested one at a time to validate that they have the same signal strength across a 360* rotation. What you see below is the testing station for that. Each cap is connected to a PowerTap hub, and then the upside-down ice cream cone you see above them measures that as the machine rotates the cap. Obviously, as your wheel rotates on your bike you don’t want drop-outs.
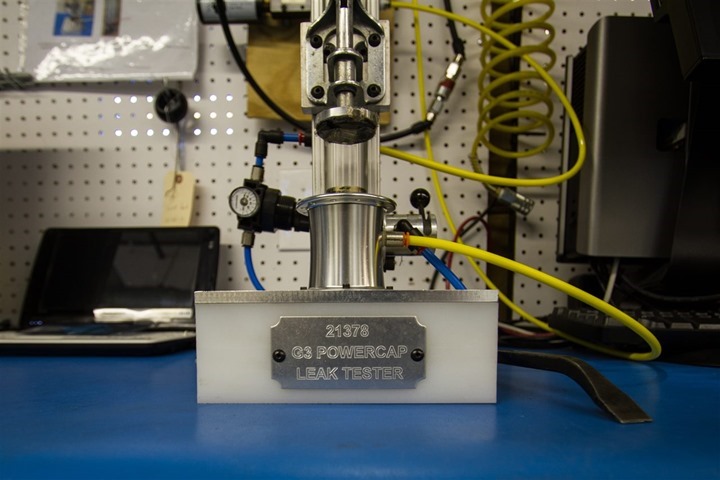
Additionally, each cap is individually tested for leaks, via this machine which utilizes air pressure to identify any caps which exhibit leakage.
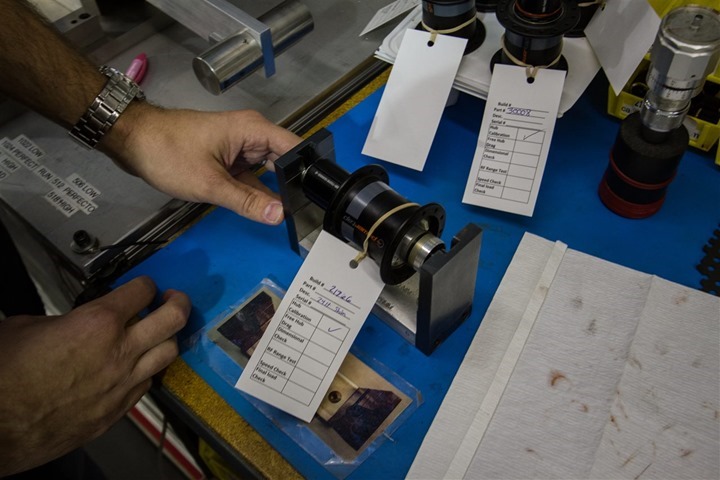
Going back to production, the assembled unit is then placed in this small stand to ensure proper width. If it doesn’t fit, something went wrong somewhere.
Then, the hub is tested for drag. This is to ensure the unit/freehub contributes less than 6-inch-ounces of drag onto your wheels.
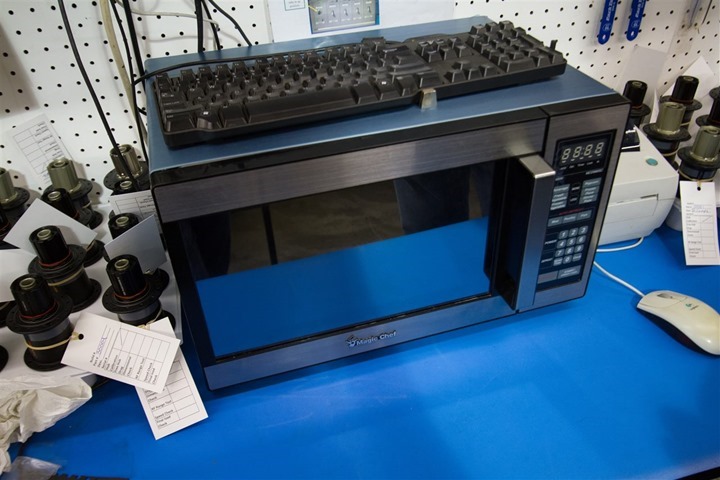
Following drag validation, it’s time to microwave the baby.
Yes, I said microwave.
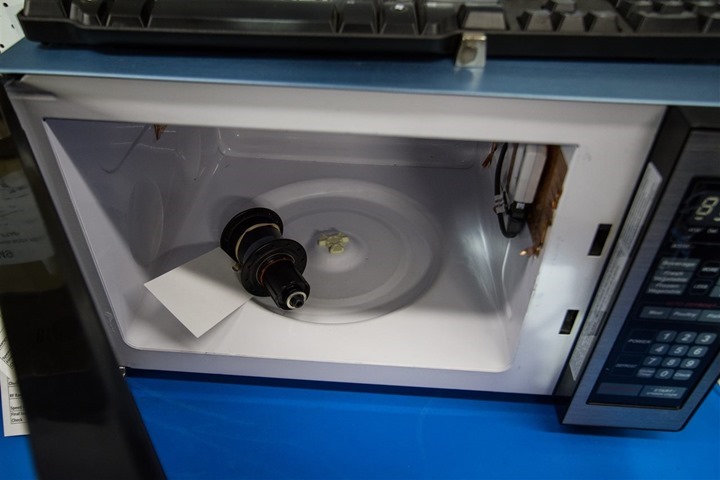
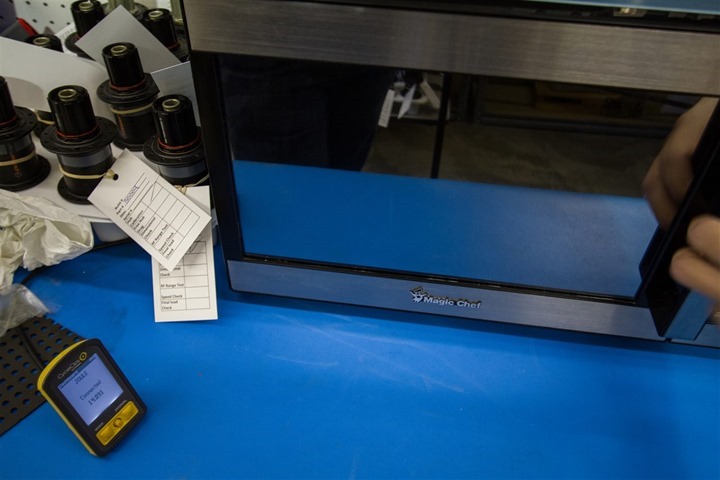
The (powered-off) microwave acts a perfect faraday cage, blocking out all other electronic signals – enabling them to complete pairing.
Units are pre-paired depending on what a customer orders. For example, if you order a PowerTap with a Joule unit, it’ll come pre-paired out of the box. This all occurs inside the microwave.
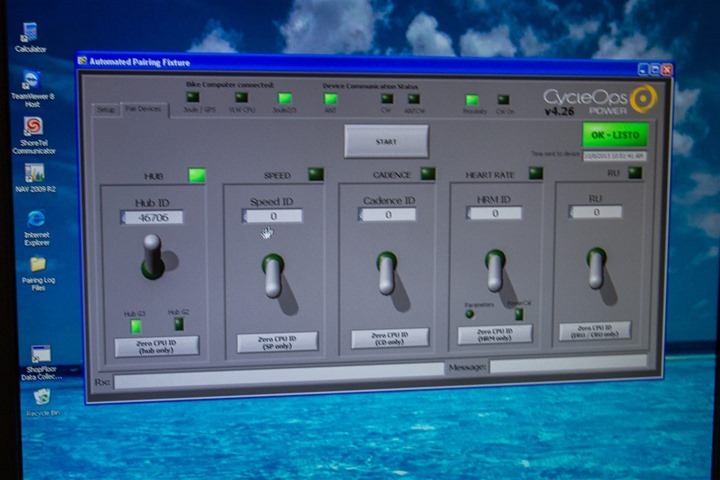
The Joule in question is connected via USB to a computer, which in turn has an ANT+ stick stuck into the microwave. A program then will automatically pair the Joule to the appropriate sensors. As you can see below, multiple sensors can be added if purchased as a bundle.
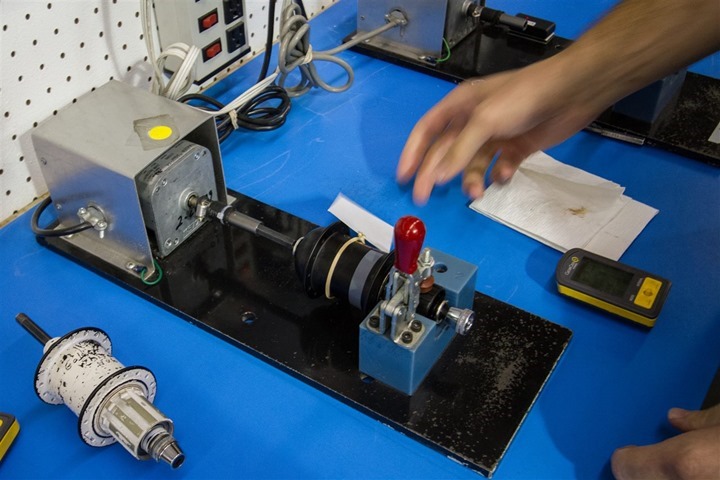
After removal from the microwave it’s time to test the speed and torque (power measurement) of the unit. The PowerTap Hub is first placed in this frame which will spin up to 8MPH for a period of 1-minute. They’re looking for any variations or abnormalities of speed in this test (dropouts, changes, etc…).
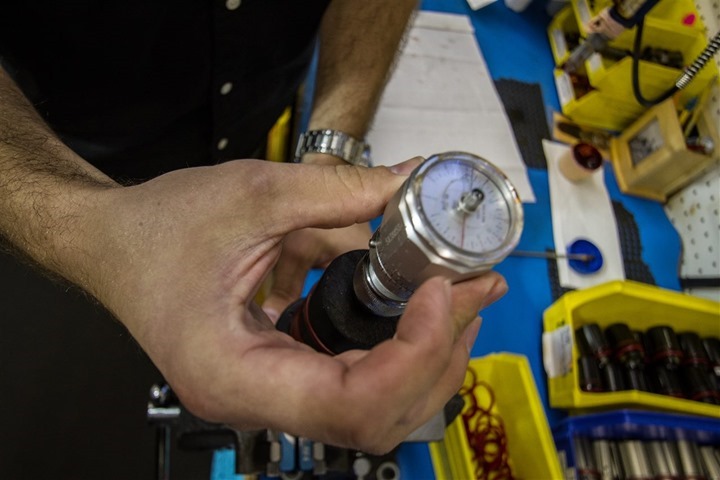
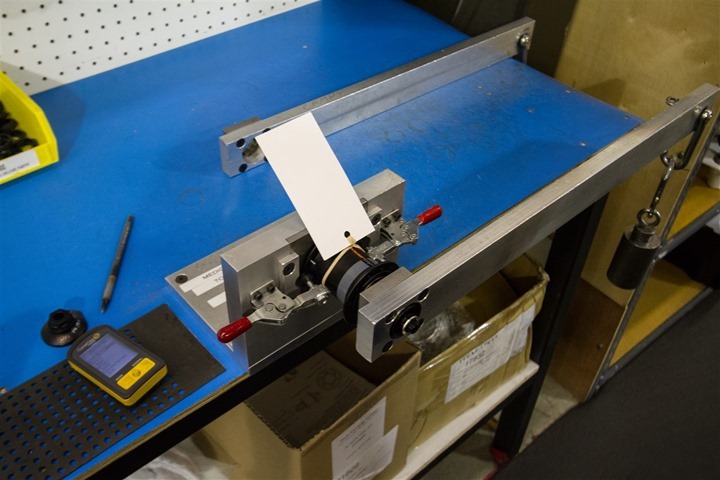
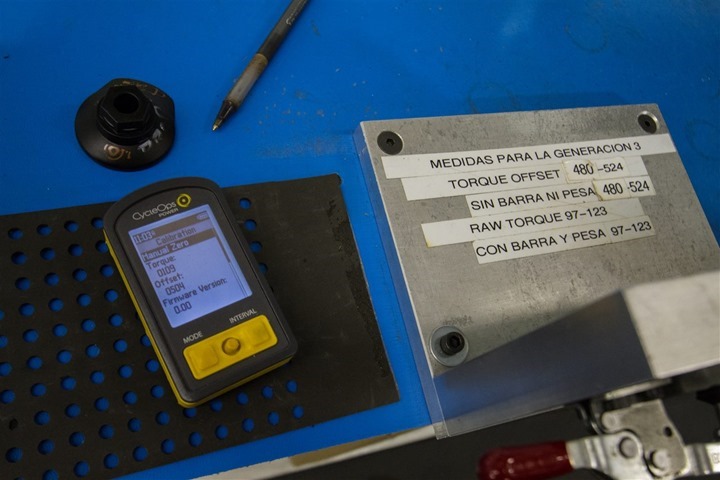
Then the hub is moved a foot to the right and first the unit is manual zero’d to validate it shows no torque. Then a weight is hung from the hub and double-checked against pre-defined specifications.
In this case, you can see the torque value at 109, which is inch-pounds, which is within the acceptable range of 97-123 inch-pounds that ultimately produces their stated accuracy level of 1.5%.
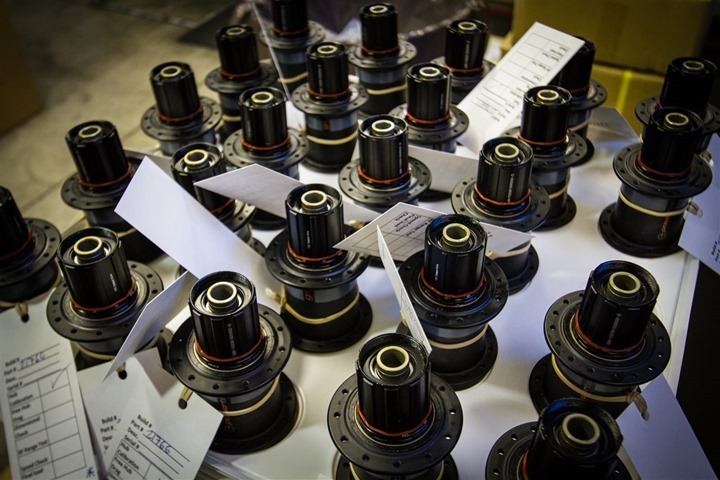
With that, the build of a hub is completed and placed into a large tray – ready for the next step in their journey.
At this point the hubs are either boxed up if being sold as individual units, or they journey down a set of stairs to get added to a wheel set (most common).
They have a production capacity of creating up to 300 PowerTap hubs per day, but of course, actual production would be less than that (and is the secret number that everyone in the power industry wants to know). Like most products Saris produces, there are seasons and low seasons, and the products fluctuate based on that.
Going from PowerTap hub to PowerTap wheel:
The majority of PowerTap hubs these days are built as completed wheel sets. Up until last spring, the process to build a wheel set from scratch took about 20-30 minutes per wheel. Now, that process takes 5-10 minutes through automation. Here’s how it all goes down.
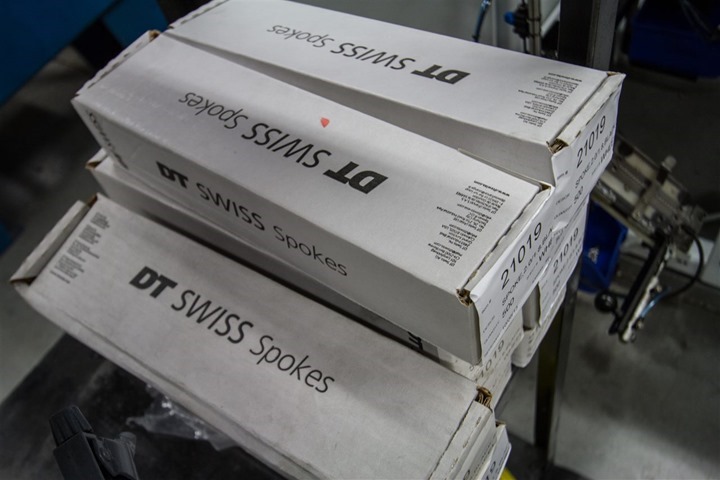
First up, are the spokes:
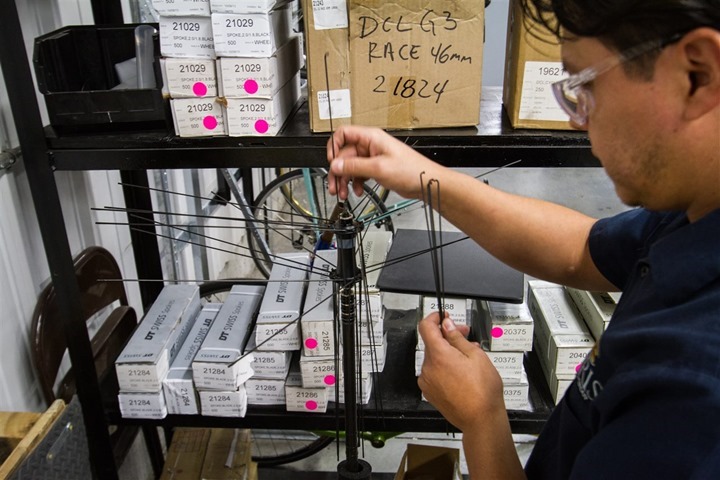
The operator manually adds these spokes to the hub, in the below case – the front wheel hub of the wheel set.
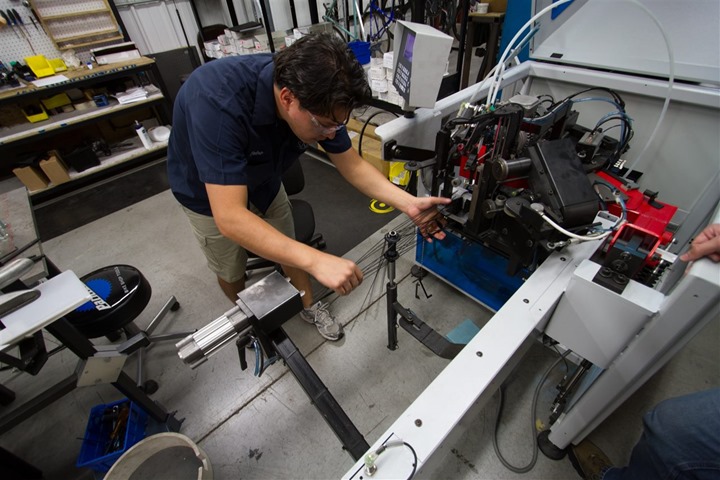
Next, the hub is placed into the wheel building machine. Note how in this photo the spokes are roughly perfectly level. A few have naturally fallen vertical, but are otherwise straight.
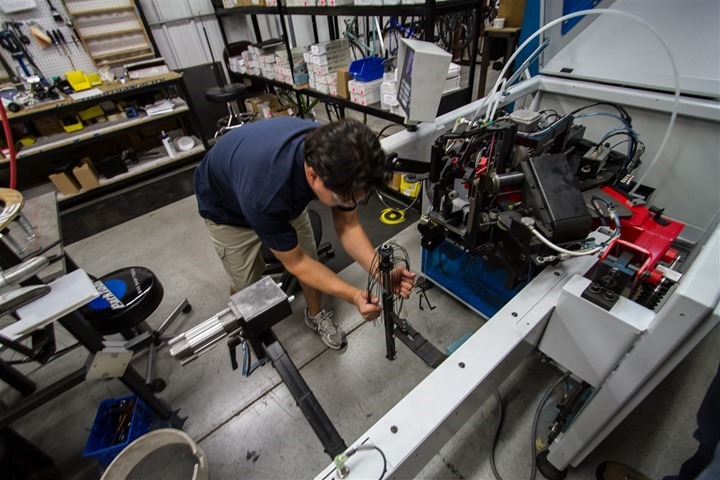
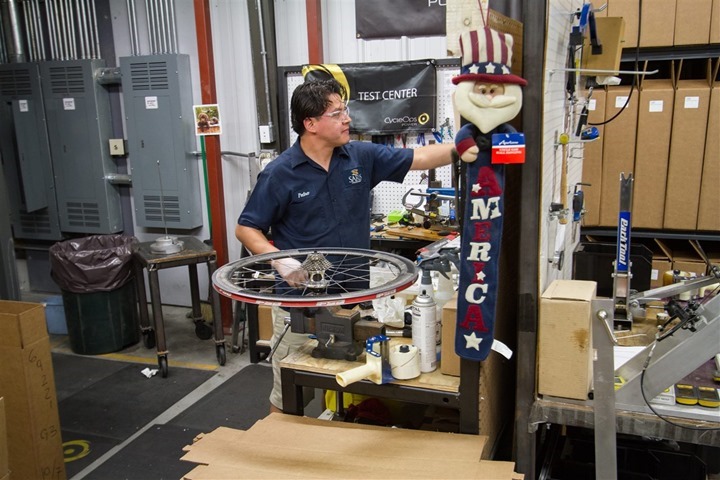
Now, the operator bends the spokes. Yes, he just bent them (all of them) as if it were ‘no big deal’.
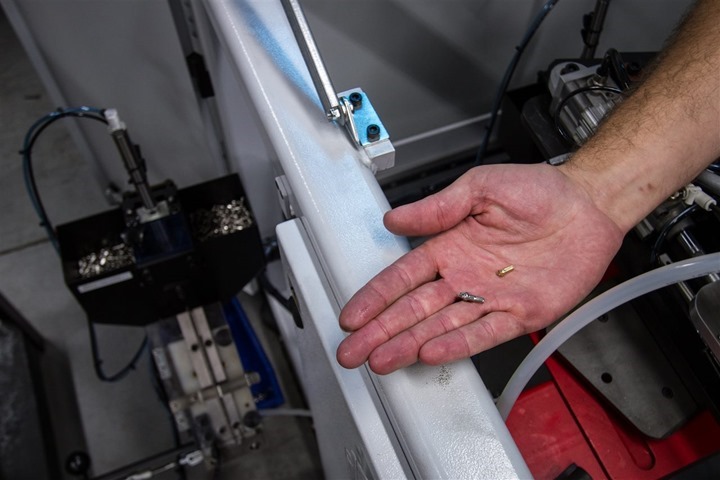
The machine you see above will automatically attach the nipple to the end of each spoke through the rim. They use two nipple types, depending on whether it’s a aluminum or carbon rim.
Then, he sits down at the machine and simply pulls each spoke up and the machine snaps a nipple on and rotates the wheel.
Here’s a short video of this process occurring:
The whole process only takes about two minutes.
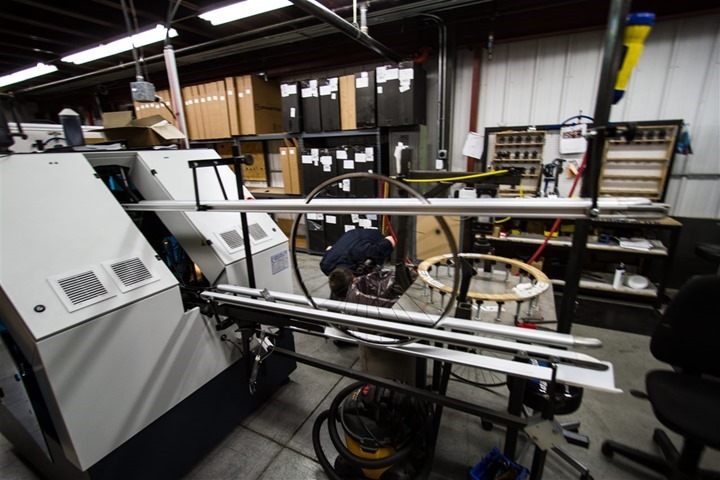
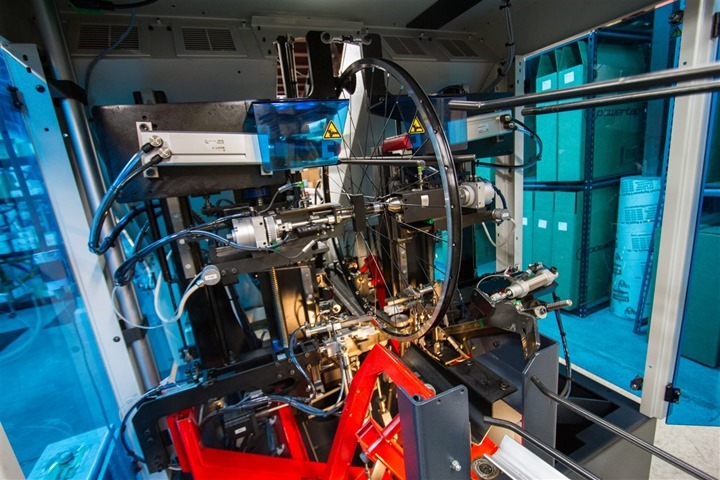
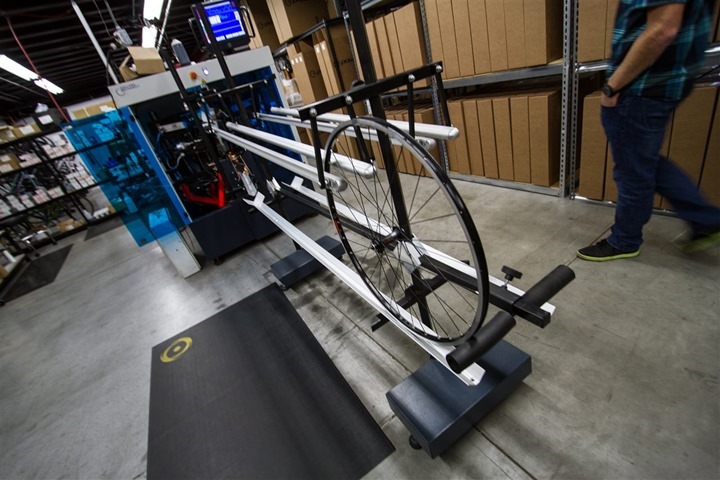
Then, the wheel is rolled down this tray into the abyss of a machine with a slew of arms, sensors and moving parts, seen to the left below.
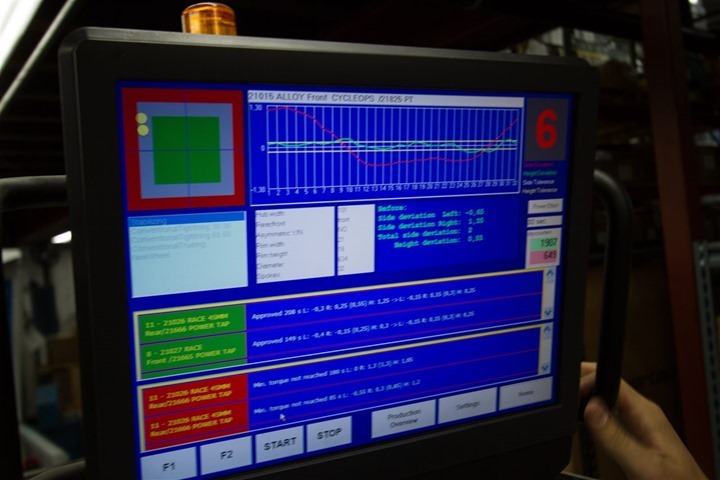
This machine performs two tensioning’s of the wheel while spinning it, automatically correcting for errors as it does so.
It first does an initial tensioning tightening pass across all spokes before tightening things down further. Then, it moves ahead to final trueing.
This machine takes about 4-5 minutes to complete. Below, is another quick little video clip showing how as it rotates the wheel you’ll see the computer automatically adjust the line bringing it closer and closer to being trued.
Finally, once complete the wheel will get spit out one of these two trays. The tray to the left is the ‘pass’ tray, while the tray to the right is the ‘fail’ tray. Something might end up in the fail tray if the machine can’t fix it (such as a broken spoke).
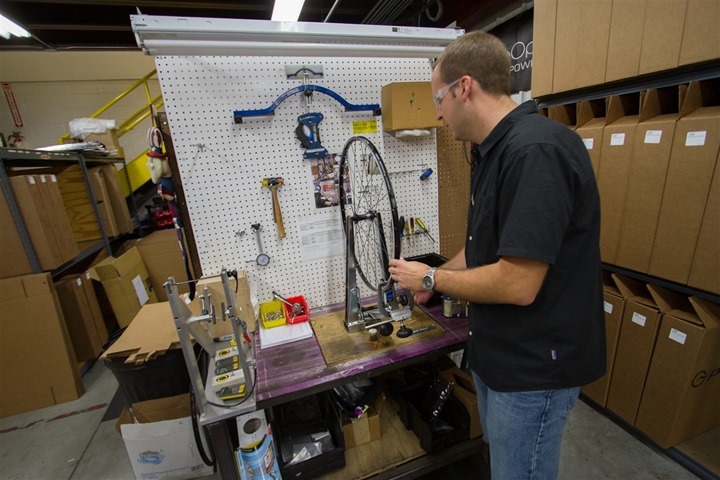
Once it hits the pass side, it goes briefly up to this stand to be manually checked by a worker, then it’s boxed up and ready for shipment.
Joule Devices:
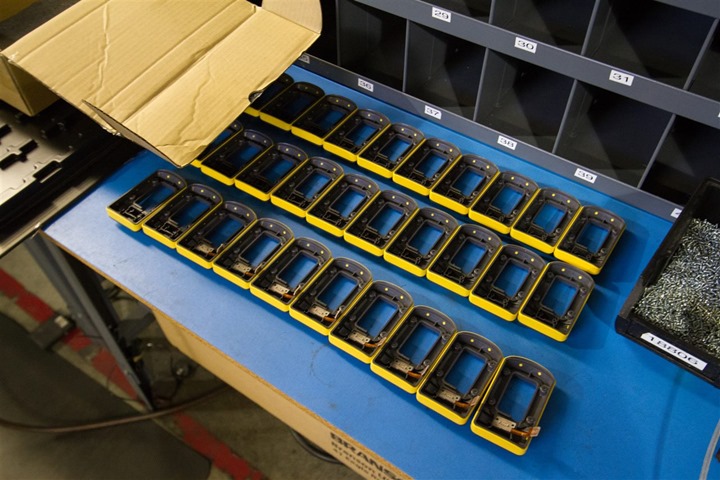
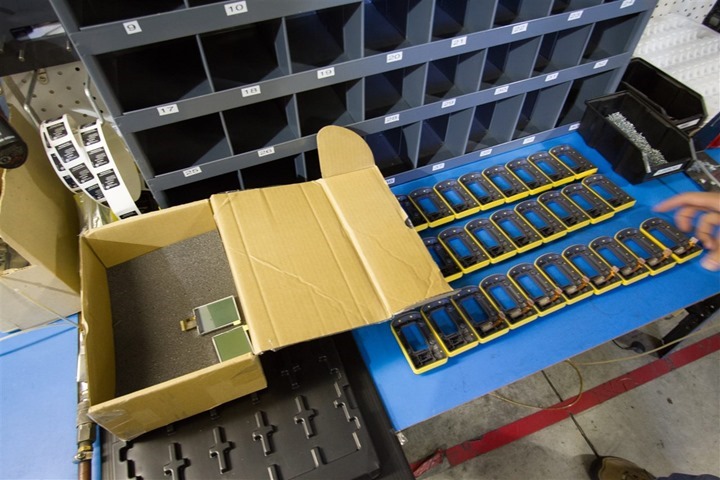
Looking at head units, things are much simpler (and quicker). For the older Joule 2.0 units (primarily sold with some indoor trainers/bikes), the unit comes in a handful of parts and are quickly put together in the span of about 8 feet on a workbench.
The displays are added to the unit followed shortly thereafter by the back of the casing.
Then the units are pressure tested just like the PowerTap hubcaps. At which point the units are attached to a USB-cable rack and run through a series of tests.
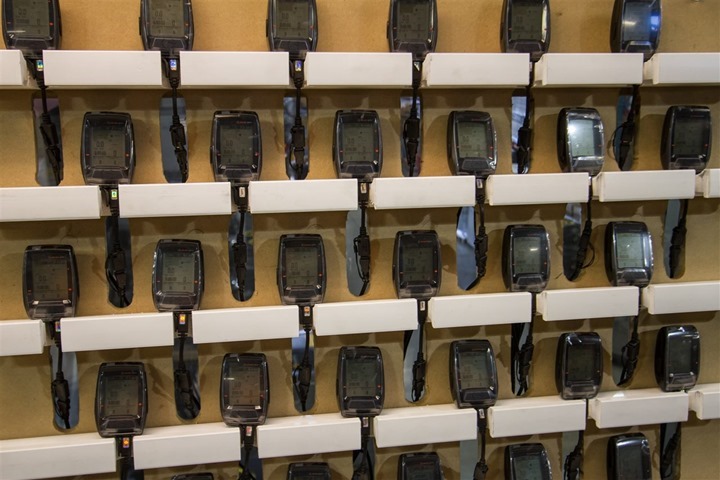
That short-journey is even shorter for the Joule GPS. In this case they come pre-assembled from Asia and are merely tested in a test suite on a wall before packaging and shipping.
Servicing/Customer Service of units:
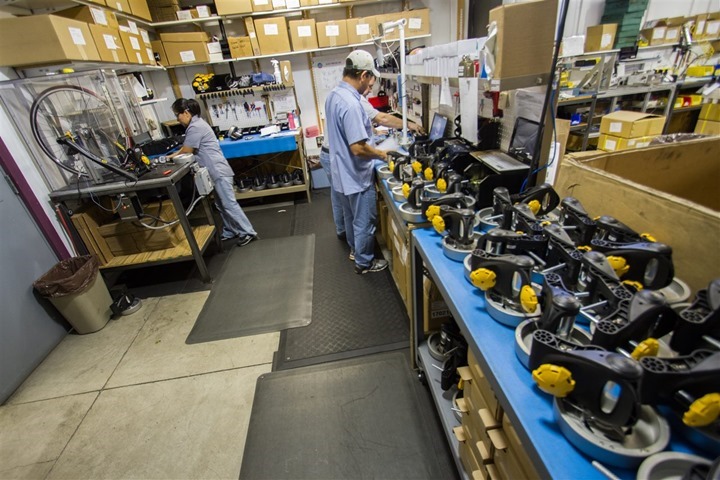
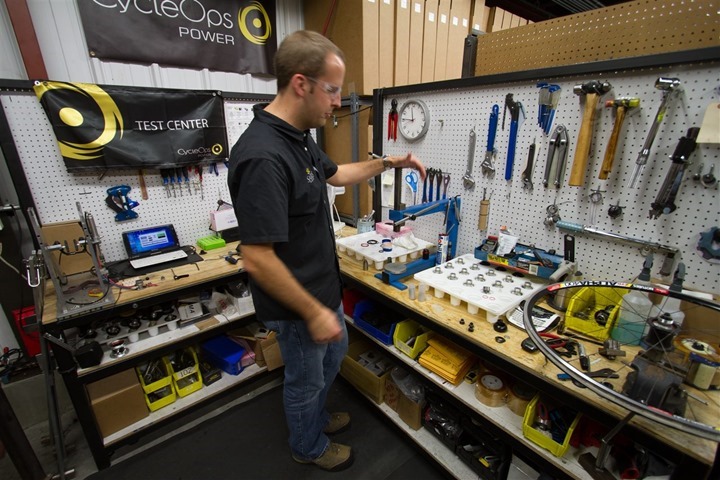
In the event of servicing of a product that’s already sold, CycleOps handles this through their service centers. In the US, that’s here in Madison, WI. Whereas outside the US that’s handled by one of 12 international distributors in your geographic region. Each distributor has the same test suite setup that you see above/below.
Within each service center facility they have all the tools to completely rebuild any PowerTap hub, wheelset, or CycleOps trainer.
Below, an employee is working on a wheel set. Most of the customer service requests they see these days are actually not repairs, but rather upgrades from the older PowerTap hubs to the new hubs with the replaceable caps.
A brief video on the Silencer:
As I was running out the door for the airport I had all of 60 seconds to take a short video of the new resistance controlled (via lever) Silencer trainer. This $659 trainer aims to reduce the noise footprint of trainers, though it doesn’t include any sort of wattage-specified control or output.
While they don’t quite have any units available for test (this is a near-final unit), I was able to capture this video of how loud it is. Note specifically (for comparison) the sound of the changing of the gears (and think about how loud your gear changing is). What you don’t hear is that really room-filling sound, rather, more of a constrained sound (if you own a trainer, you’ll know what I mean). It doesn’t seem to reverberate through the room, though it is still a bit louder than nothing at all.
It’s definitely quieter than most trainers, though not quite as quiet as the new Elite Muin trainer (though, in that case I haven’t heard that one in a silent room either).
I didn’t have my decibel meter handy, but again, it’s lower than anything else I’ve tested with a meter.
Wrap-up:
After getting the run through of things from a build perspective, I spent the next two hours talking with the PowerTap and CycleOps Trainer product teams. The first hour we spent talking through a bit of the state of the industry, taking many of the items I discussed just a few days earlier at the ANT+ Symposium and drilling down into more detail on specific points (such as protocols, profiles and industry trends).
The second hour we spent time talking about the direction the organization is going and how it fits into the trends of the industry. Obviously, like any company that plans to stay in business, they too are hard at work on future products.
It was fascinating spending these few hours looking behind the scenes at things. It’s probably notable that while the output products are in the same category as Garmin (power meters, head units) who I visited last spring, the paths to production are dramatically different. Probably the most impressive thing to me is that the entire PowerTap/CycleOps development and engineering teams fit in a single small conference room – all 12 people’s worth. Of course, much of the CycleOps trainer software is developed outside of the company by a separate software development team in Europe – but that’s ultimately a small business no bigger than a triathlon relay team.
With that, hopefully you found the above 97 photos and text interesting. As a tech geek, I always think it’s fun to dive into the ‘how things are built’ side of things. Given the range of products made here, it seemed like a perfect fit for a post and well worth my trip to the land of cheddar cheese.
Thanks for reading!
FOUND THIS POST USEFUL? SUPPORT THE SITE!
Hopefully, you found this post useful. The website is really a labor of love, so please consider becoming a DC RAINMAKER Supporter. This gets you an ad-free experience, and access to our (mostly) bi-monthly behind-the-scenes video series of “Shed Talkin’”.
Support DCRainMaker - Shop on Amazon
Otherwise, perhaps consider using the below link if shopping on Amazon. As an Amazon Associate, I earn from qualifying purchases. It doesn’t cost you anything extra, but your purchases help support this website a lot. It could simply be buying toilet paper, or this pizza oven we use and love.


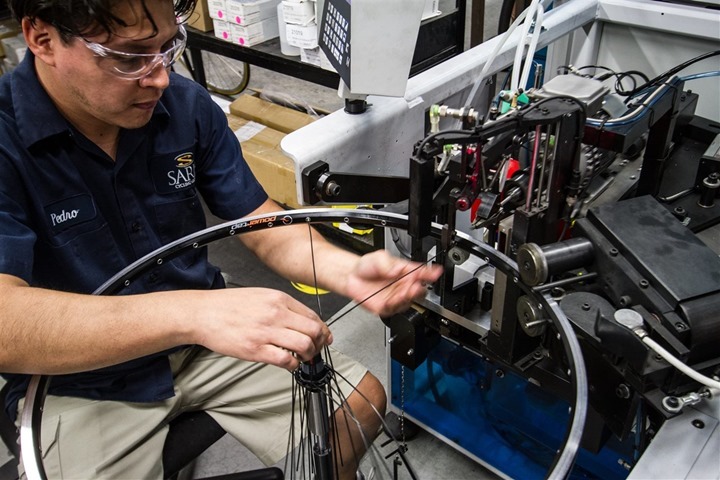









why are all the spokes bent pre build? not being a wheel builder / metallurgist i find this rather “interesting”.
They’re bent to move them out of the way of the machine as it rotates around, otherwise they’d all kinda get caught up as it does the rotation/threading piece.
It also prevents the rims from getting scratched by the spokes.
President Bush actually rides his Powertap products. Obama just shakes the boss’s hand for a photo op. Typical.
So one of them enjoys cycling and the other enjoys basketball, big deal. That’s why we have various sports and activities to choice from.
A photo about a US president here, another shot about another US president there. No photos about any Hungarian prime minister in any rooms of Saris headquarters. Typical. ;-)
Very interesting read Ray, I enjoy the details of your visits with these manufacturers. Phillipe M, isn’t that the truth.
Right, Phillippe. Absolutely typical — Bush plays with toys while Obama does his job.
P.S. Were you really so unable to control yourself that you felt the need to focus on the only part of the blog that has nothing to do with what Ray writes about? (And, no, I don’t think it’s hypocritical to point this out after responding to your ad hominem attack on the President. When someone throws a punch, you don’t blame the other guy for responding. But maybe now we can return to apolitical discussion? LIke how badly I want a PowerTap?)
Ok all…let’s get back to sports. There’s plenty of other channels for politics out there. :)
Thank you.
Great post. I love reading about how different things are made.
Thanks for the post – it was really thorough and gave a real inside look and answered many “just curious” questions.
Nice Cochran quote, BTW. Brought back memories of an earlier time. Thanks.
May he rest in peace.
Oh, I love that kind of manufacturing details post! Thanks!
Thanks for the write-up Ray! As a PT user and recent Minnesota transplant, I’m going to have to make a trip to Madison to check out their office.
Also, didn’t Saris change their name to PowerTap? Wonder why the name change didn’t get reflected in the office signs or on the internal testing software.
Saris Cycling Group (sometimes referred to simply as Saris) is the parent company of Saris (racks), CycleOps (trainers) and Powertap (hubs/wheels). “Saris” is a combination of the owner’s names–Sara and Chris.
Why switch from an older PowerTap hub to the new hub? I assume the old hub works and they are only replacing the internals so don’t see the advantage.
I’ve been reading your blog for a while now. I’m curious as to why there’s barely mention of what would (arguably) be the pioneer of power meters for bicycles: SRM.
I generally focus on companies/products that innovate – either in technology or in some cases, price. This innovation gives me reason to post about a company, otherwise, it’s kinda posting about nothing (aka, old news).
In the case of SRM, up until the last few months, they’ve really done no innovating in either of the above categories recently, thus, there’s been little reason for me to talk about them (and most folks know I dislike overpaying for something just due to brand name).
However, in the last few months with their introduction of the SRM PC8, they’ve gotten back to actually innovating again (which even they admitted). And to a lesser degree, their rechargeable power meter as well.
With those new products you’ve seen a corresponding increased interest from me, below all within the past 6 weeks:
Eurobike Post:link to dcrainmaker.com
Interbike Post: link to dcrainmaker.com
Mention in my ANT+ Symposium Presentation: link to dcrainmaker.com
They’re looking to get me both units here in the coming weeks and months, so I’ll be able to do reviews on them when they make sense.
Enjoy!
Great article!
I also really enjoyed this behind the scenes tour of this manufacturing facility, particularly the PowerTap products. I really can’t believe they were so open to letting you photograph & publish the details of their operation. They must be quite secure with their place in the industry, well able to fend off competitors.
Great article – thorough & v interesting
I sent my powertap back after 50 000km and they put in the new G3 internals.
link to youtube.com
Great customer service from both Powertap and Stages Cycling. Ive got 3 stages and 1 power tap.
Dude, the inside peak of these companies real does help as a consumer! You get a better idea about their DNA, and how they value their customers. After living with a Tacx product, nice to see a solid producer with basic Quality Assurance process. Awesome job on the write up as always.
Really interesting, thank you. I’m much more likely to buy something from them now – I like their low staff turnover, most stuff done on site, small teams approach… Chris
awesome. Very interesting… It’s always nice to see things “being built”… rather than a bunch if bits and bytes…
Thank you so much for sharing the details of who Saris is as a company. Seeing how focused they are employee quality of life, using local, and being efficient I’m really glad I have been supporting them by inadvertently choosing their products for trainers and power meters.
This is very interesting and cool to see behind the scenes. You might want to edit “infamous” to “famous” Underground Railroad, however, since the word “infamous” means something with a bad or negative reputation – not the case with the underground railroad that saved lots of people’s lives!
I would love to own a cycleops PT400 but i can’t come at the Q factor. Surely for such a performance oriented piece of kit they should make something which replicates a road/TT bike as far as cranks are concerned, rather than the recreational Q factor which currently exists. Or, product a separate “performance” model….
Interesting article !
The thing I don’t understand is that it seems they build all their stuff in their USA plant, but my Saris Gran Fondo rack is strangely “made in Italy”.
Sebastien – Great catch and good question! Several factors contribute to the “Made in Italy” on your Gran Fondo. First, we partner with an Italian designer, Fabio Pedrini, to do a lot of the development work on Saris racks. Second, the Saris Gran Fondo was designed specifically for the European market where there are strict laws regarding license plate and taillight visibility. Third, we like to produce as close to our primary markets as possible, so making a rack designed for Europe in Italy made sense.
@Tim
Make sense, thanks for this clarification :)
It’s a great product, I like it a lot ! But distribution in France need to be improved, my bike shop tried to get some for weeks without success and I had to order it on a UK website.
Too bad I didn’t know you were in town, I could have taken you out for a ride or one of the many wonderful places to eat. Great article, thanks.
Every hallway seems interesting. I bought my first powertap nearly 2 yrs ago along with Coggan and Chung’s book (sold separately). The gains justified getting another g3 for a racing wheelset.
I had no issues or comments before your visit – generally a satisfied customer. But hoped to read a discussion about firmware updates to make the G3 competitive in terms of adding new power metrics. Like a 1/4 sec record rate. New PMs are best utilizing their installation point for more data (e.g L/R balance). Are Powertap’s making the most out of the Hub?
Cheers Ray
Very interesting post, although I must admit, the wheel building process is what I found most fascinating. Hub building only comes distant second… I mean, it’s interesting that they run so many test on it, but eventually the secret sauce i.e. the torque meter comes, like the Joule GPS, preassembled from Asia.
Wow. Very fascinating read. I love the machinery. Anyways there is something wrong in the following accuracy reference that you might want to fix:
“In this case, you can see the torque value at 109, which is inch-pounds, which is within the acceptable range of 97-123 inch-pounds that ultimately produces their stated accuracy level of 1.5%.”
This “acceptable range of 97-123” falls far out of 1.5%.
No, it’s correct. Remember, that isn’t wattage (in watts) – it’s actually the raw torque value (in inch-pounds), prior to being converted to wattage.
Are the carbon wheels (tubular or clincher) also machine built instead of hand built? Honestly, if I’m paying that much for a wheelset I want them to be hand built. Especially ones based on ENVE rims that have internal nipples and you have to remove the tubular to true them.
Wattage is a linear function of torque. If accuracy of torque is 10% then accuracy of wattage will be at most 10%. But yes if they they use initial torque value as a basis and then burn some calculated correction factors into controller then of course the accuracy will be better.
Carbon wheels are made the same way.
Alex you really need to accept that machines can do a lot of things better than “by hand”. If you are going to pay that much for a powertap hub do you want some guy to file it out of a hunk of aluminum by hand, or do you want a CNC turning center to cut it?
The consistency of machine built wheels will out perform most hand built wheels. Everyone except your LBS does machine built wheels.
Jeremy – I’m not talking about the hub, I’m talking about the wheel build itself. Almost all top end wheels are hand built including Zipp, ENVE, Easton, and Reynolds.
Initially I was disappointed because I thought you were in our neck of the woods: link to sarriscandies.com
Great post. I enjoyed seeing this. I think I have a greater appreciation for why wheels are so expensive. There’s got to be a better way to build and true those . . .
This was an interesting post. I have a Cycleops traniner at home and had heard good things about their customer service. But about a year ago, I attempted to upgrade to a better model of trainer and contacted customer service about it. A couple weeks later, I got an answer from someone (the person provided me with the pricing for upgrading), but then I couldn’t get an answer on how to trade in my current trainer for the new one, so I gave up. Looking at the customer service area in the post, maybe there just aren’t enough people to serve all the customers the company has, but I have to say I was disappointed. From all I had heard (and now reading what I did here), I had expected more.
Interesting. Did you try ringing versus e-mailing? I only ask out of curiosity.
I did. After my first e-mail exchange, where I got the information regarding how much it would cost to do an upgrade, I tried e-mailing again to get further info. When a couple weeks went by without a response, I called to talk to the same rep with whom I’d been e-mailing. She was on another line, so I left her a voicemail, but never heard back. That was about the time I gave up. I just didn’t think I should have to work that hard to give them business (and I didn’t have time to keep calling when I was at work). I still have my original CycleOps trainer, but if I upgrade, not sure I would go with another one, after what I experienced.
I lived in that house in the early 70’s!
Hi DC – I am considering buying the powertap G3 (wheel set) as power meter. I thought I had seen a review on the G3 wheel set on your side, searched for it just now, but can’t find it, so I might be wrong – was there a review in the past?
Anyway – I was looking for a word on the basic wheel set, This wheel set has a very attractive price tag, only 100 euro more expensive then the Hub itself – whats the quality of the wheel set?.
Now I am using Fulcrum Racing 3 (1550 Gram, 400 euro). Is it more or less comparable?
If anyone else has experience with this wheel set, I appreciate your input very much. thank you.
Dutch people: any shop you are aware of I can but this? Rotterdam area. Thanks. Dick
I’ve done a review as part of the Joule GPS review (sorta integrated in), along with the original Joule review. From the top-bar, just look under Product Reviews > CycleOps.
Unfortunately, I don’t know too much about wheelsets themselves, so I can’t detail there unfortunately. Sorry!
Ray, is it possible to read with a generic Ant+ stick the current torque and zero offset as shown in the Joule? Garmin 800 does not have this function. After I hit calibrate on Garmin, the torque is shown – it looks like the torque value is already post calibration. I am interested to see the torque value that is pre-calibration.
Technically very possible, but I don’t know offhand what app might actually do that. :-/
Very cool article. Definitely another notch on the wood for a reason to go with CycleOps. Love their service to their customers and their transparency. Hope they treat me just as well if the need for service ever arises. They seem like a class American company, glad to give them my money.